Osso Buco!

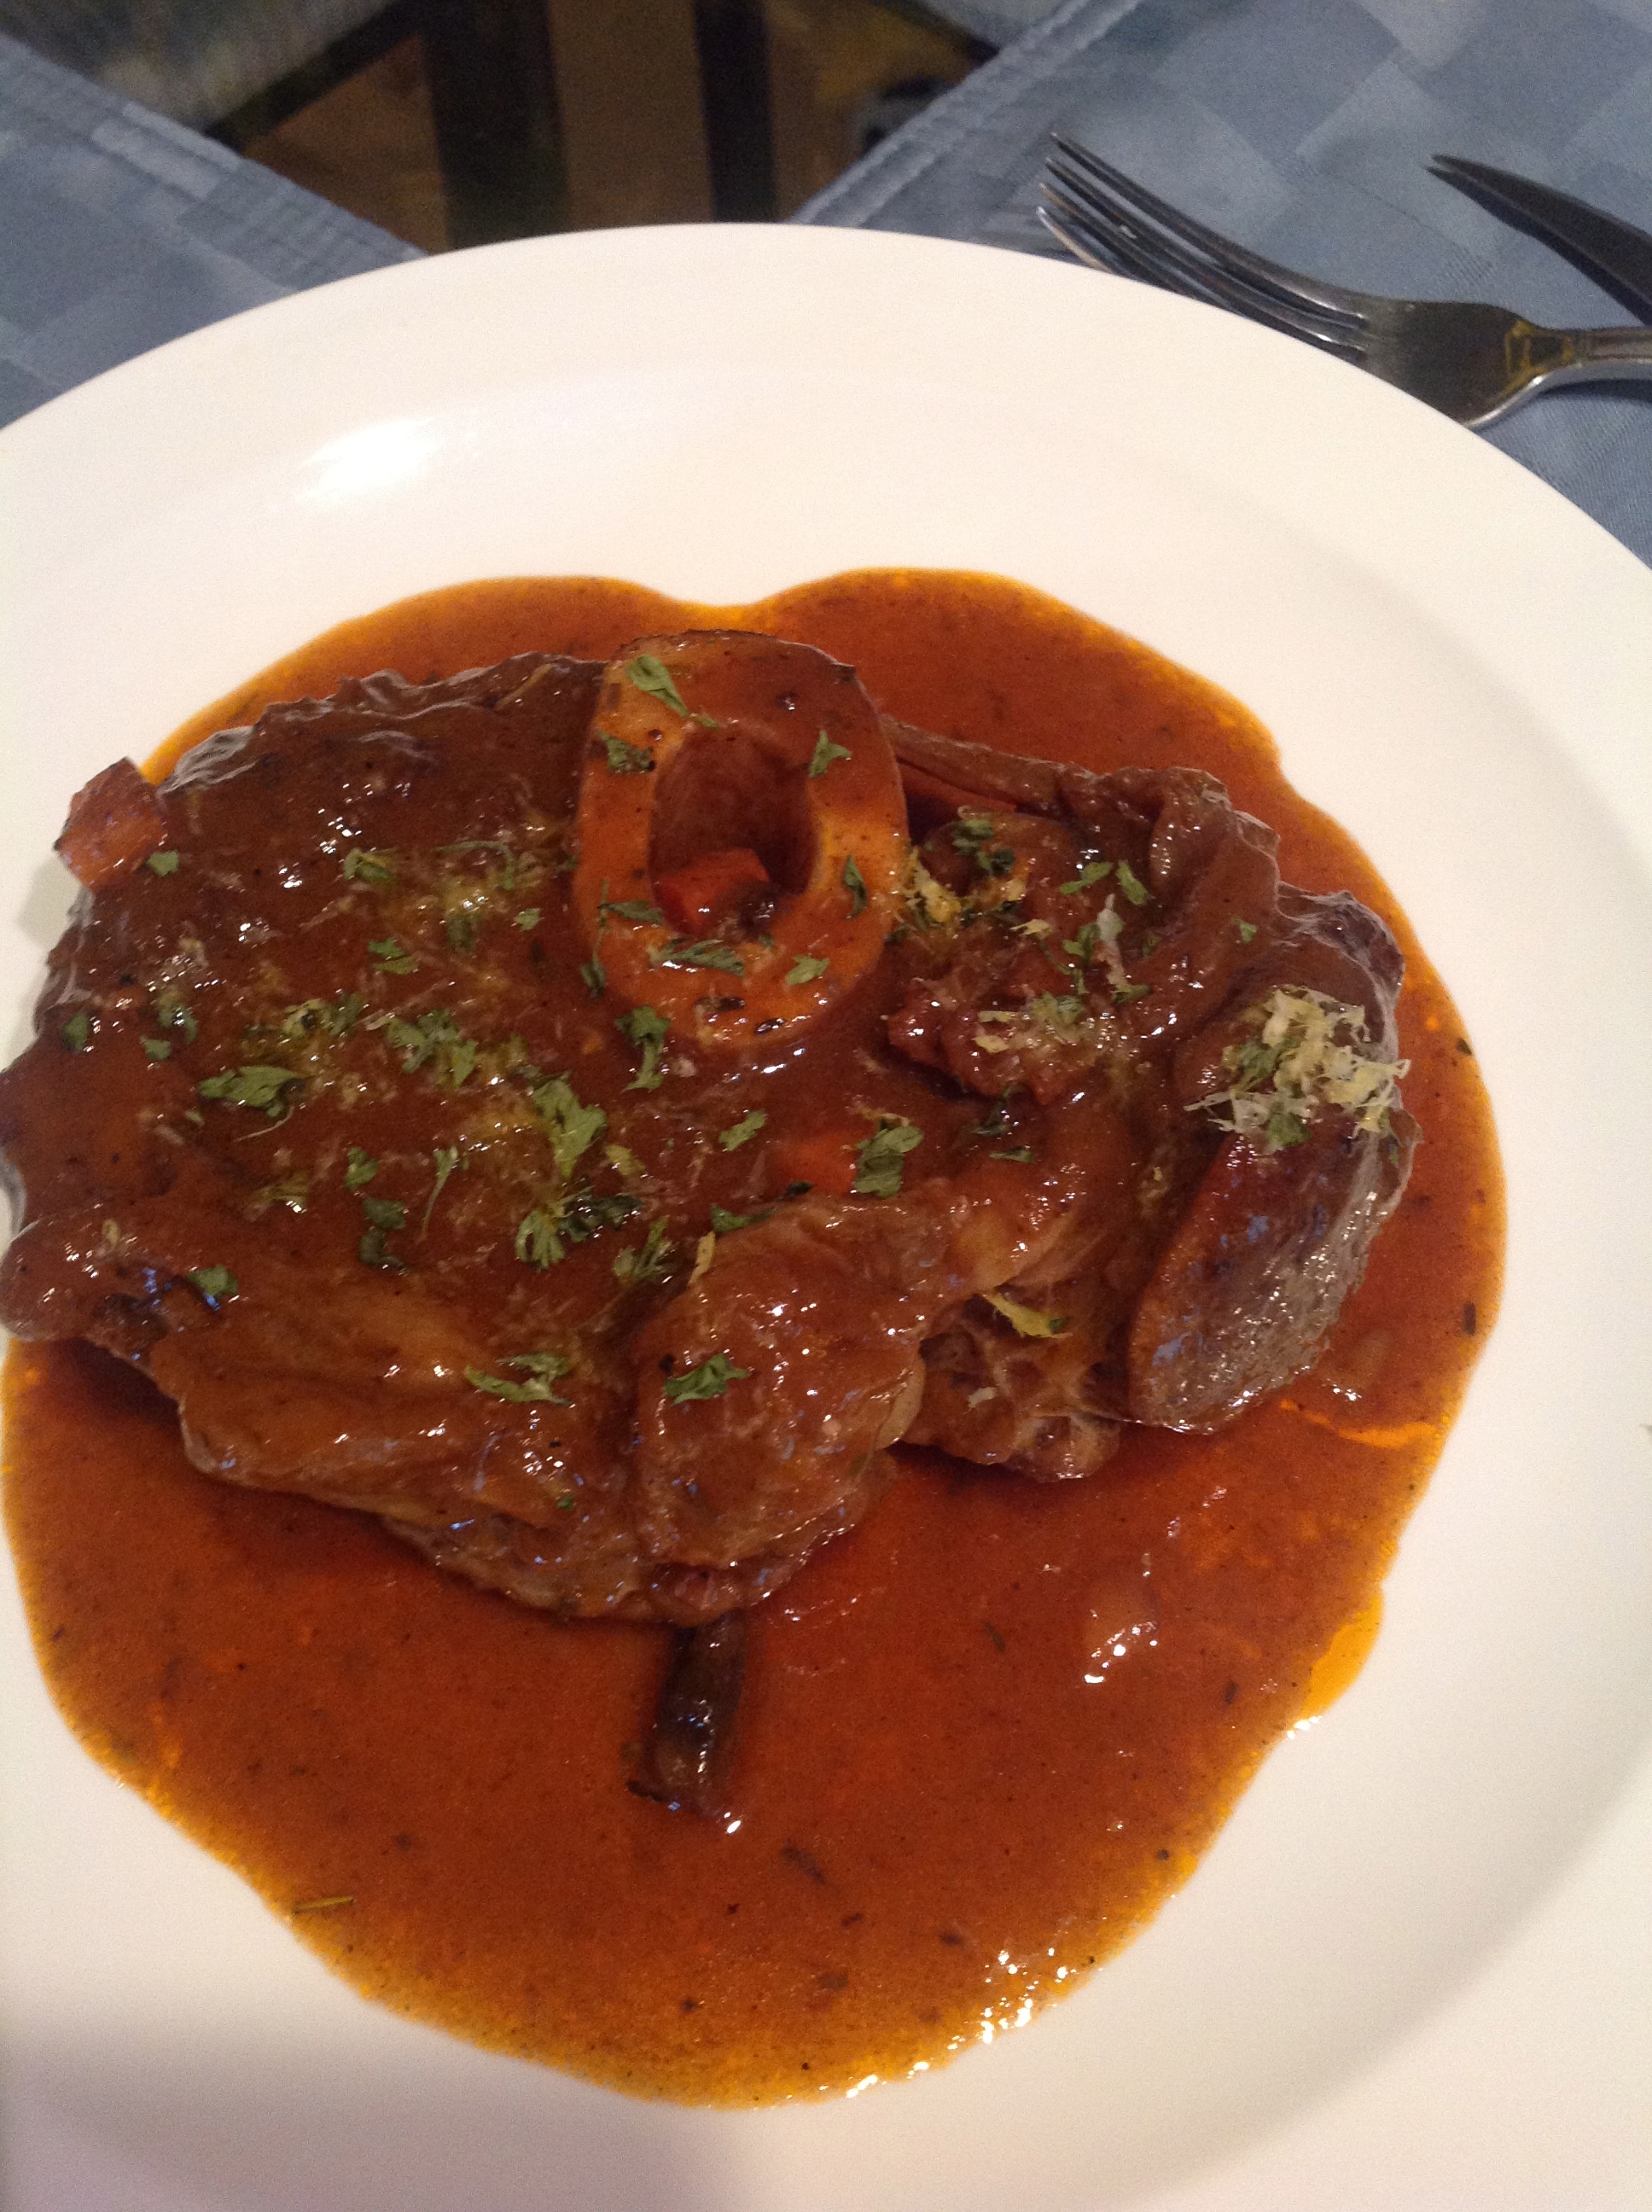
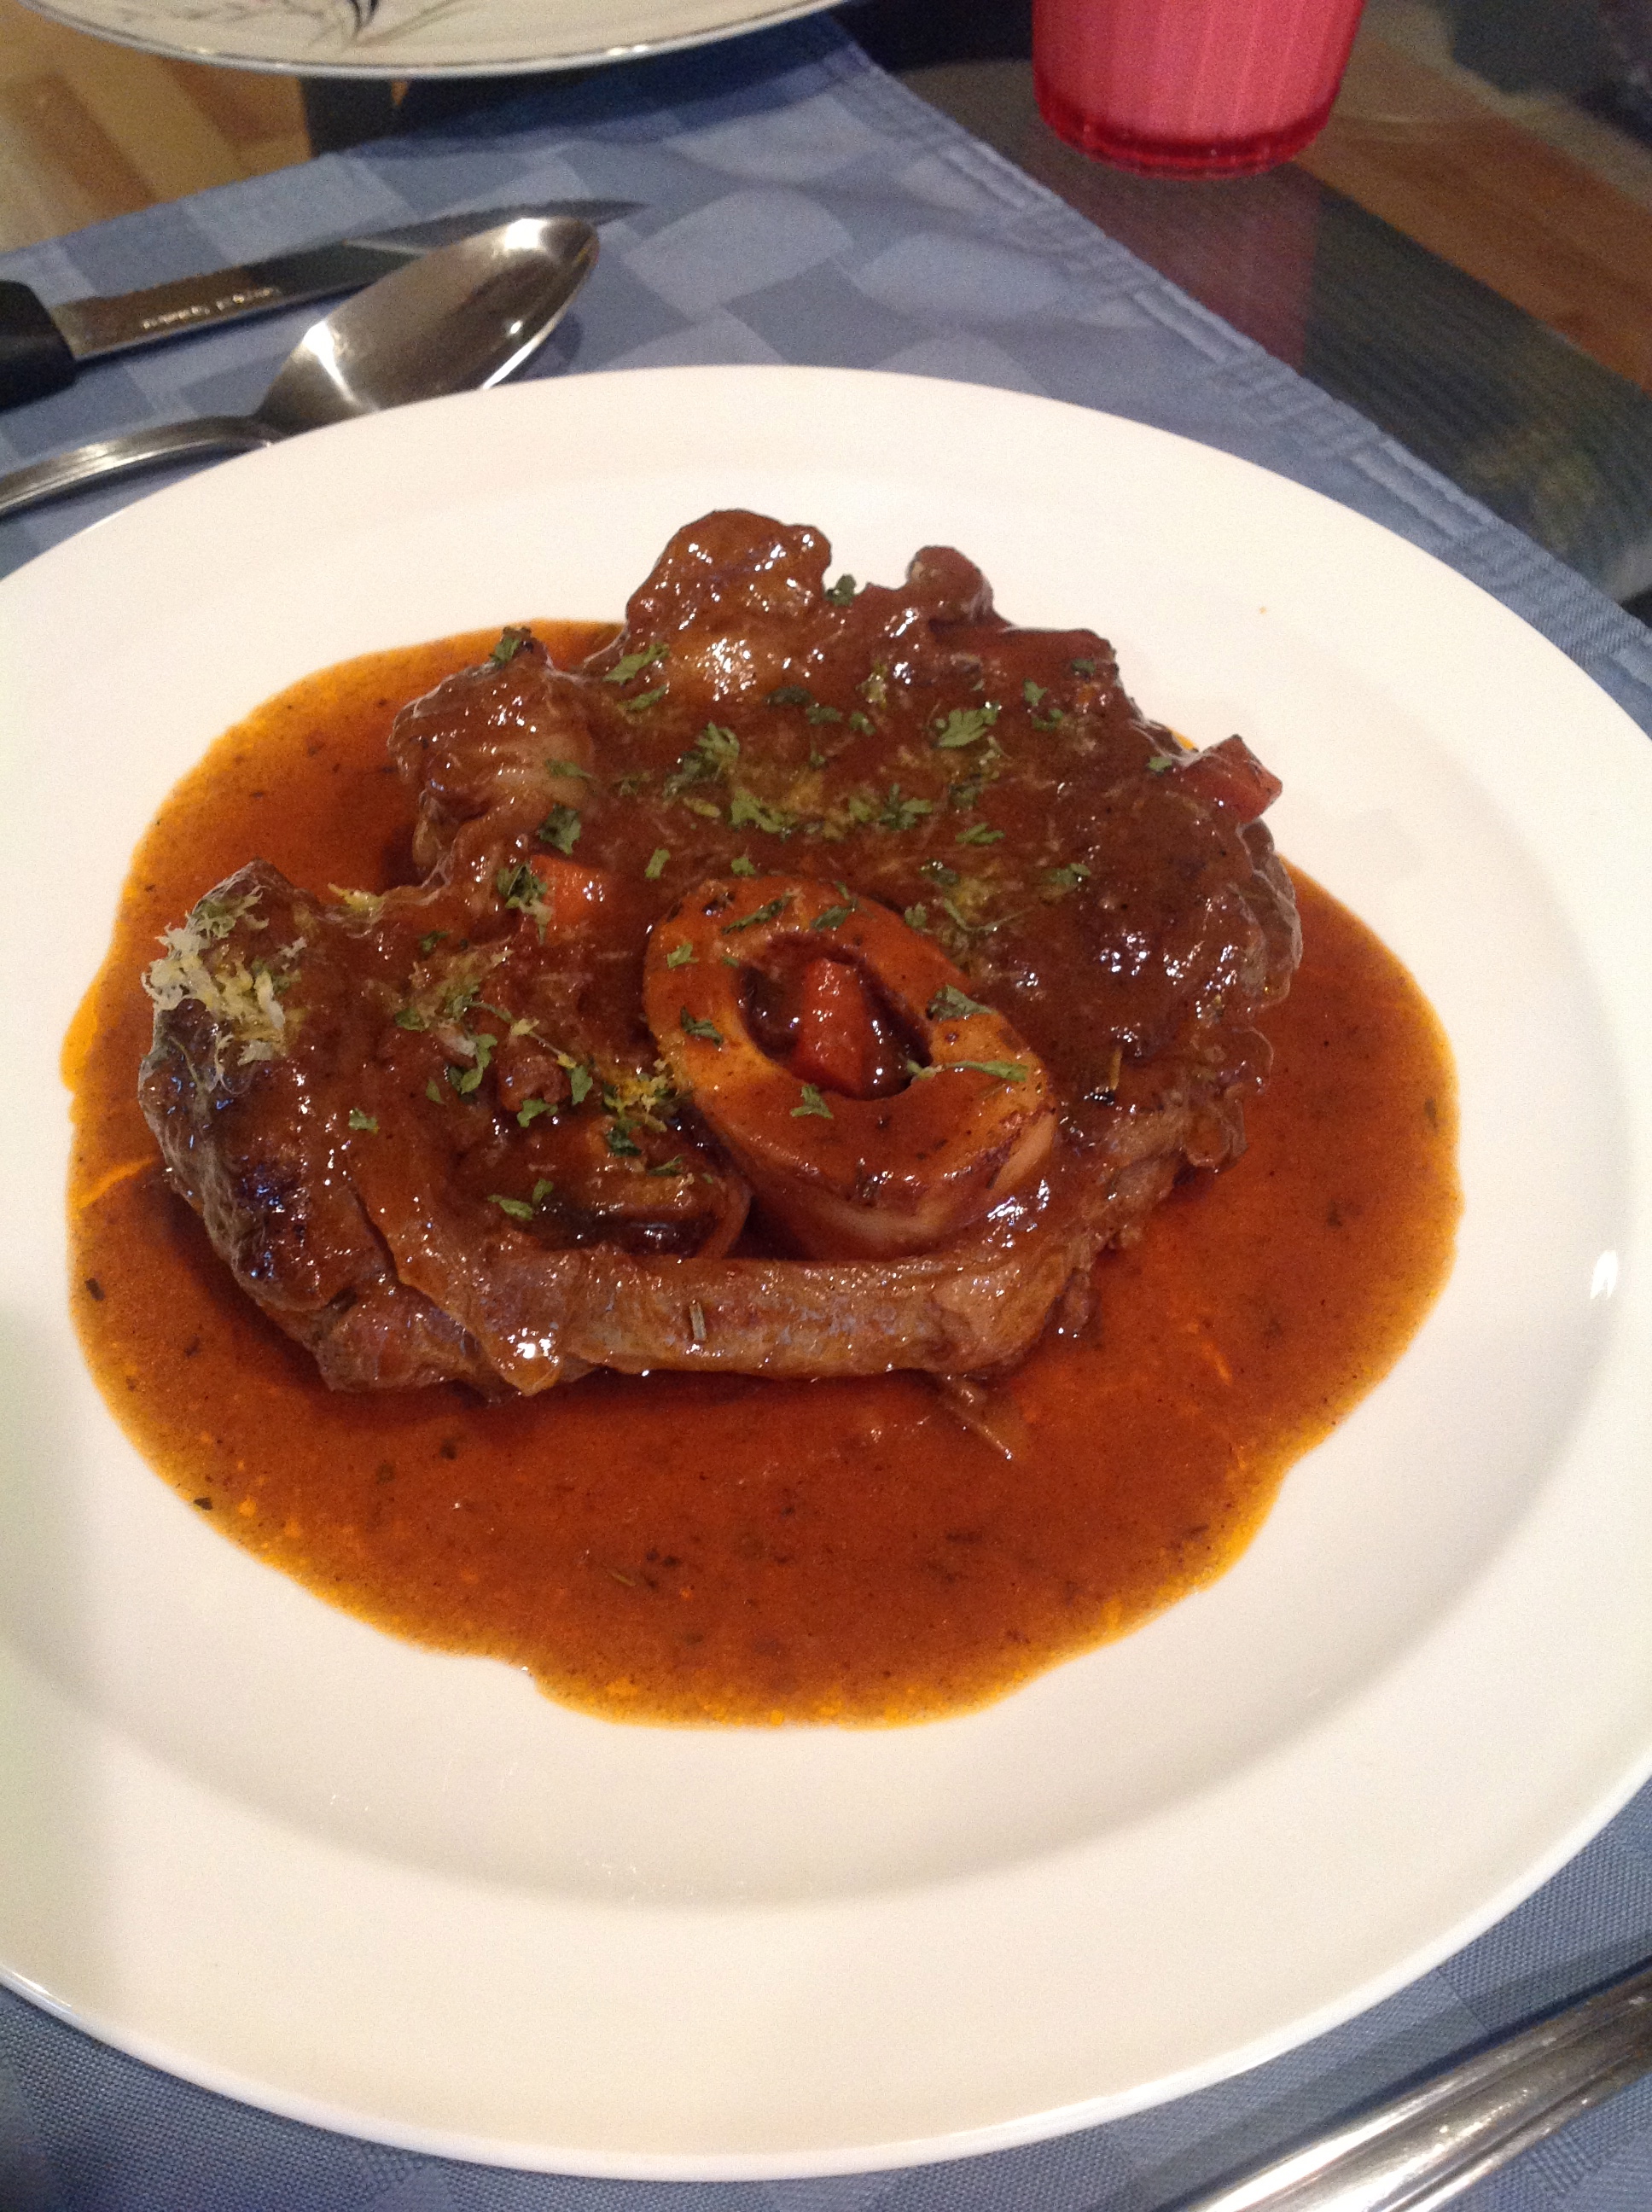
I made Osso Buco last week,and it’s my first time to cook this dish. It turned out good if I say so myself. It’s my favorite to order in restaurant whenever they have it in the menu. It reminds me of short ribs in red wine sauce. They have that similar taste and beefy flavor,so rich and decadent. I decided to use Giada’s Osso Buco recipe because I had all of the ingredients and it looked really simple to follow. I think it’s always better to have it the next day because the flavor really intensifies and gets into the meat. So Good!
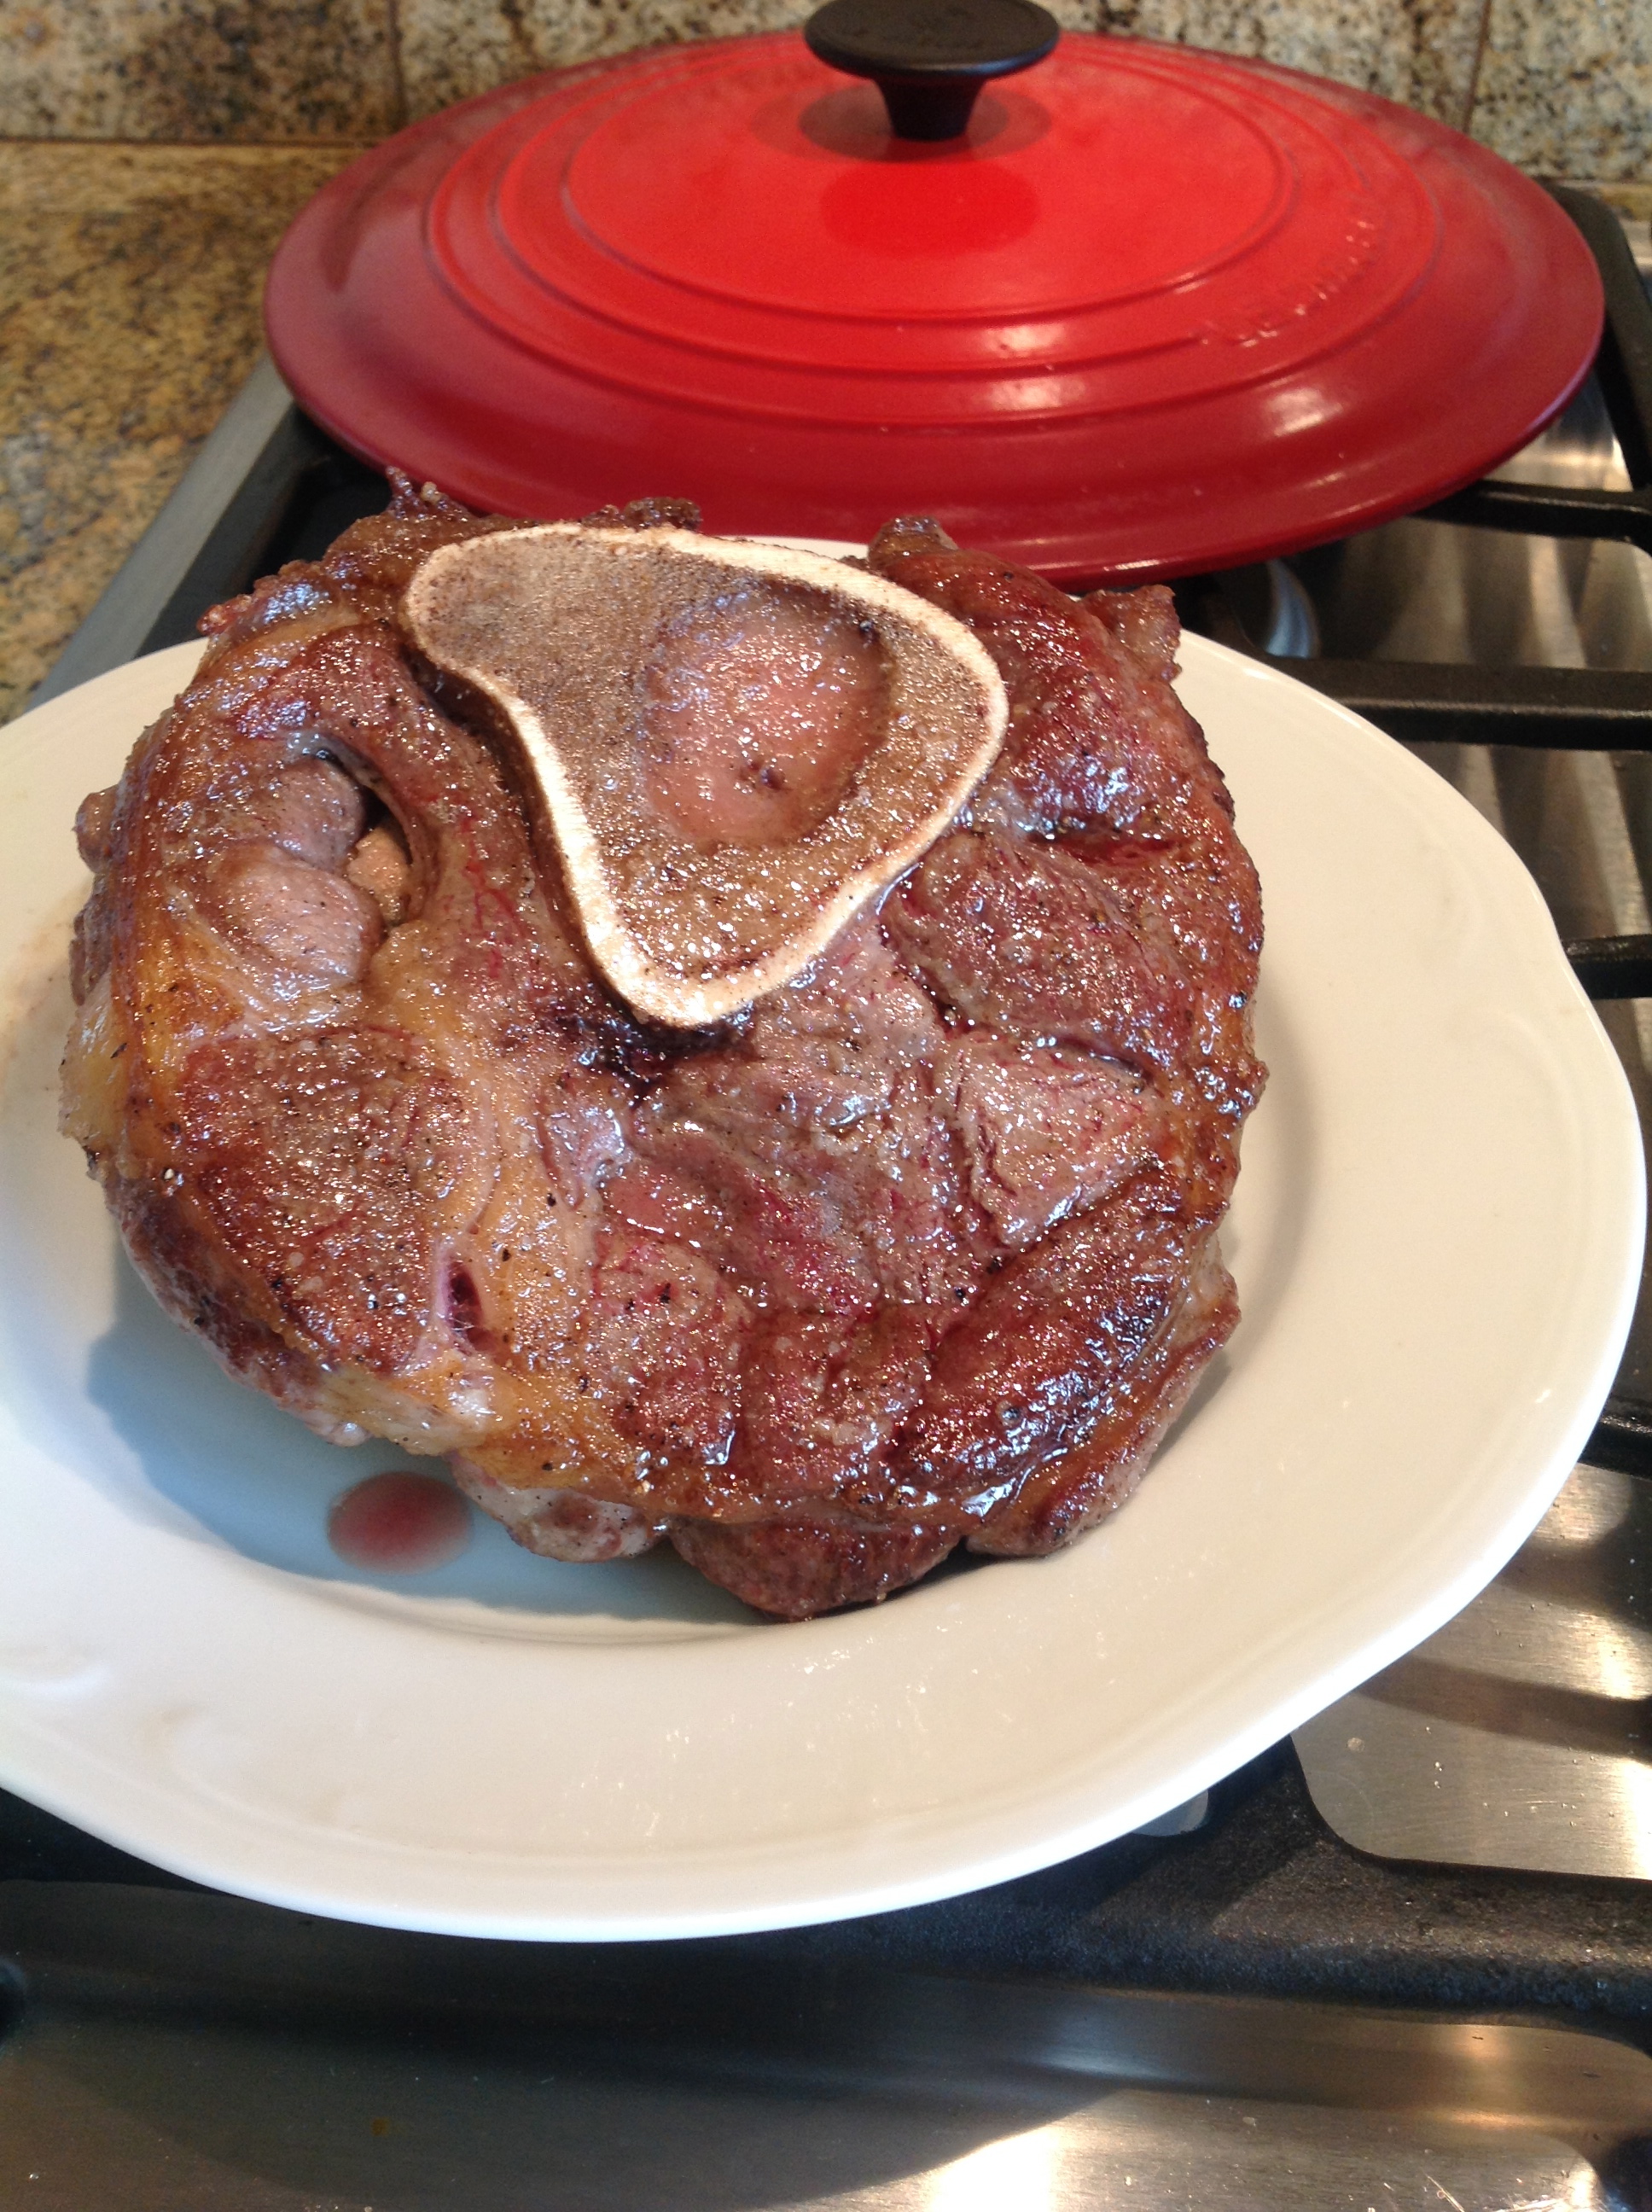
Veal Shanks (it's so important to brown the sides)
Veal Shanks (it’s so important to brown the sides)
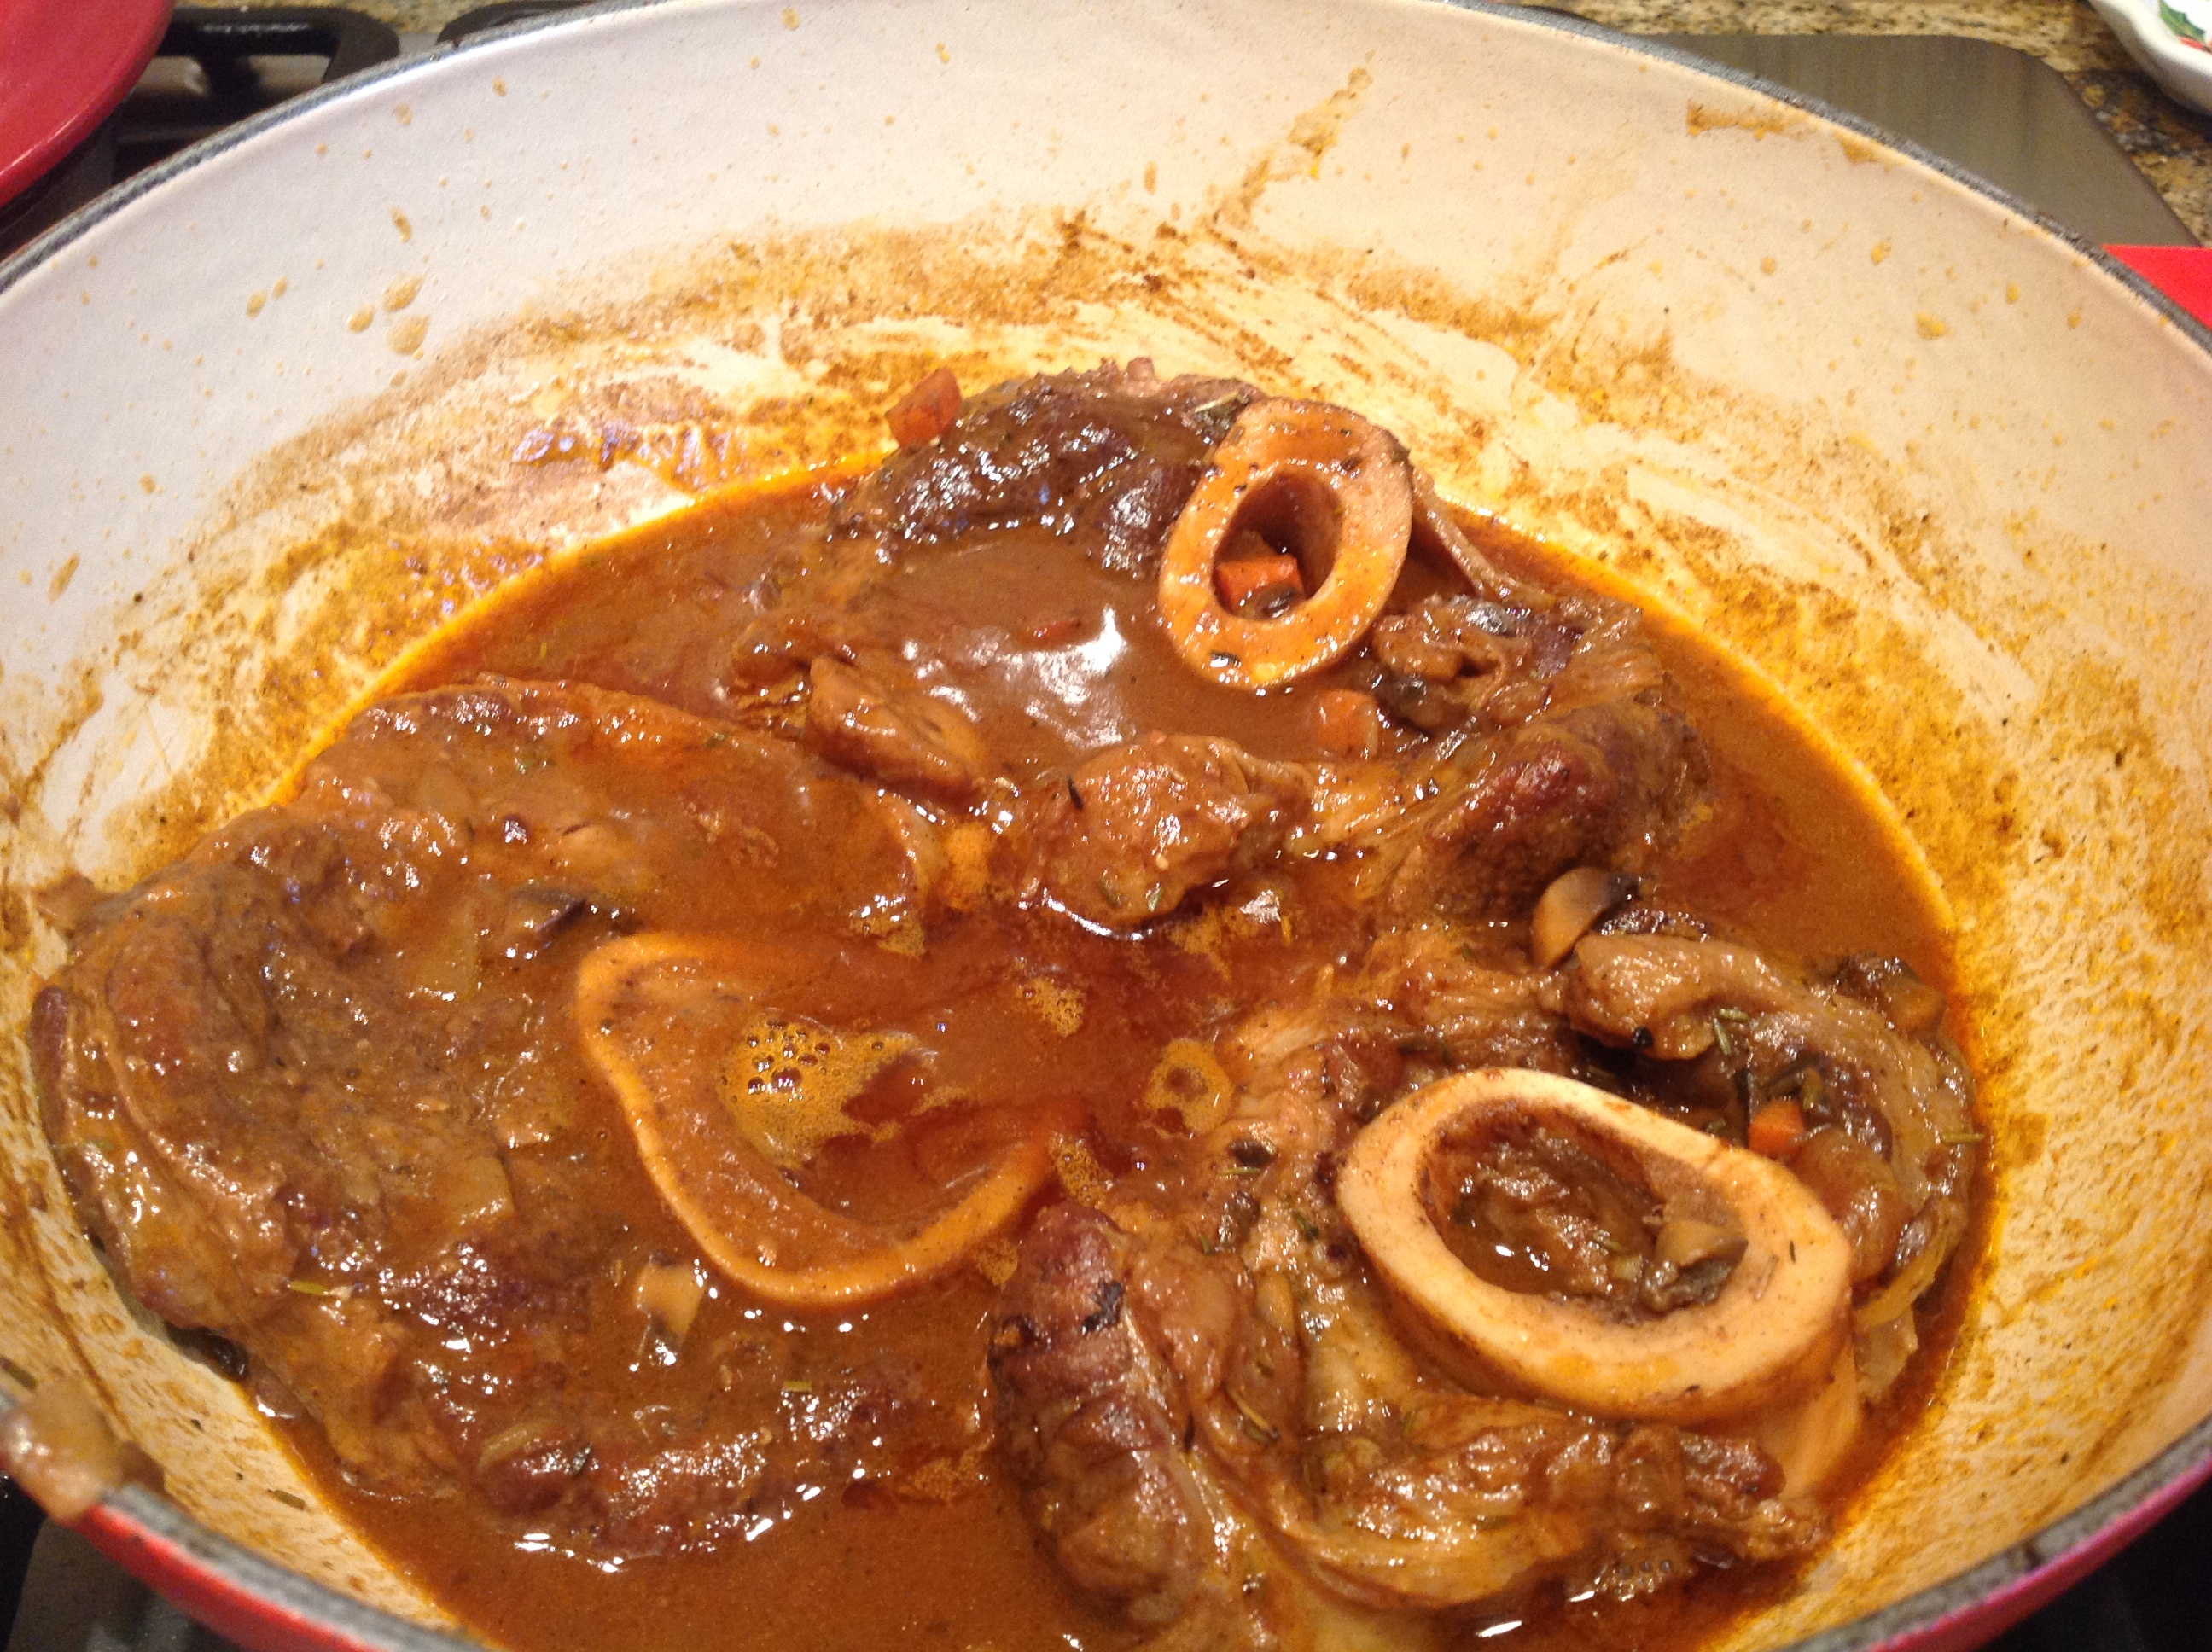
messy but oh so good!
with gremolata(lemon zest,garlic,parsley)
I prefer next time to not add the gremolata; I find the zest too much when the dish is already flavorful.

Osso Buco (Giada De Laurentii recipe; foodnetwork.com)

Ingredients:

1 sprig fresh rosemary
1 sprig fresh thyme
1 dry bay leaf
2 whole cloves
Cheesecloth
Kitchen twine, for bouquet garni and tying the veal shanks
3 whole veal shanks (about 1 pound per shank), trimmed
Sea salt and freshly ground black pepper
All purpose flour, for dredging
1/2 cup vegetable oil
1 small onion, diced into 1/2-inch cubes
1 small carrot, diced into 1/2-inch cubes
1 stalk celery, diced into 1/2 inch cubes
1 tablespoon tomato paste
1 cup dry white wine
3 cups chicken stock
3 tablespoons fresh flat-leaf Italian parsley, chopped
1 tablespoon lemon zest

Directions:

Place the rosemary, thyme, bay leaf and cloves into cheesecloth and secure with twine. This will be your bouquet garni.

For the veal shanks, pat dry with paper towels to remove any excess moisture. Veal shanks will brown better when they are dry. Secure the meat to the bone with the kitchen twine. Season each shank with salt and freshly ground pepper. Dredge the shanks in flour, shaking off excess.

In a large Dutch oven pot, heat vegetable oil until smoking. Add tied veal shanks to the hot pan and brown all sides, about 3 minutes per side. Remove browned shanks and reserve.

In the same pot, add the onion, carrot and celery. Season with salt at this point to help draw out the moisture from the vegetables. Saute until soft and translucent, about 8 minutes. Add the tomato paste and mix well. Return browned shanks to the pan and add the white wine and reduce liquid by half, about 5 minutes. Add the bouquet garni and 2 cups of the chicken stock and bring to a boil. Reduce heat to low, cover pan and simmer for about 1 1/2 hours or until the meat is falling off the bone. Check every 15 minutes, turning shanks and adding more chicken stock as necessary. The level of cooking liquid should always be about 3/4 the way up the shank.

Carefully remove the cooked shanks from the pot and place in decorative serving platter. Cut off the kitchen twine and discard.

Remove and discard bouquet garni from the pot.

Pour all the juices and sauce from the pot over the shanks. Garnish with chopped parsley and lemon zest.
 

Baileys Irish Cream Chocolate Chip Cheesecake!

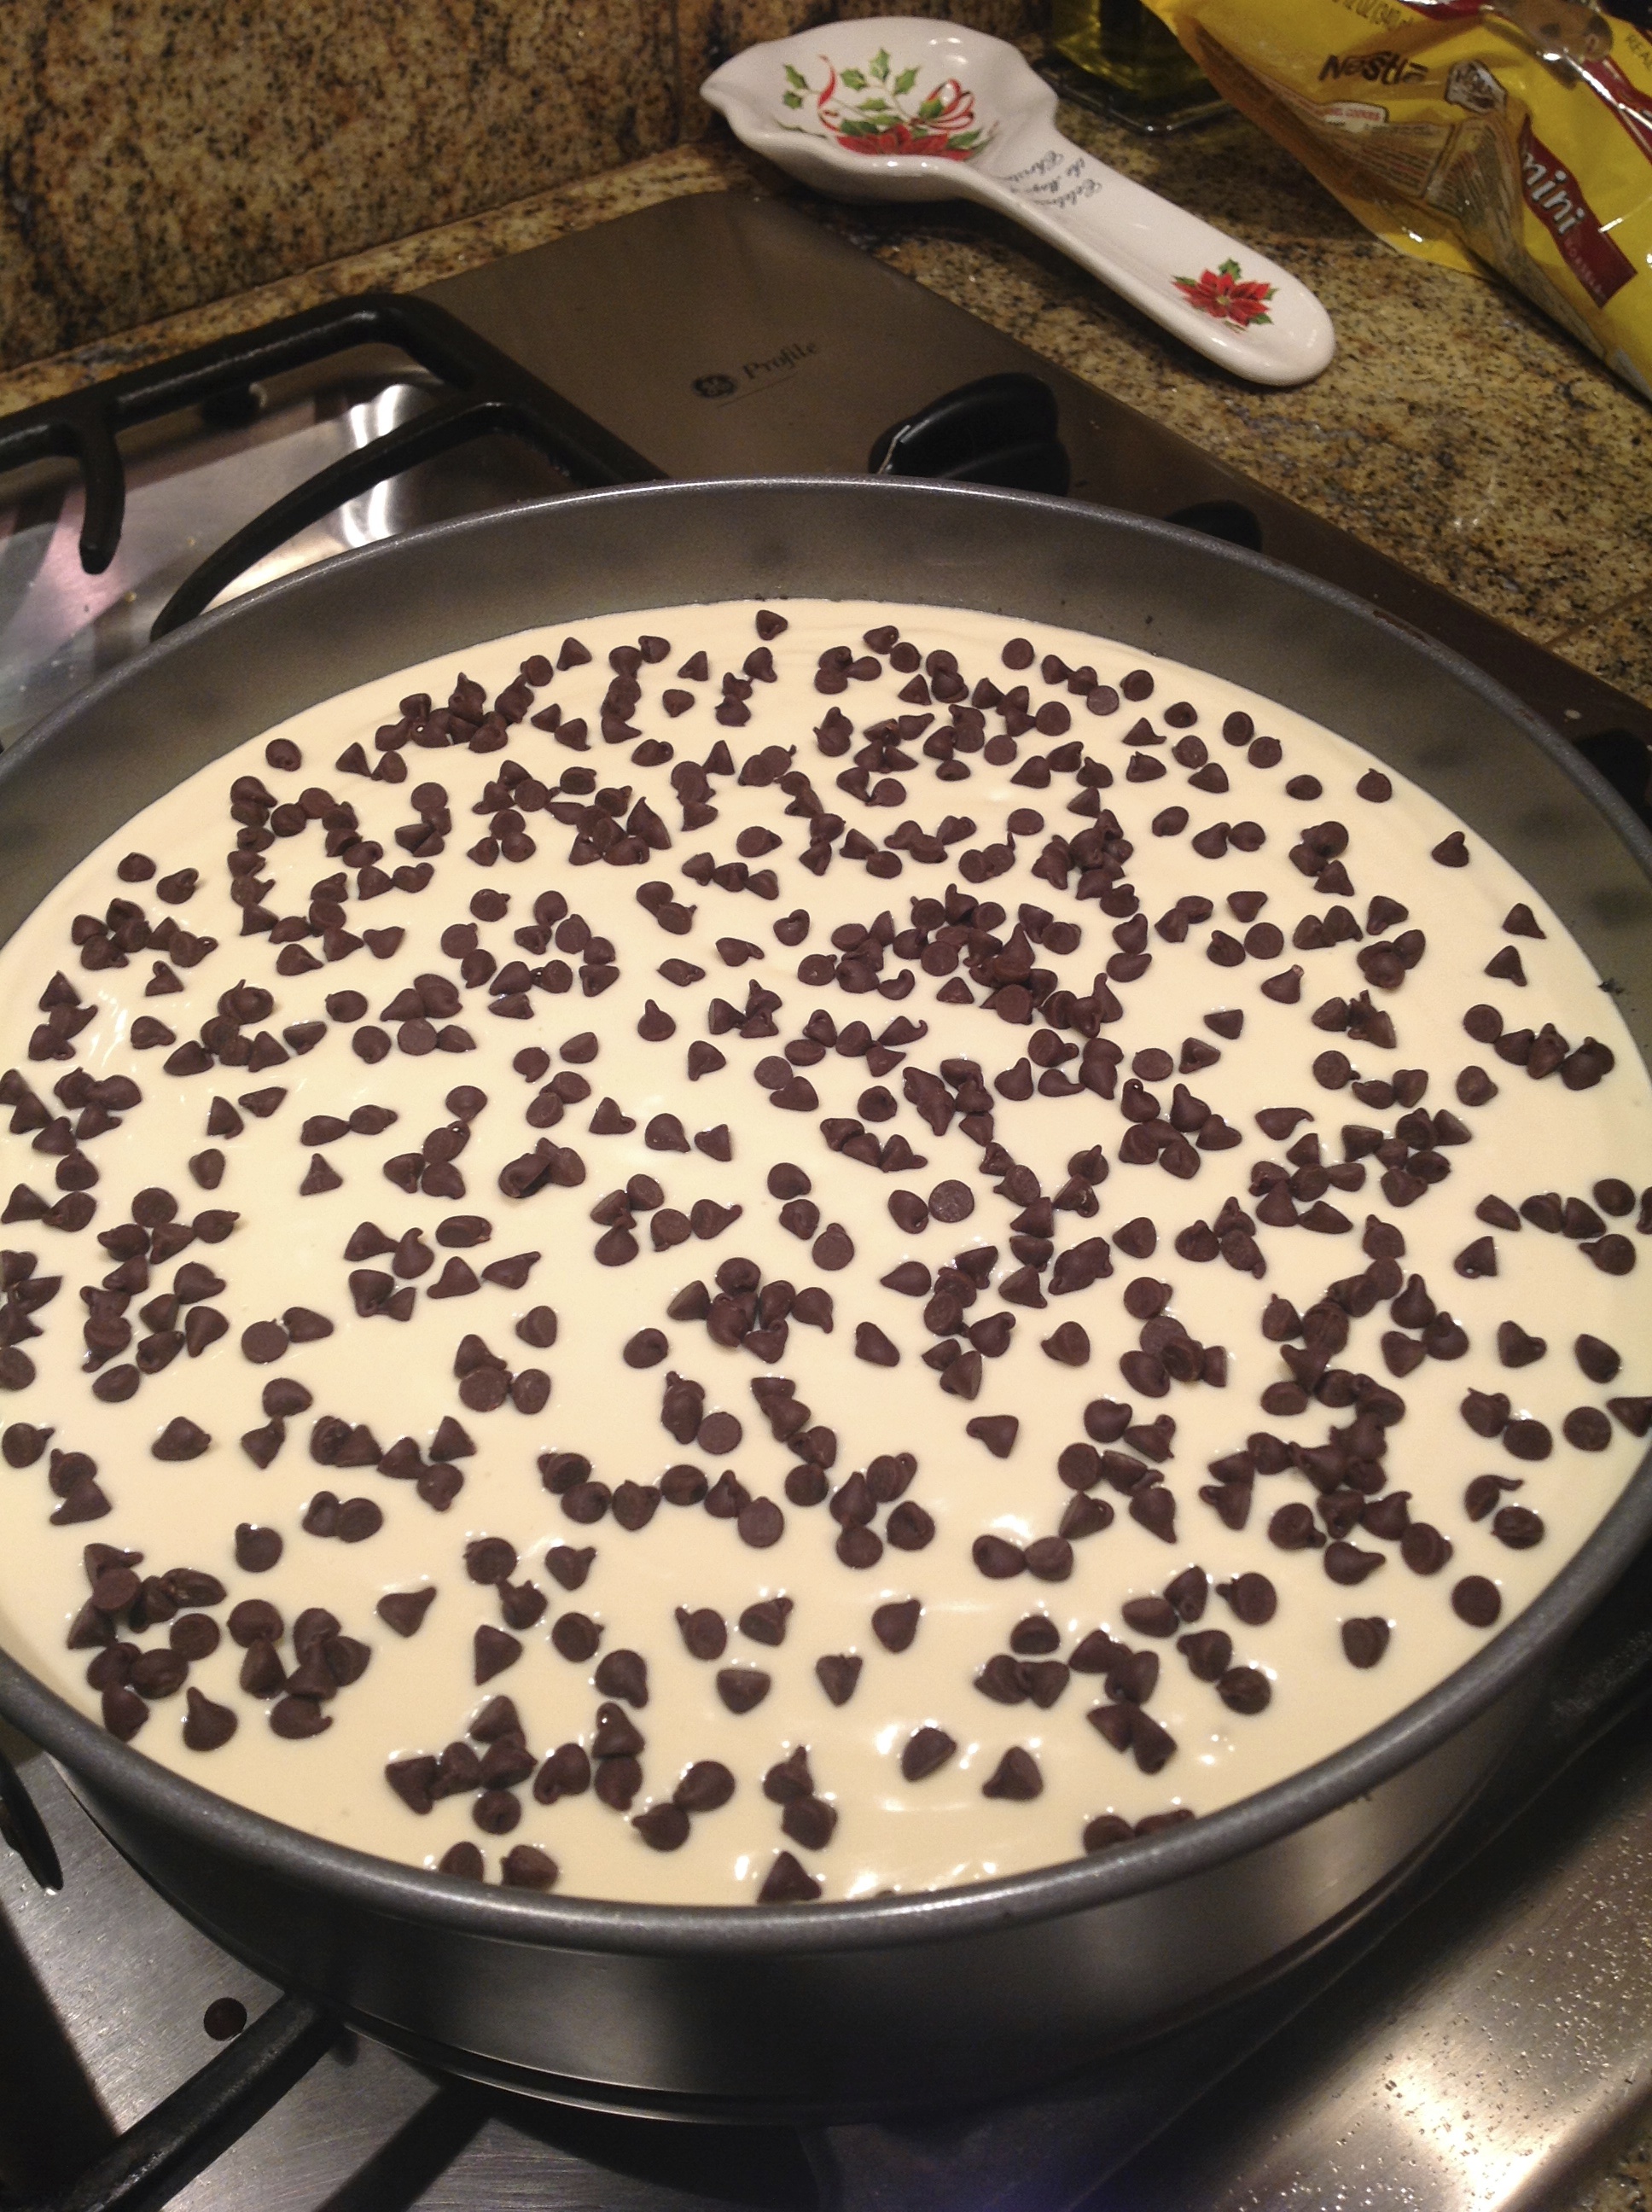
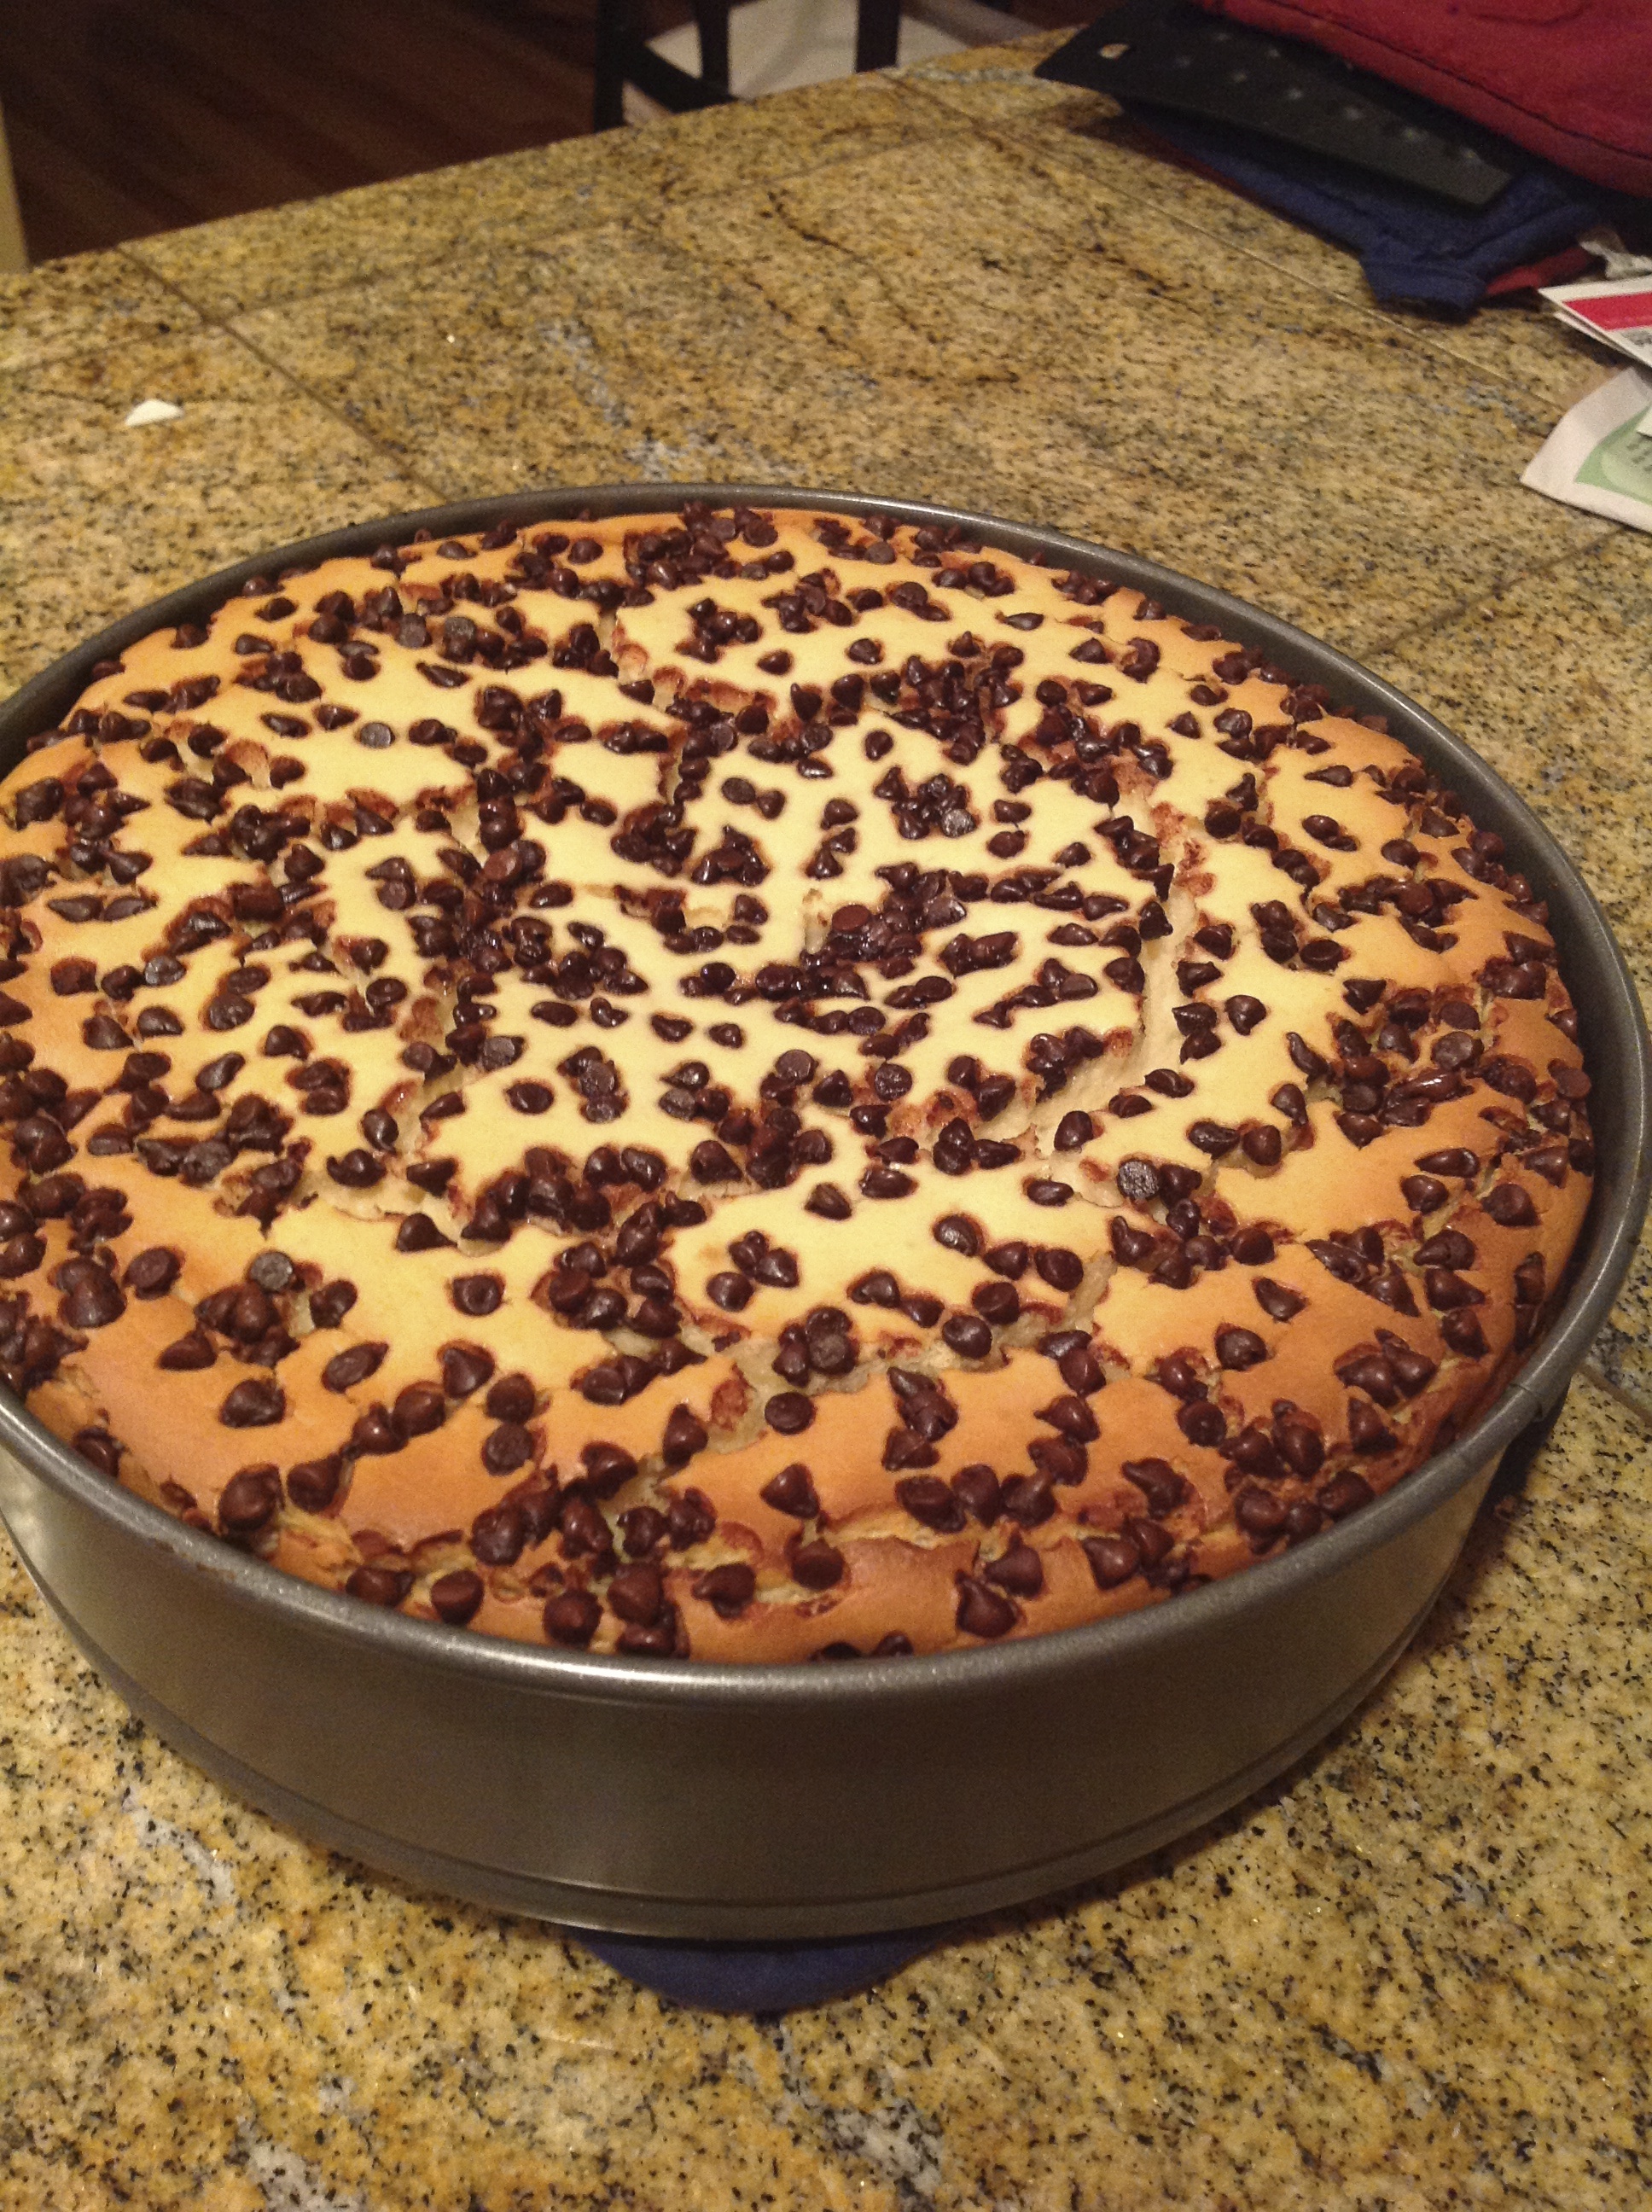
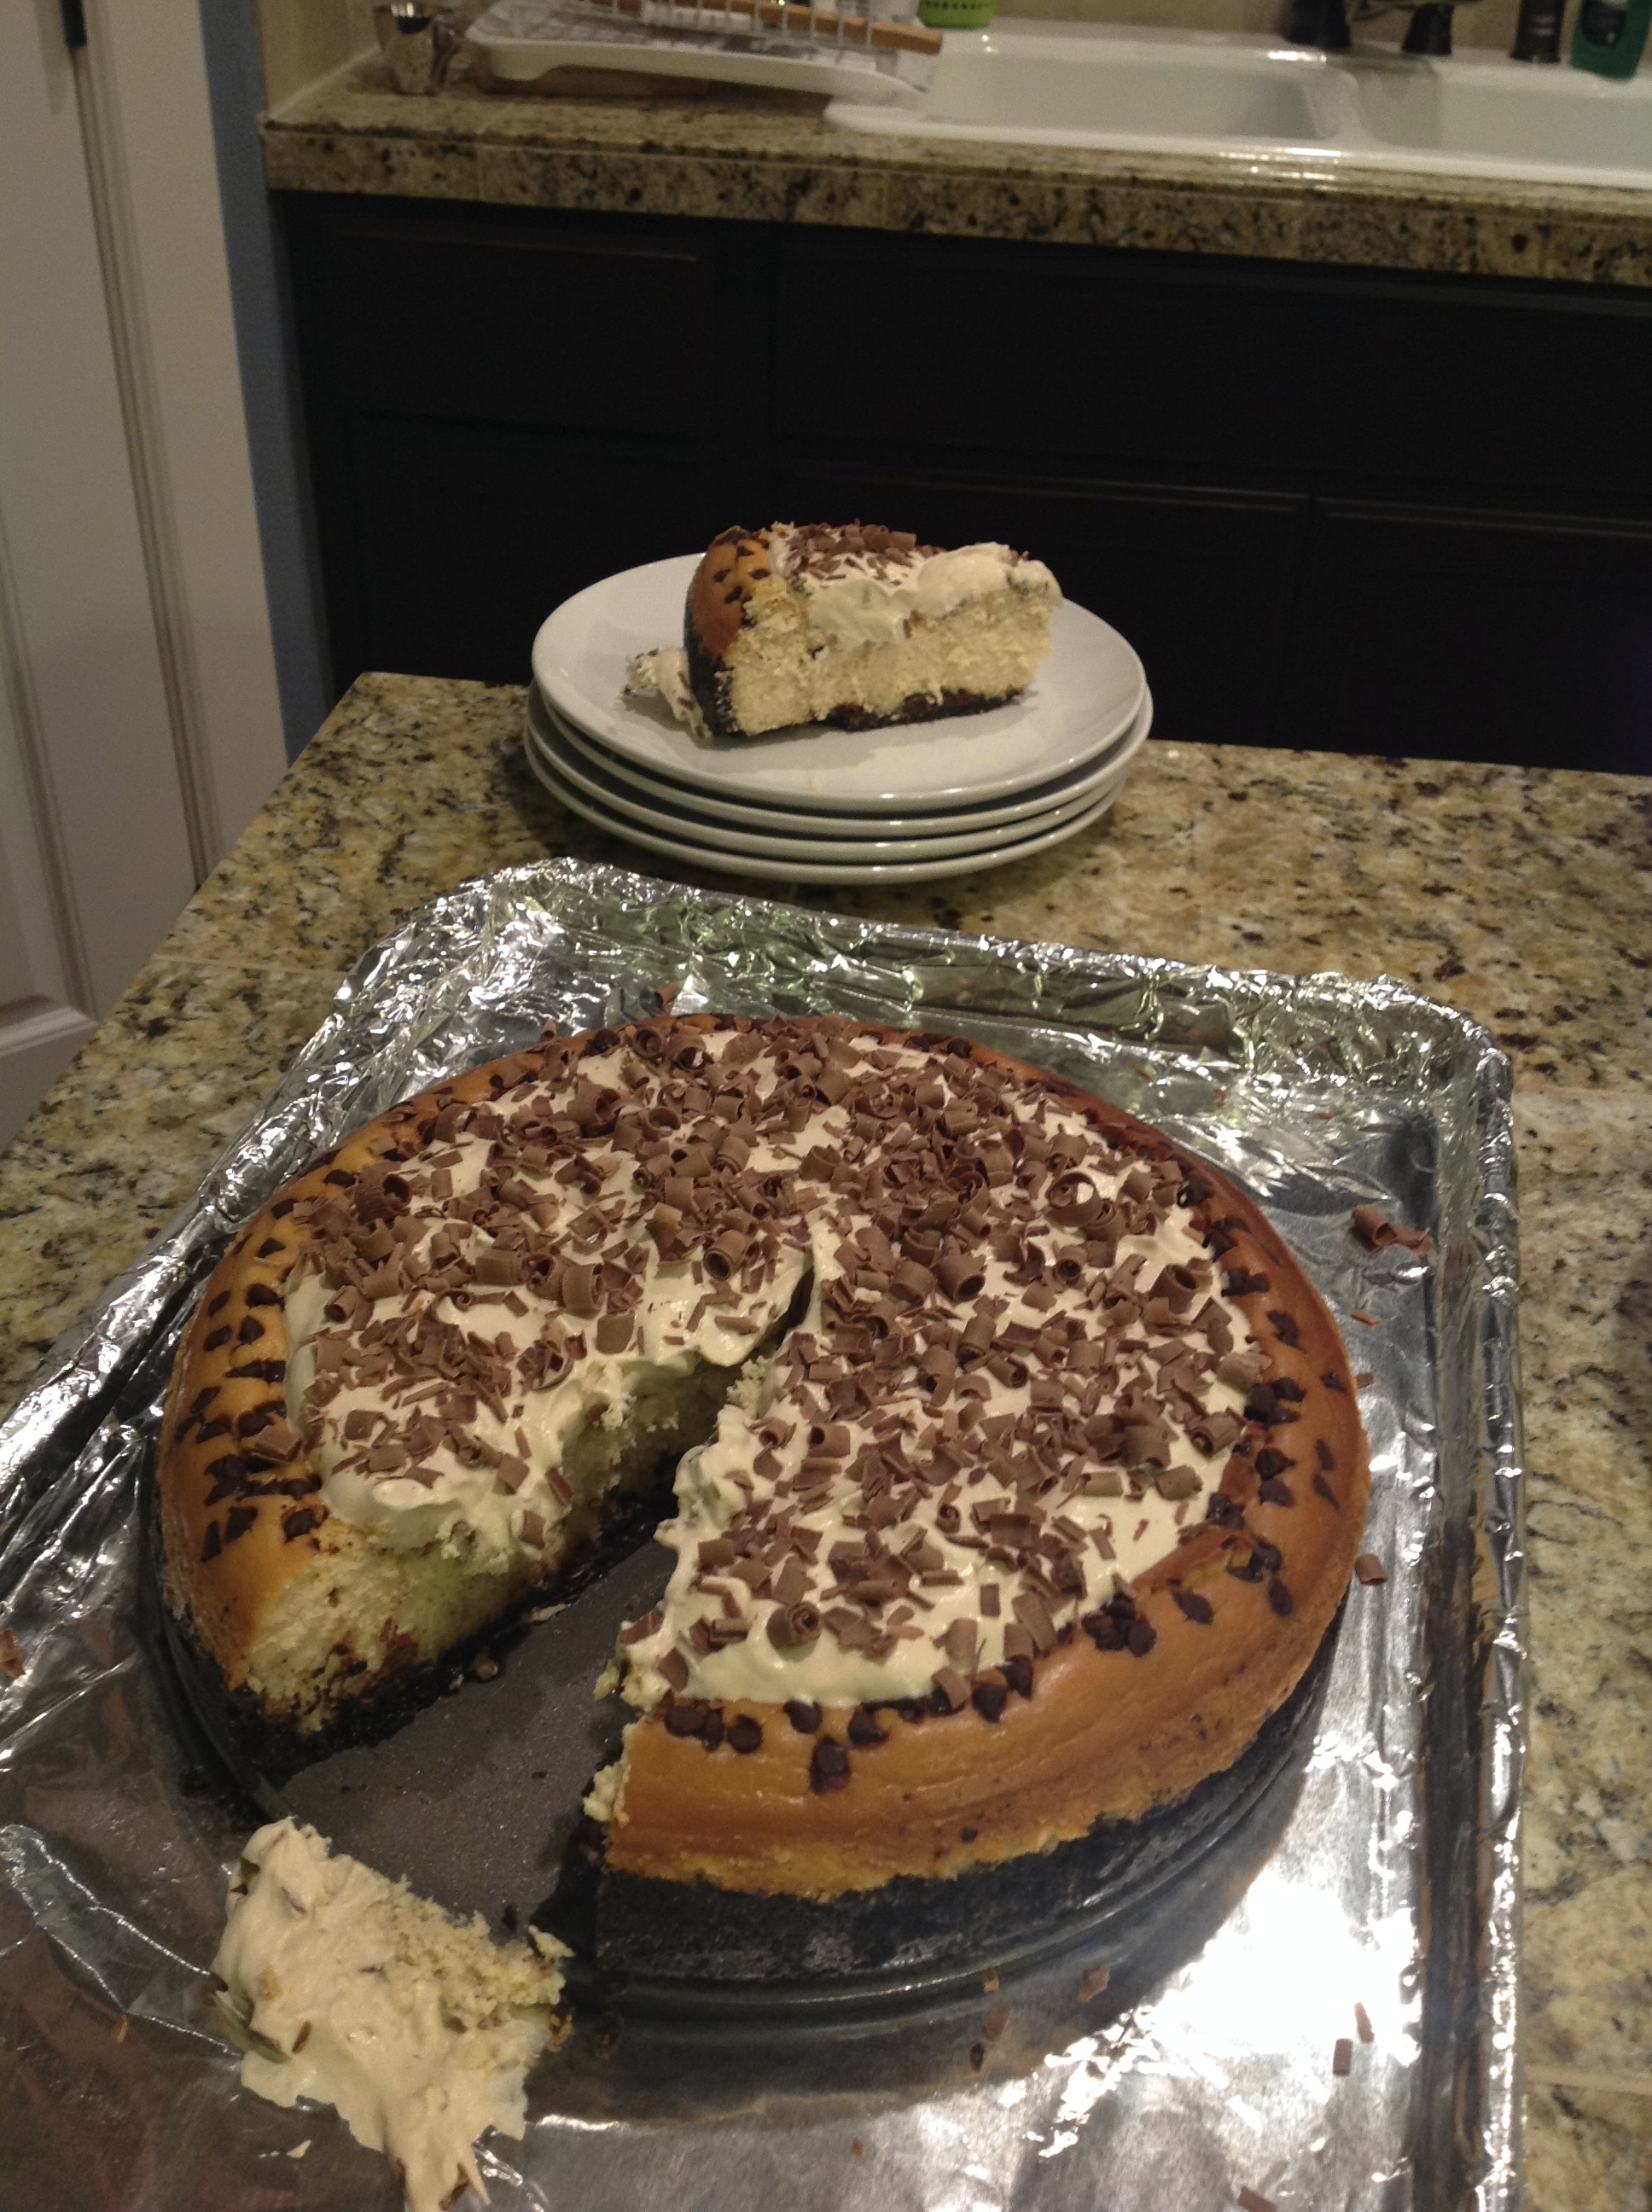
We had this cheesecake when we had St. Patricks day dinner with our friends and my goodness this was so decadent! I’m not really into baking and measuring so the Hubs did most of the “work” making this dessert. We found this recipe on food.com and it got good reviews so hubs was convinced right away! I like the Baileys part:) This was even good the next day,we gave a piece to my MIL and she really liked it too, because she requested that for her birthday this coming June.  We’ll have to make this for her! I really liked the flavor but it was too dense for me (I like my cheesecake creamy and fluffy!). Based on our family and friend’s reactions Hubs will probably make this again and this recipe is a keeper.

making of the crust!
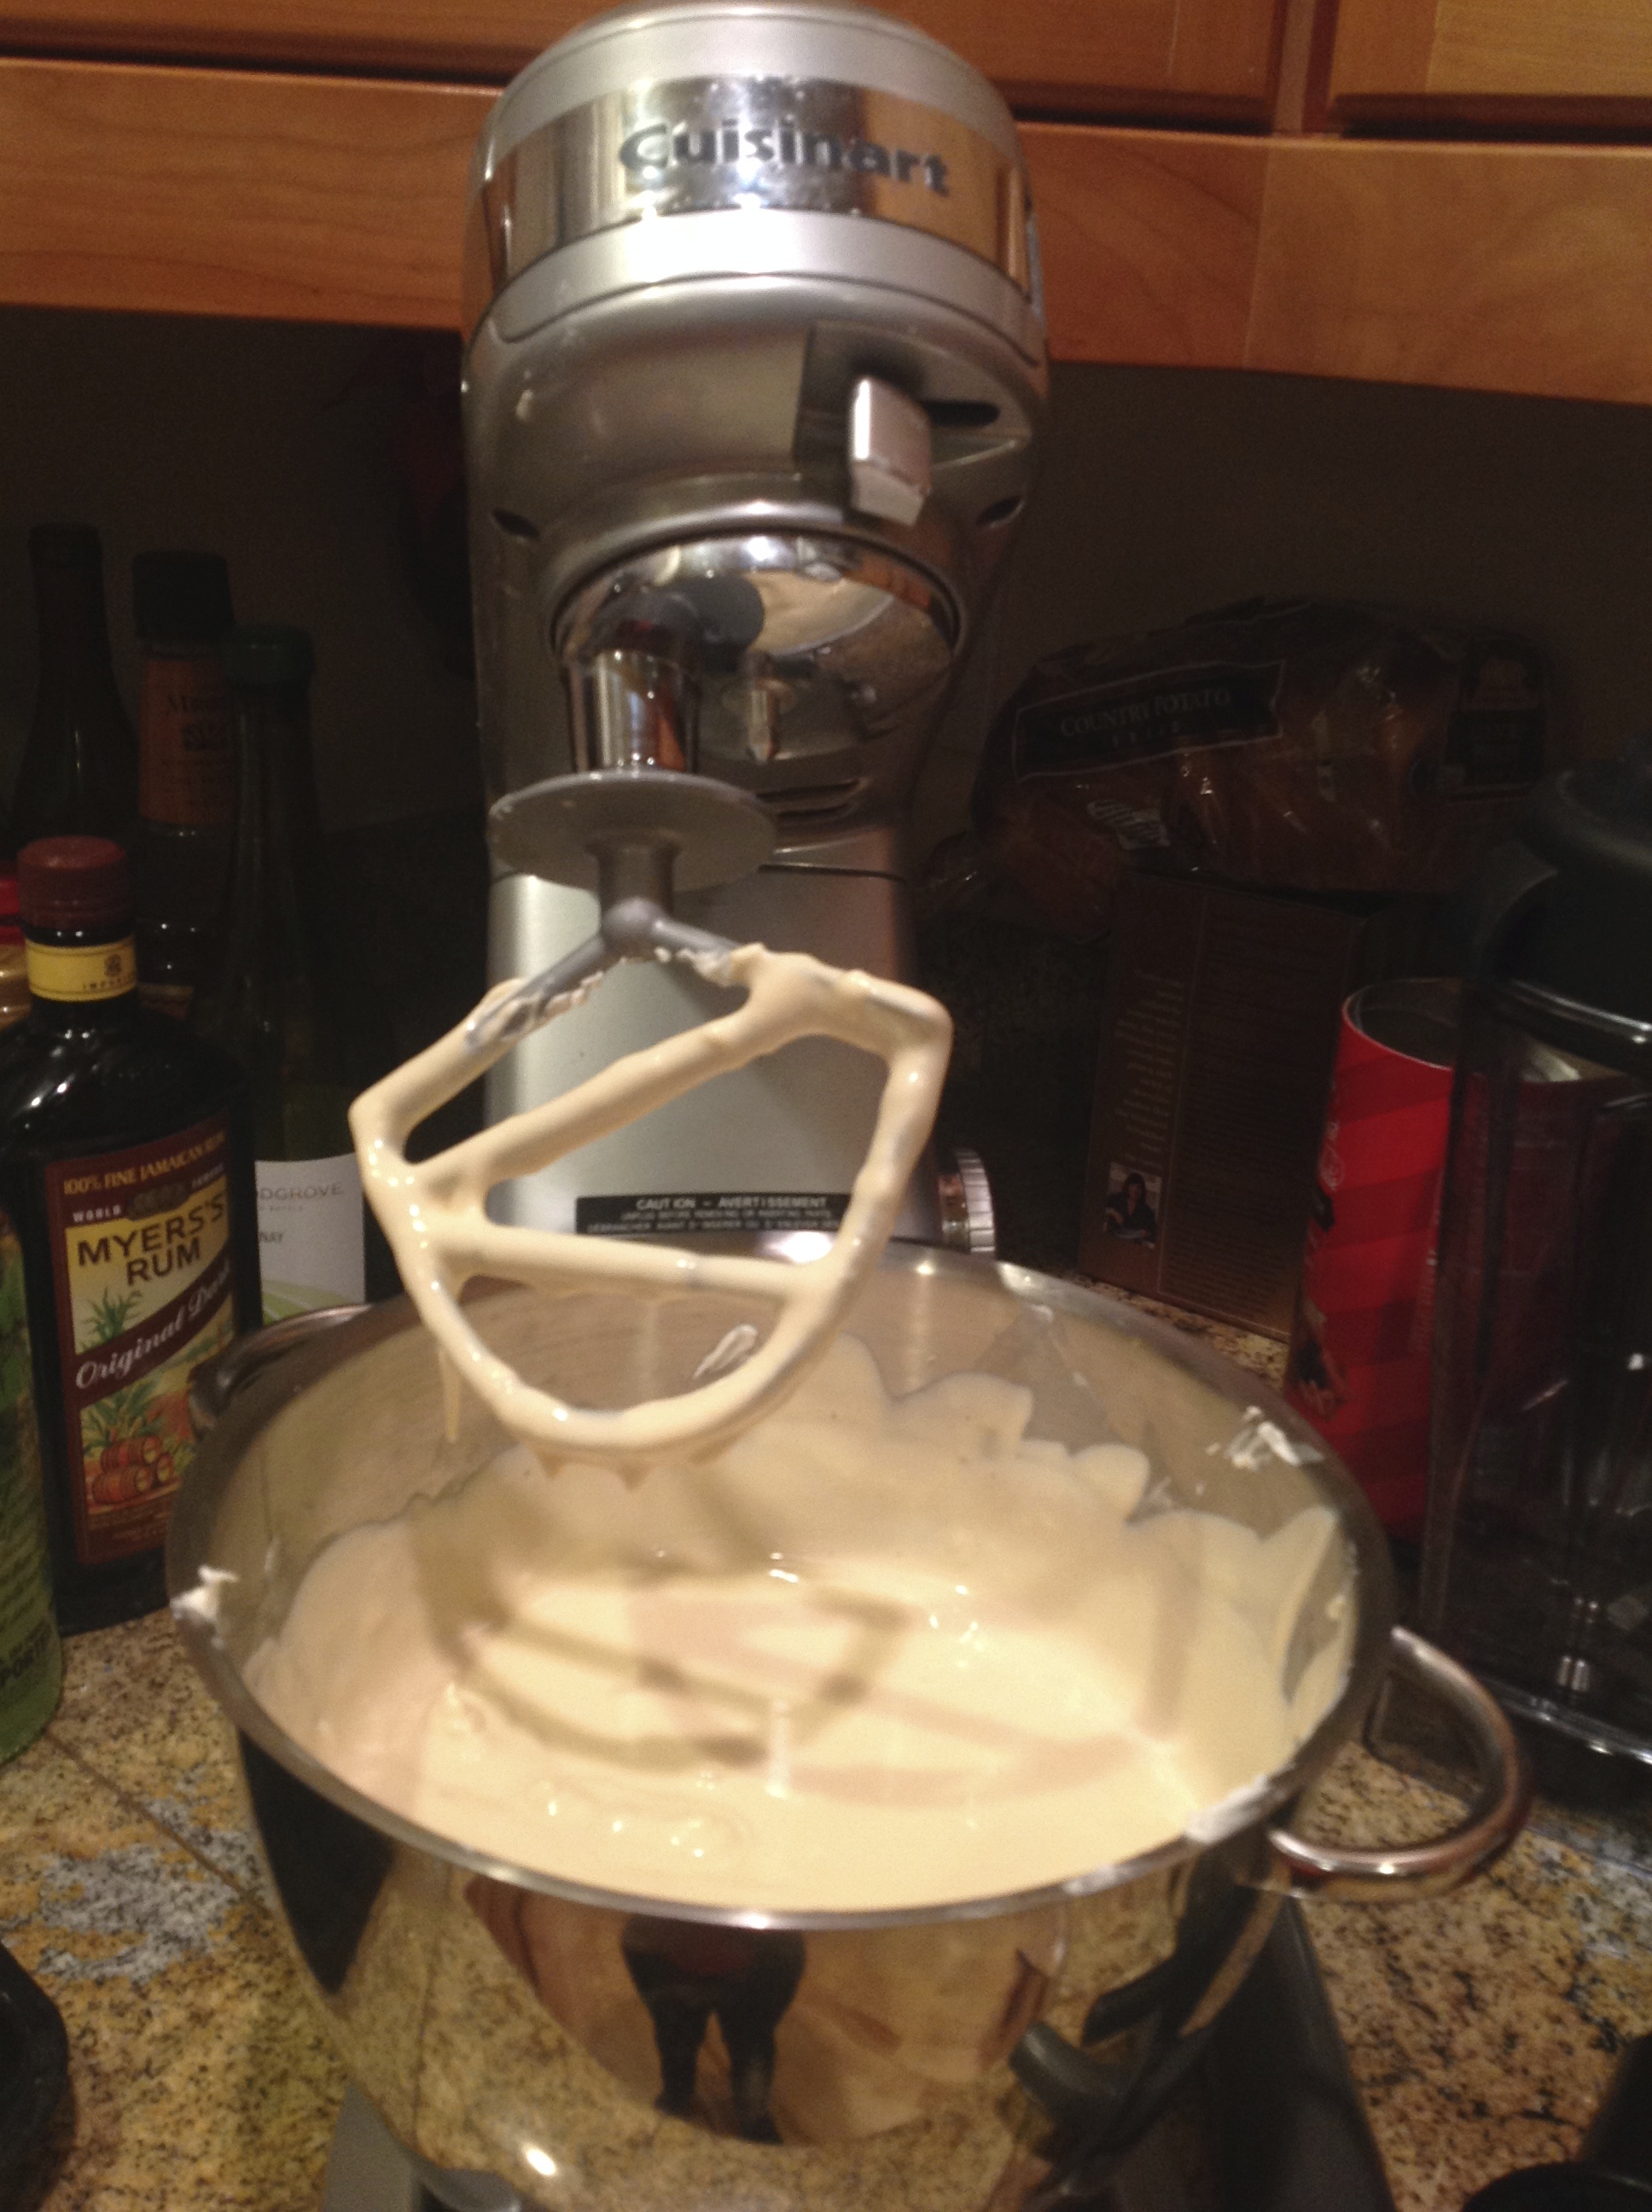
creamcheese and other yumminess!
cream cheese and other yumminess!
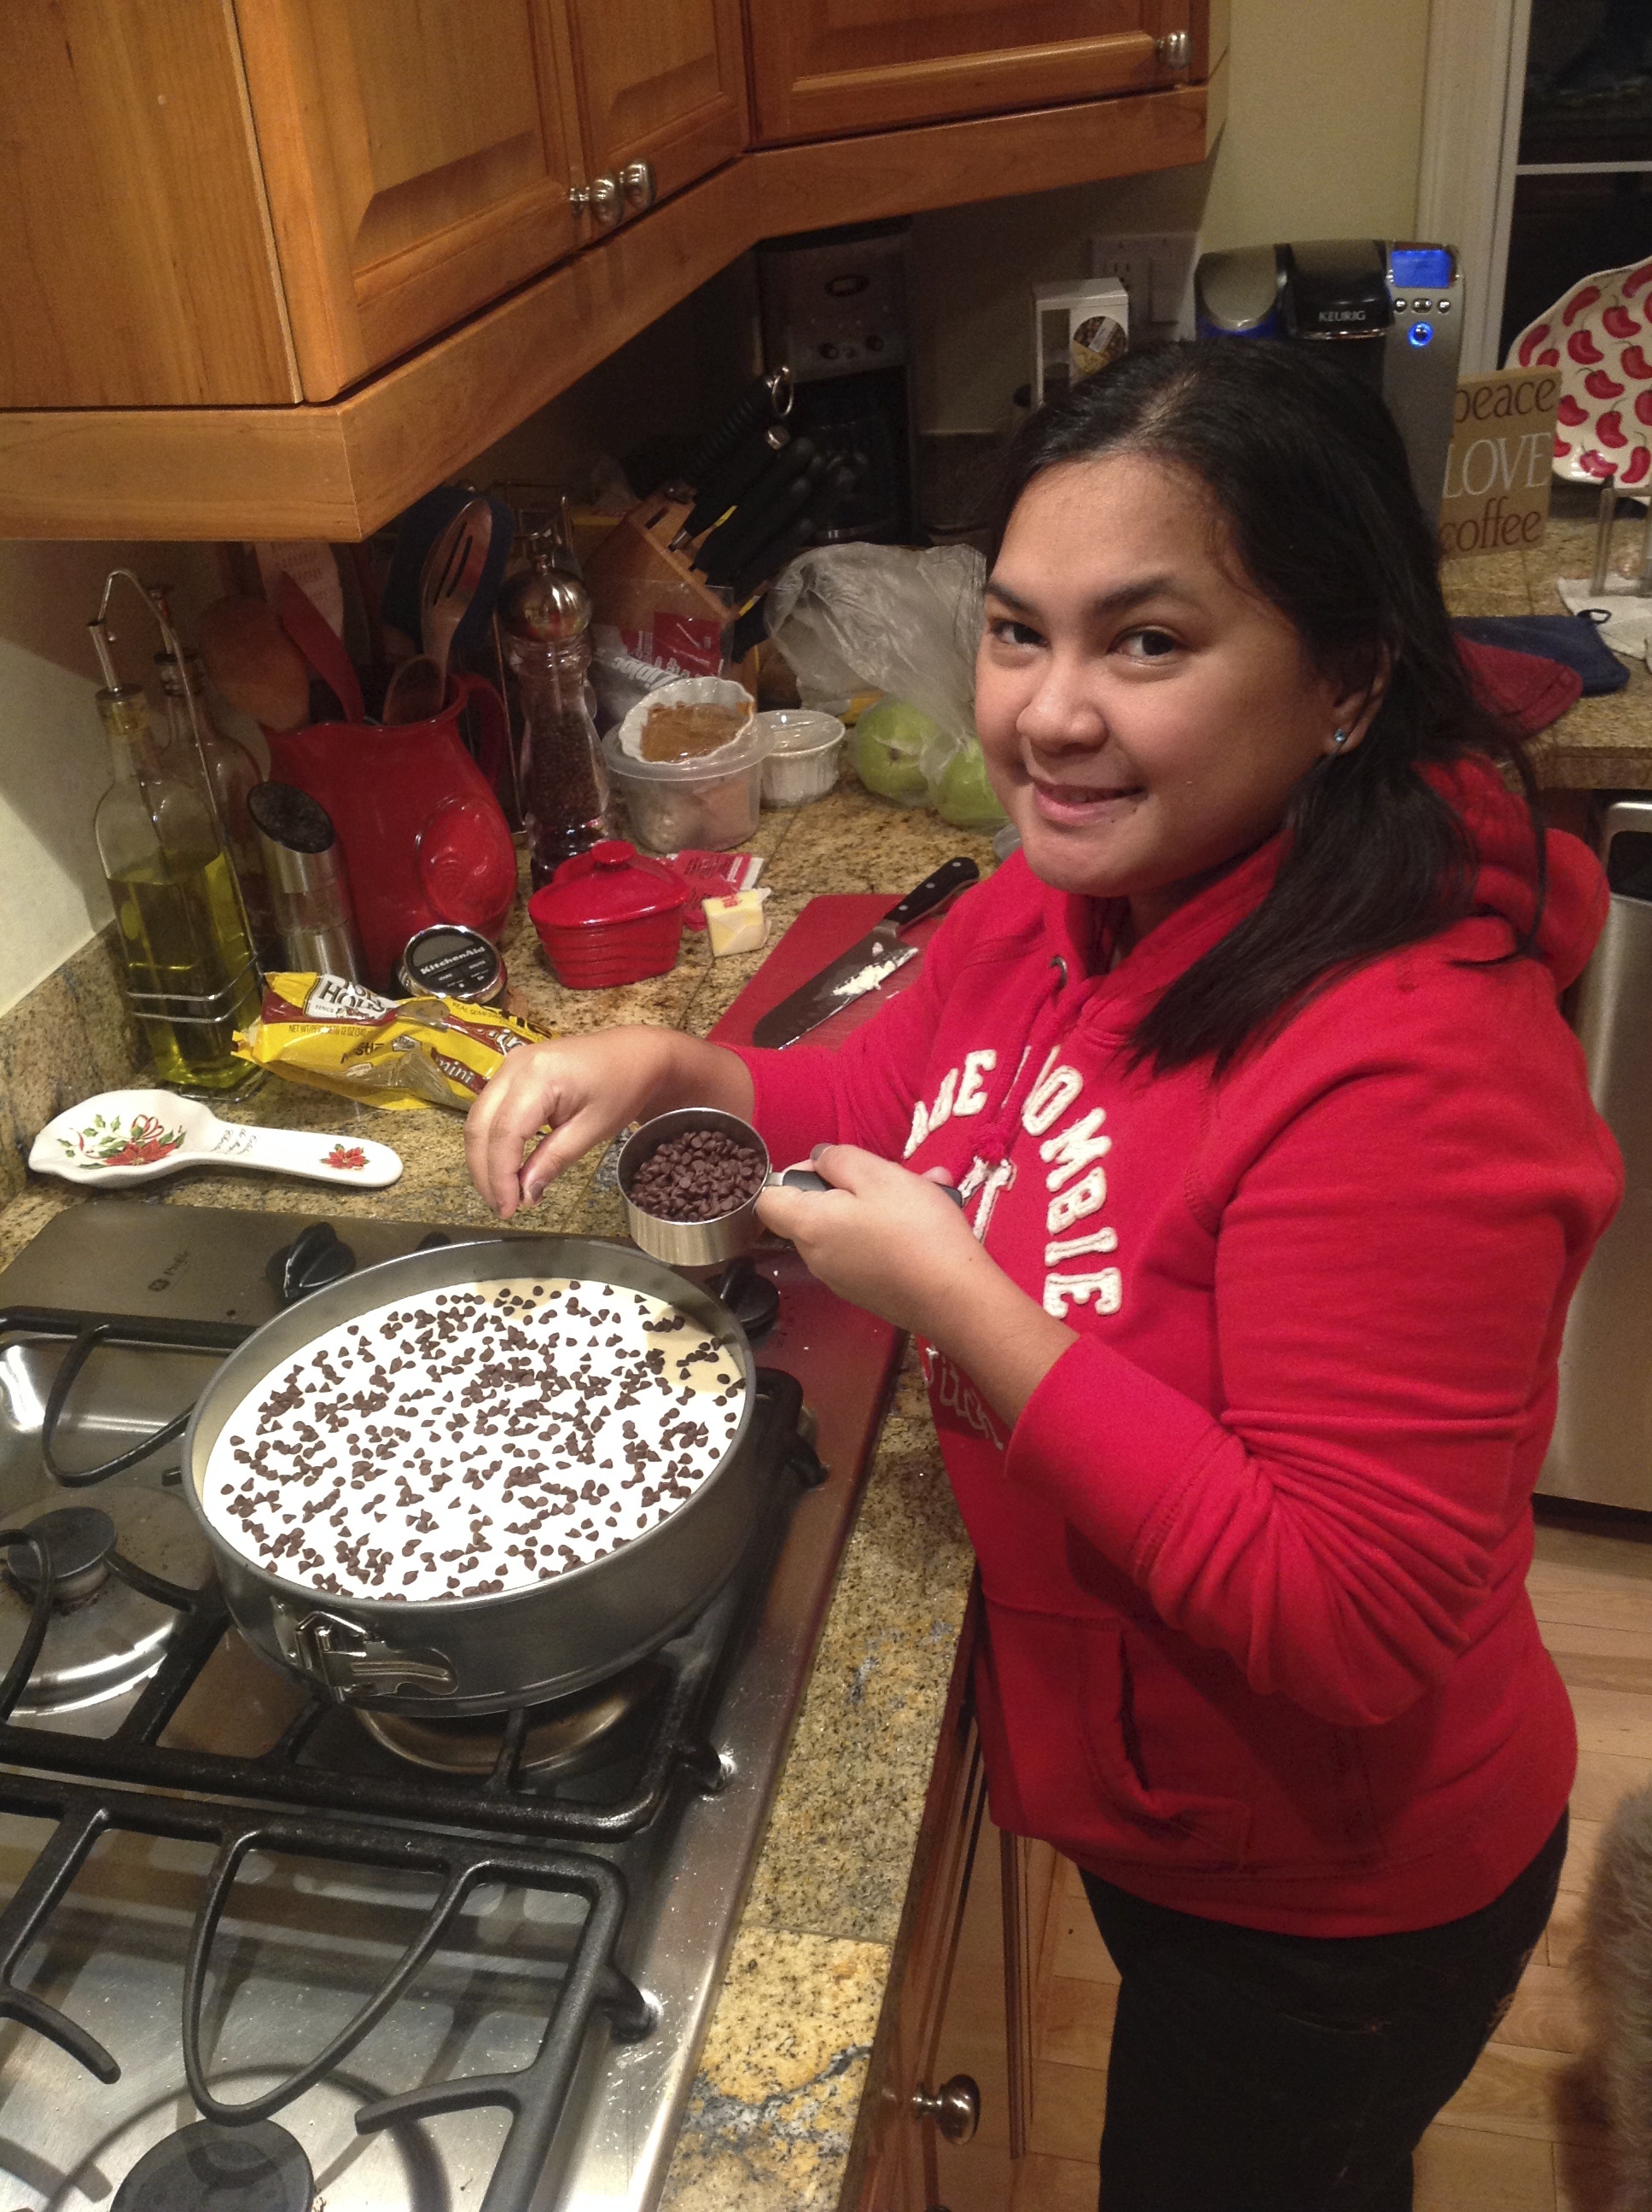
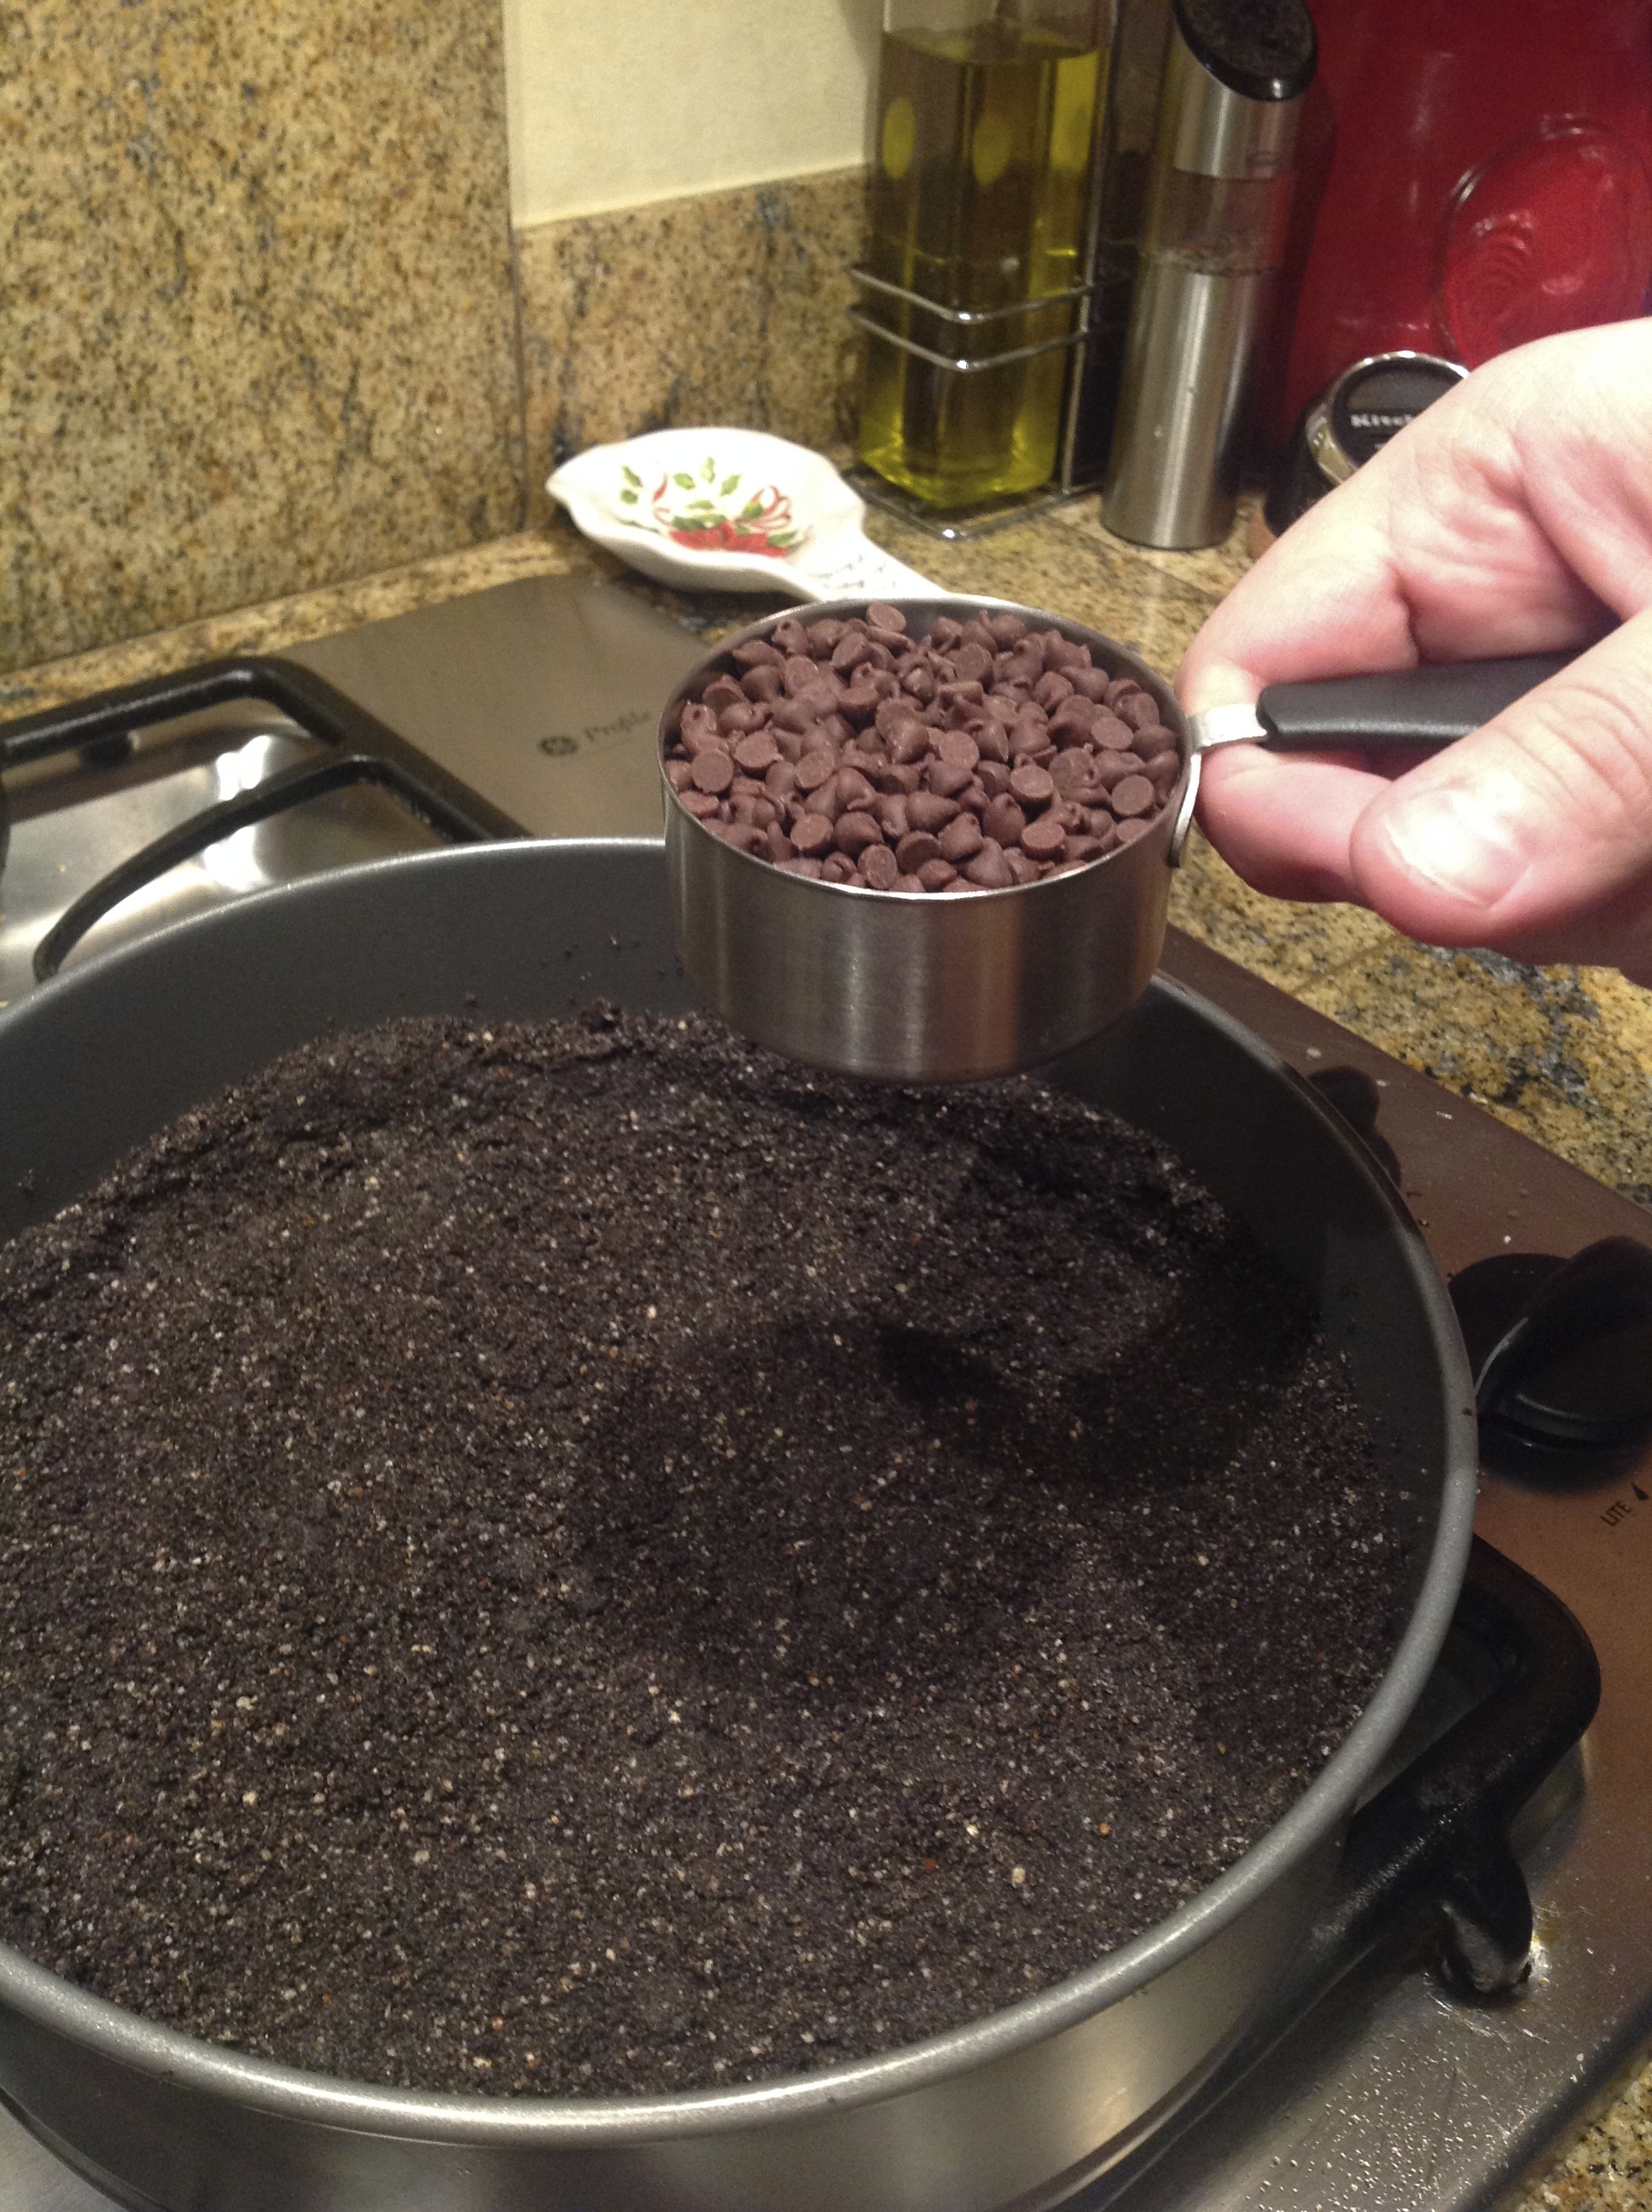
chocolate chips galore!
off to the oven it goes!
cooling off!
cooling off!
Finish product!
Finish product!

Baileys Irish Cream Chocolate Chip Cheesecake (www.food.com)

Ingredients:

Crust
1/2 cup toasted pecans, cooled and crushed
2 cups chocolate Oreo cookie crumbs
1/4 cup sugar
6 tablespoons melted butter
Filling
2 1/4 lbs cream cheese, at room temp
1 2/3 cups sugar
5 eggs, at room temp
1 cup Baileys Original Irish Cream
1 tablespoon vanilla
1 cup semi-sweet chocolate chips
Coffee Cream Topping
1 cup chilled whipping cream
2 tablespoons sugar
1 teaspoon instant coffee powder
chocolate curls or Skor English toffee bit, for decoration on top


Directions:

Crust:.
Mix all ingredients.
Press into a 10″ spring form pan and up the sides one inch.
Bake at 325 for 7-10 minute.

Filling:.
Beat cream cheese with electric mixer until smooth.
Beat sugar in gradually, and then add eggs one at a time.
Blend in Bailey’s and vanilla.
Sprinkle half of chocolate chips over crust.
Spoon in filling.
Sprinkle with remaining chocolate chips.
Bake at 325 degrees approximately 1 hour and 20 minutes or until puffed, springy in center and golden brown.

Place a pan of water on bottom rack of oven while baking to keep it moist. Cool cake completely.
Coffee Cream Topping:

Beat all ingredients and spread over cooled cake.

Top with chocolate curls or Skor bits.

*NOTE: Be sure to make and refrigerate at least one day before serving.


Recent Dishes!

It’s been a while since I posted here, we’ve been busy around here. Riley (our mini schnauzer) had an ear infection and we had to bring him to the vet.  He’s doing so much better now and I’m just so glad he’s back to his normal happy self. I also started my Women Bible study every Tuesday morning, we are studying Gideon (based from the Book of Judges) by Priscilla Shirer! Zach and I also have a Bible study every Monday evening at our friends house.

One of my goals this new year is to cook more dishes at home, and to try new recipes and dishes that me and my Hubs will like. I have a lot of cooking magazines so getting inspiration is not a problem! I’ve been meal planning since last year but this new year I will really try to stick to it because it makes my life easy (knowing what we’ll be eating for the week) and saves money and time. Here’s what I’ve been cooking lately:

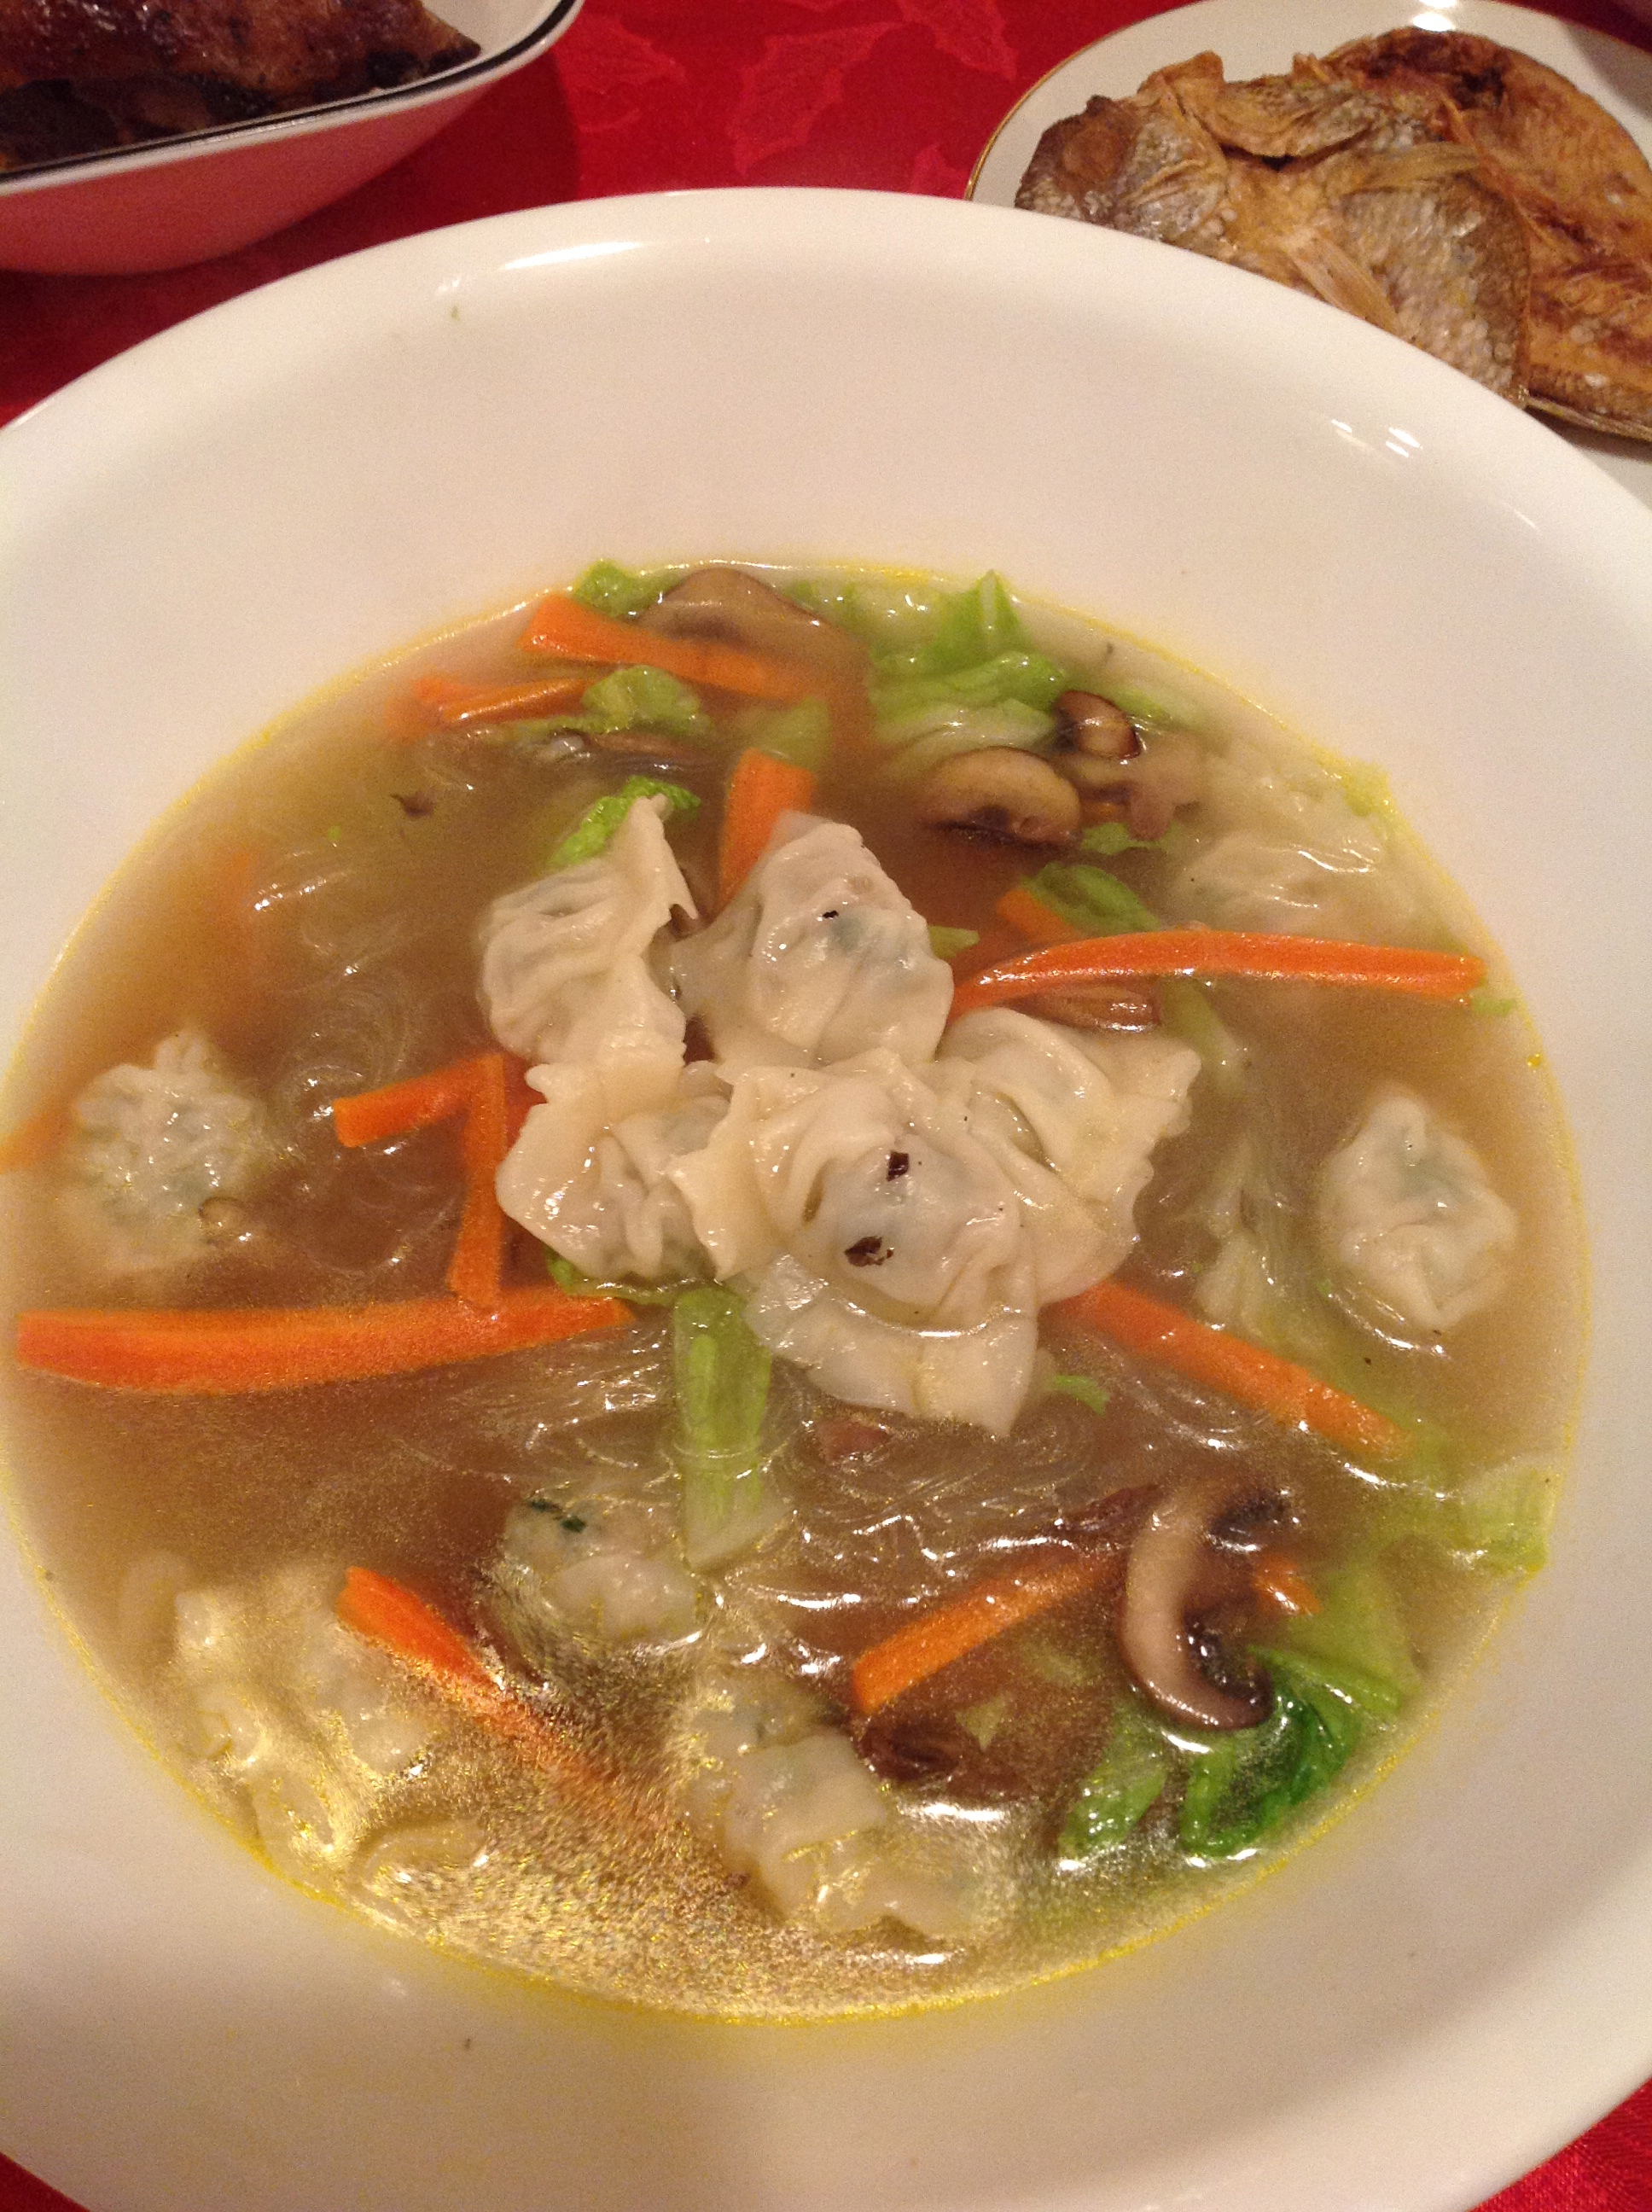
Wonton soup
Wonton soup
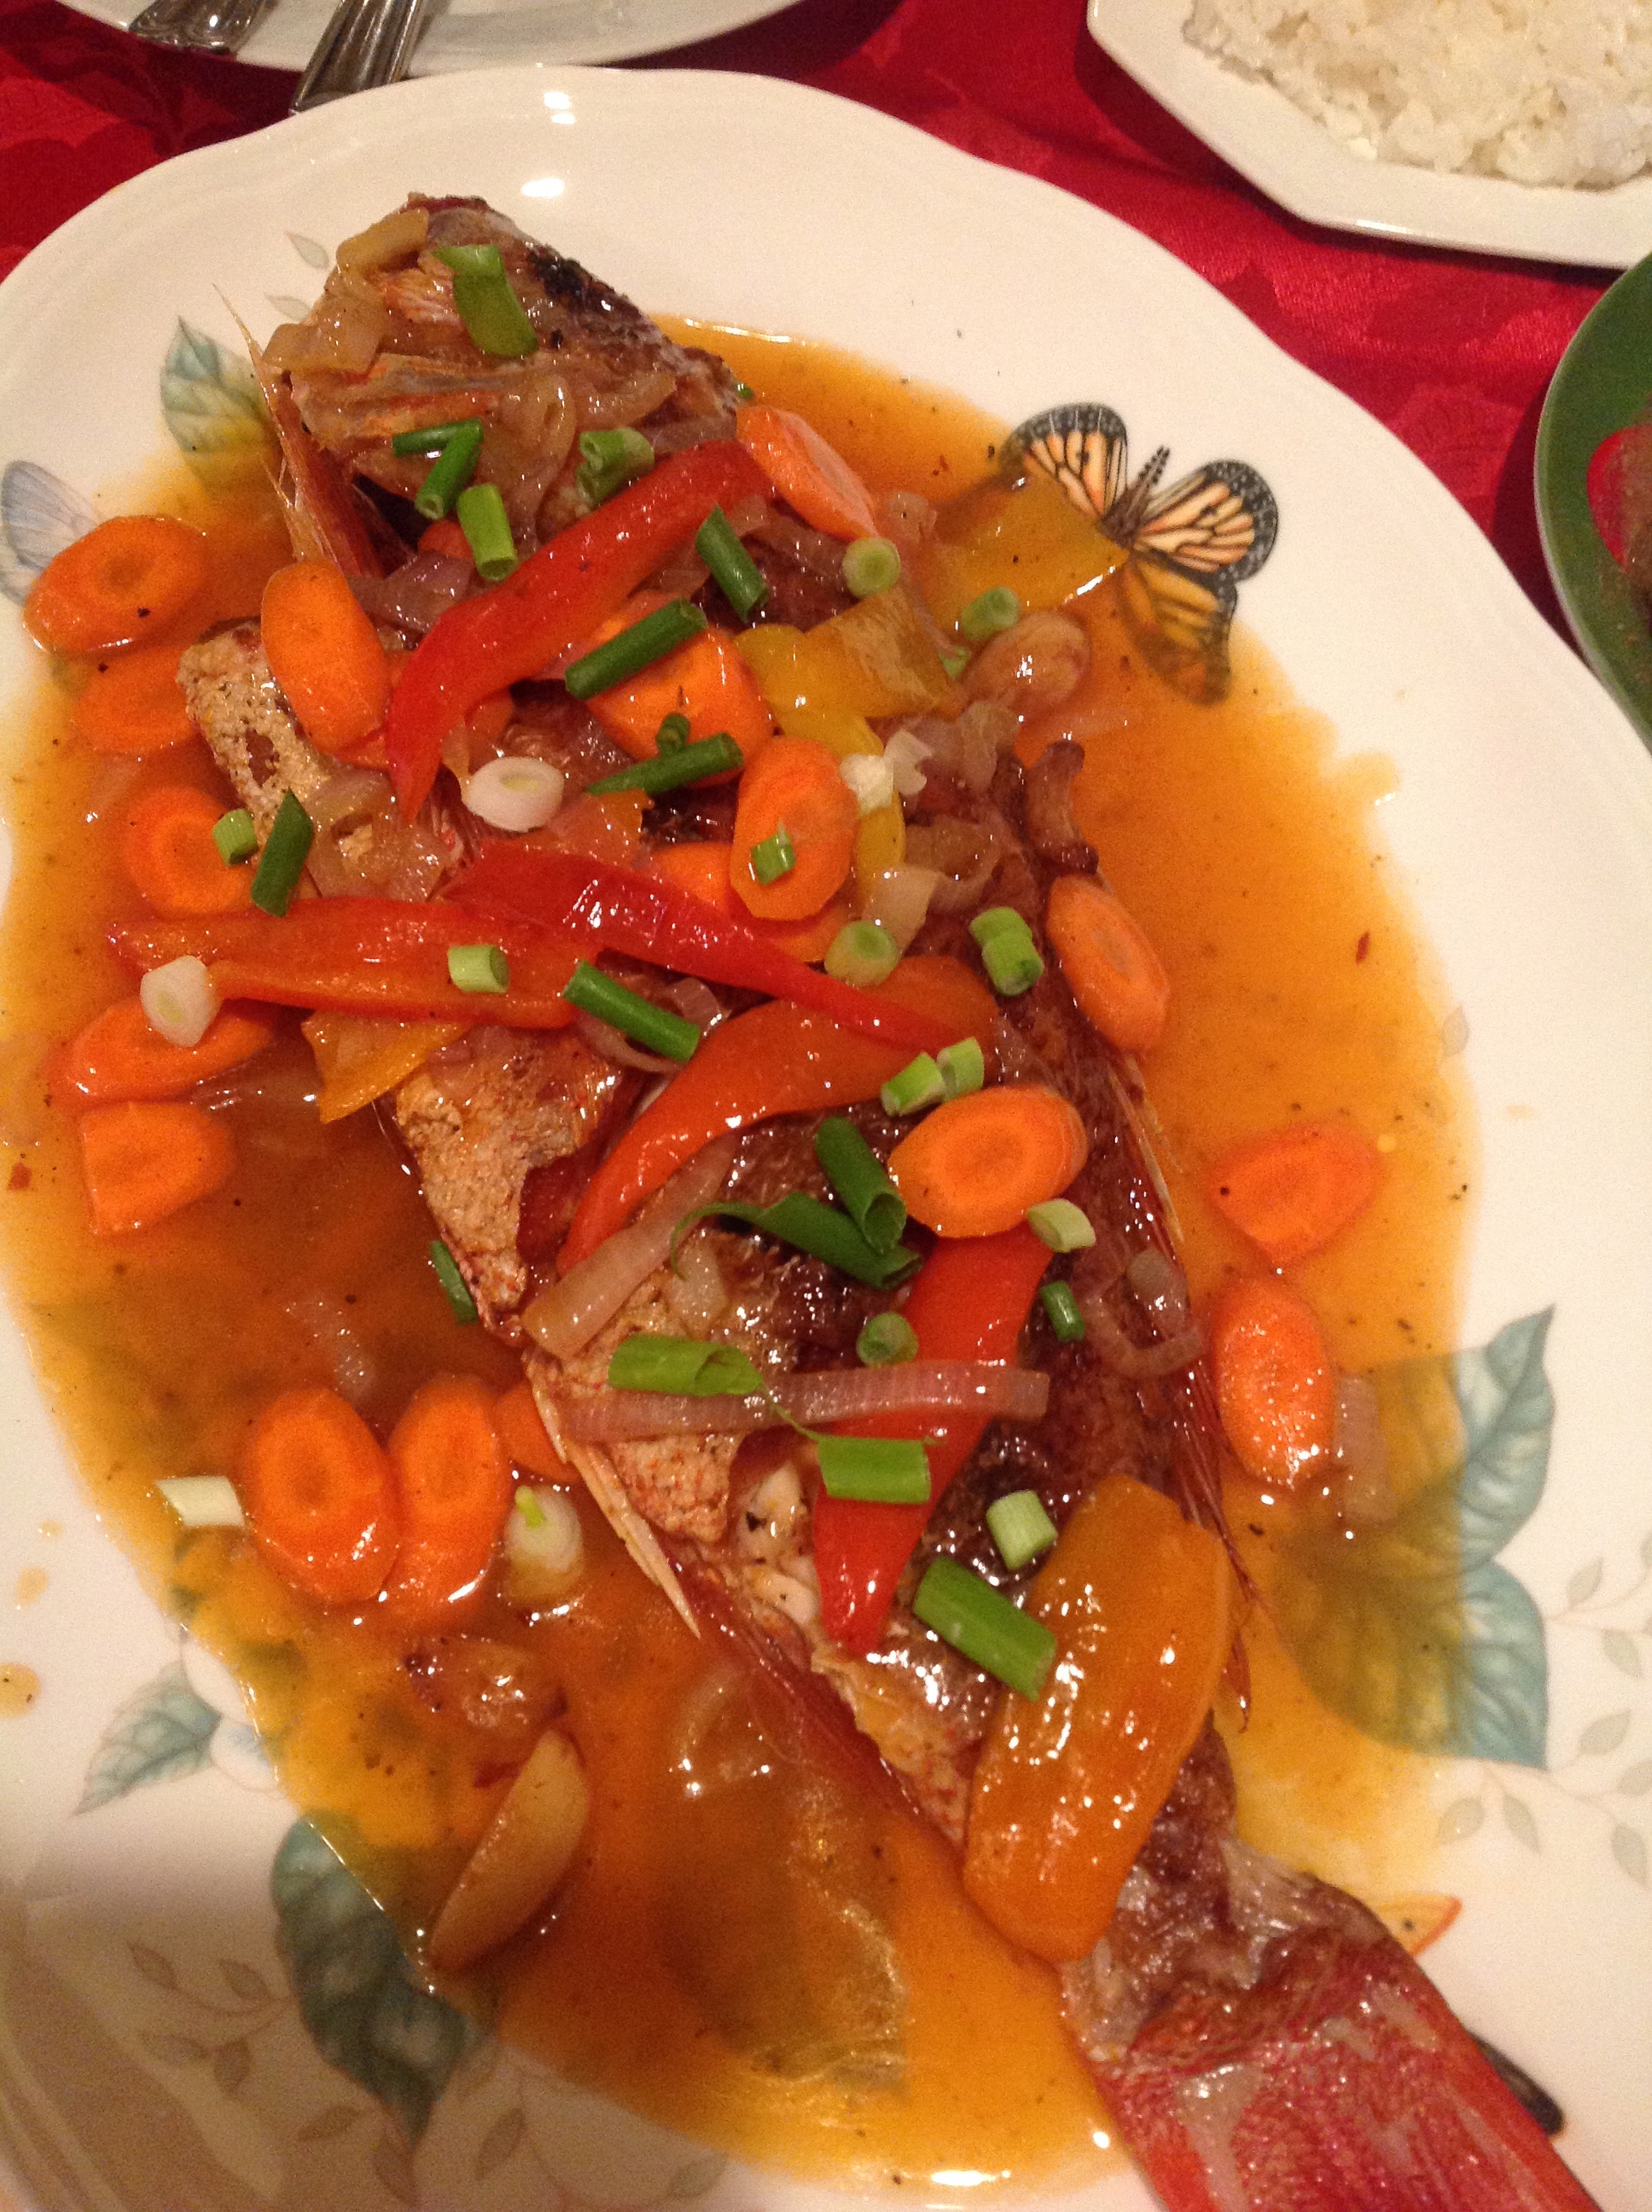
sweet and sour fish(escabeche);I use Red Snapper
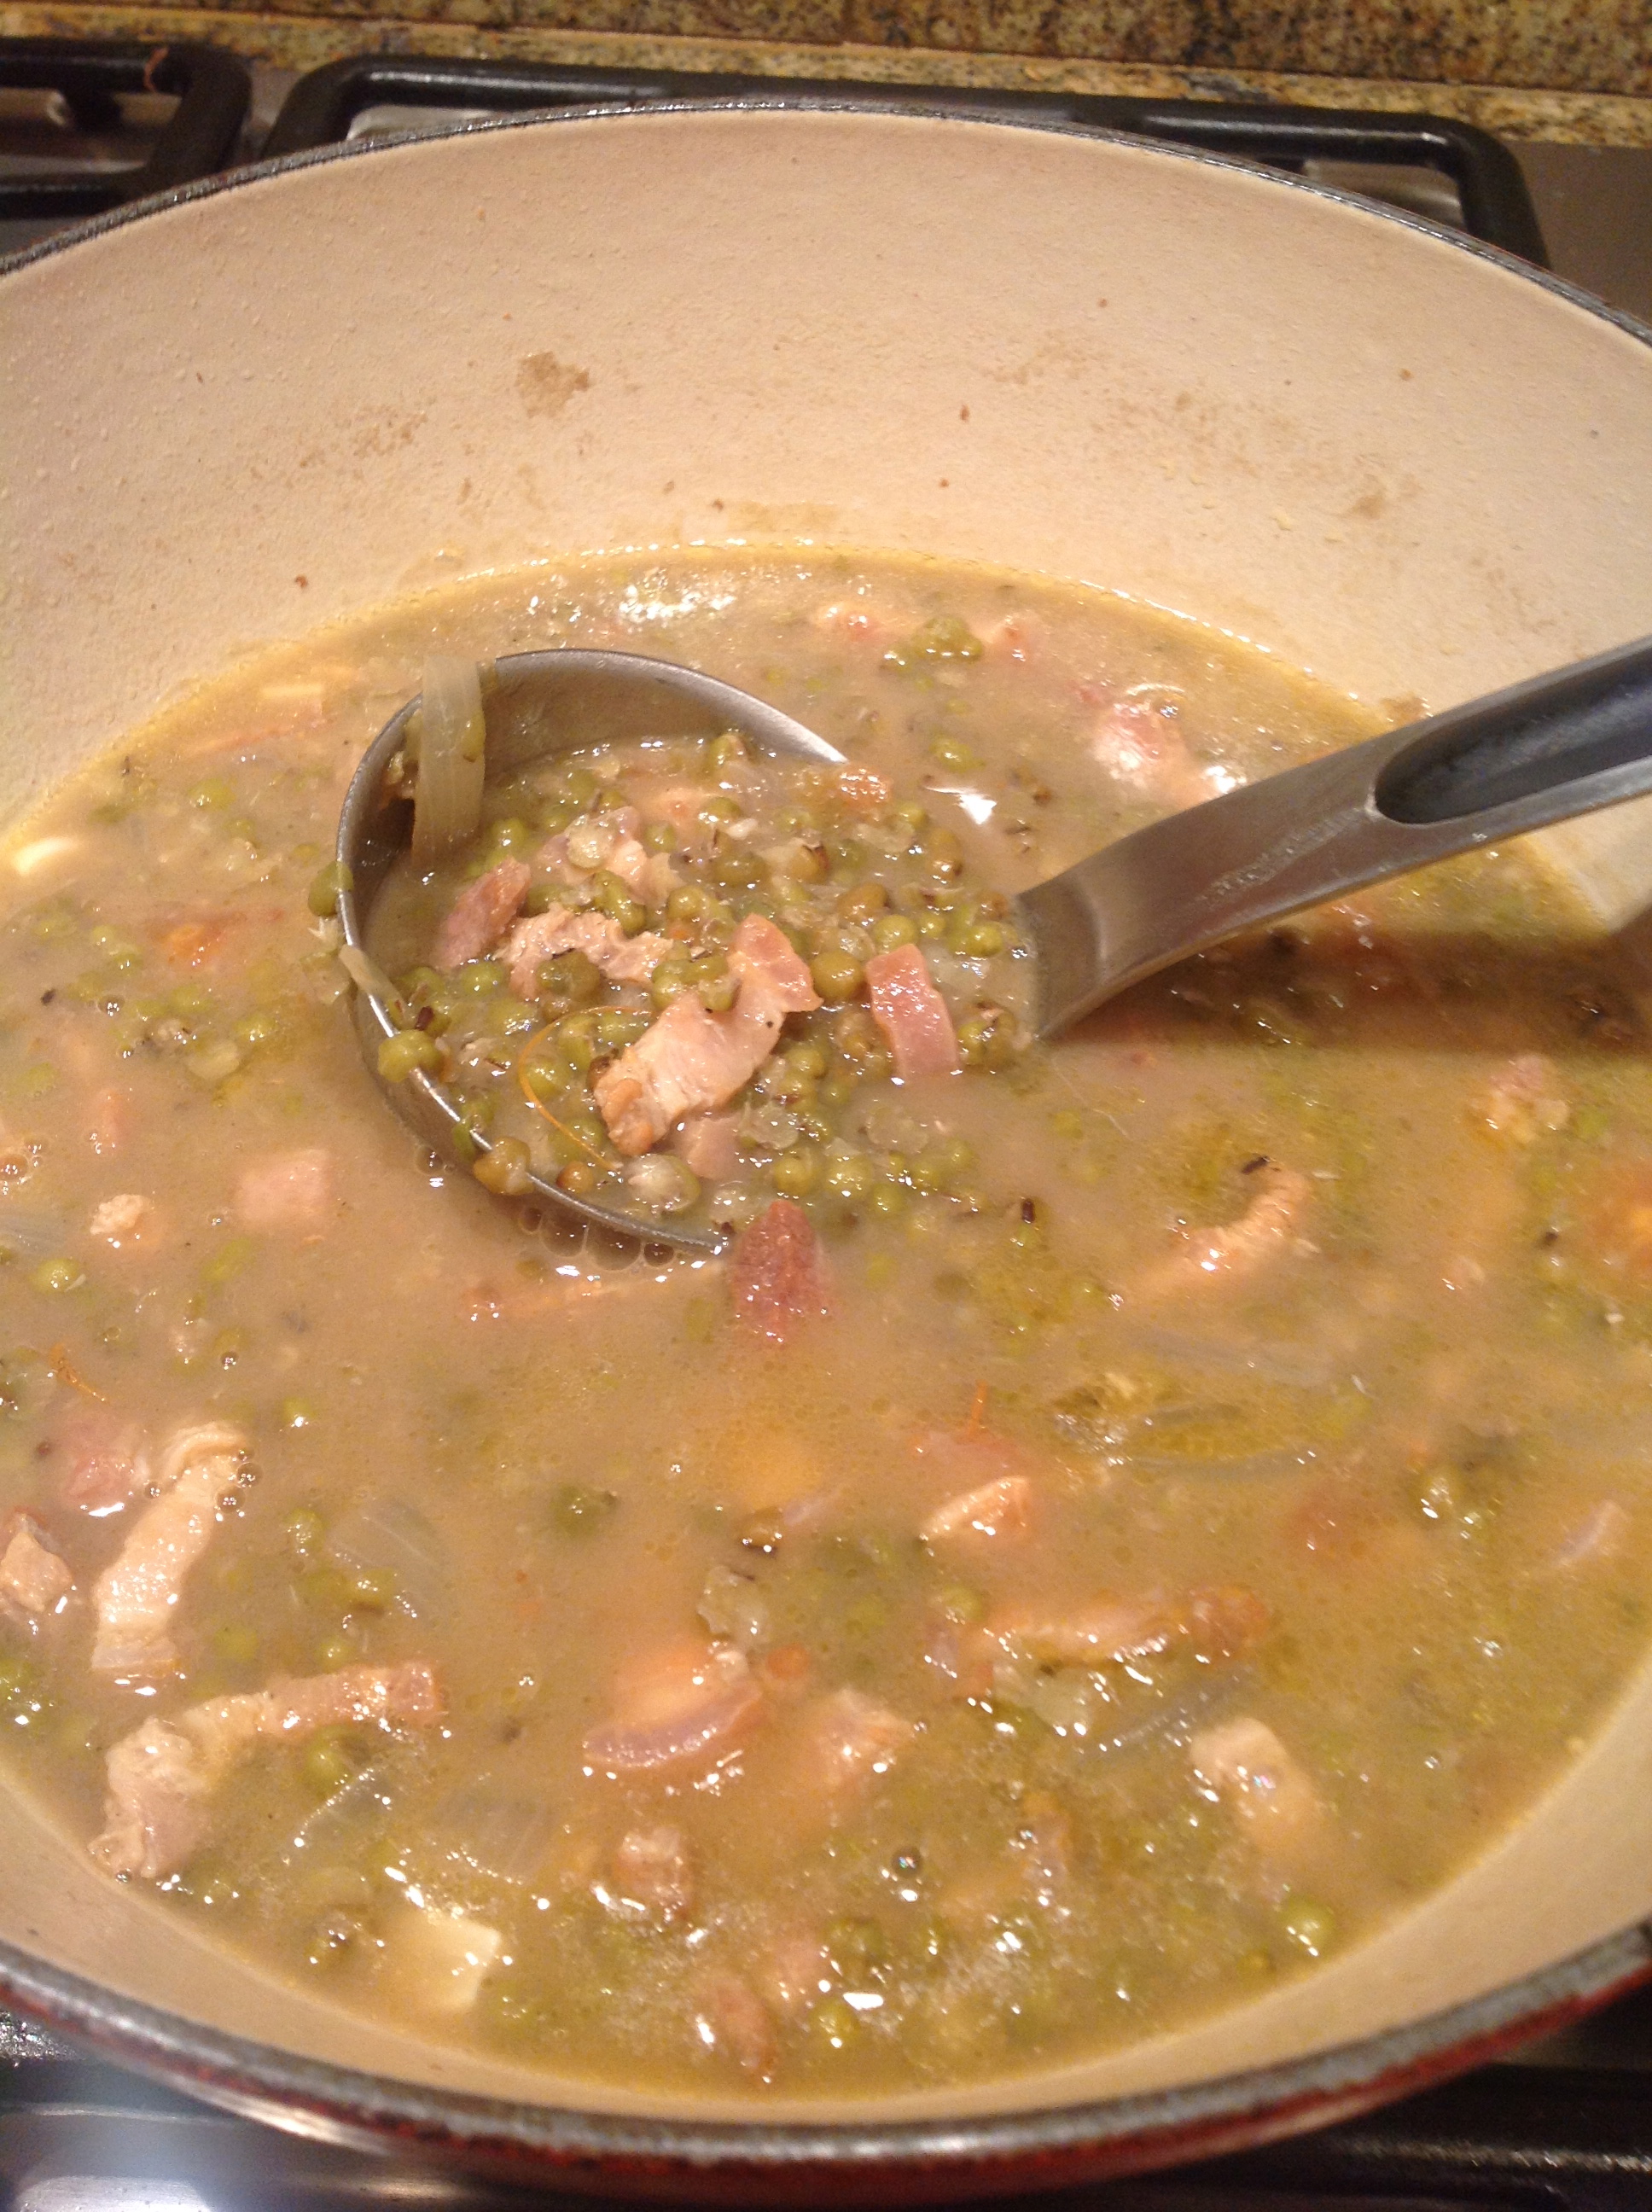
mung bean soup with prok belly(monggos)
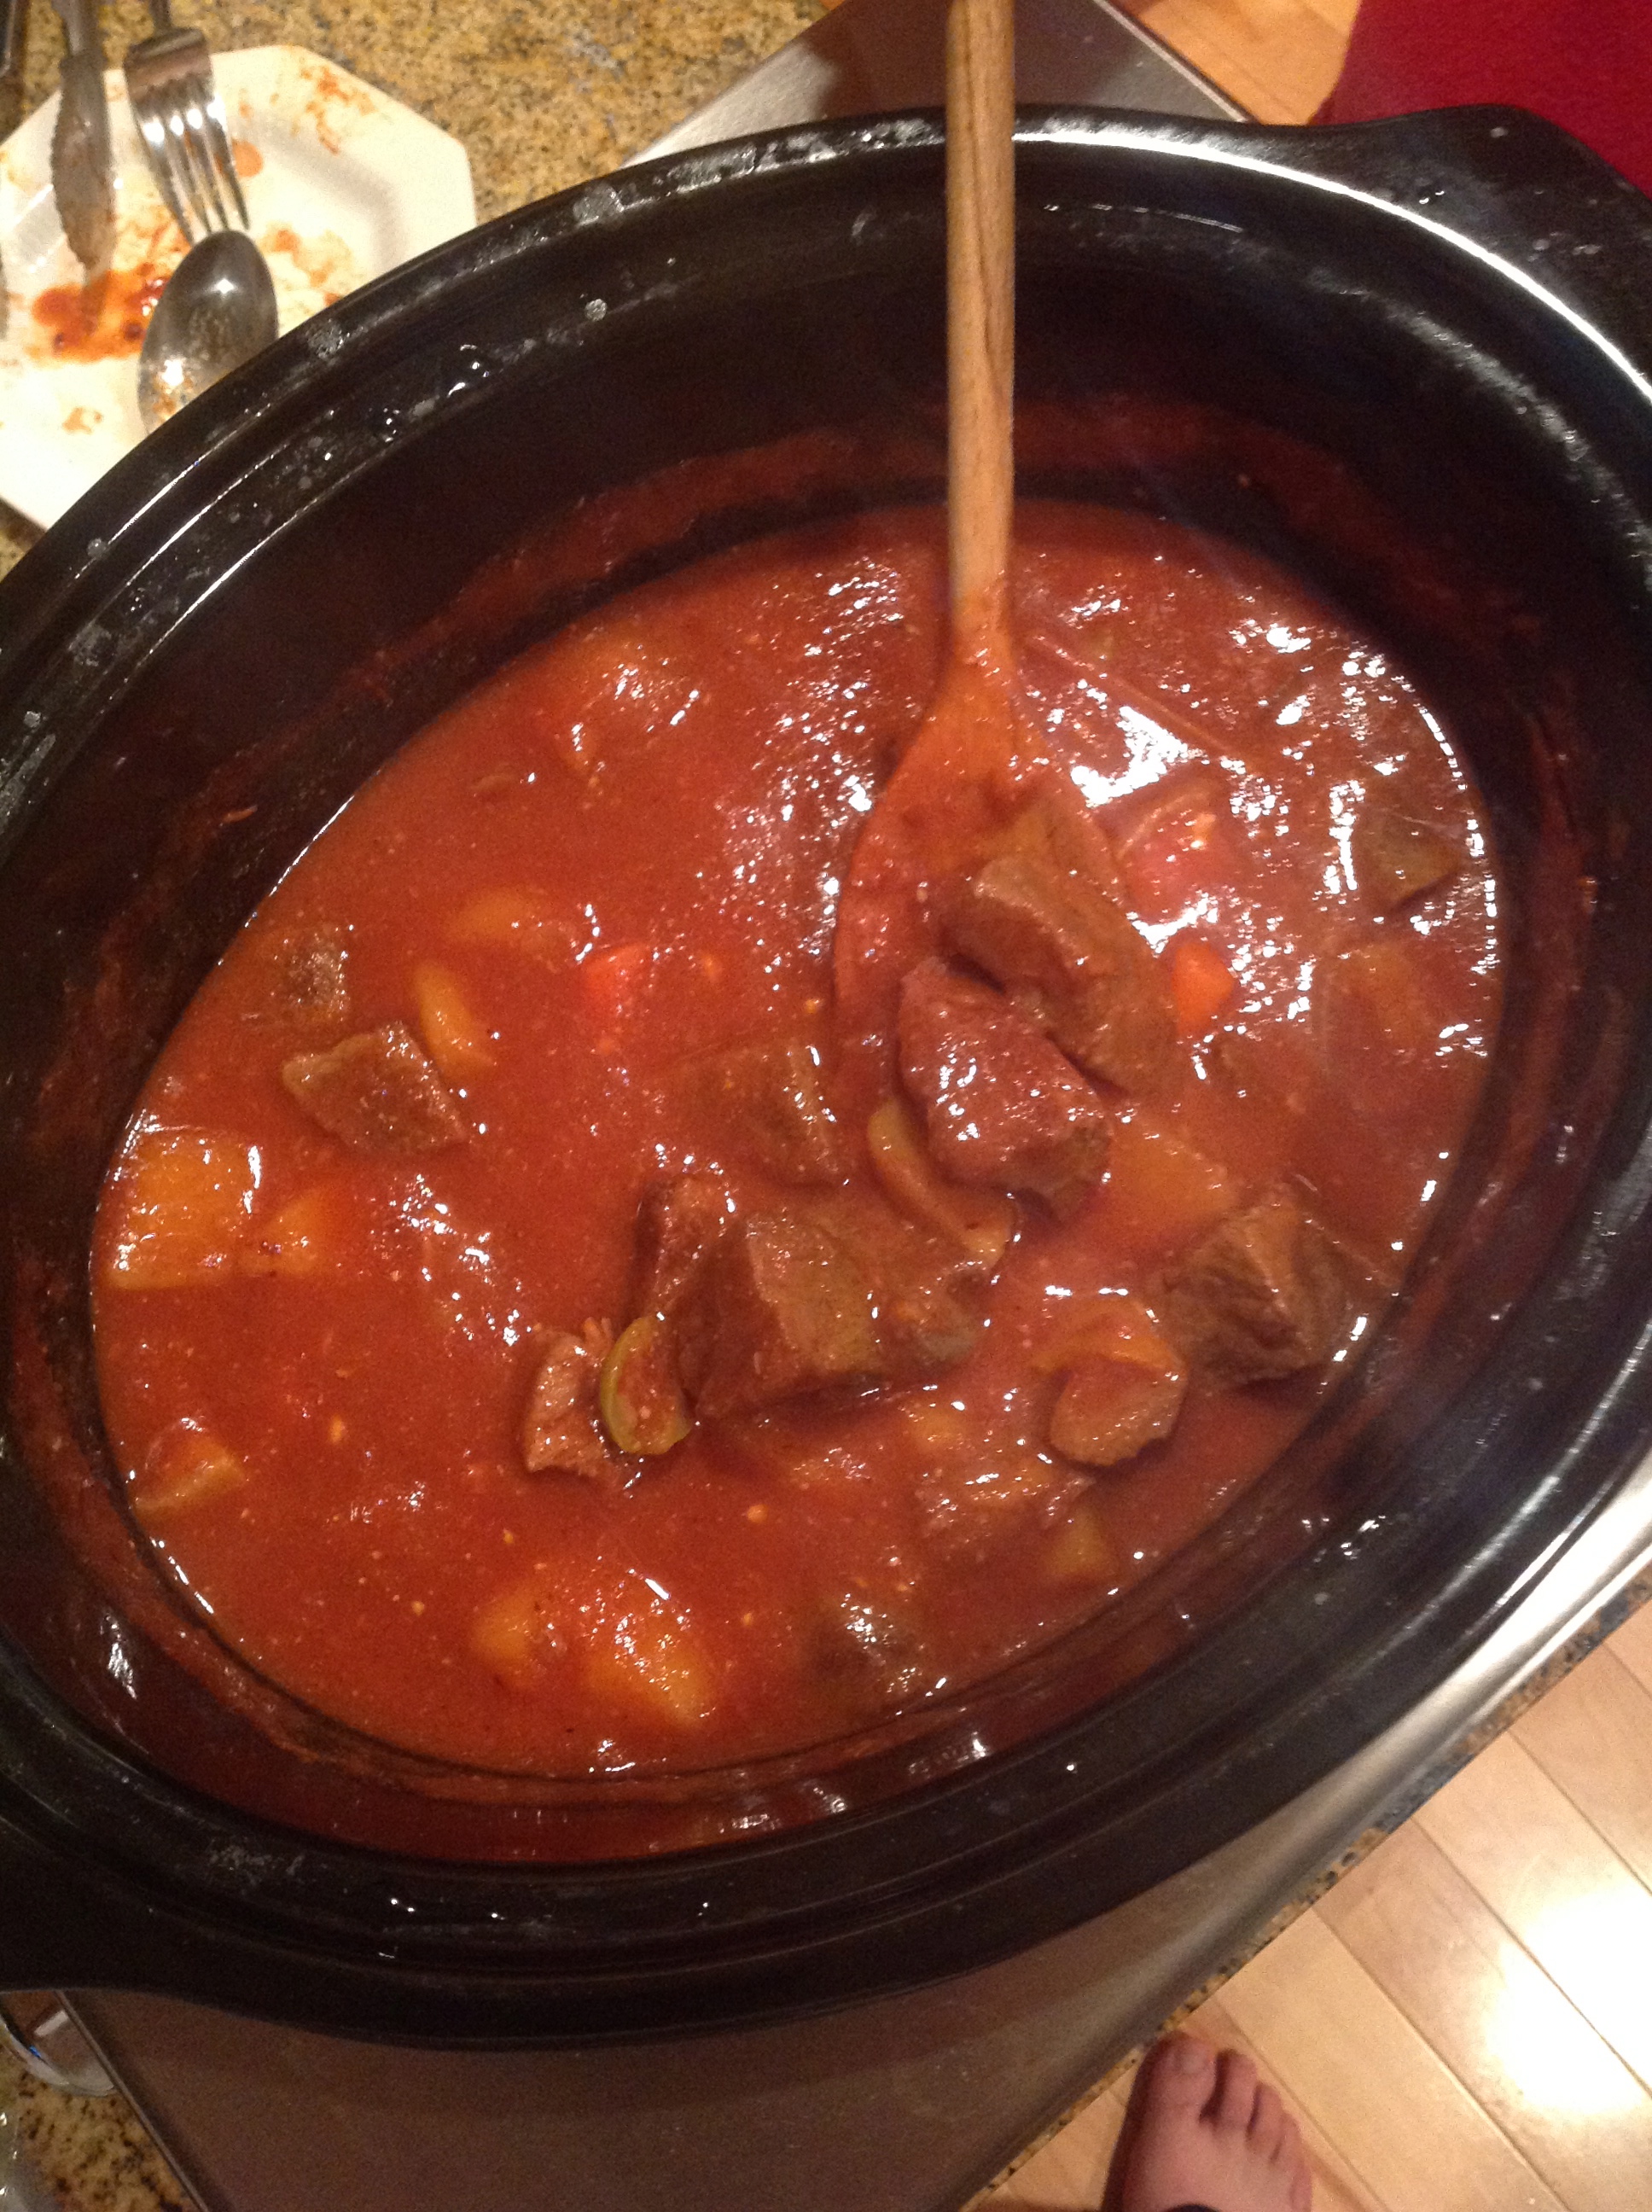
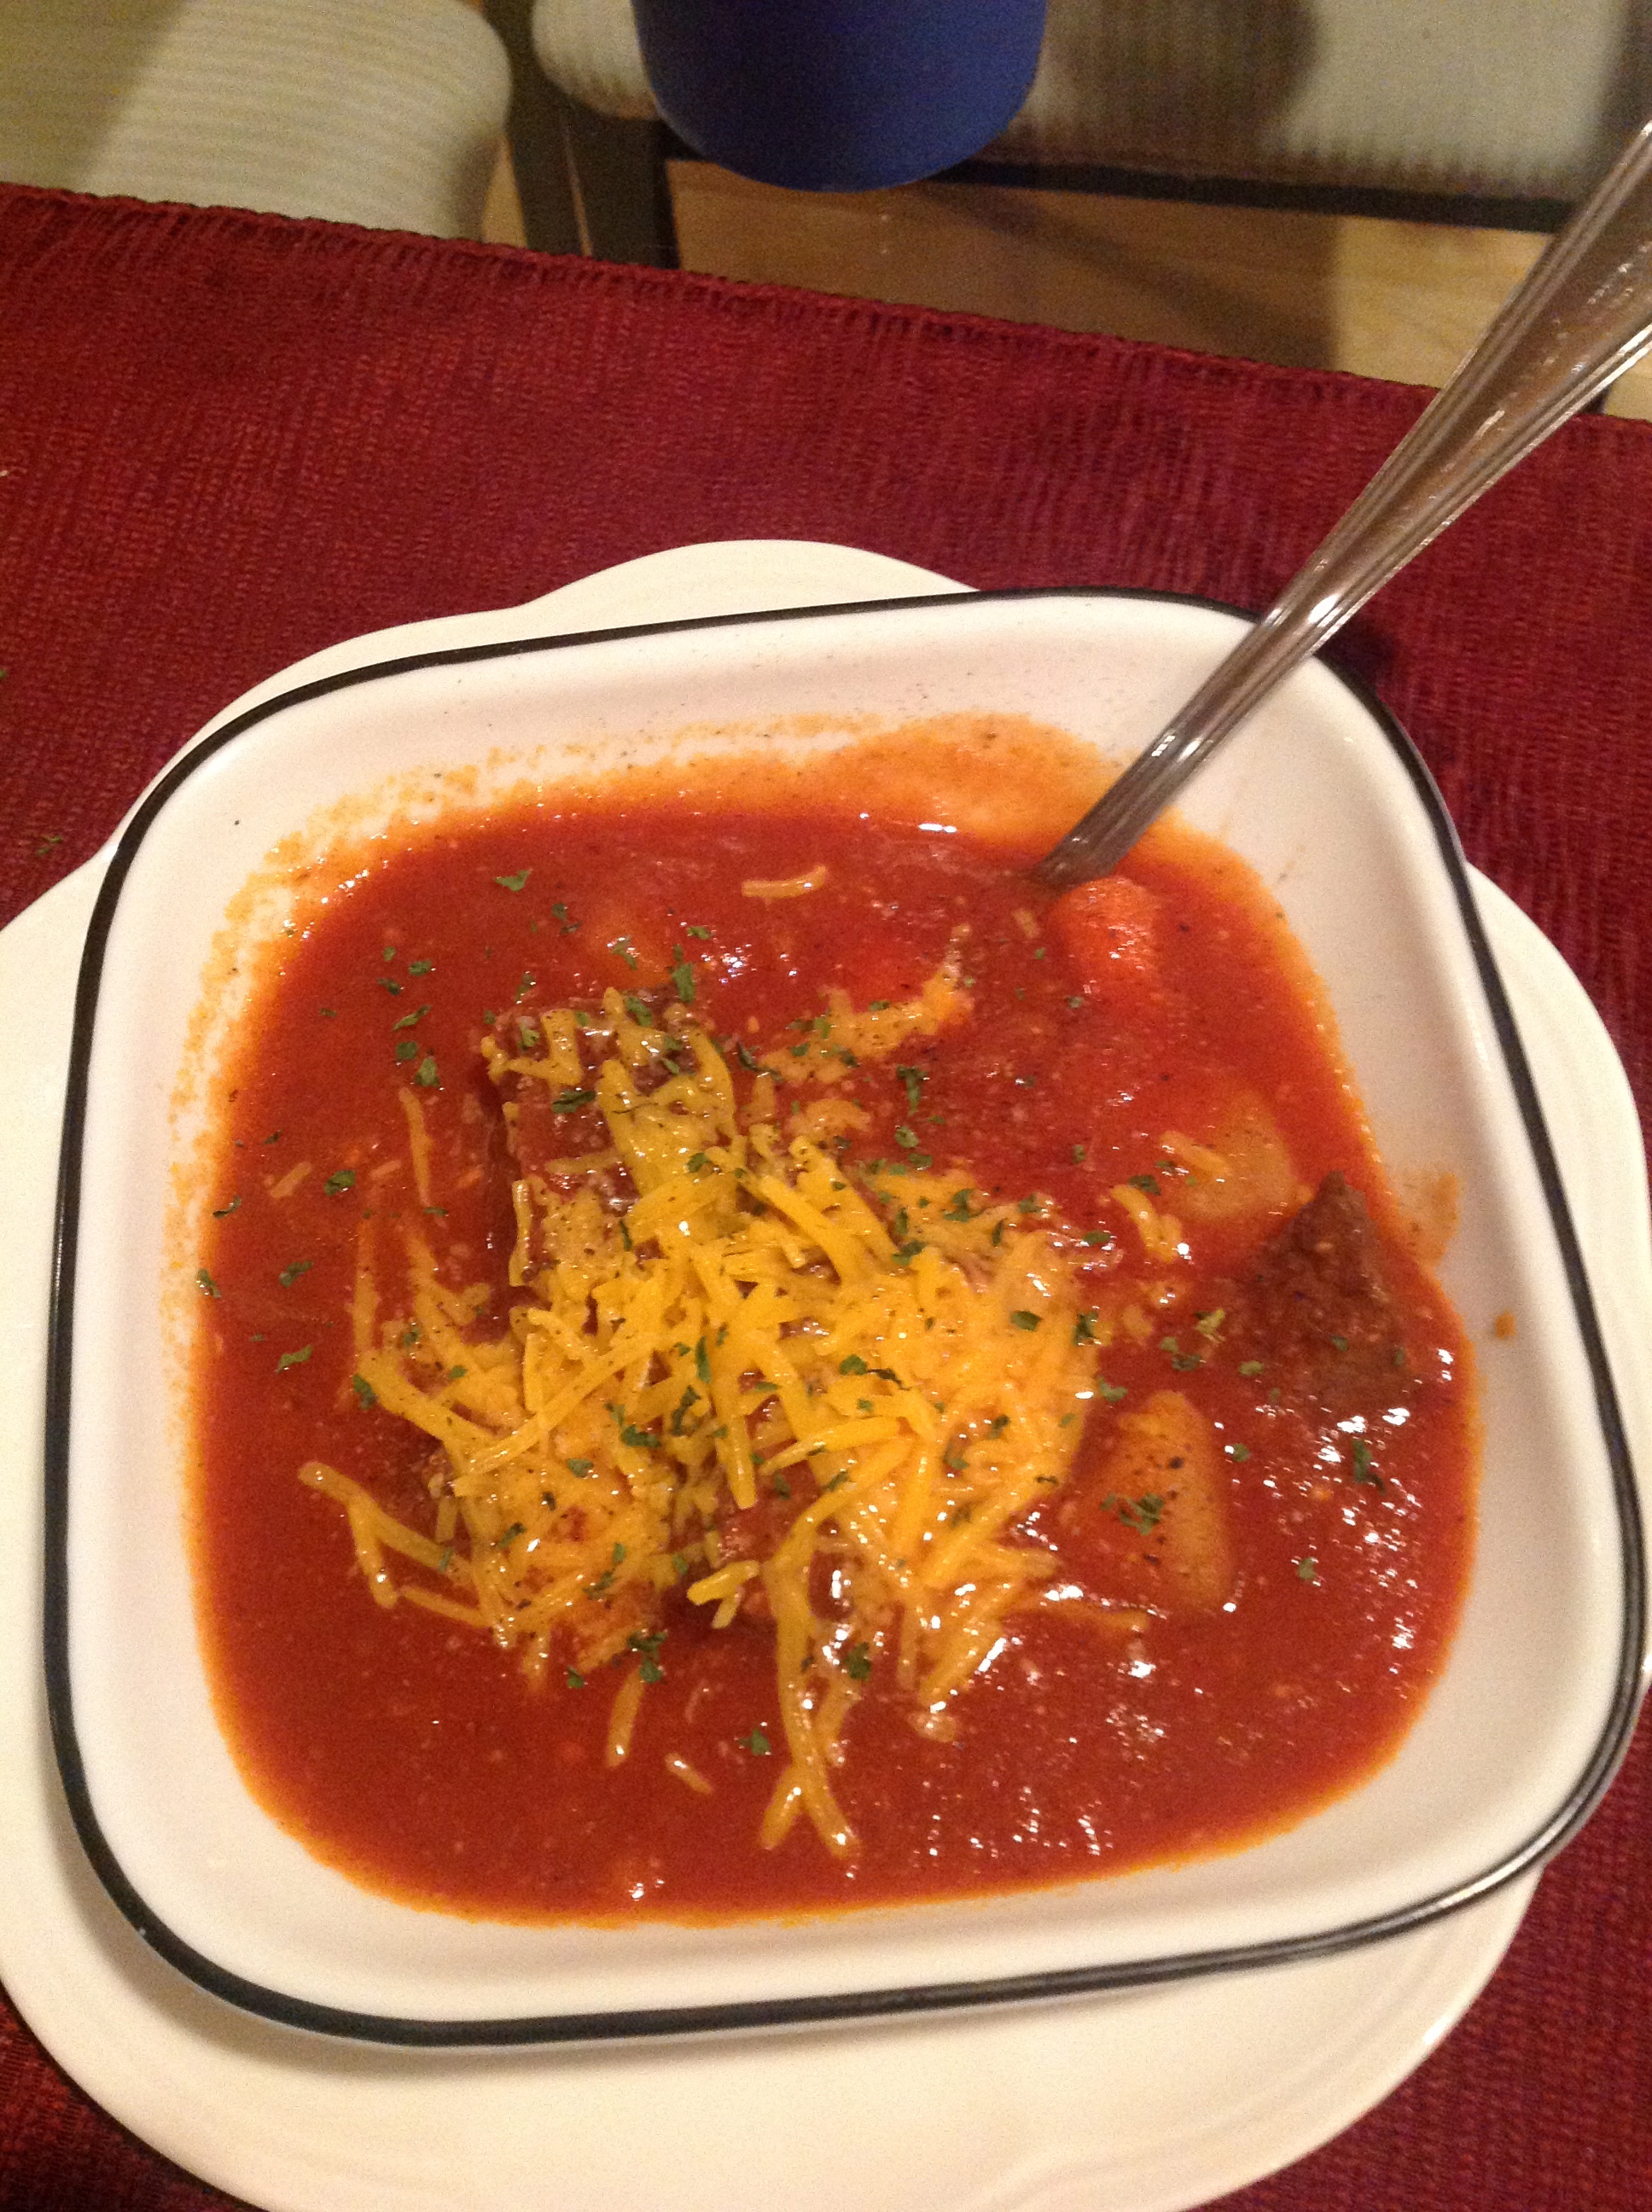
Beef Caldereta(filipino beef stew)
Hubby said this is one of the best caldereta he had!
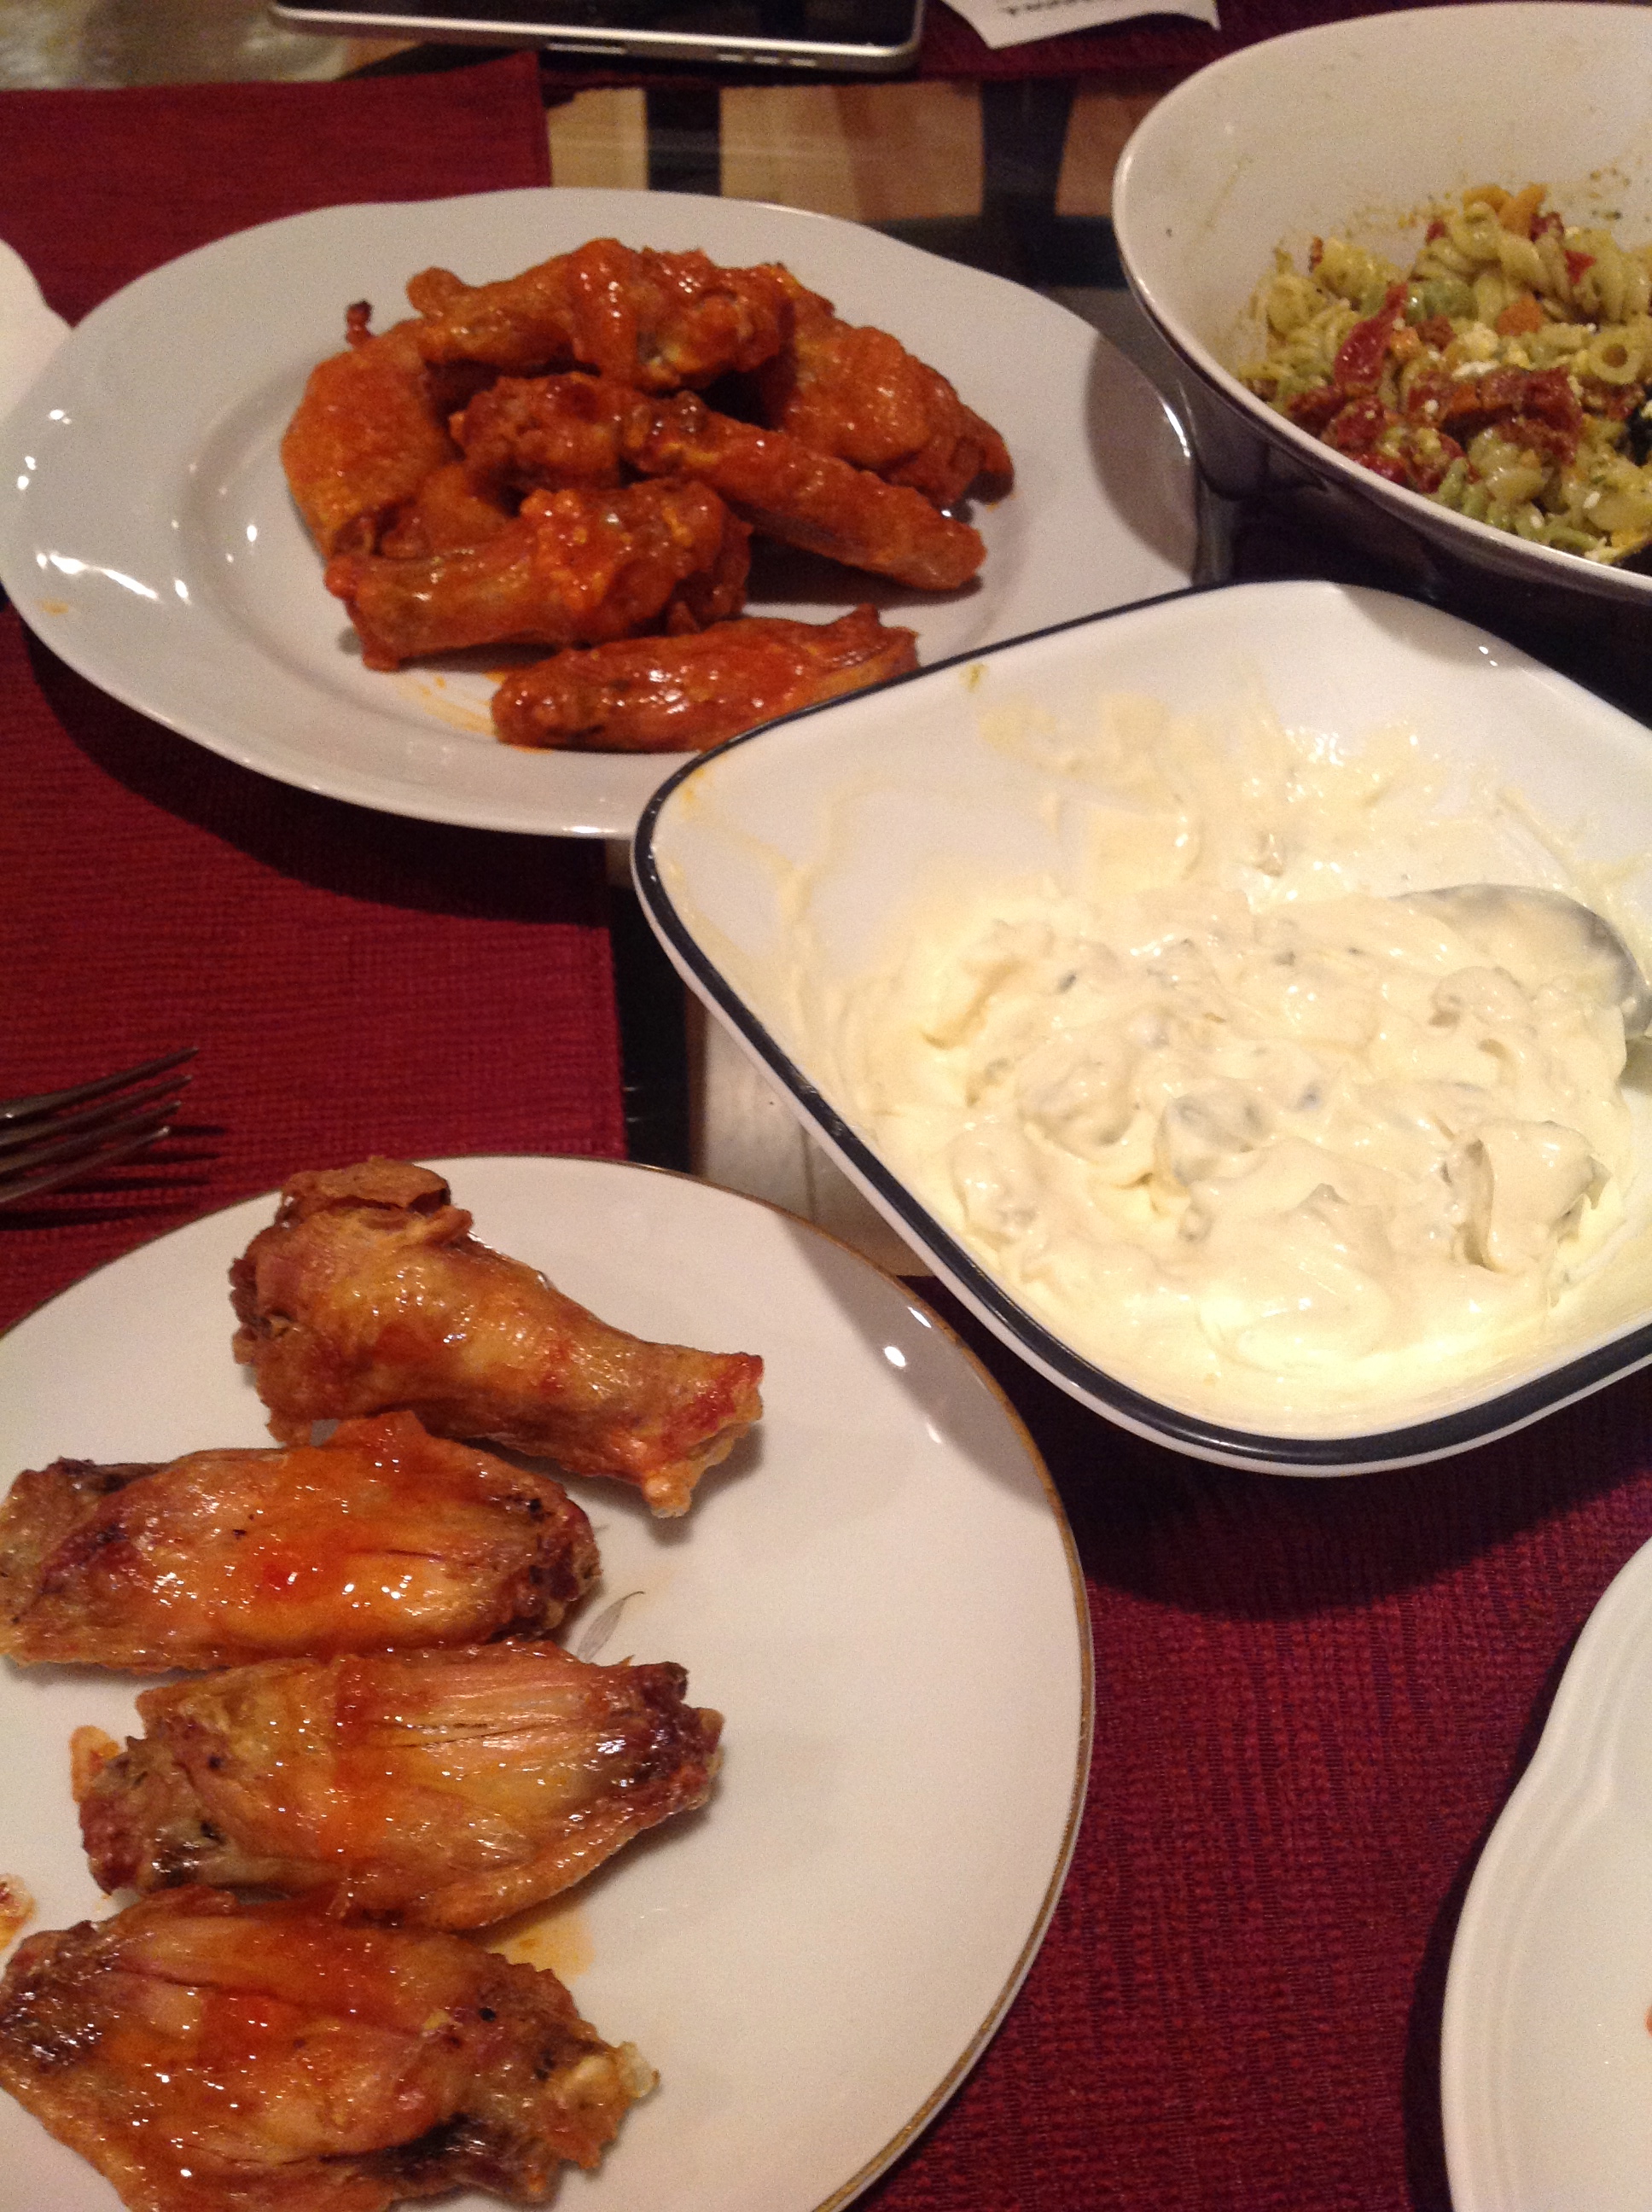
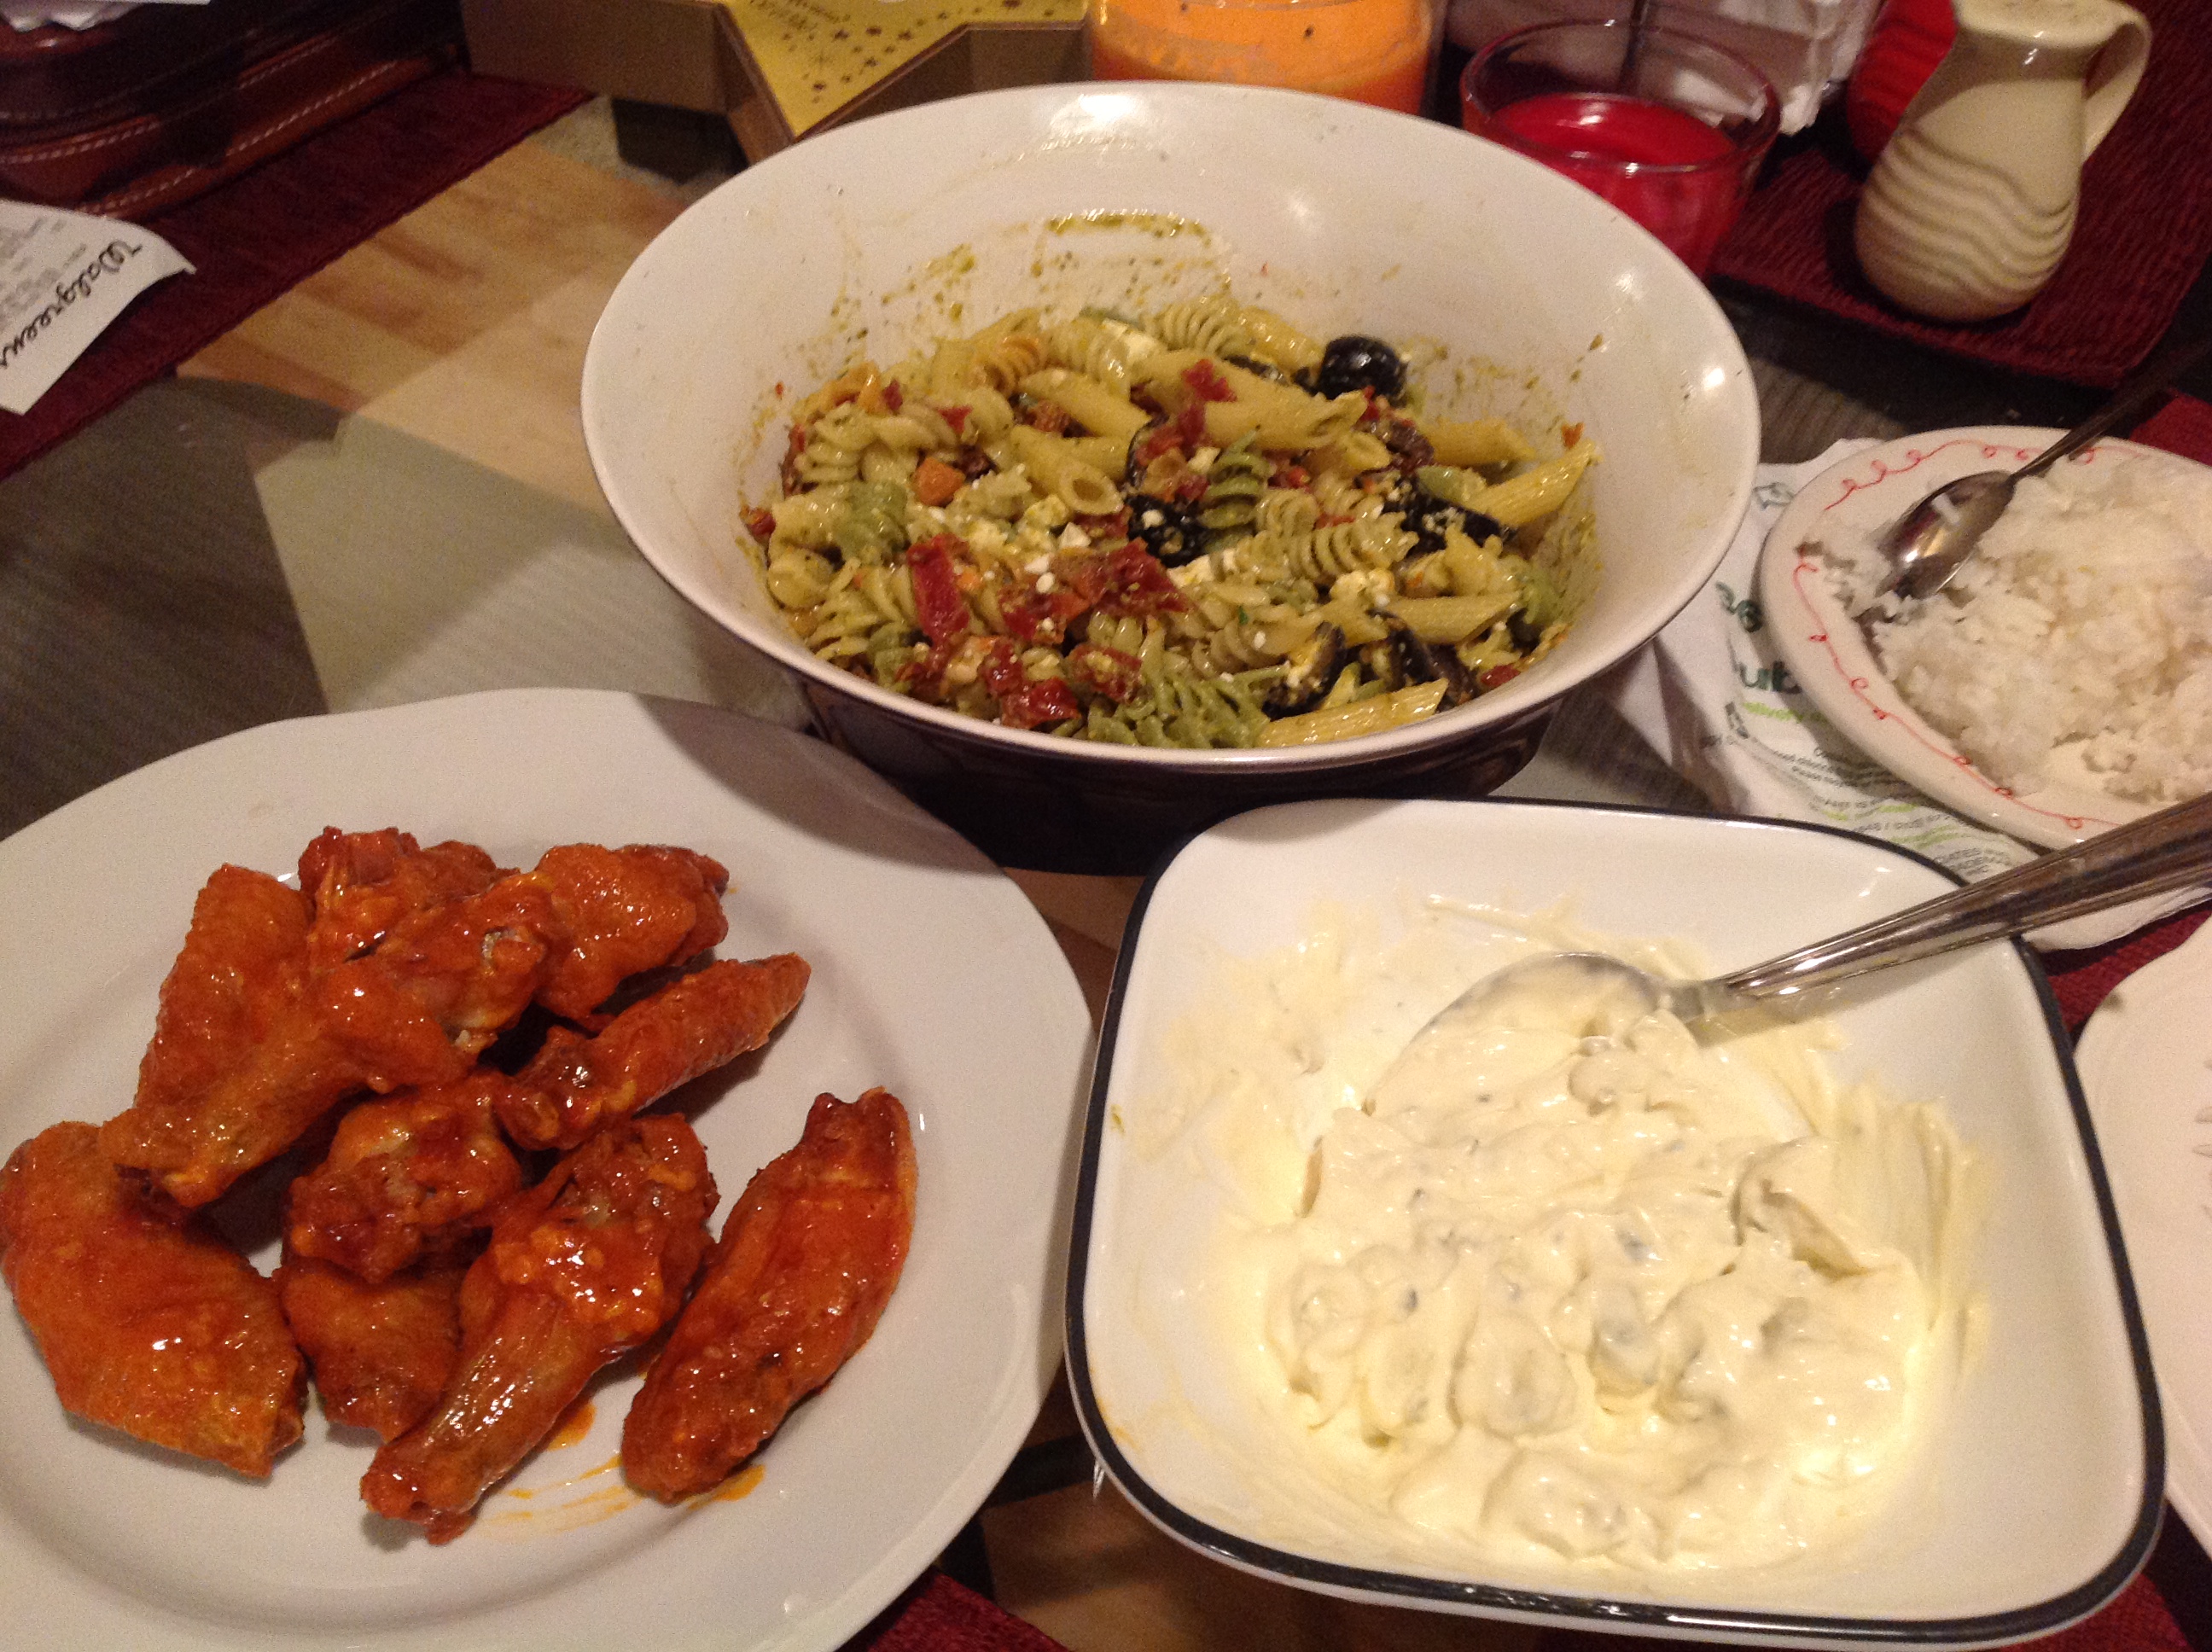
chicken wings,greek pasta salad
chicken wings,blue cheese sauce,greek pasta salad
Chicken wings is my Hubs fave finger food!
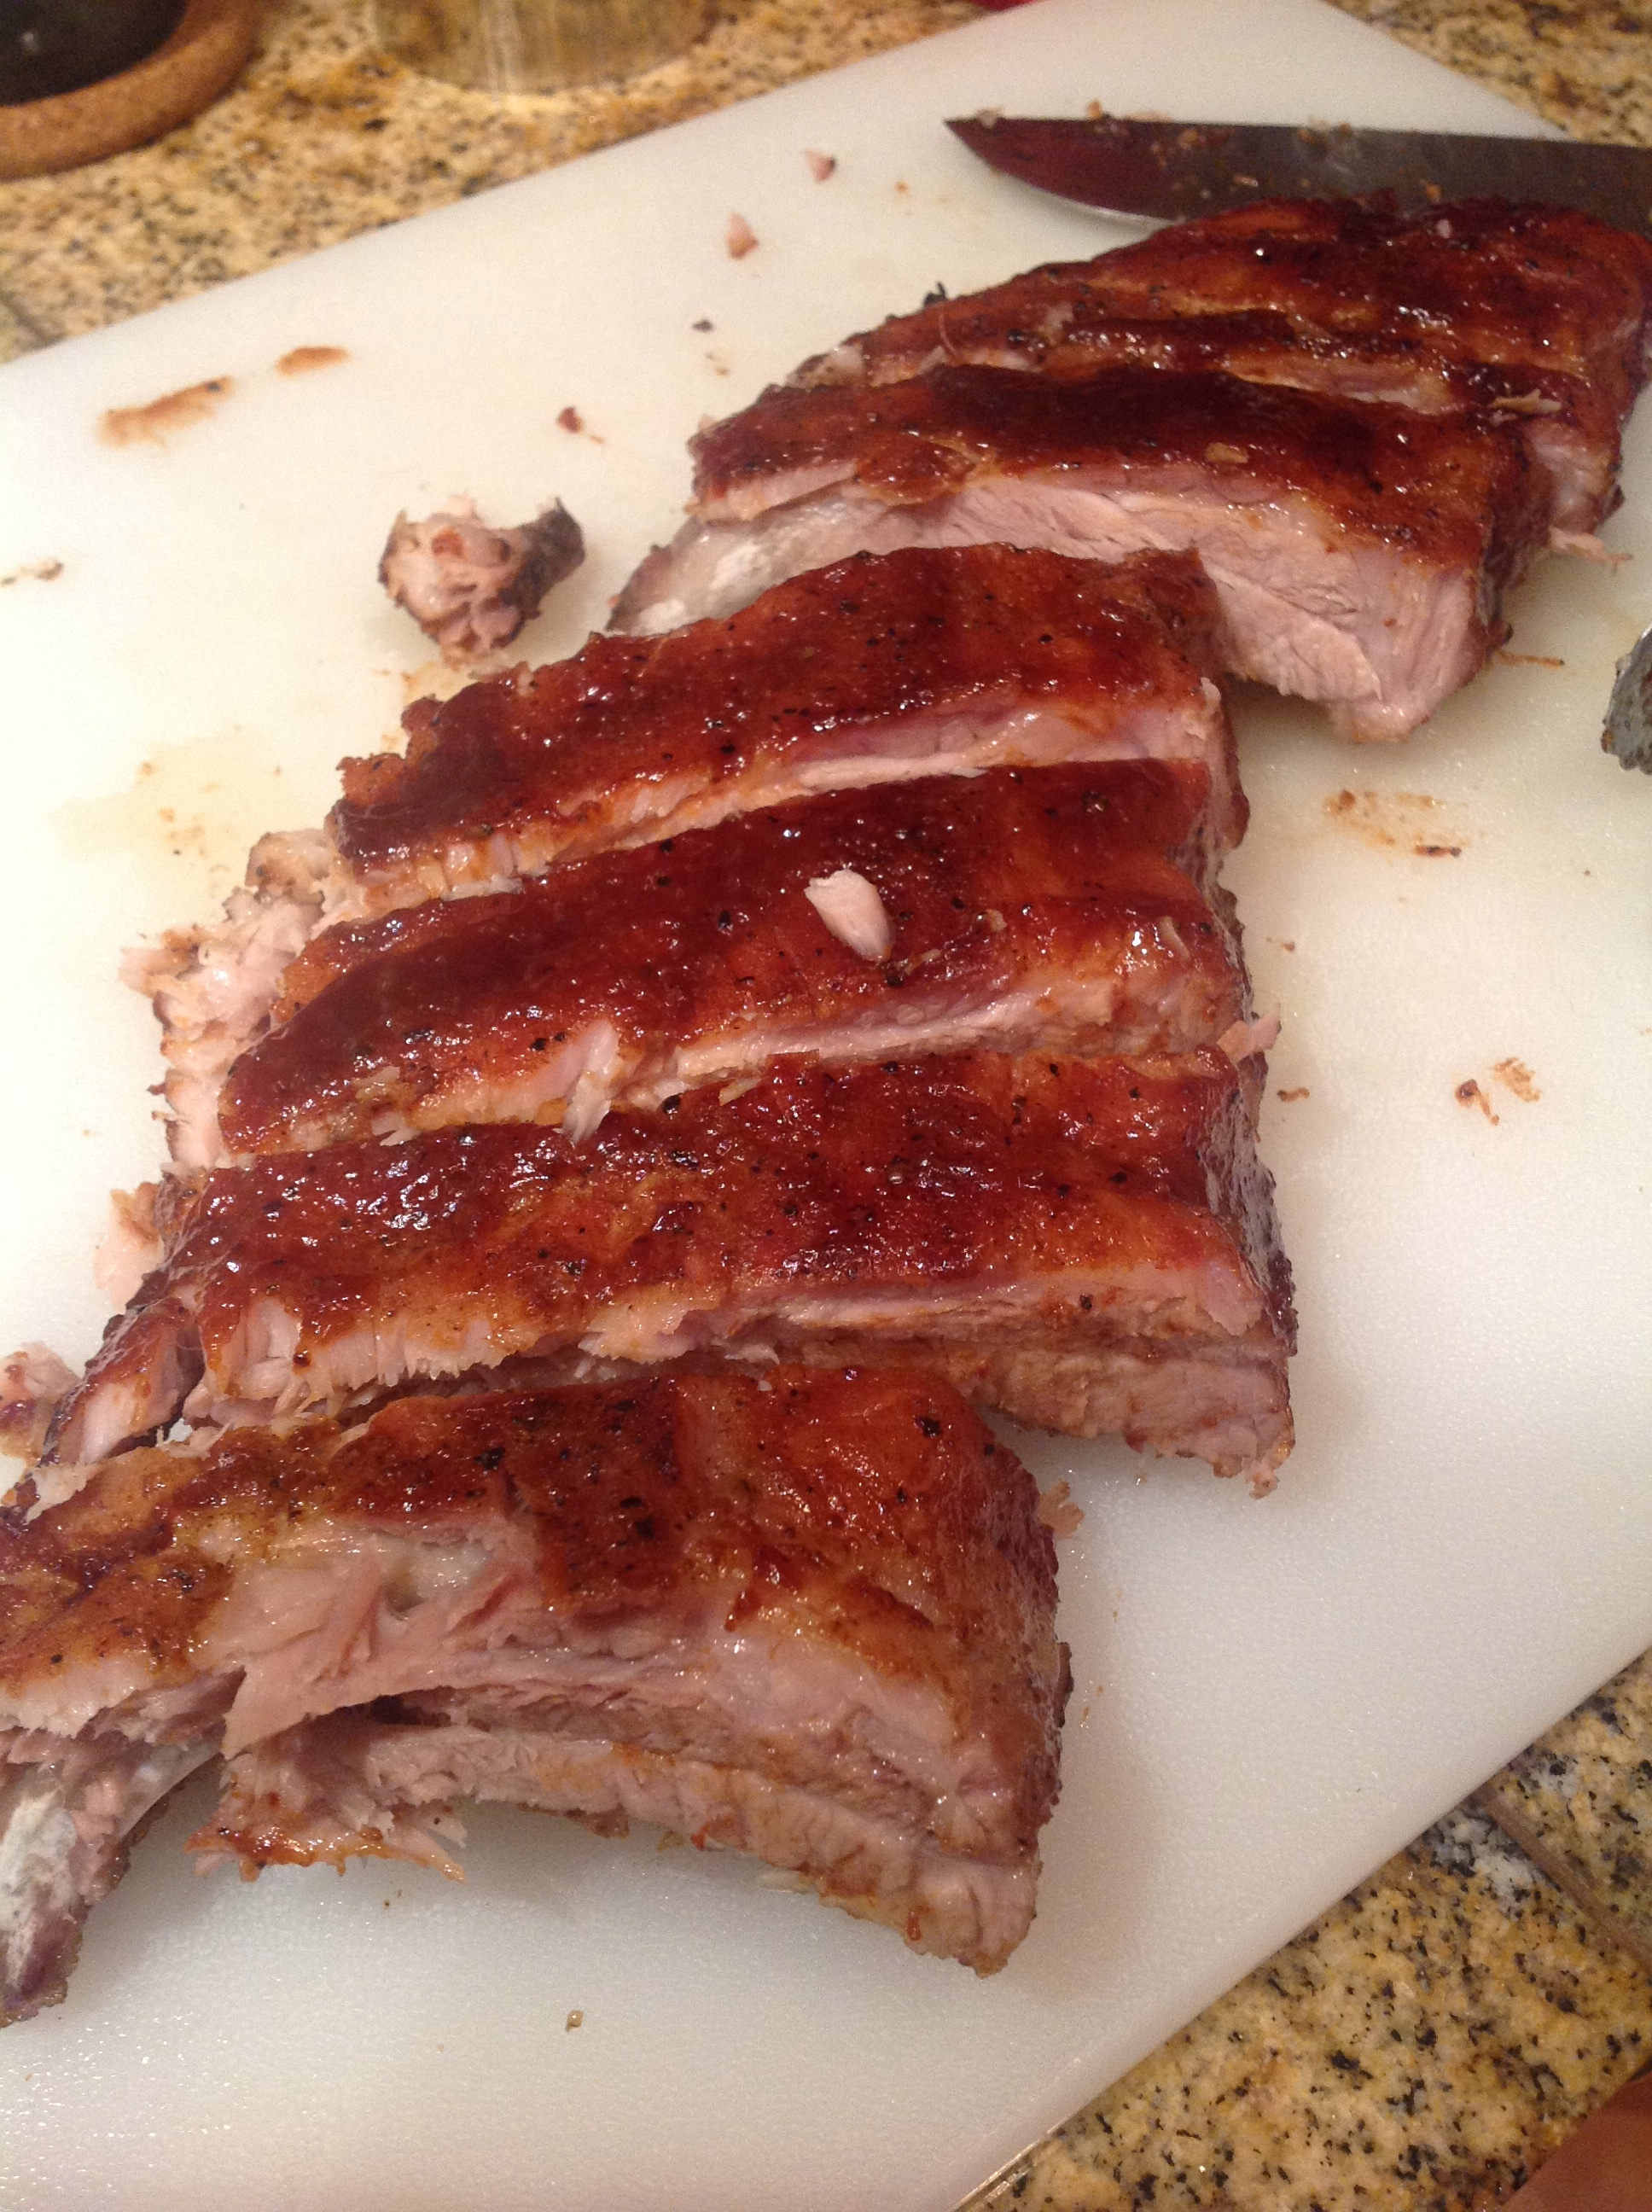
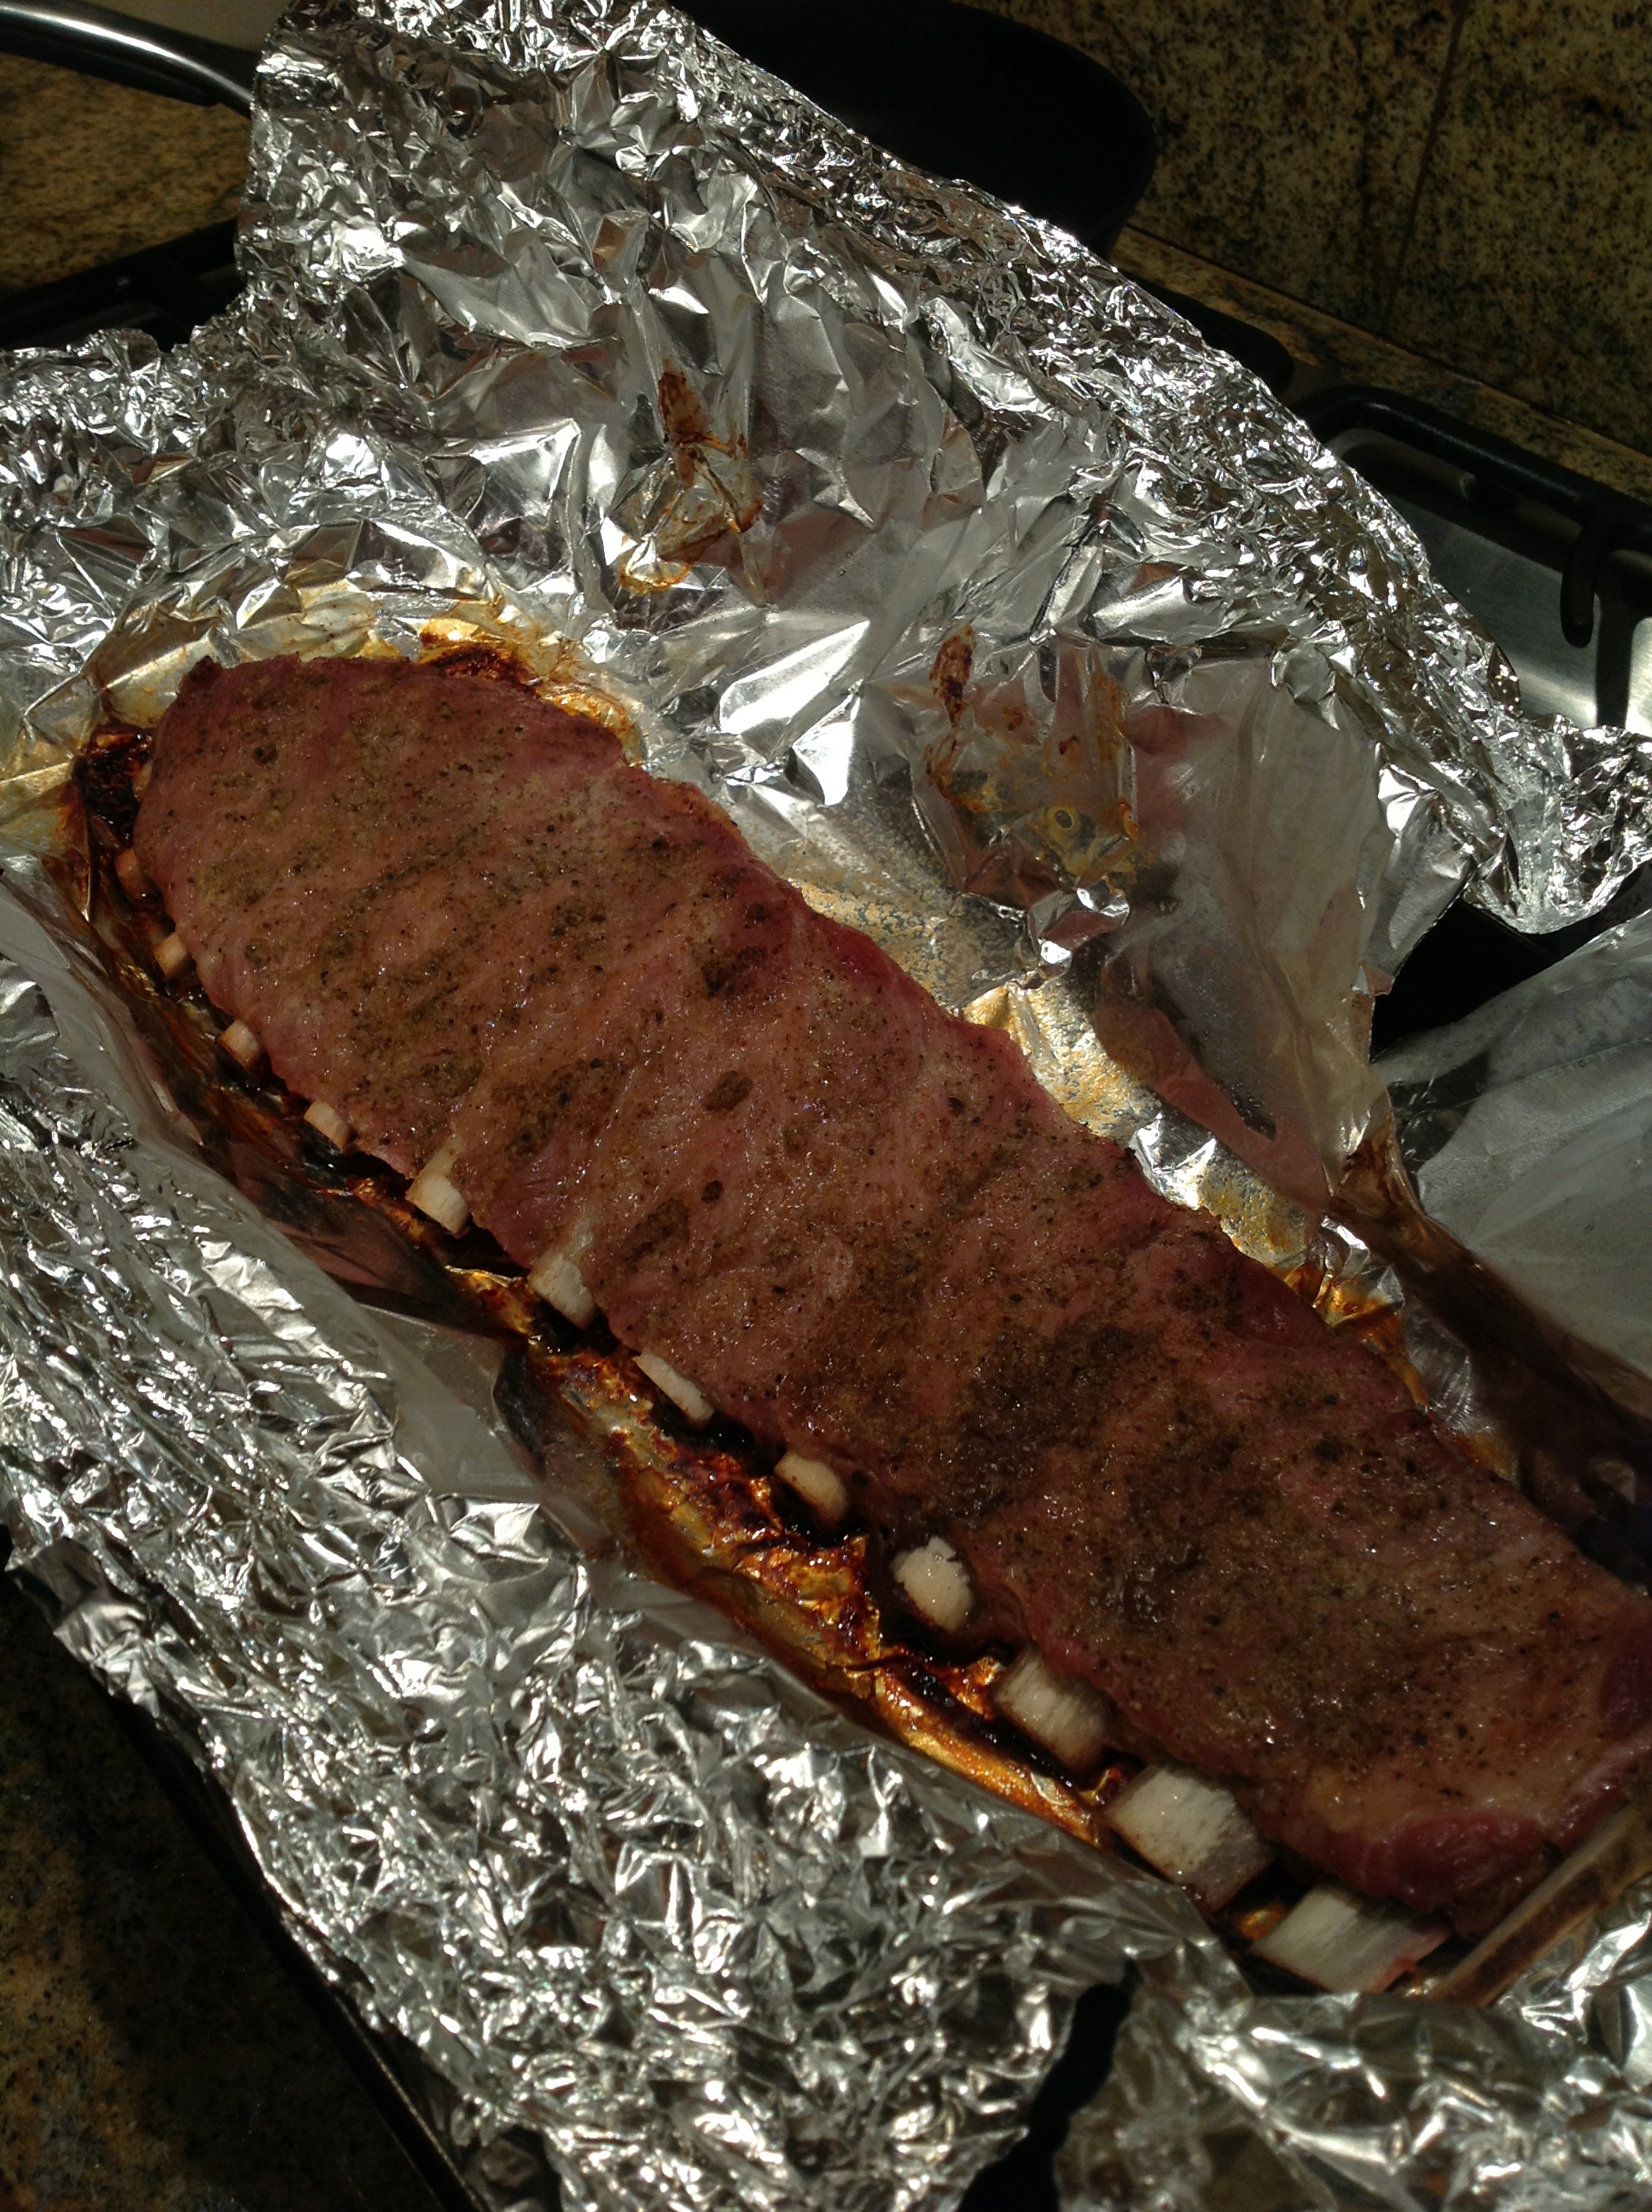
Oven Baked Ribs!
Oven Baked Ribs!
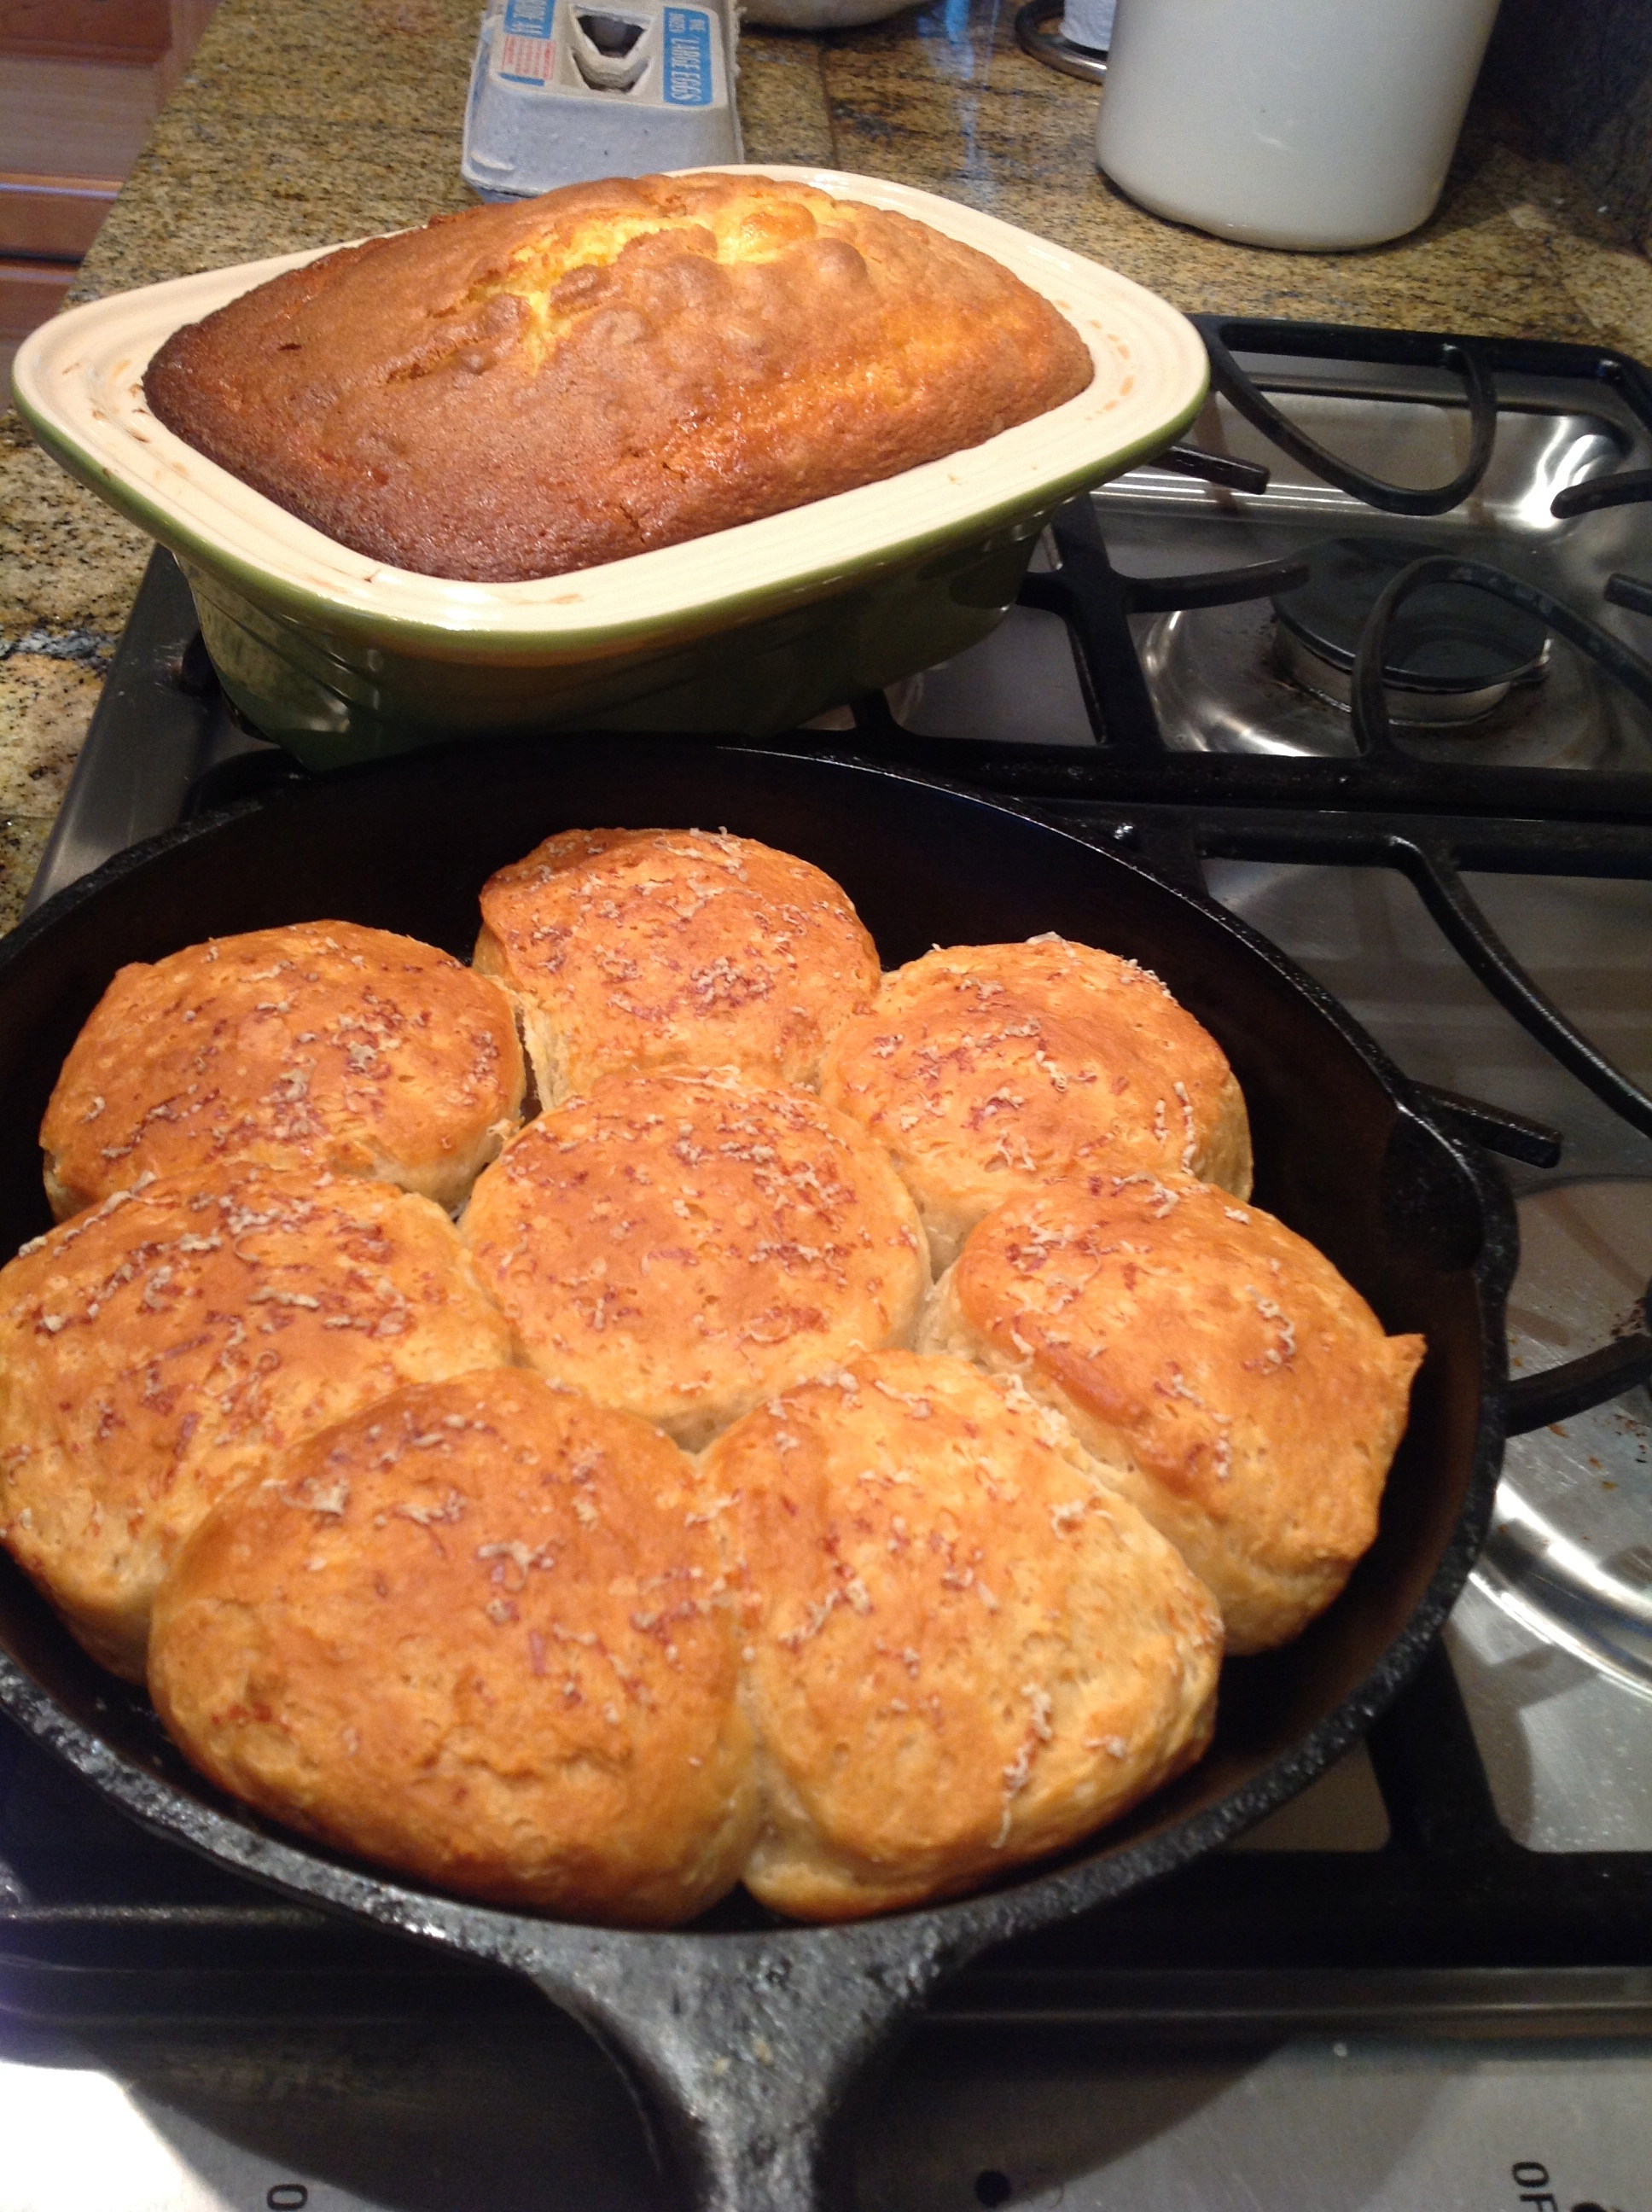
Biscuits and Pineapple bread

We also had take-outs and dine out a couple of times!

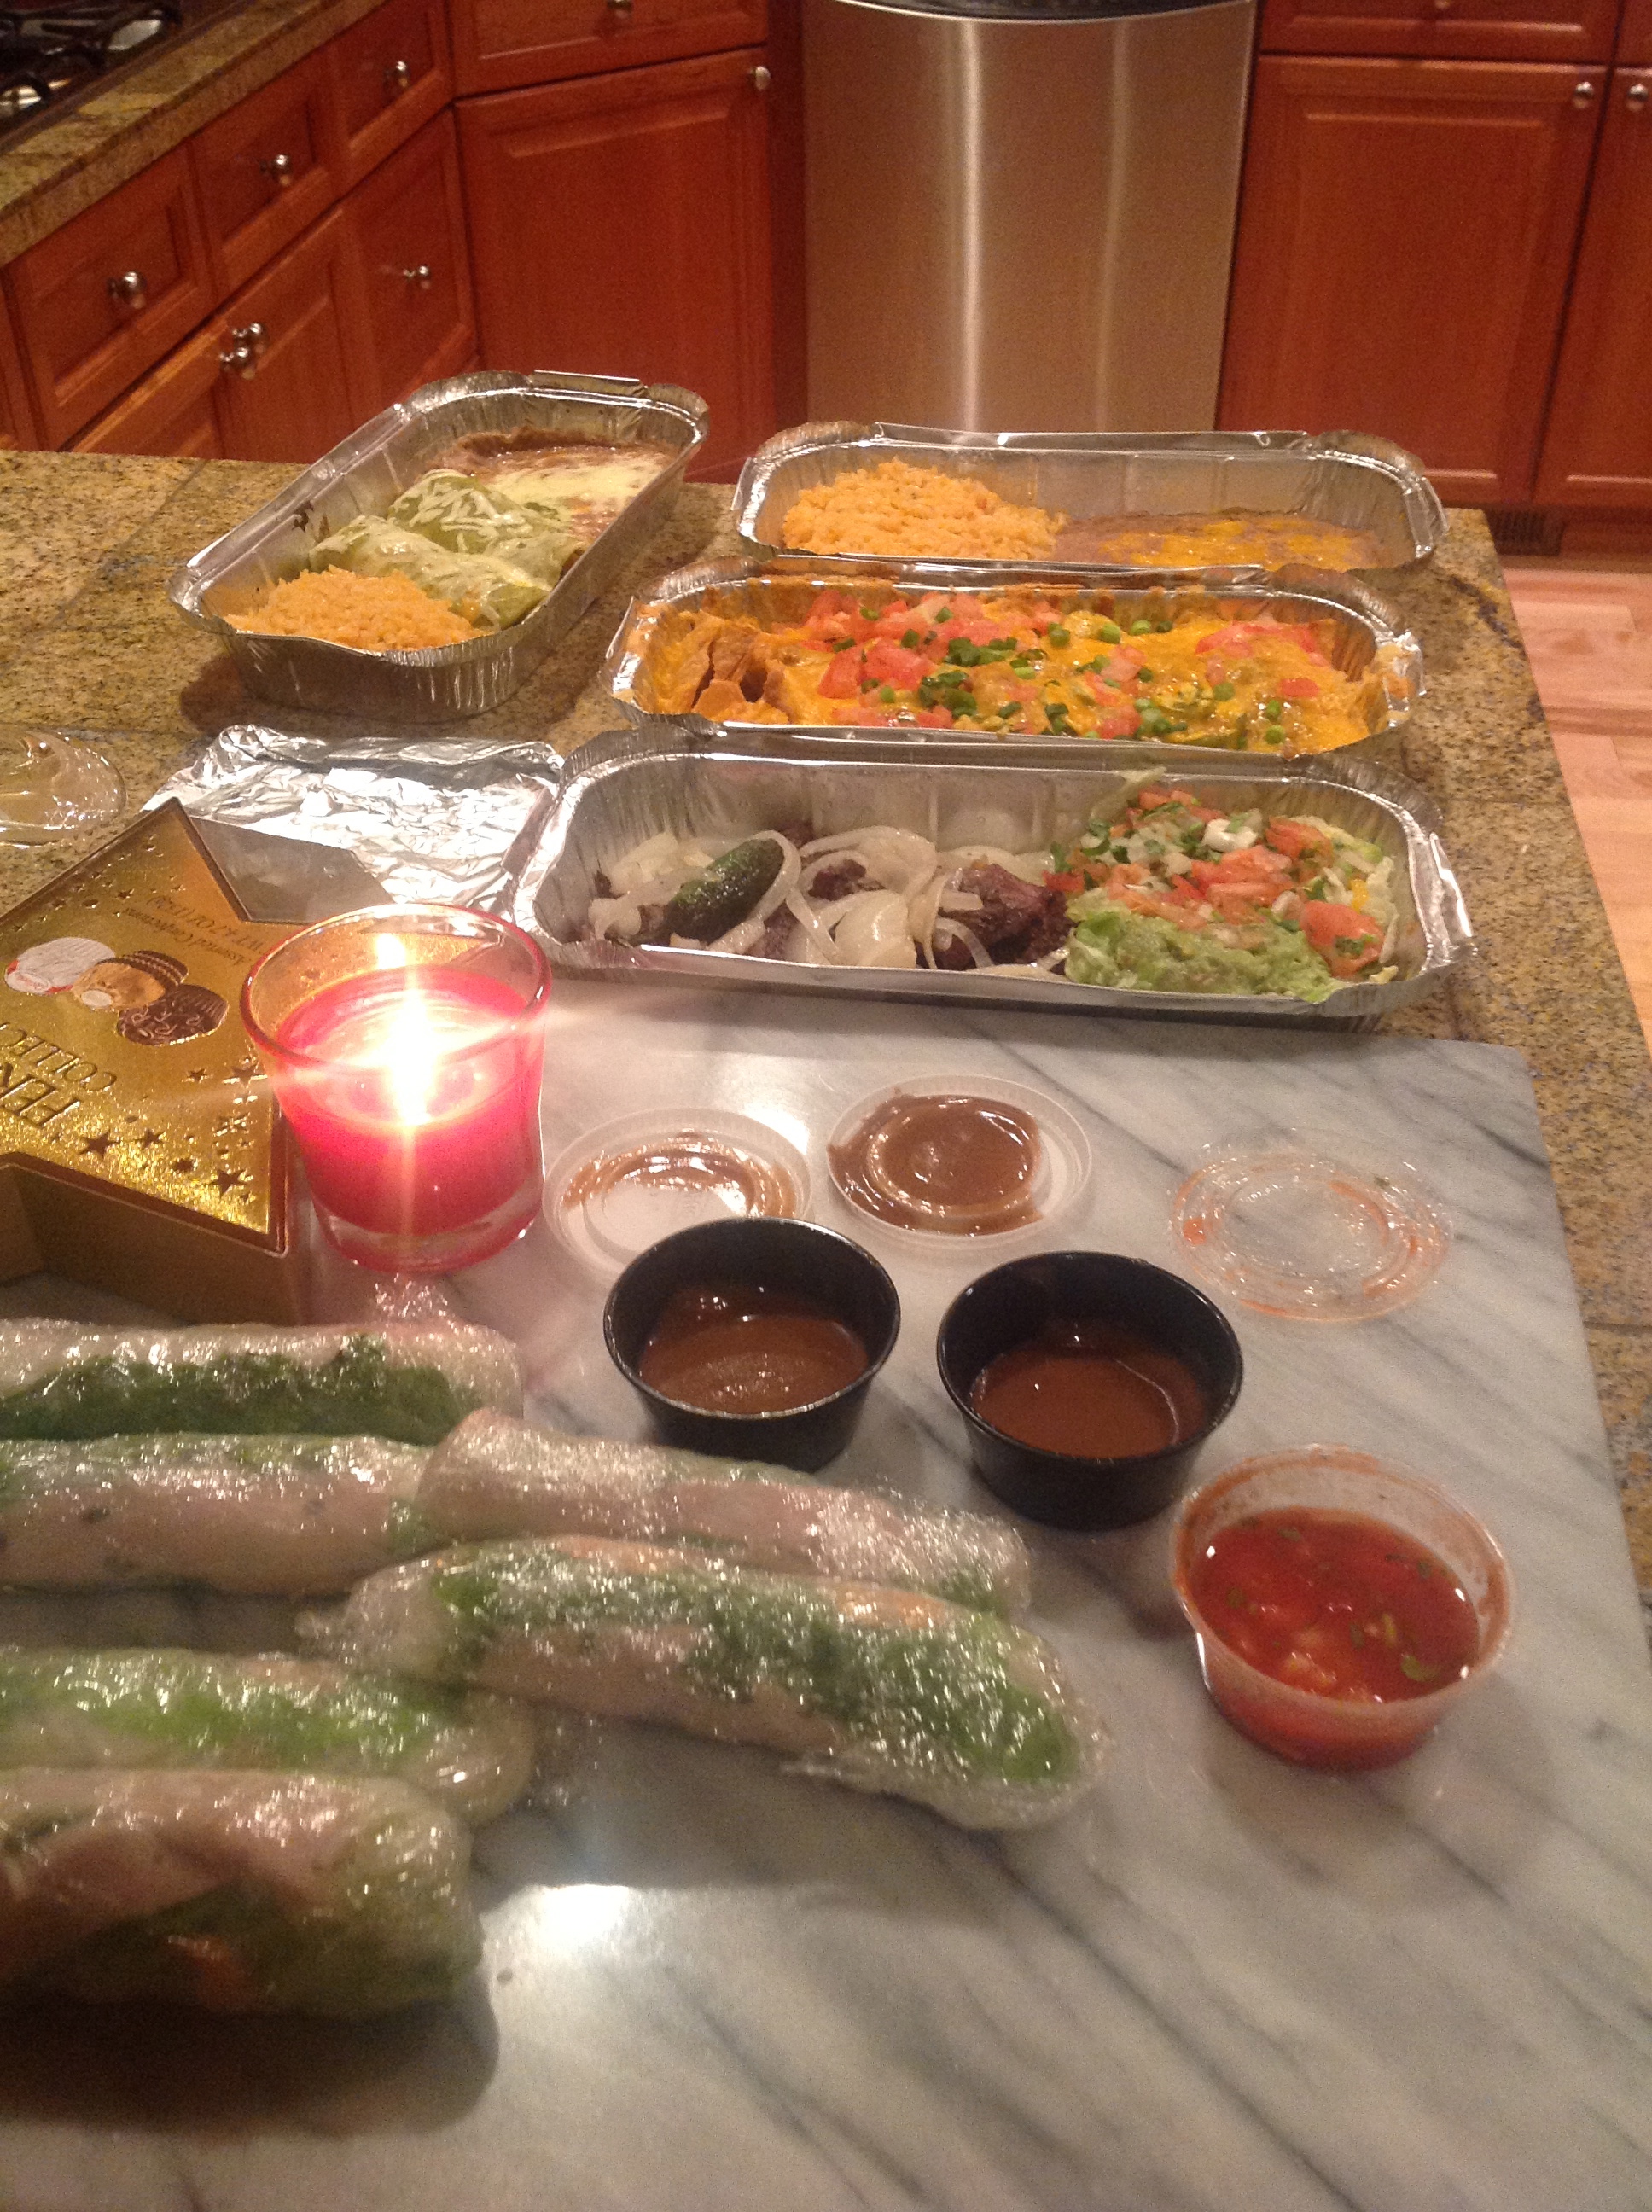
take out at our fave mexican resto! (we had spring rolls too from local vietnamese resto)
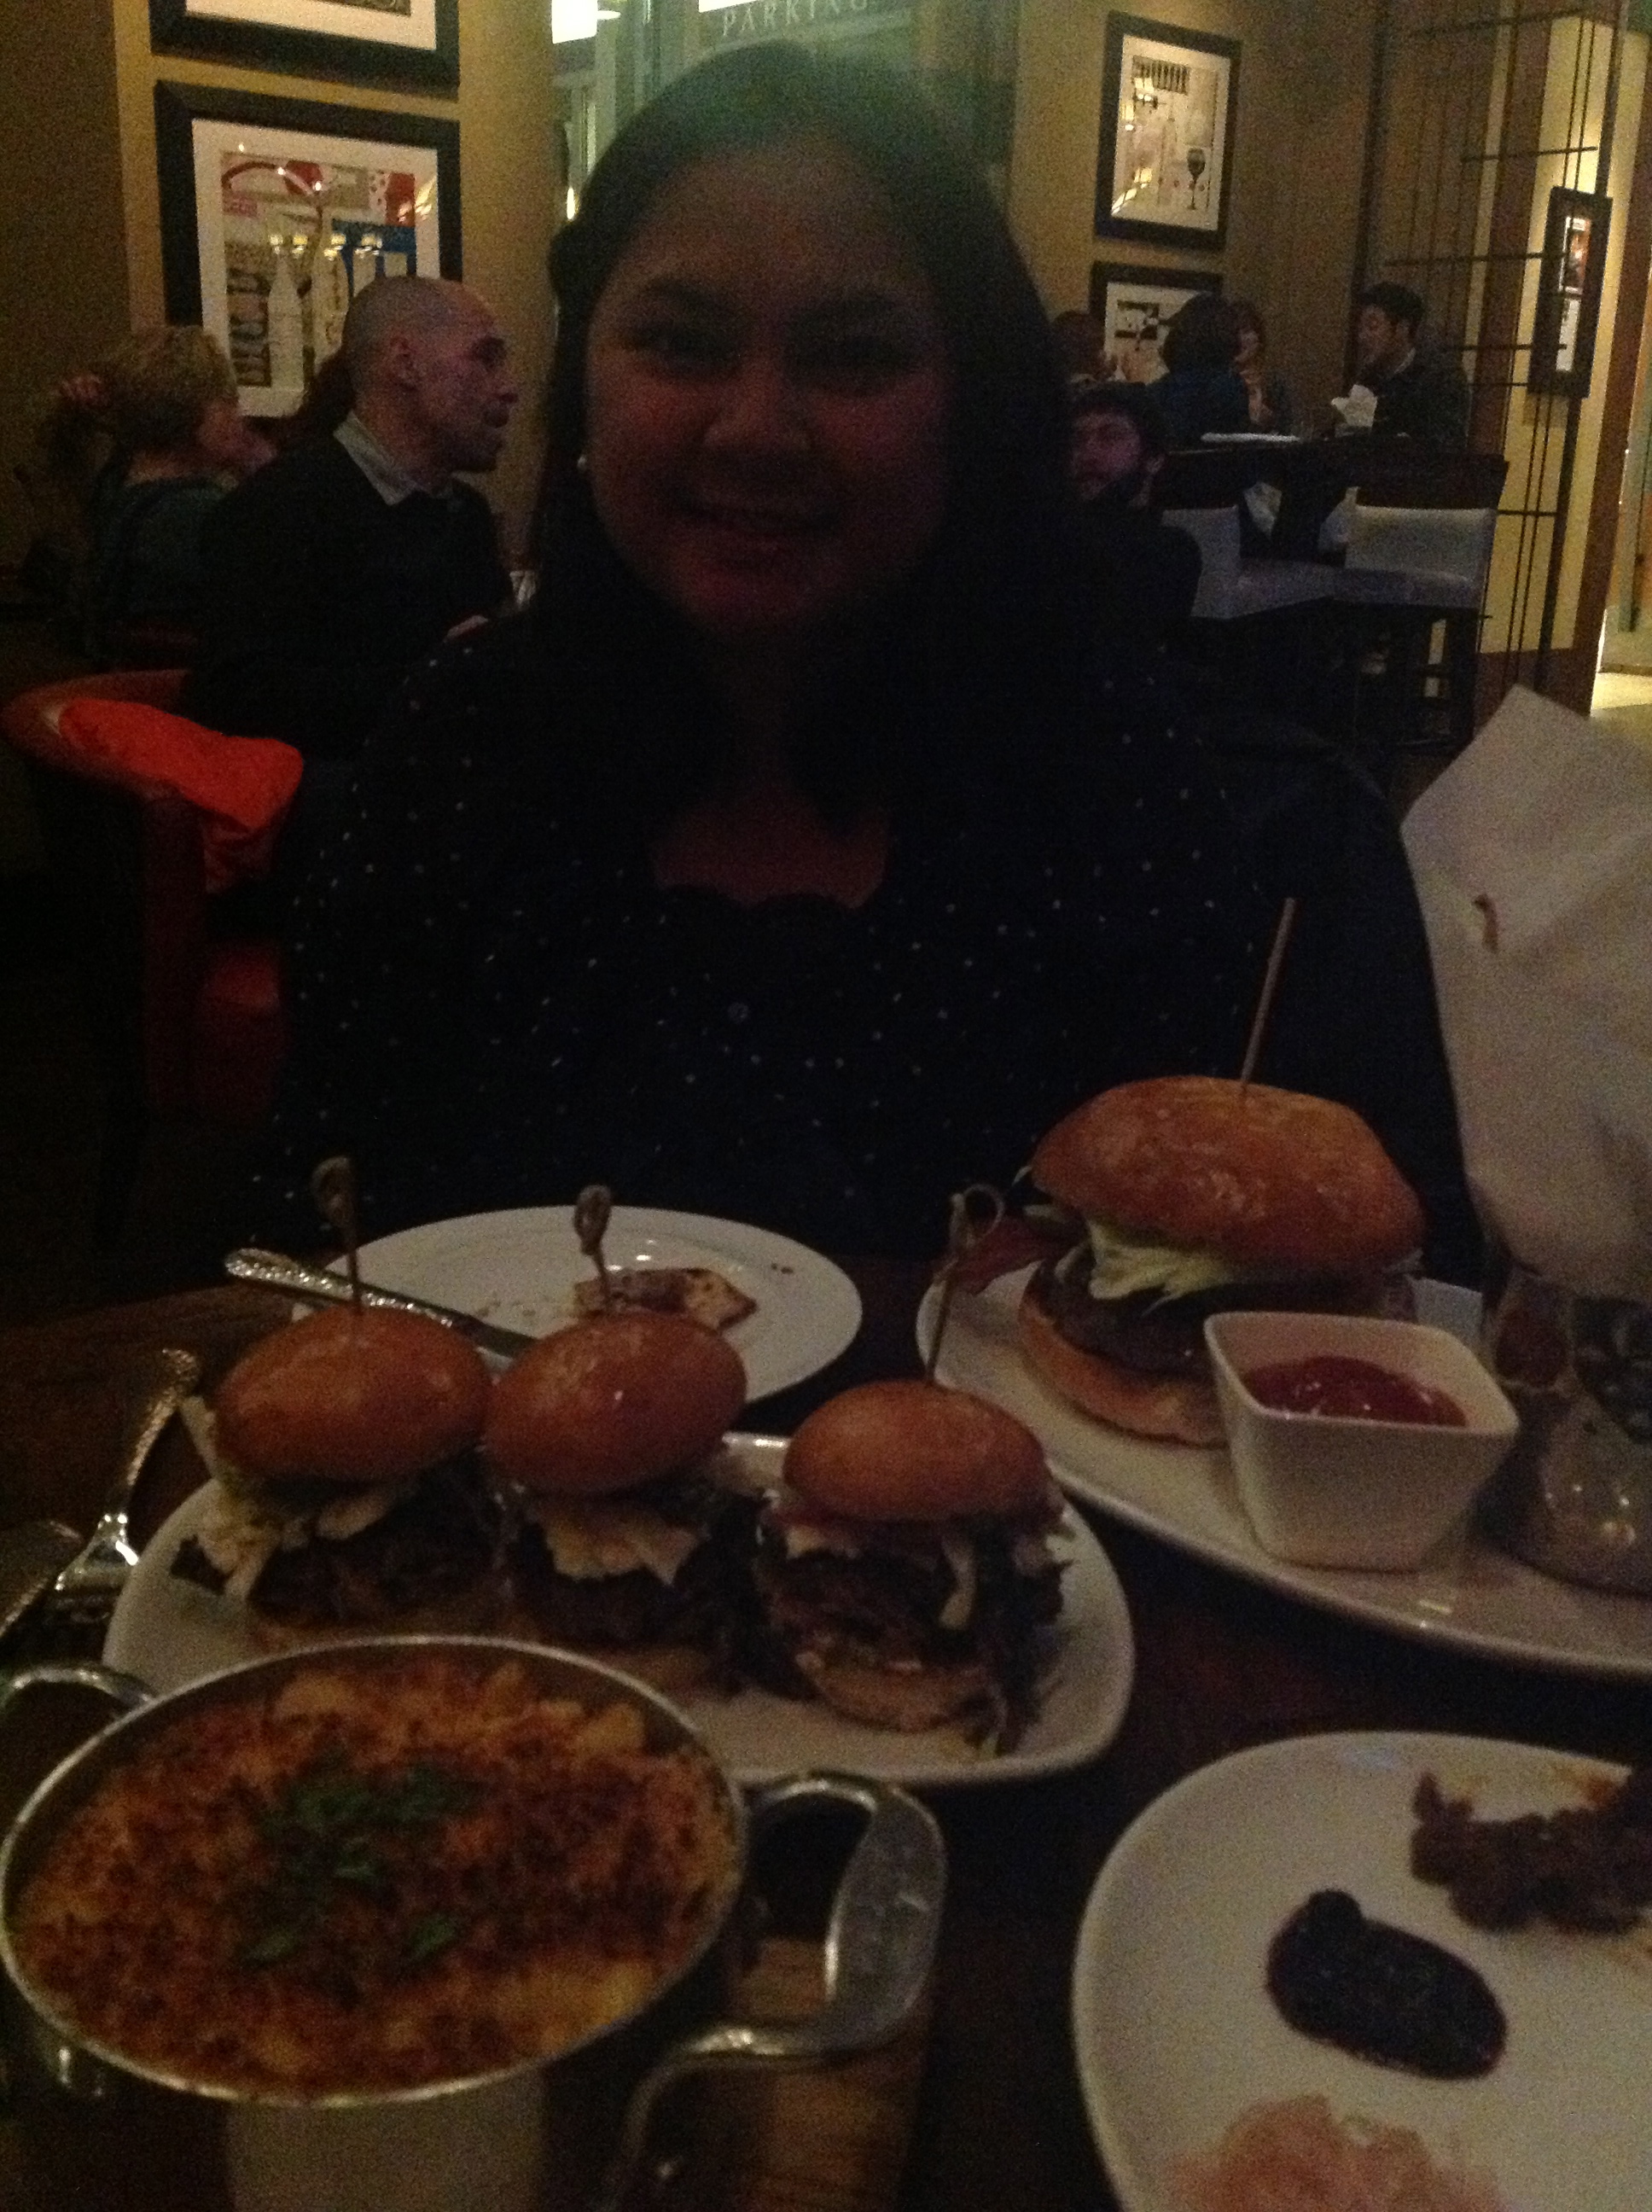
Dinner at John Howie Steakhouse(sorry for the blurry pic)
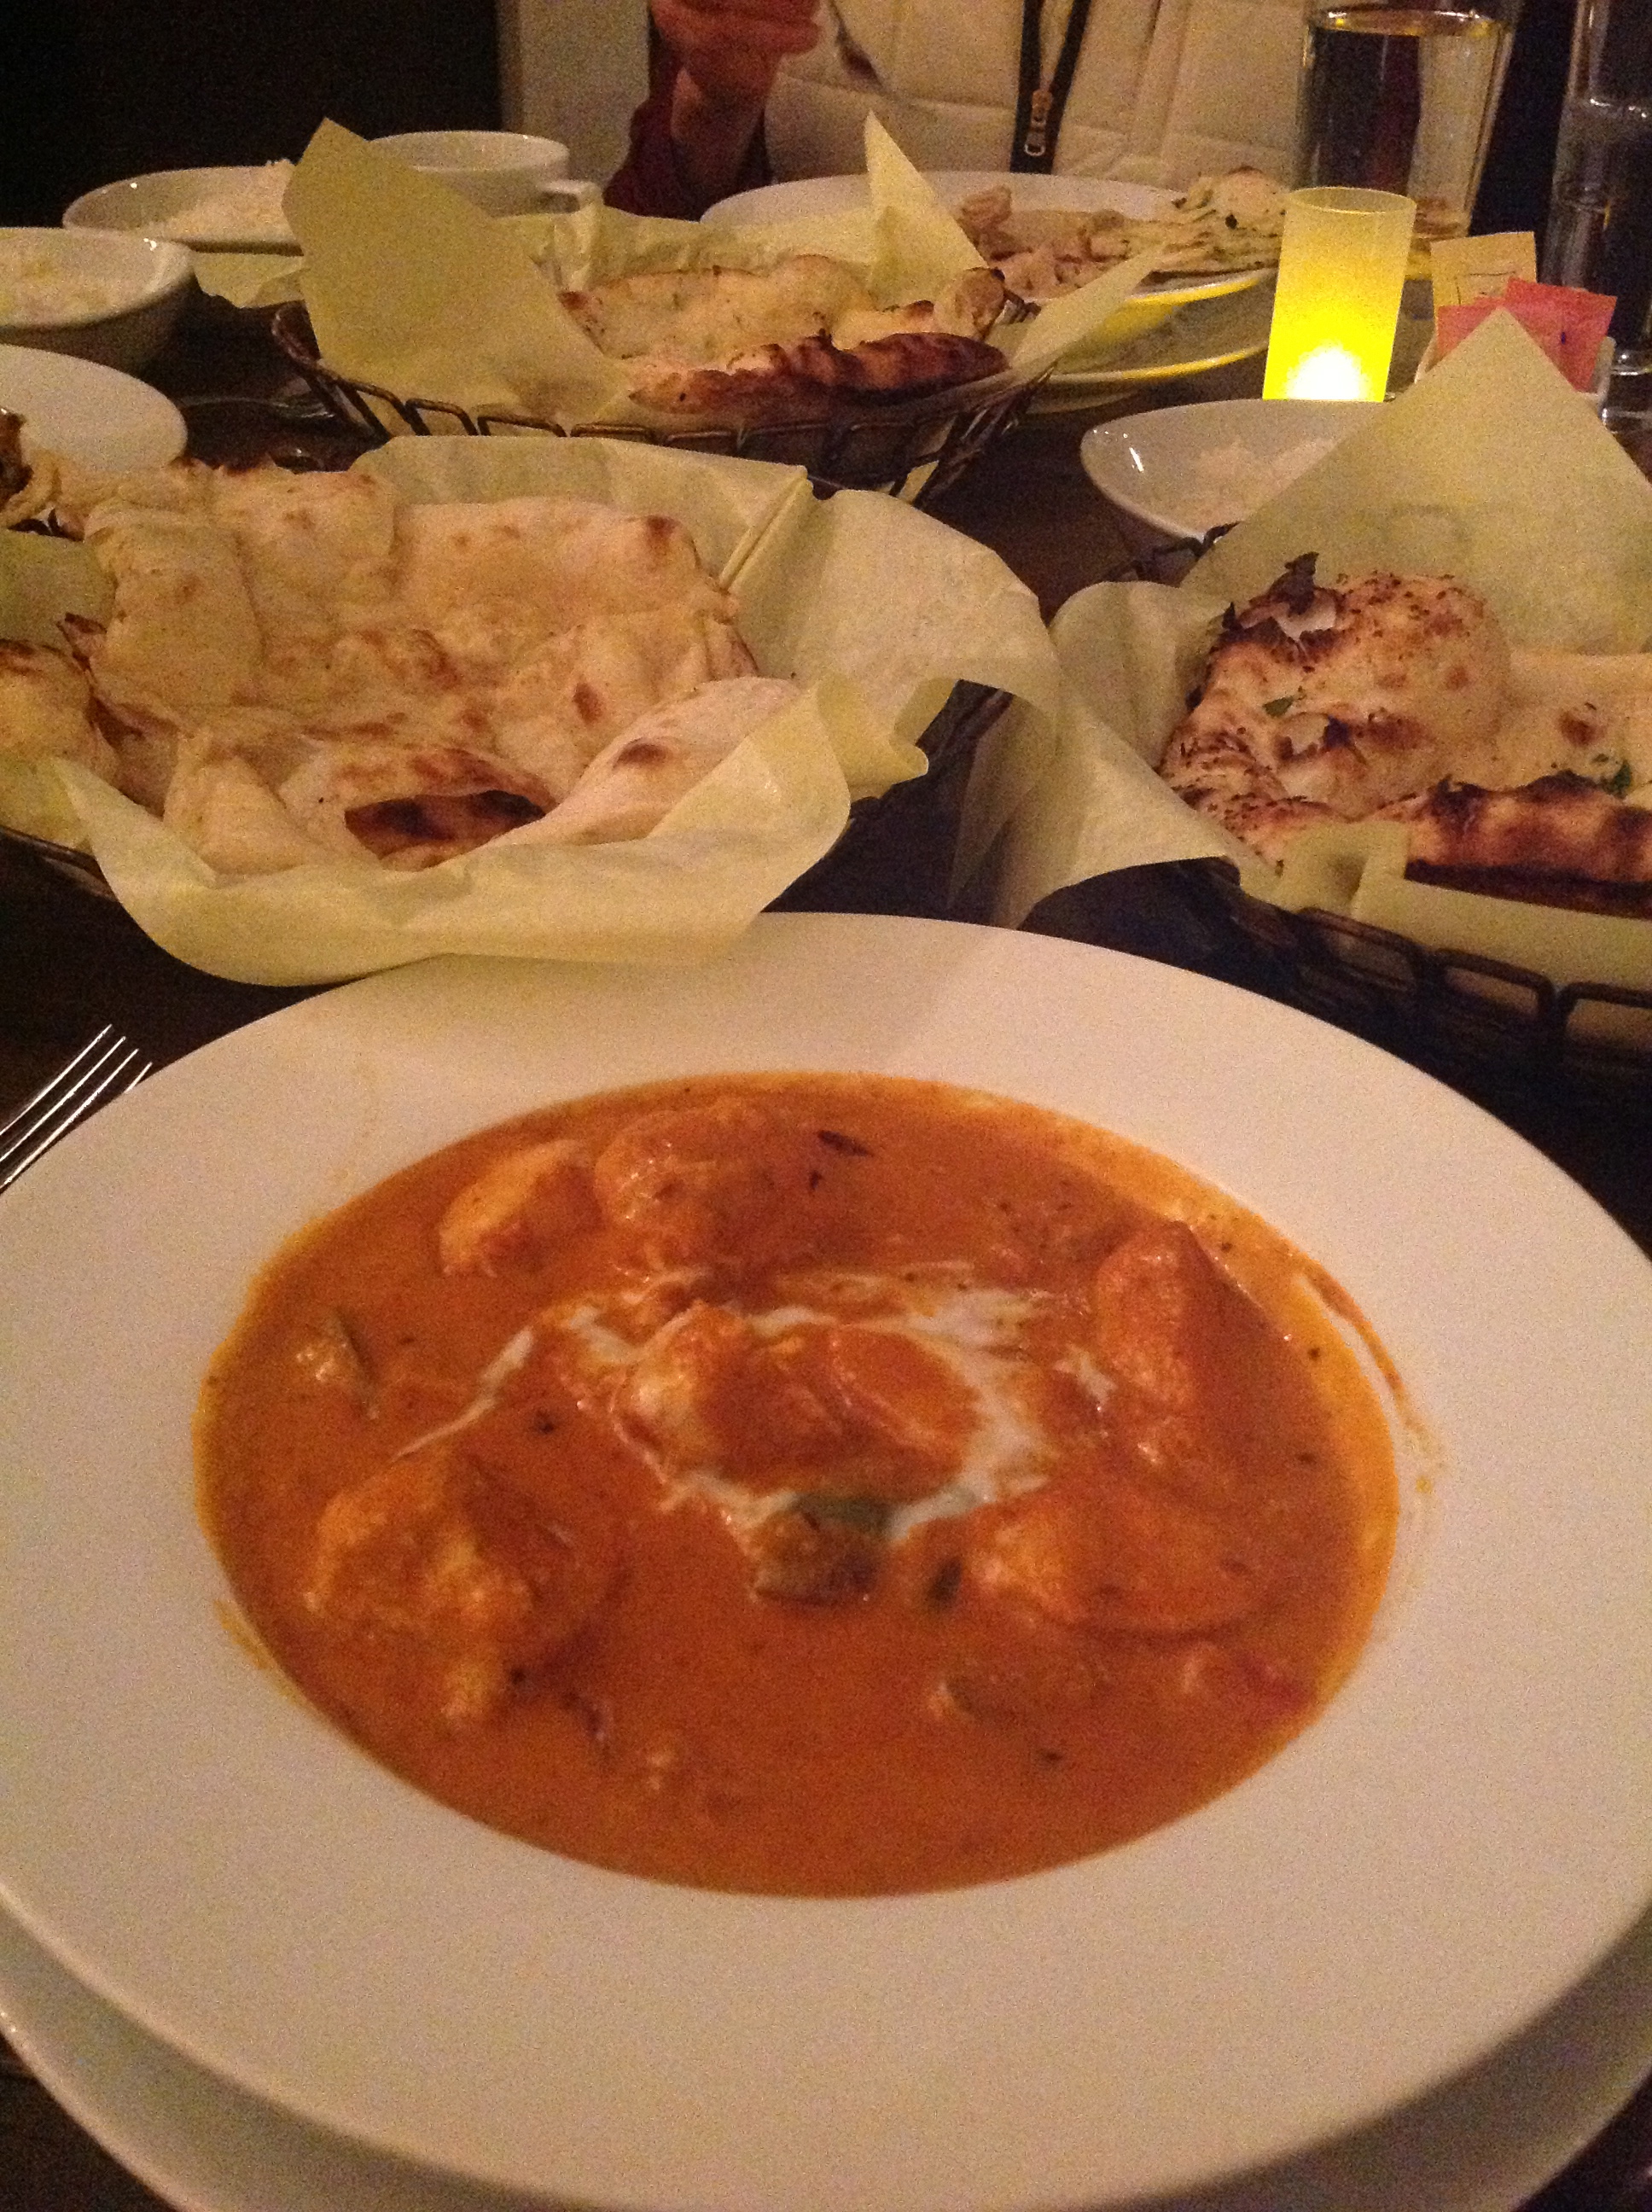
trying this new Indian resto at Bellevue (very good place but I forgot the name of the resto)
trying this new Indian resto at Bellevue  square(very good place but I forgot the name of the resto)
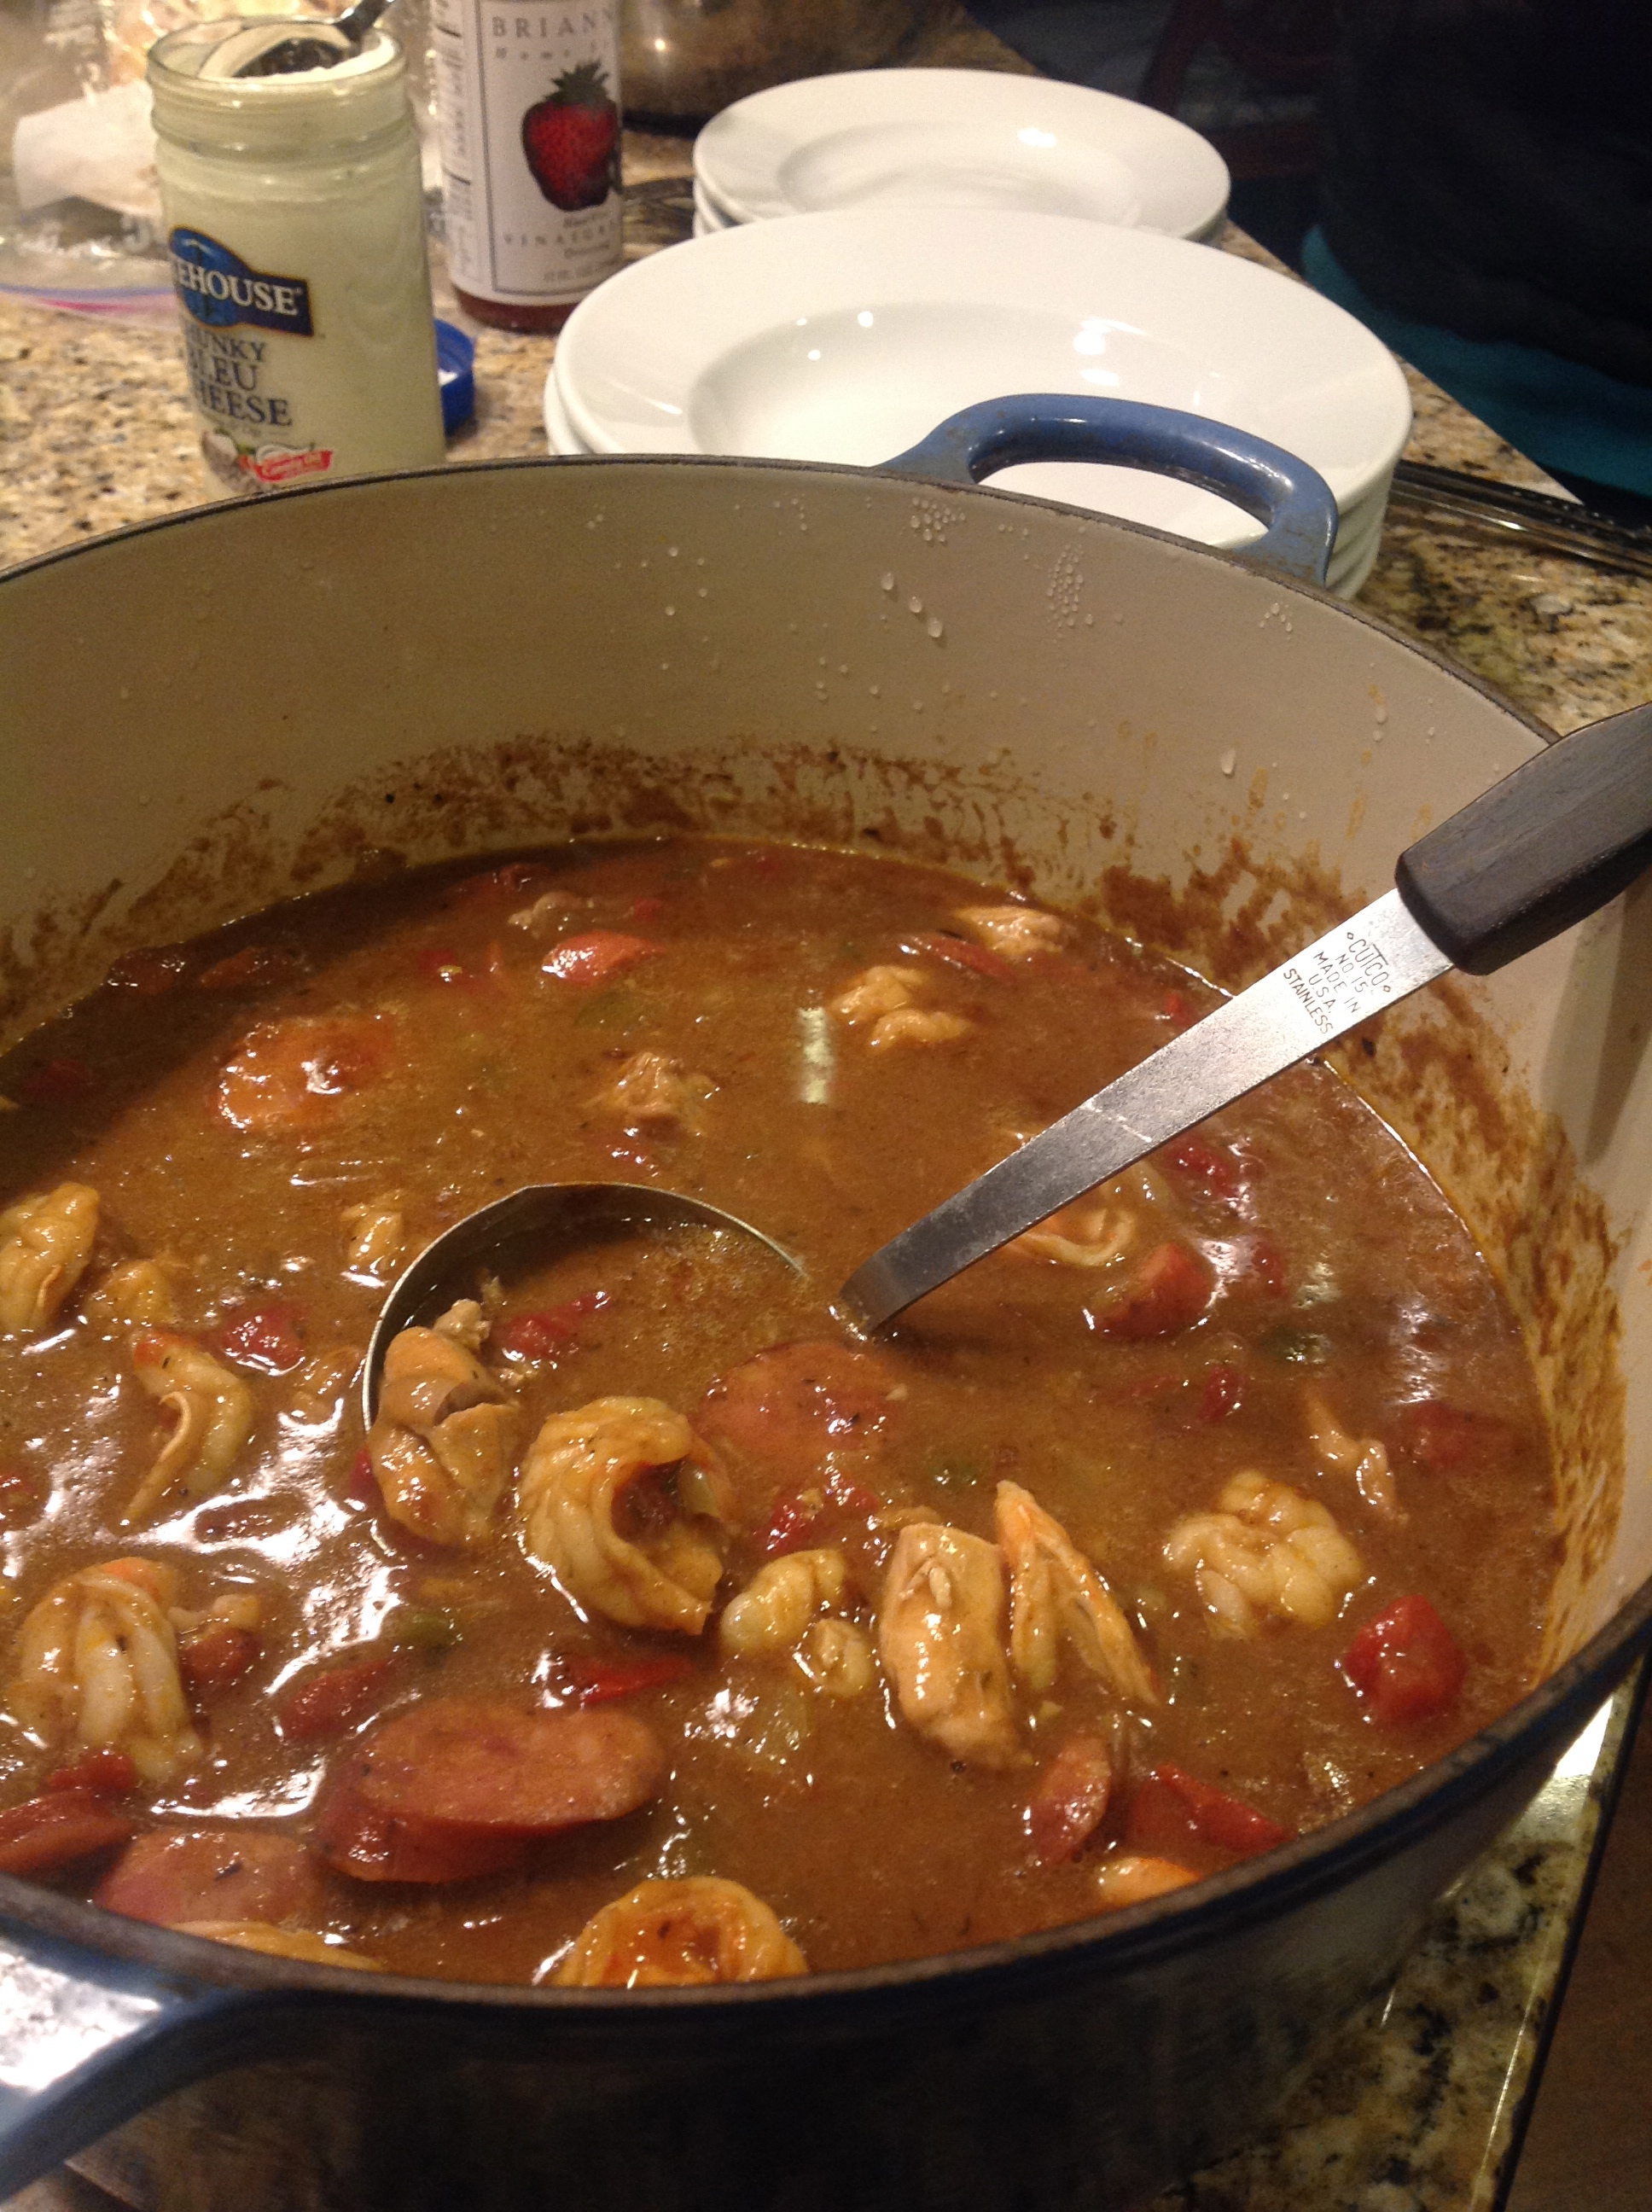
We had sunday dinner at my Inlaws last week, my DIL made gumbo (it was so good)

We’ve been eating yummy food lately! I’m looking forward to my meal planning tomorrow because that means we’ll probably have yummy food these coming days. We shall see! I hope you all have a good week and GO SEAHAWKS!!

Grilled Lamb Chops

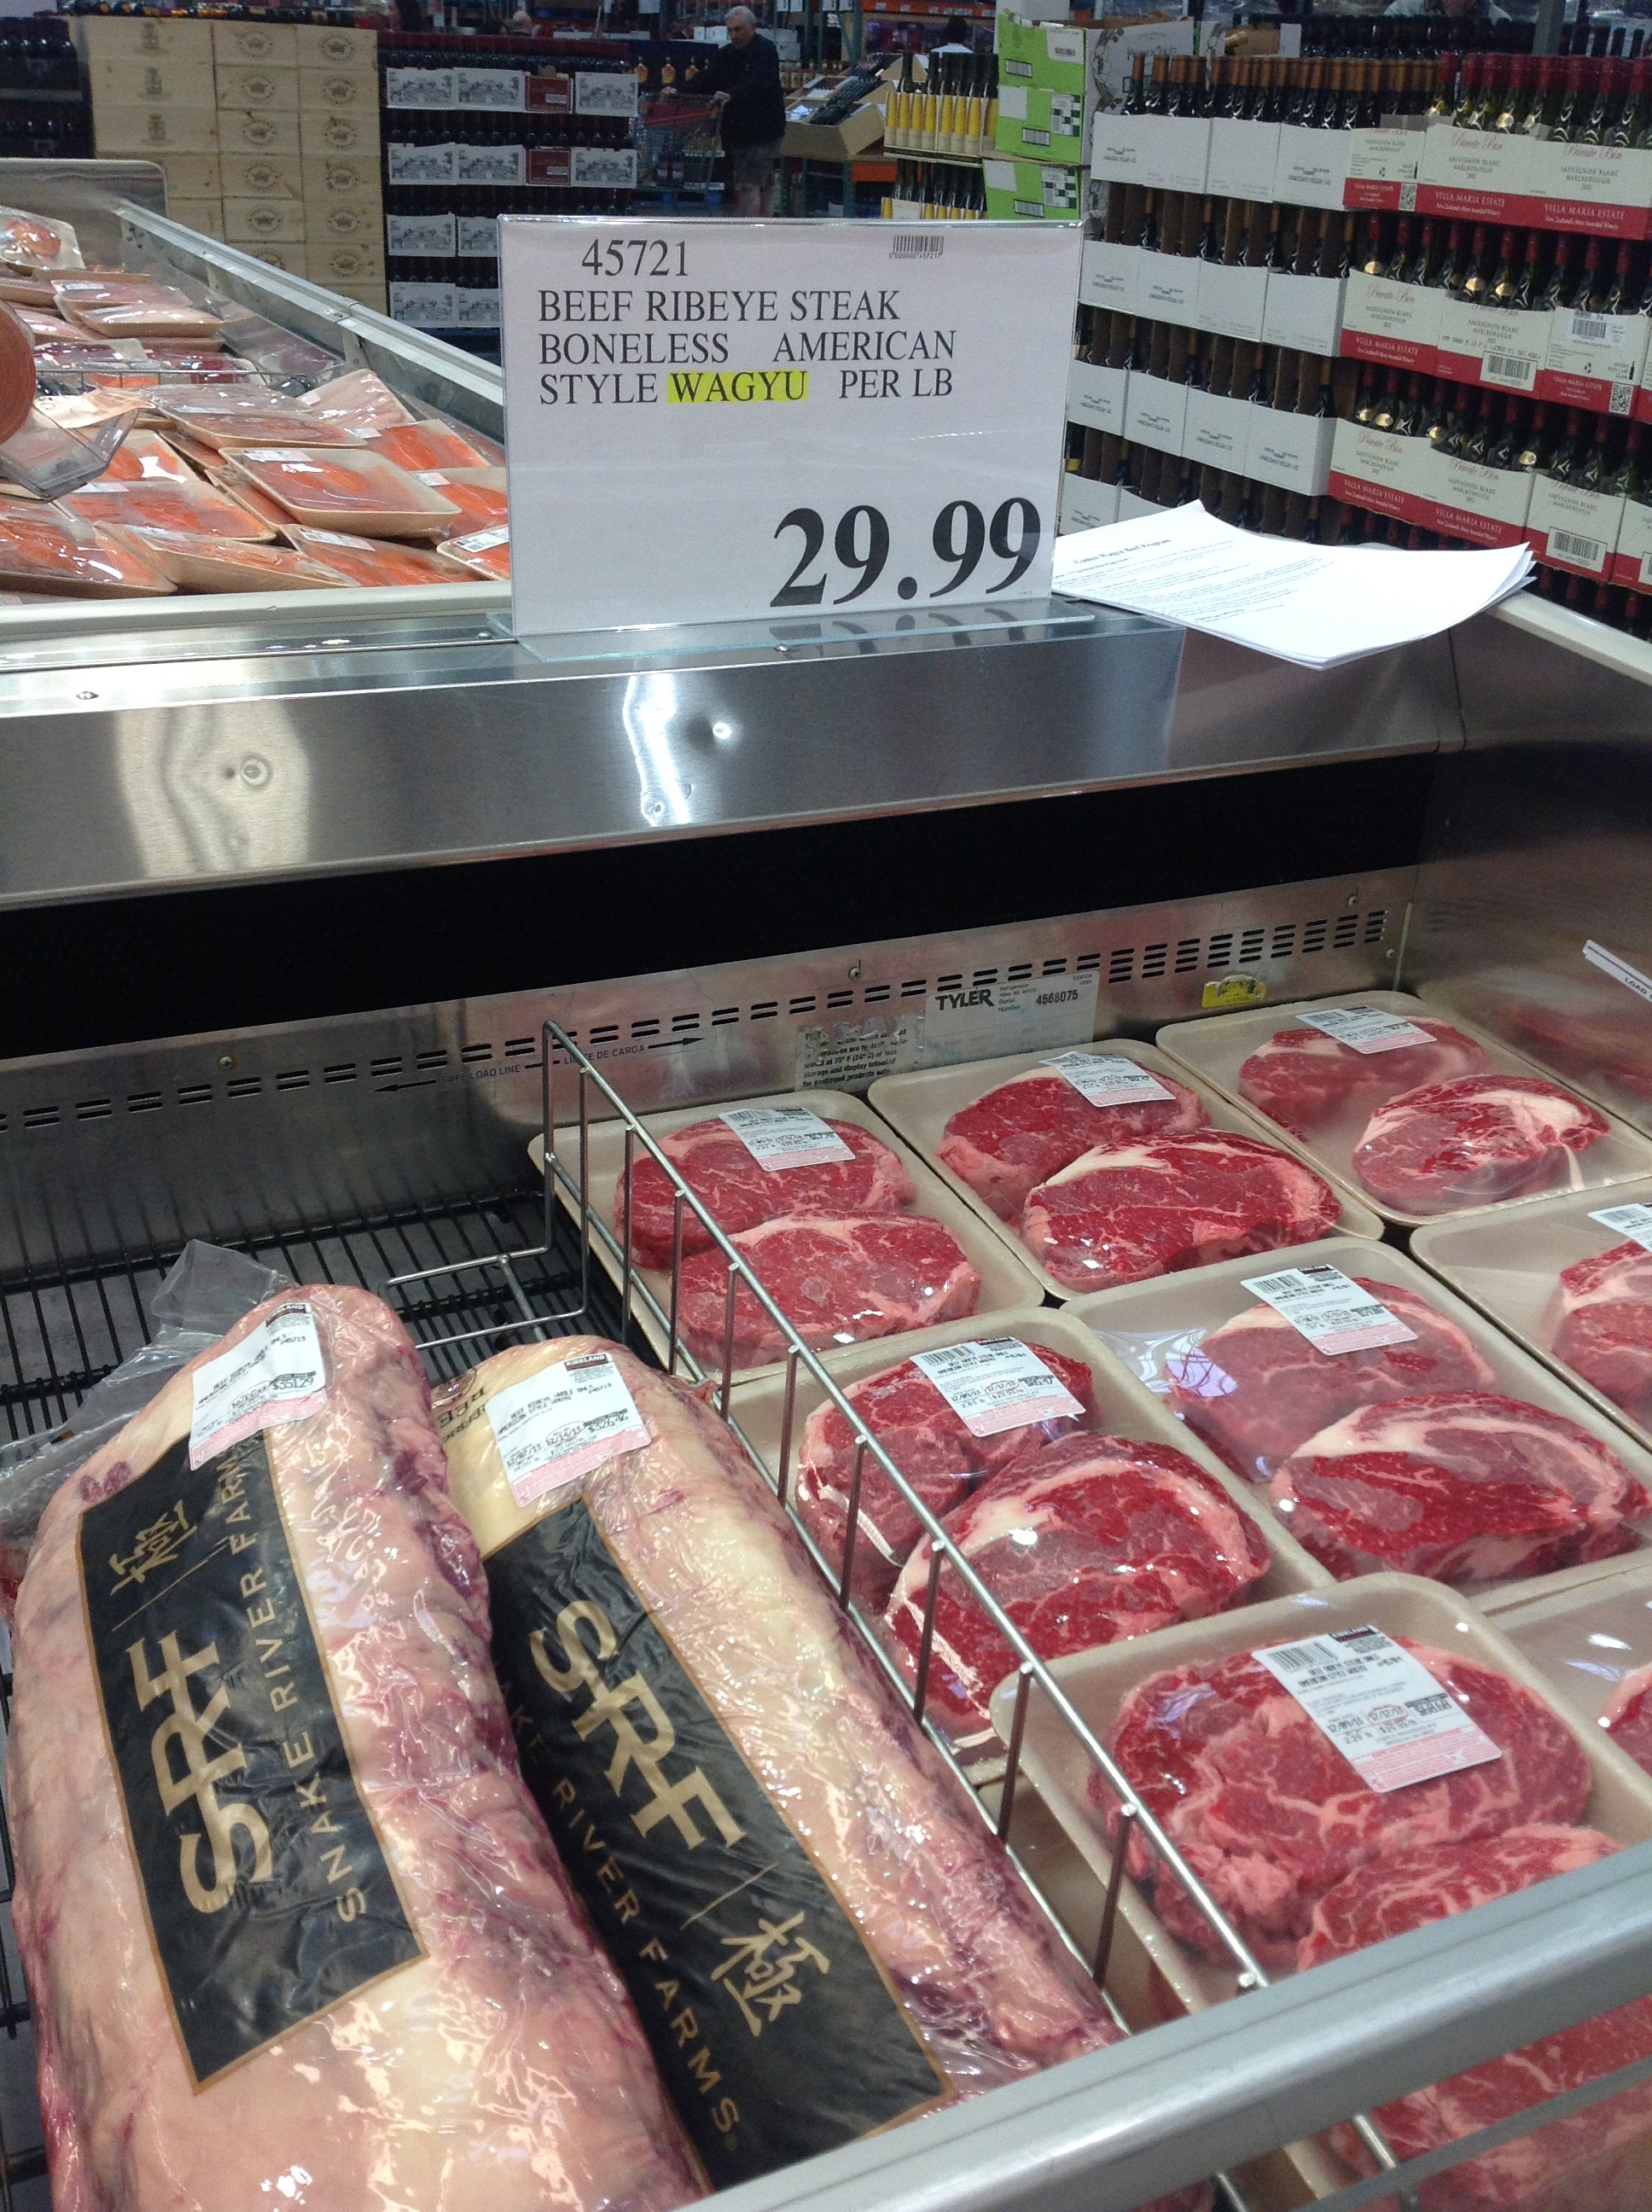
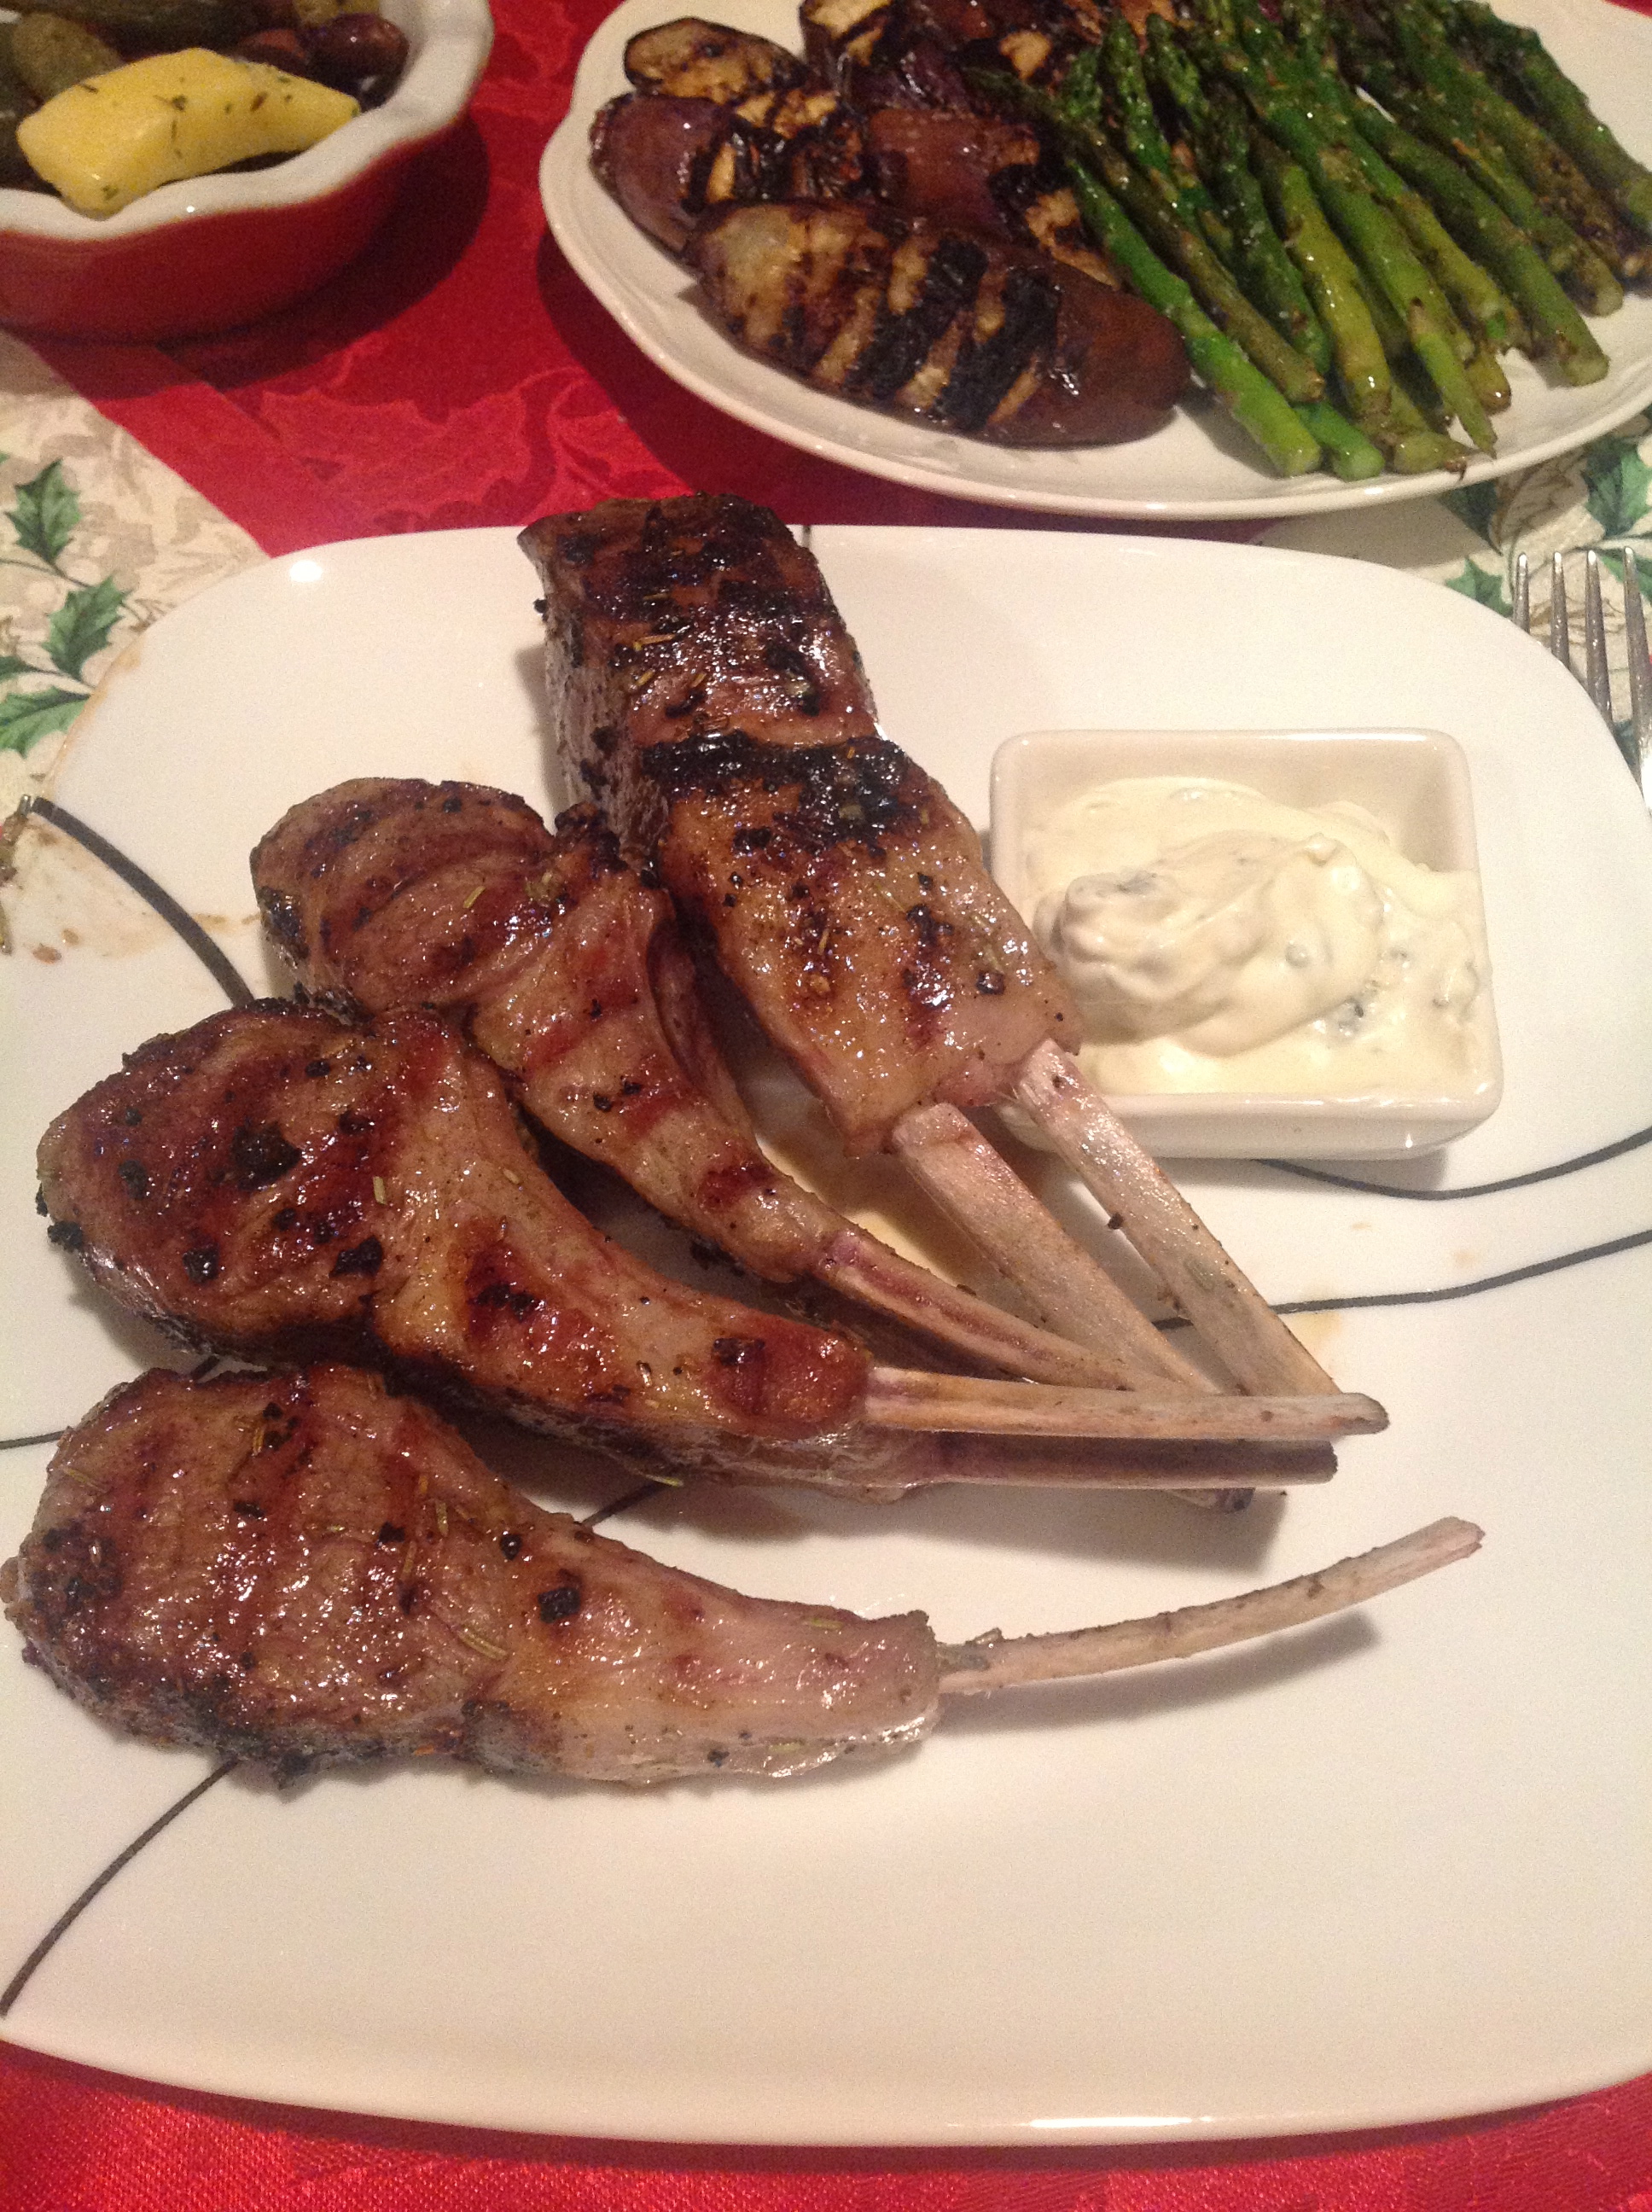
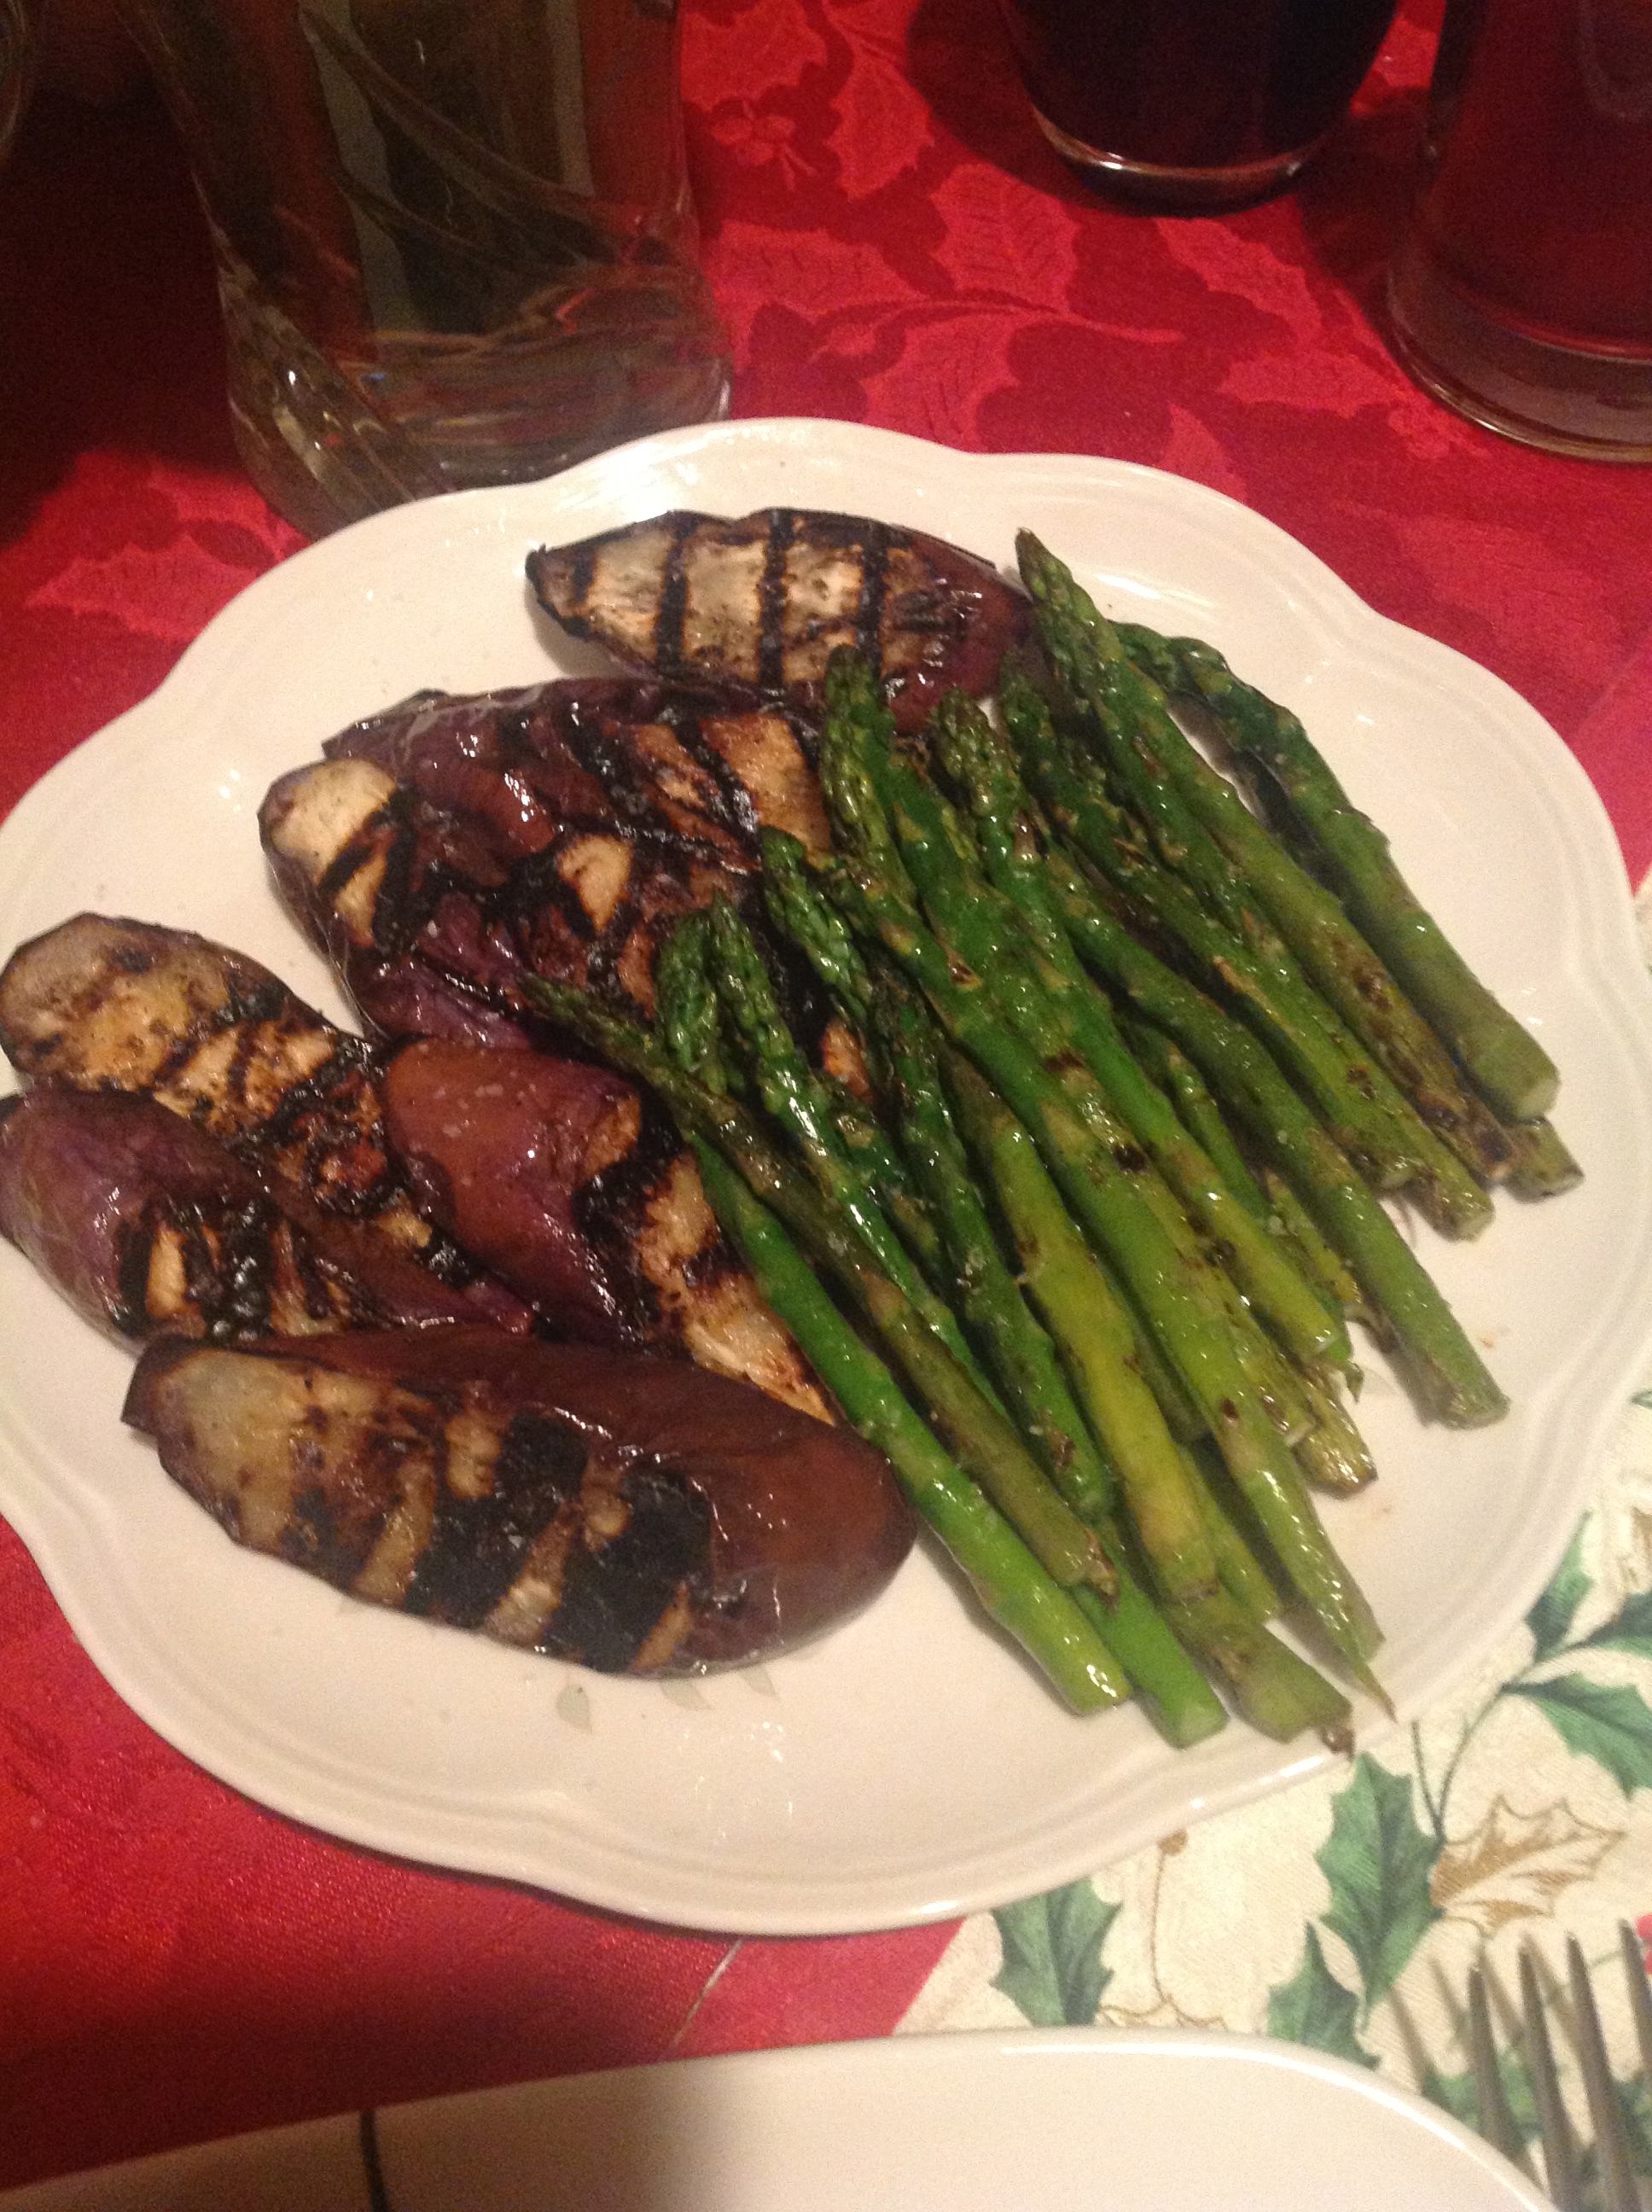
I went to Costco earlier because I was looking for a Christmas gift for my sister (I didn’t find the gift she wanted). I love shopping at Costco because aside from their usual stuff, you can find some seasonal things that are fun and which they most likely will not carry it again. I have to be a conscious buyer though because I have a limited budget and there is just too much great stuff! My favorite area is their meat department, looking at their neatly arranged meat and poultry sections makes me think of all of the endless dishes I can make. I got excited when I saw they had some Wagyu beef today (I only noticed it today,maybe because it’s the Holidays?) so I called my Husband to see if he wanted some Wagyu steaks (I don’t want him shocked if he’ll see our debit card statement!). Knowing my husband he’s always up for steaks and sometimes blind to the price! So he wanted to try both the rib eye and new york steaks, so I got two of each. I also got some lamb chops because I was thinking my husband might like a surprise for dinner (I rarely prepare them).  I saw Giada De Laurentii prepare them last week on her show and thought it was pretty easy. This was so simple and quite good! I grilled some eggplant and asparagus to go with the lamb.

WAGYU WAGYU!
WAGYU WAGYU!
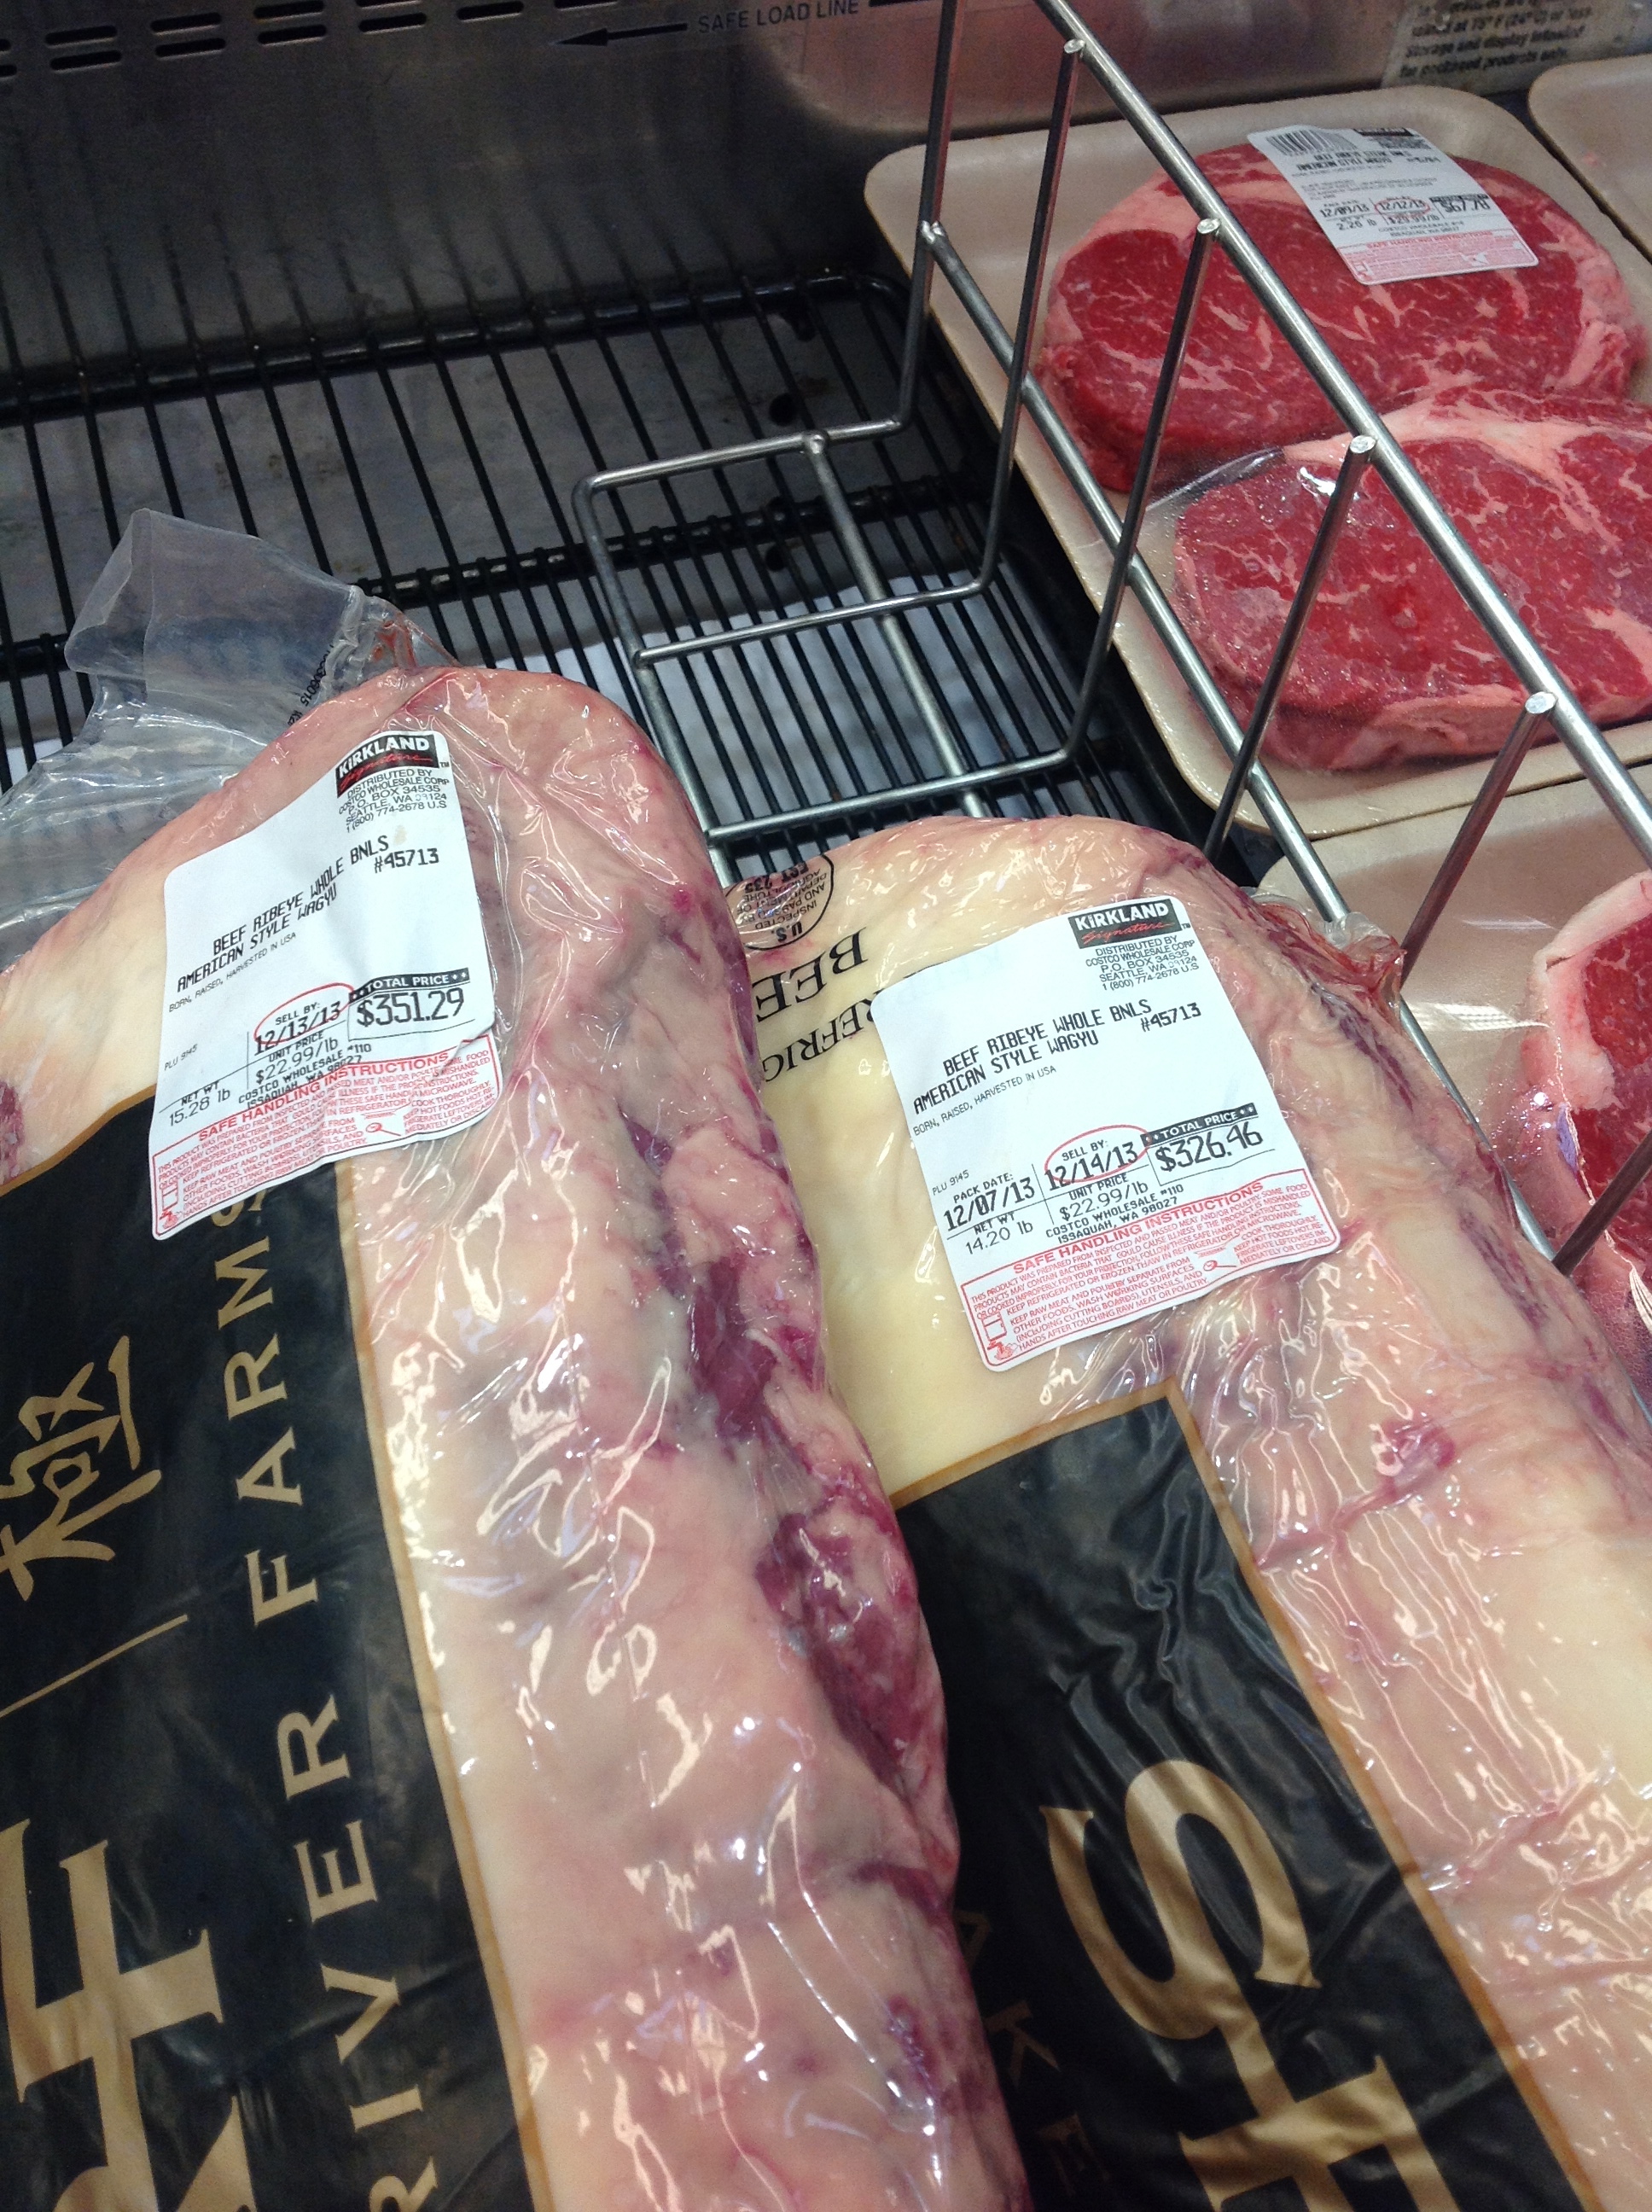
closer look: $351,$326
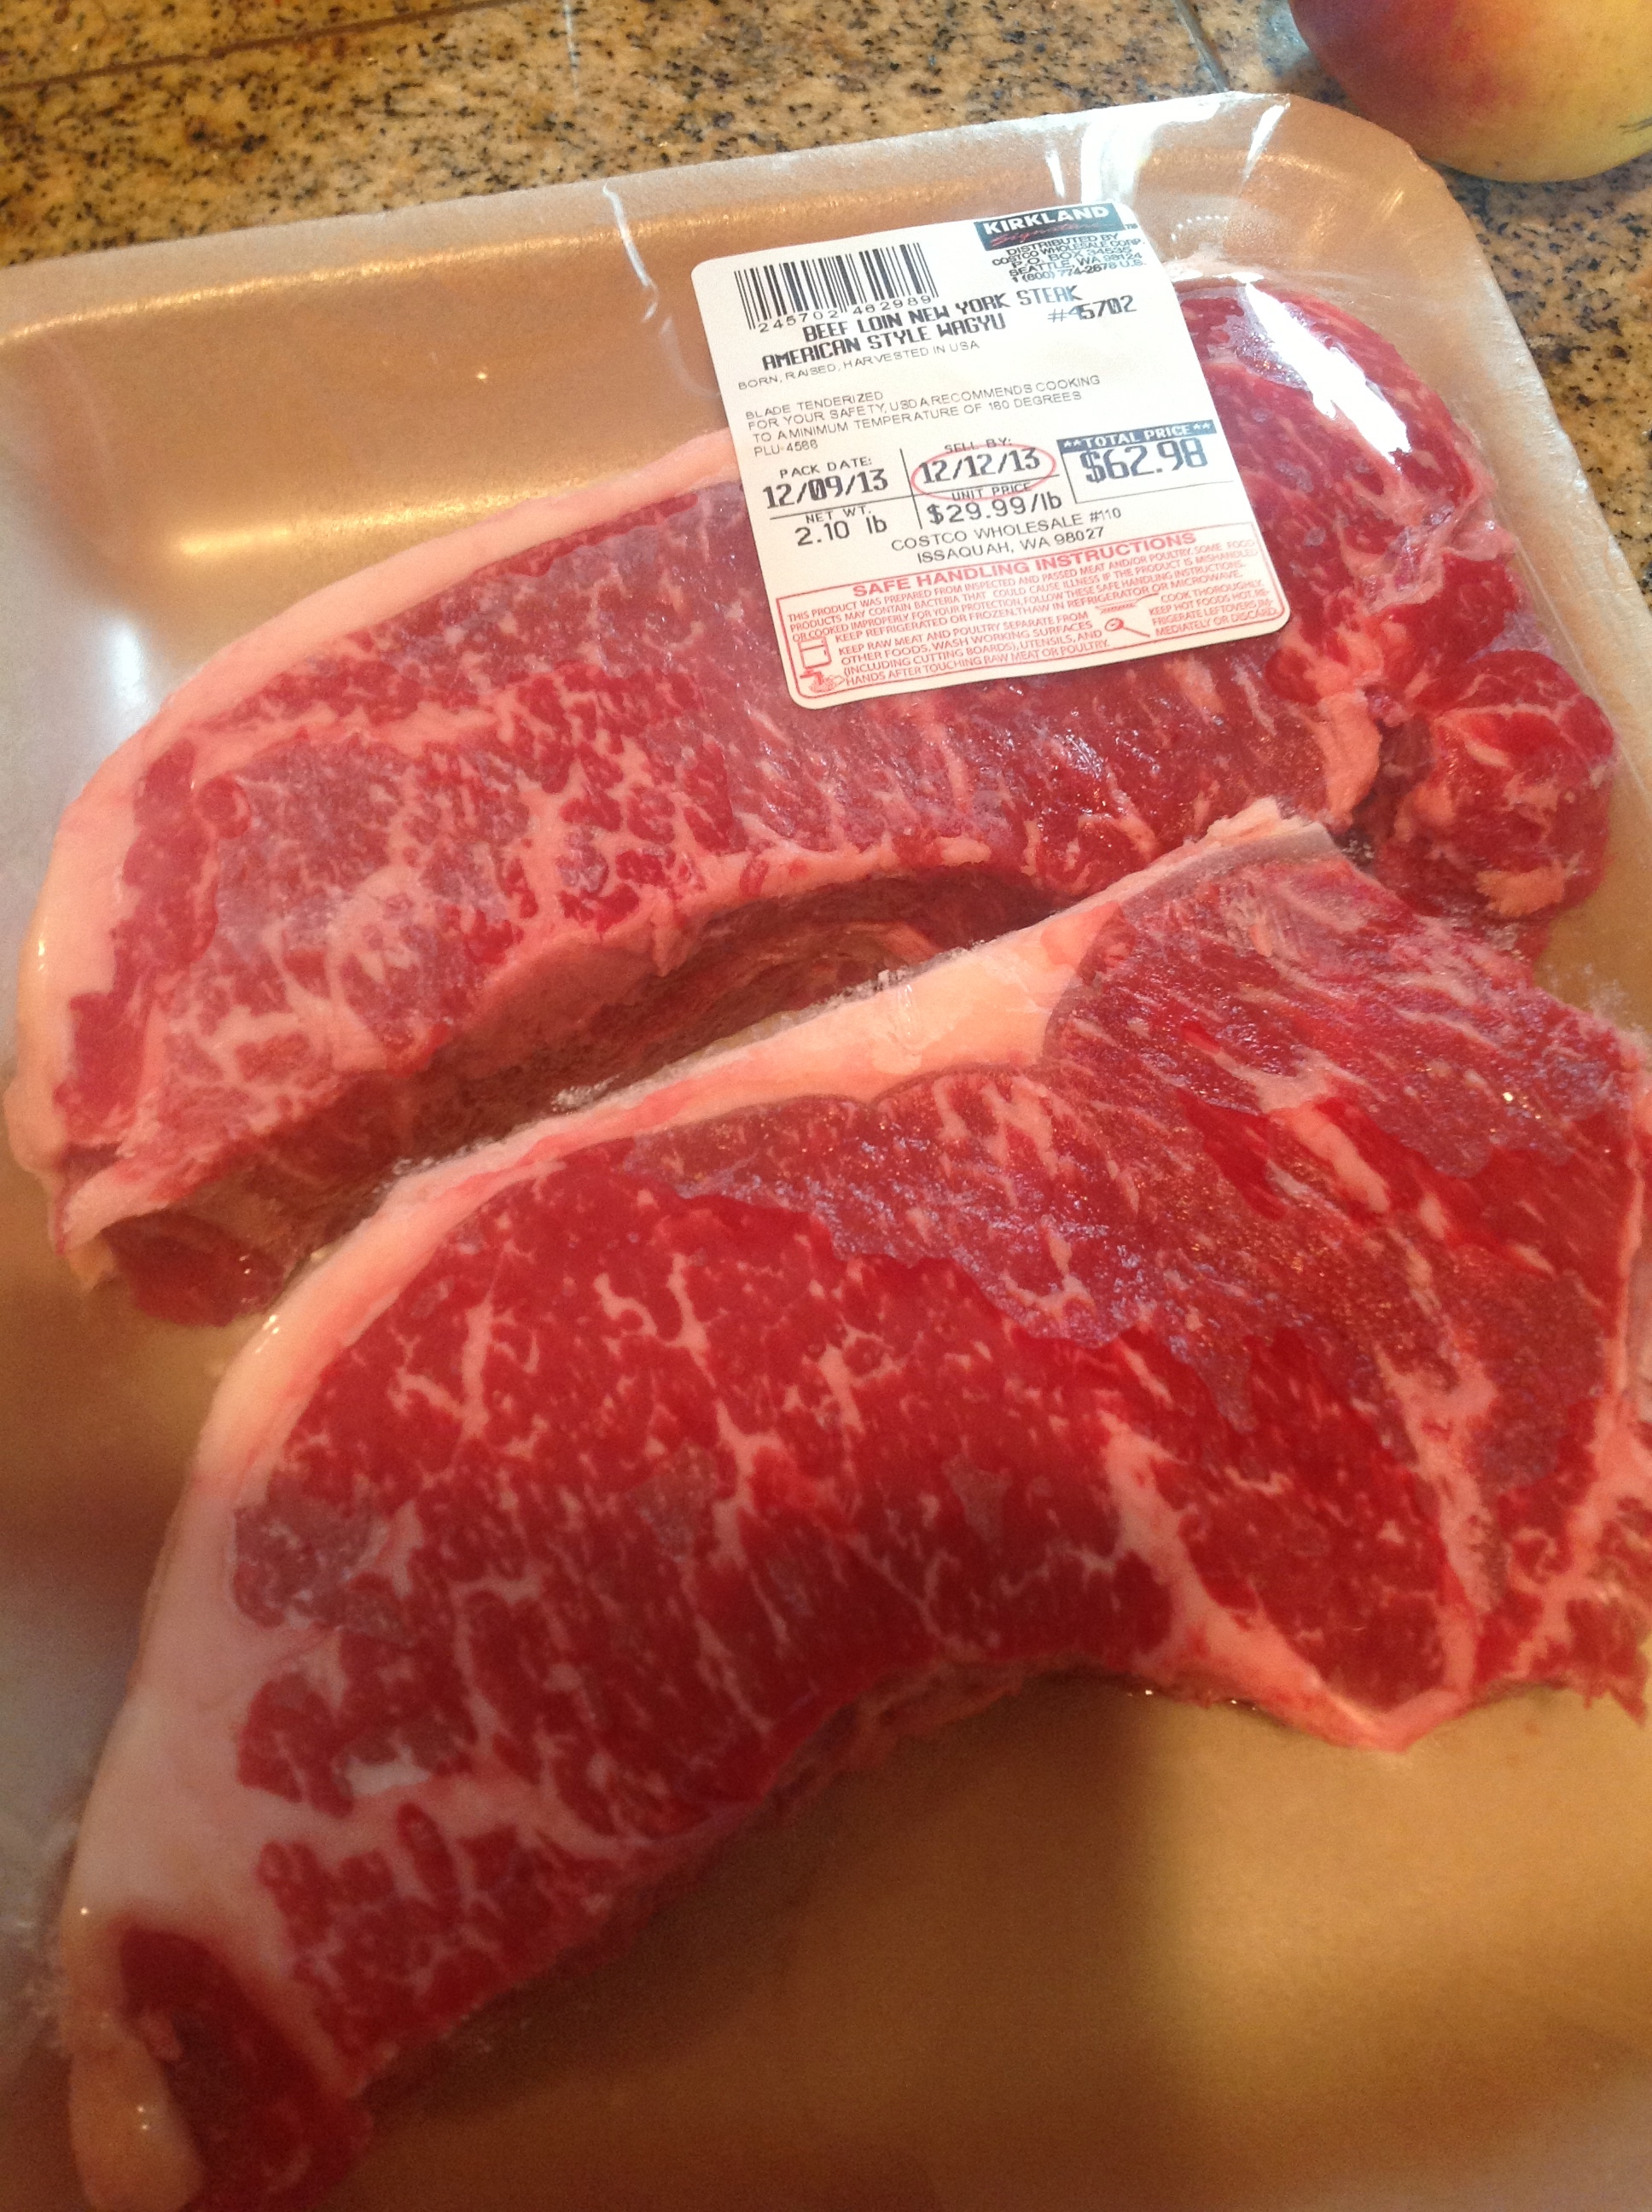
I settled for the package
I settled for the packages/New York Steak Wagyu
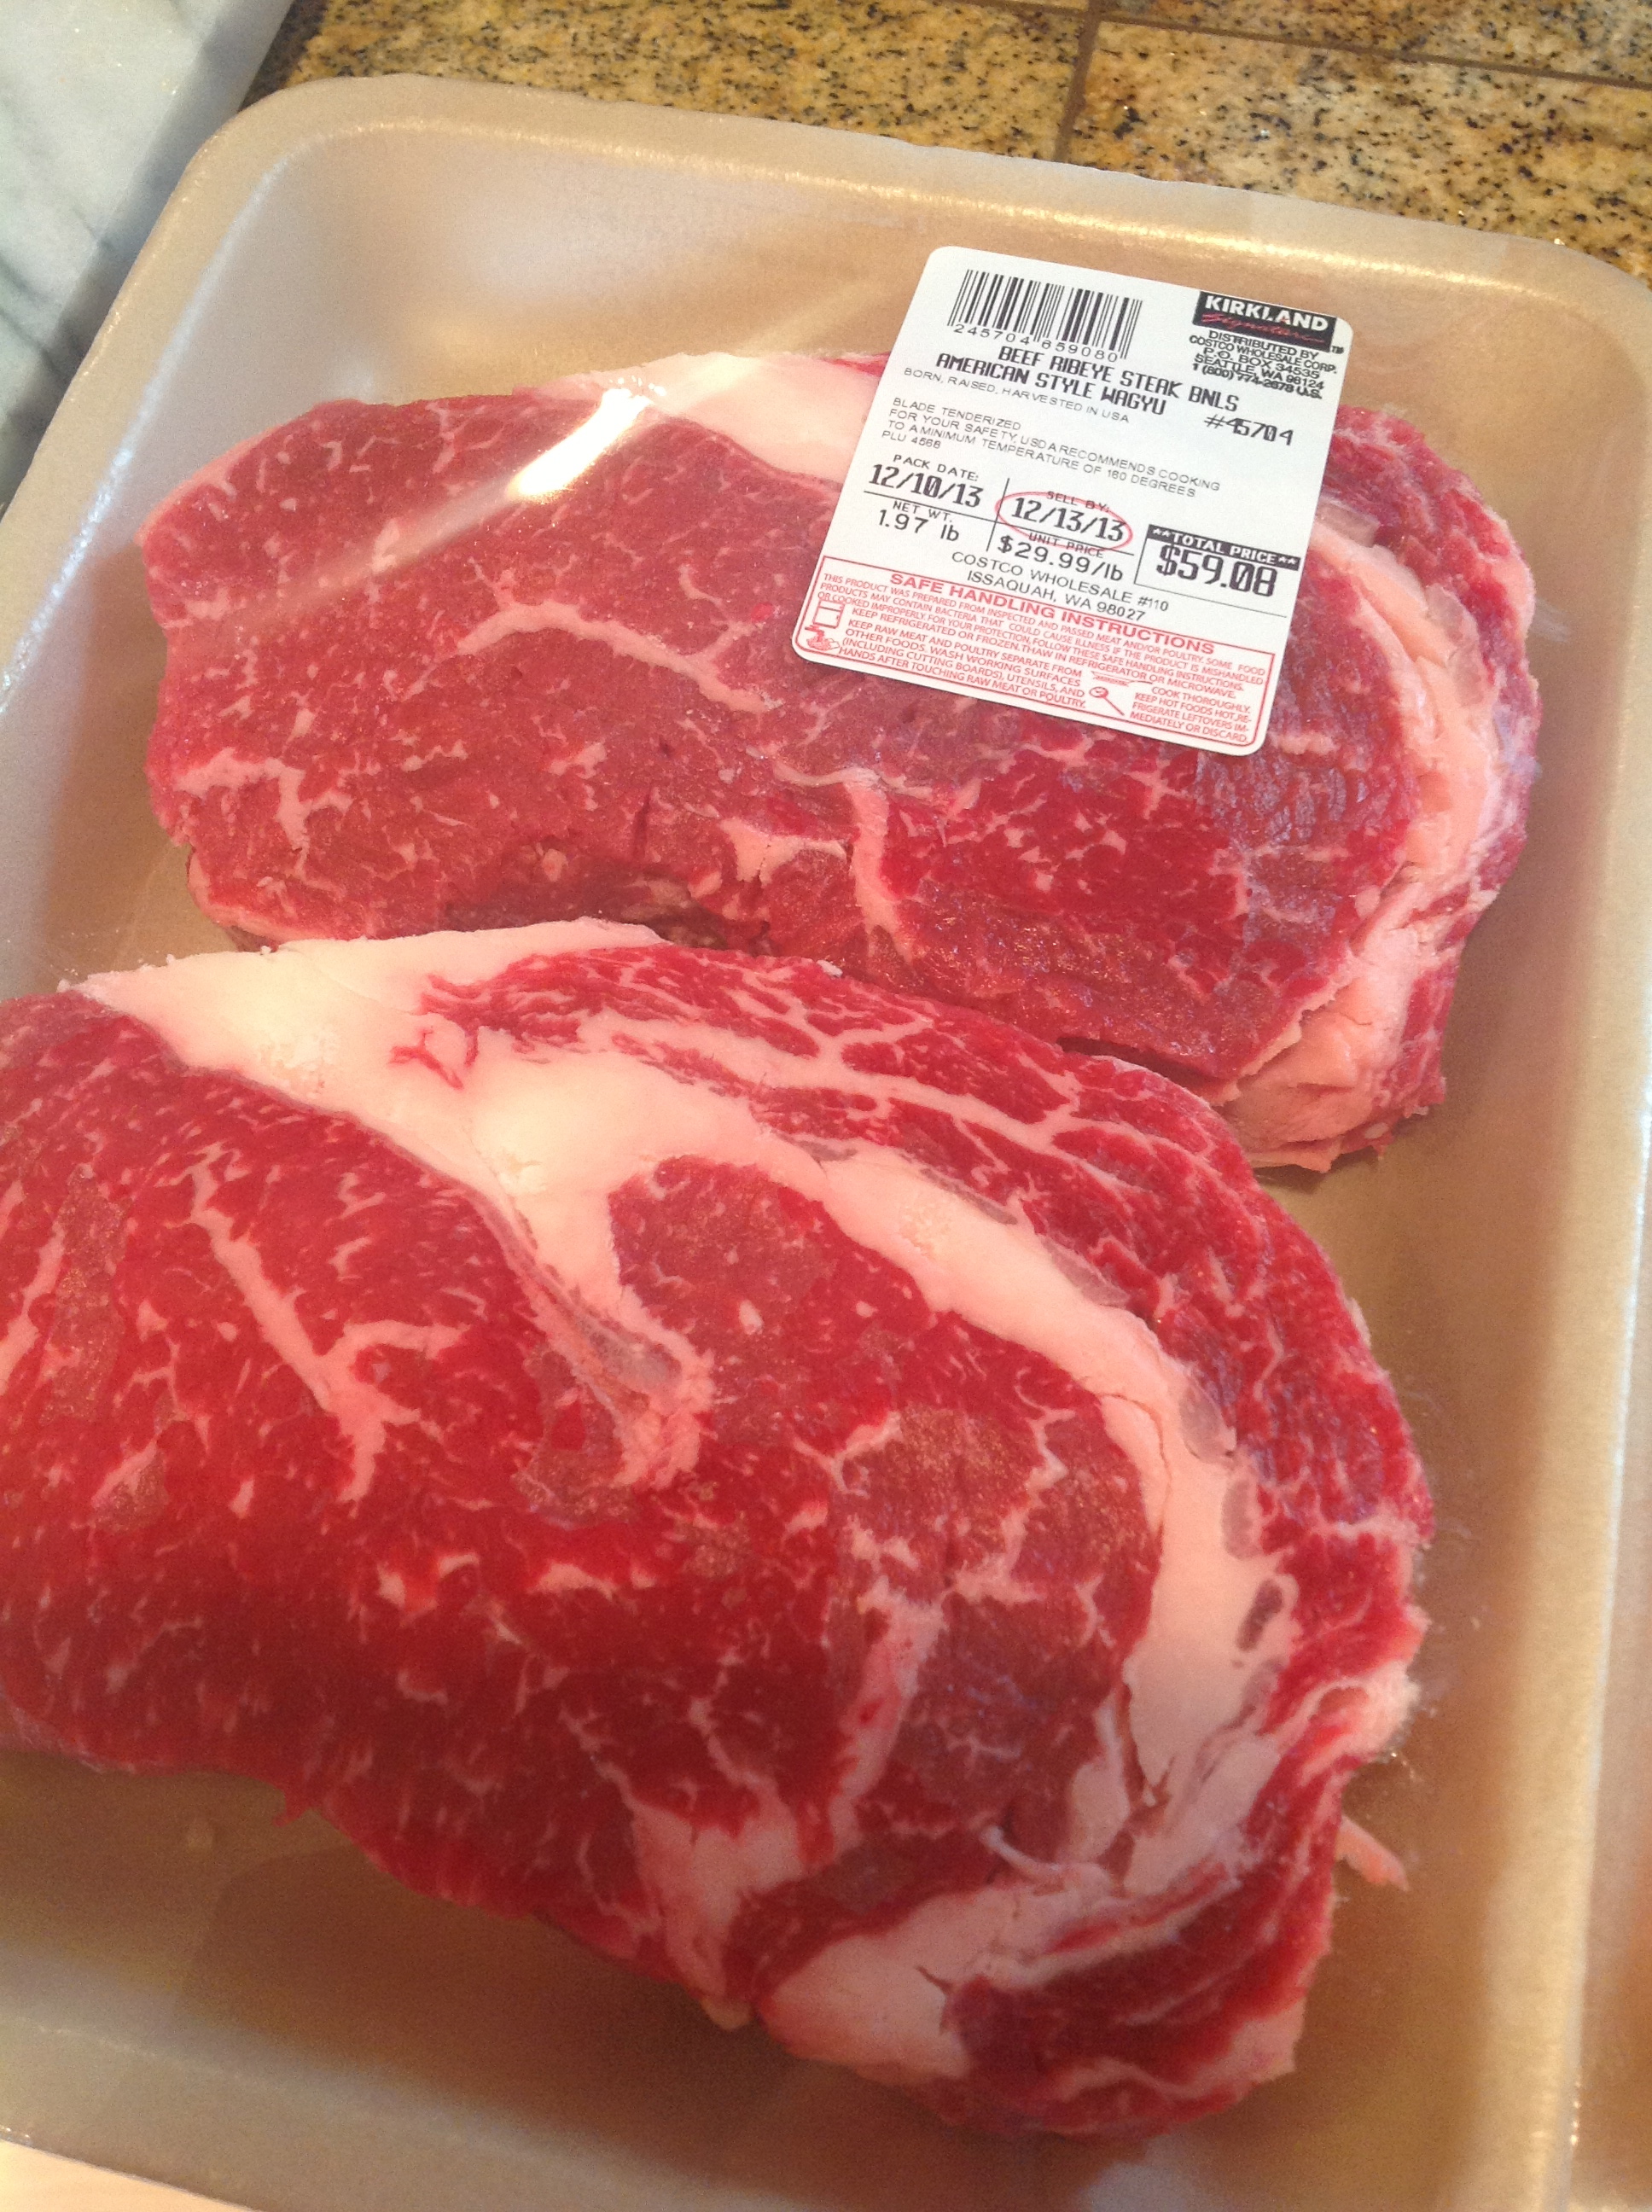
Rib Eye (i'm excited to have this)
Rib Eye  Wagyu (I’m excited to have this)
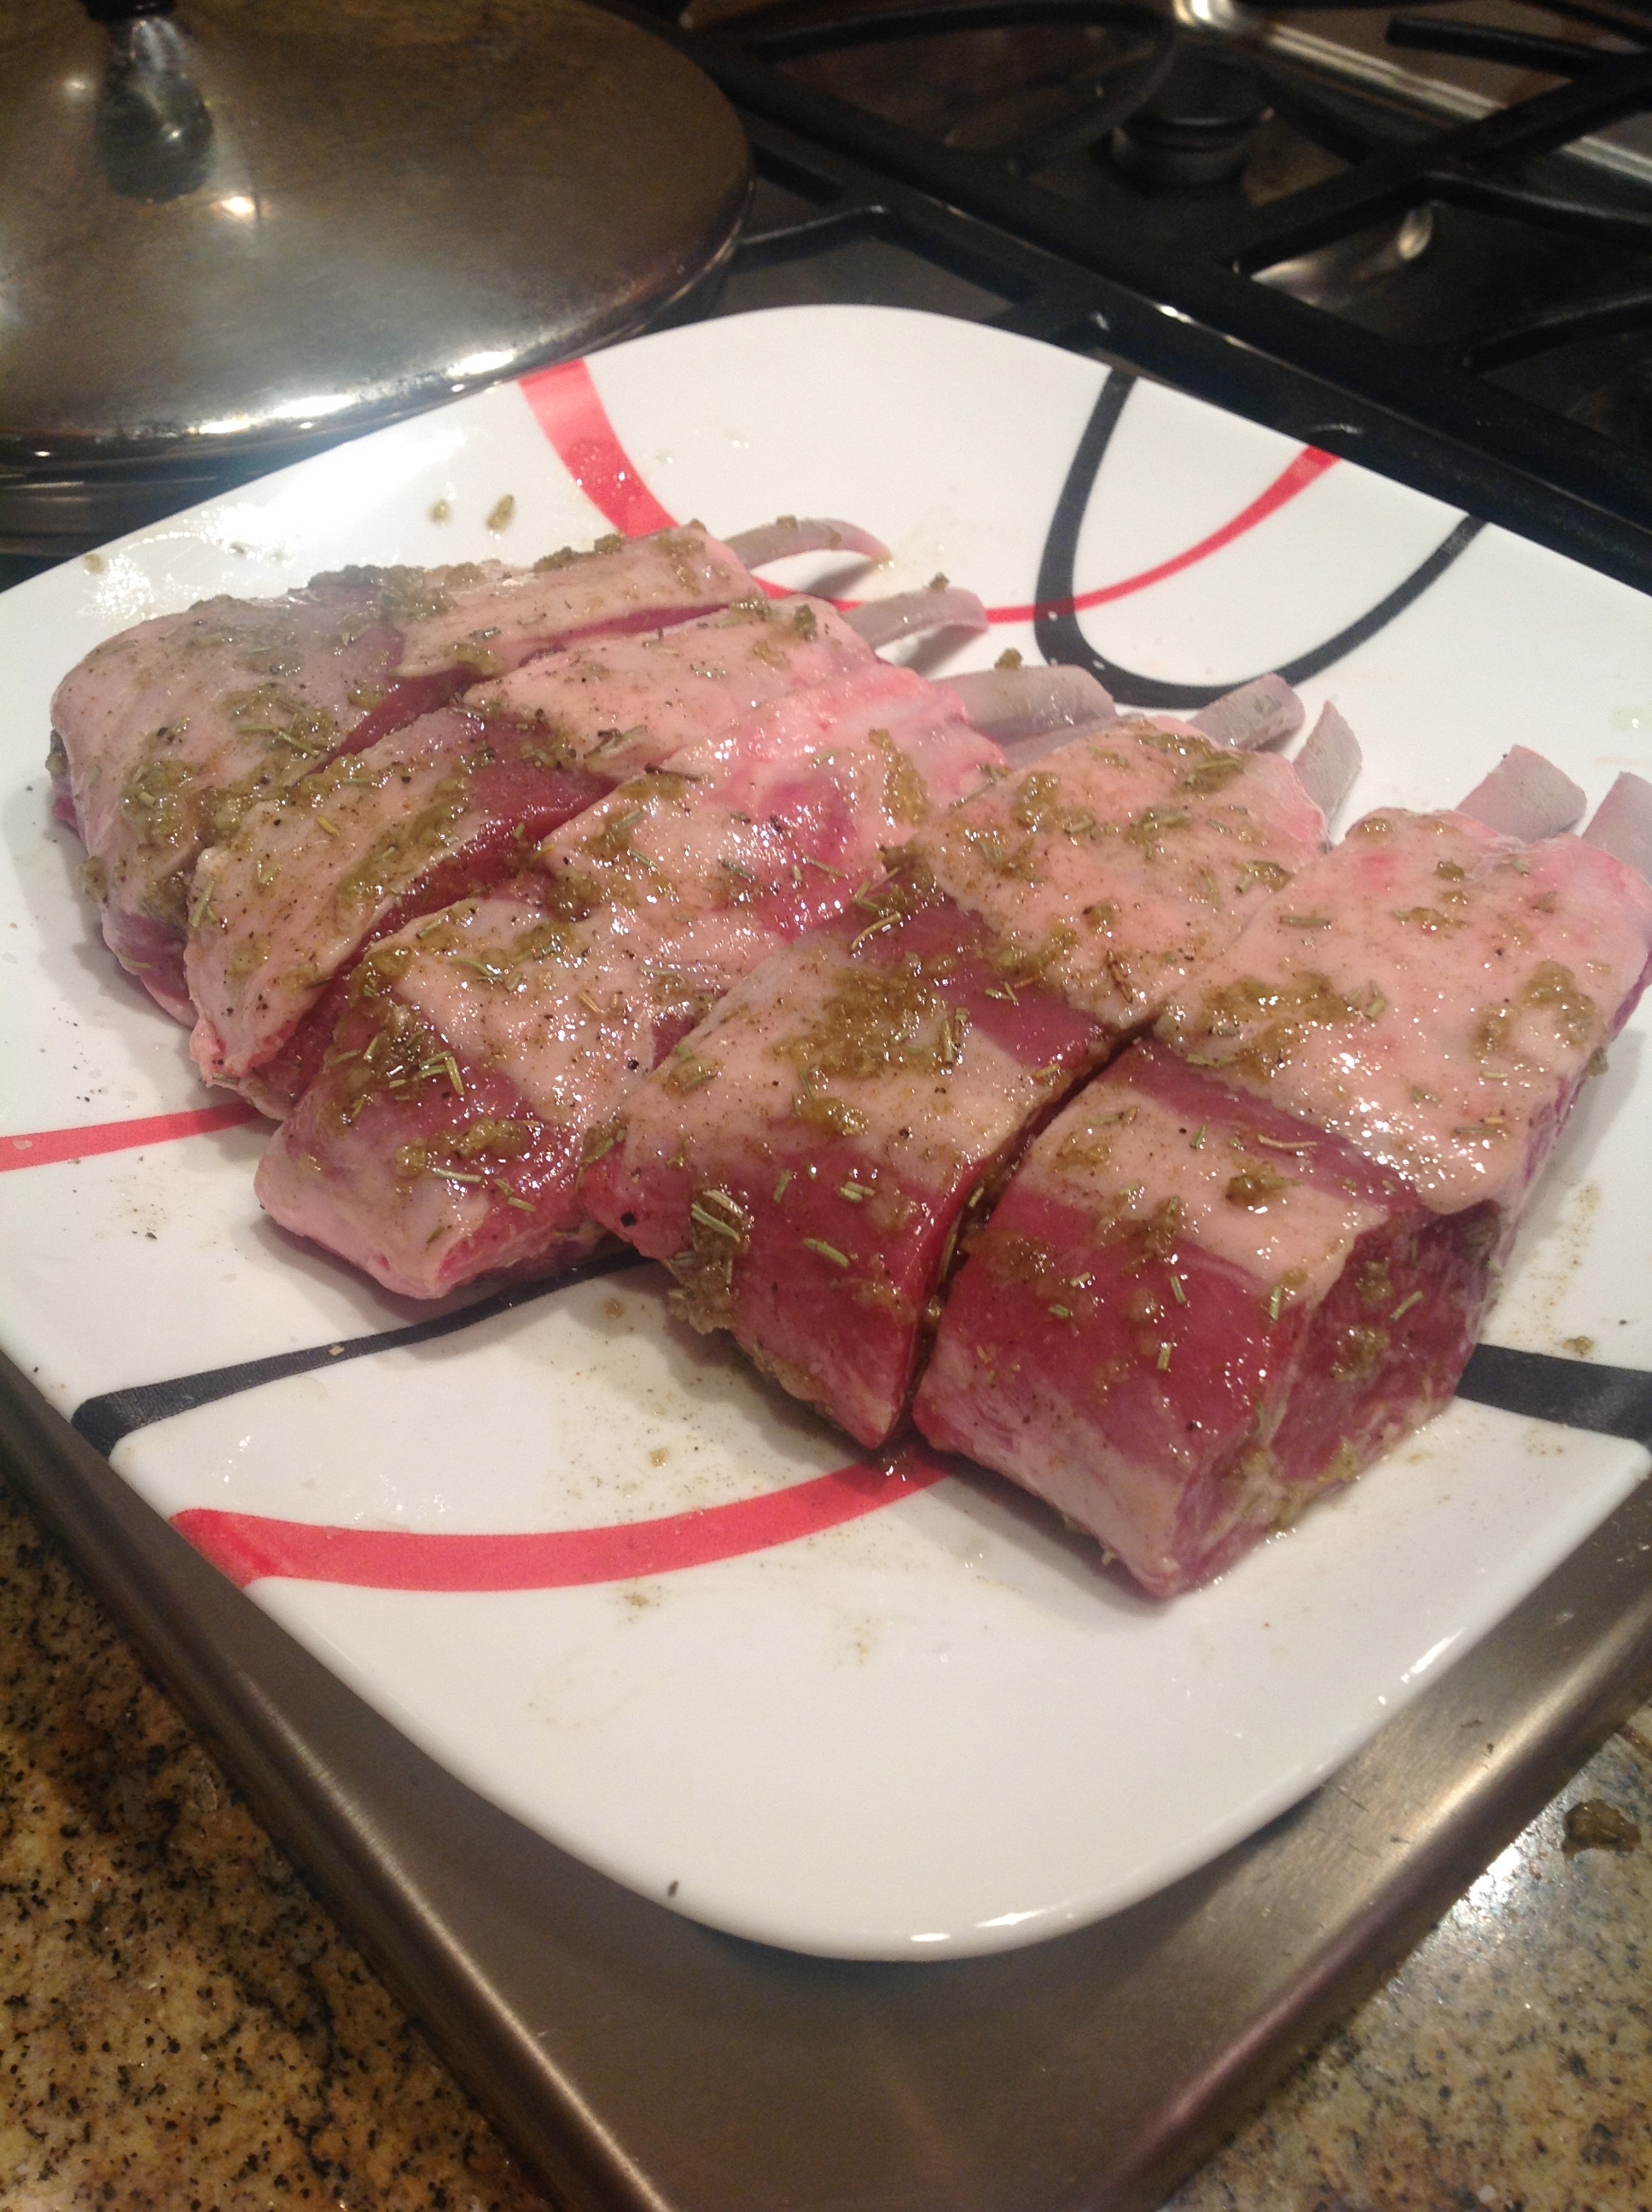
marinated lamb chop
marinated lamb chop
yum!
yum!
grilled veggies
grilled veggies

Grilled Lamb Chops (Giada De Laurentiis recipe/Foodnetwork.com)

Ingredients:

2 large garlic cloves, crushed

1 tablespoon fresh rosemary leaves

1 teaspoon fresh thyme leaves

Pinch cayenne pepper

Coarse sea salt

2 tablespoons extra-virgin olive oil

6 lamb chops, about 3/4-inch thick

Directions:

In a food processor fitted with a metal blade add the garlic, rosemary, thyme, cayenne, and salt. Pulse until combined. Pour in olive oil and pulse into a paste. Rub the paste on both sides of the lamb chops and let them marinate for at least 1 hour in the refrigerator. Remove from refrigerator and allow the chops to come to room temperature; it will take about 20 minutes.

Heat a grill pan over high heat until almost smoking, add the chops and sear for about 2 minutes. Flip the chops over and cook for another 3 minutes for medium-rare and 3 1/2 minutes for medium.

Korean Kalbi Baby Back Ribs

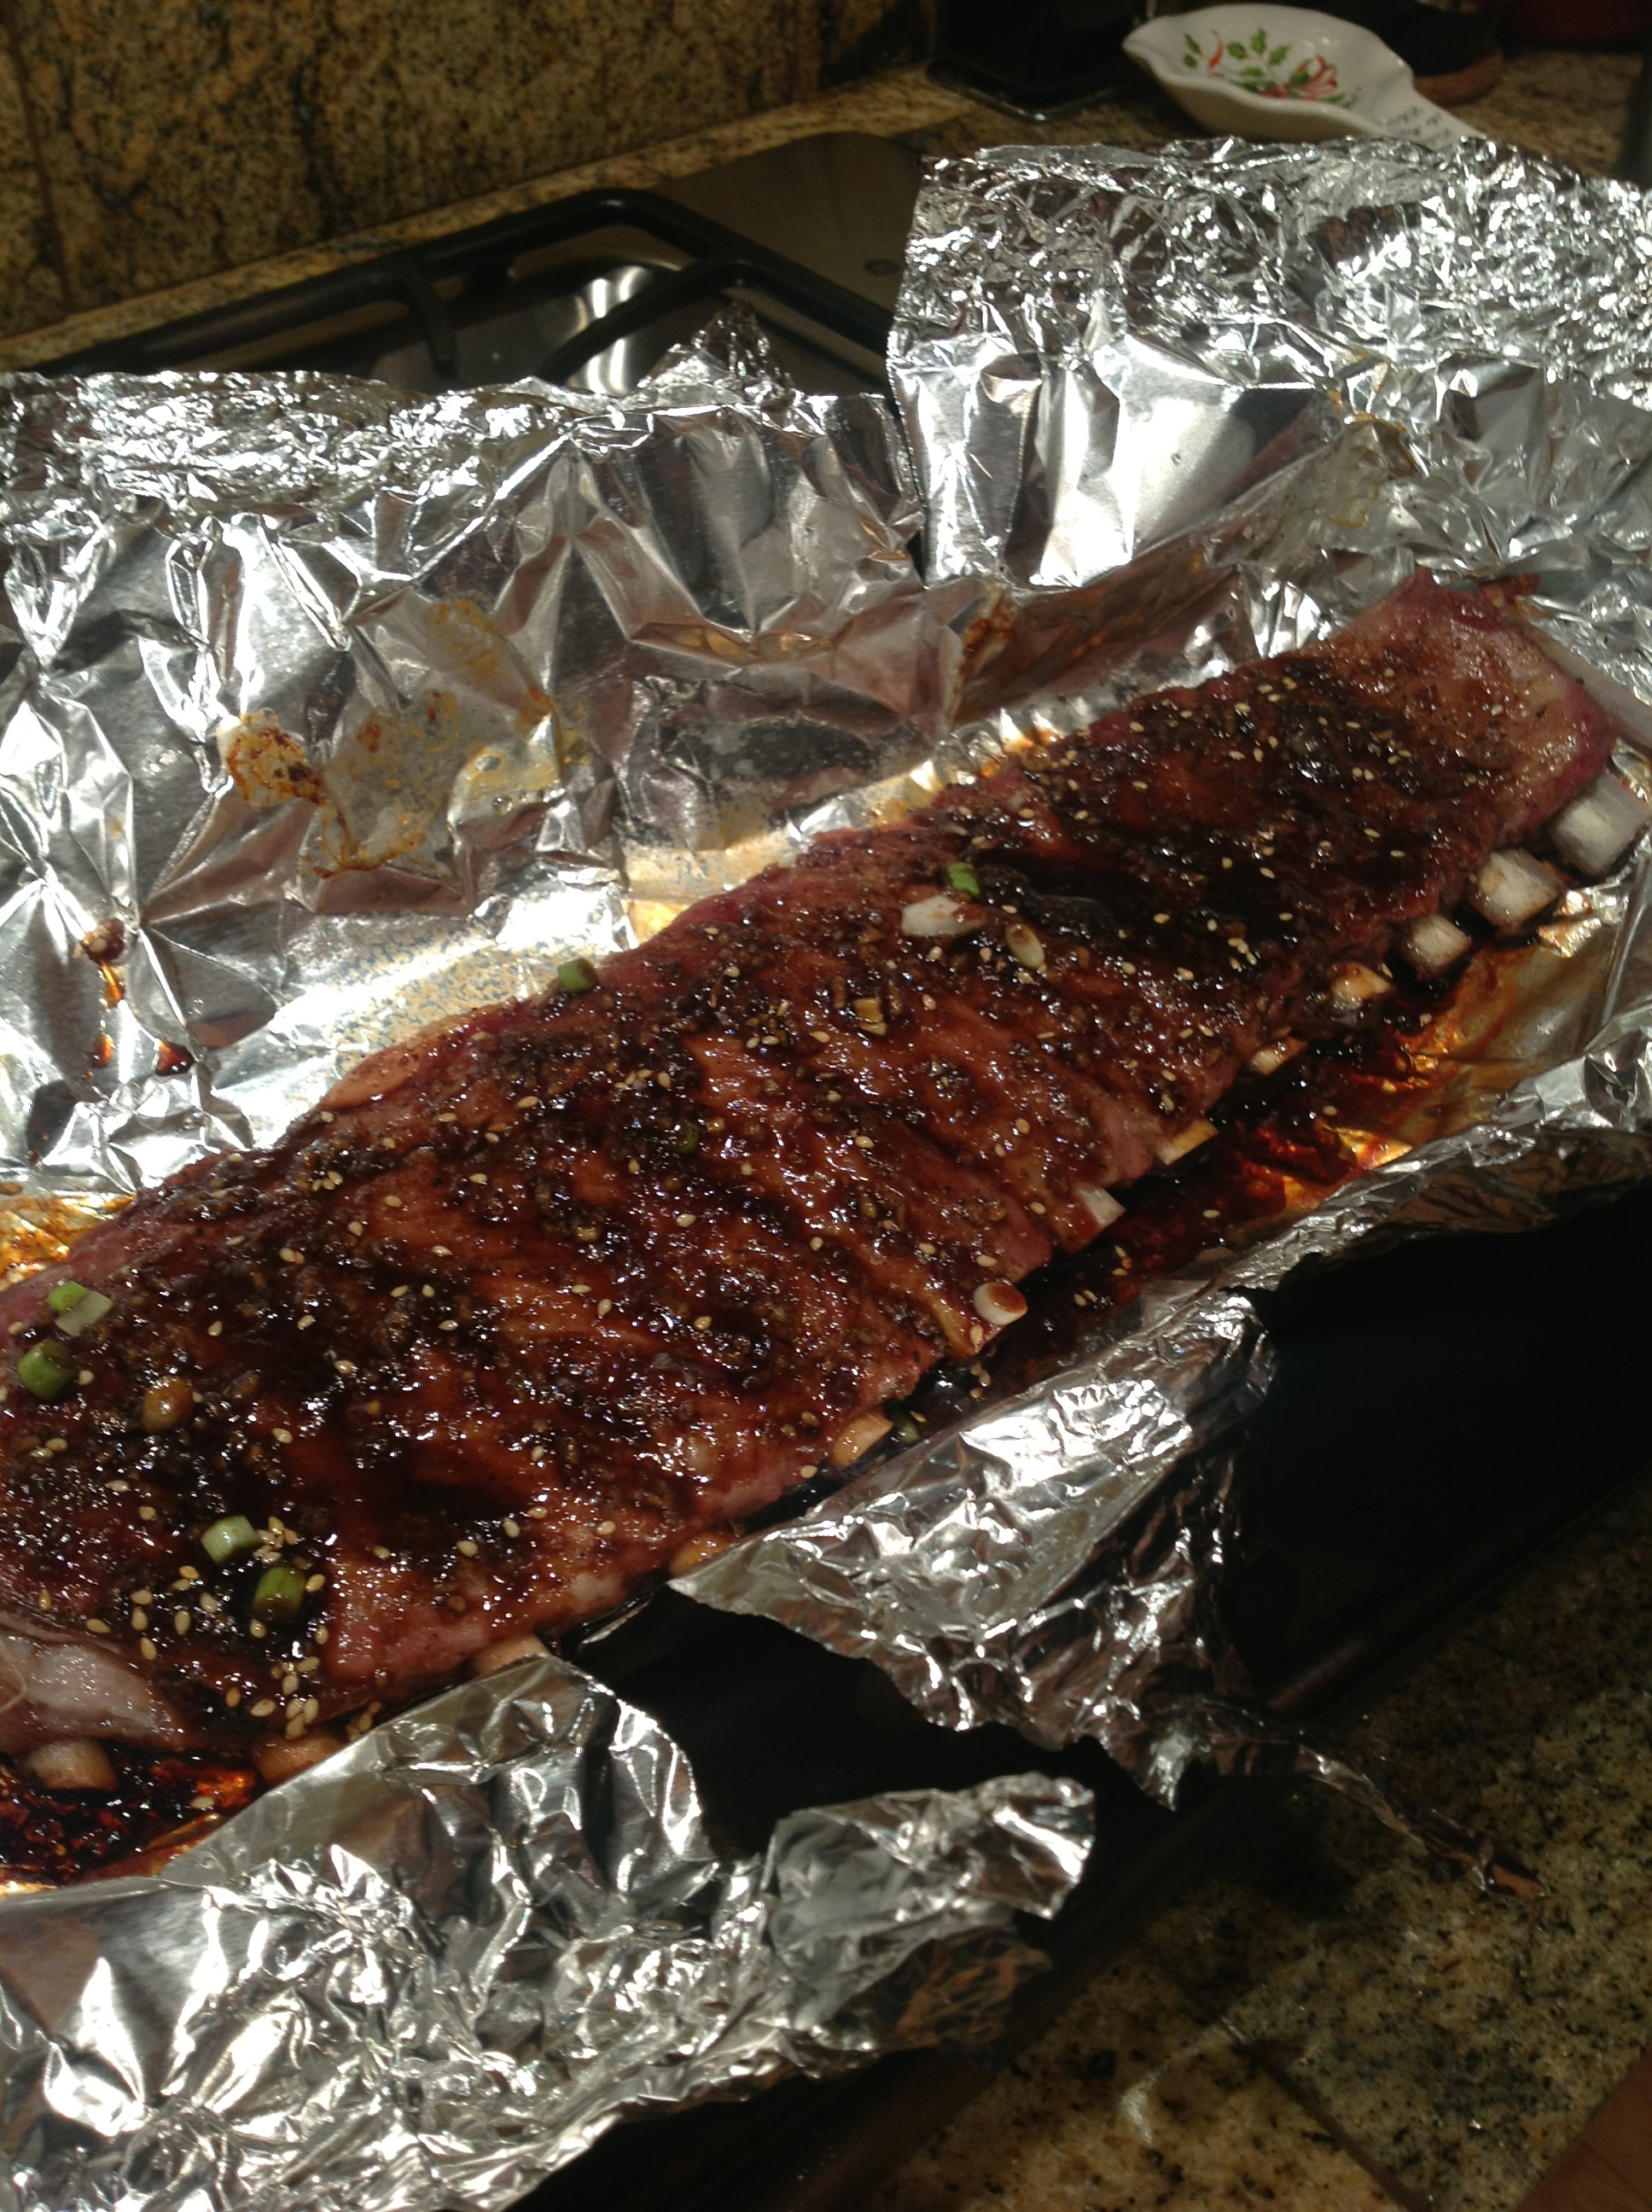
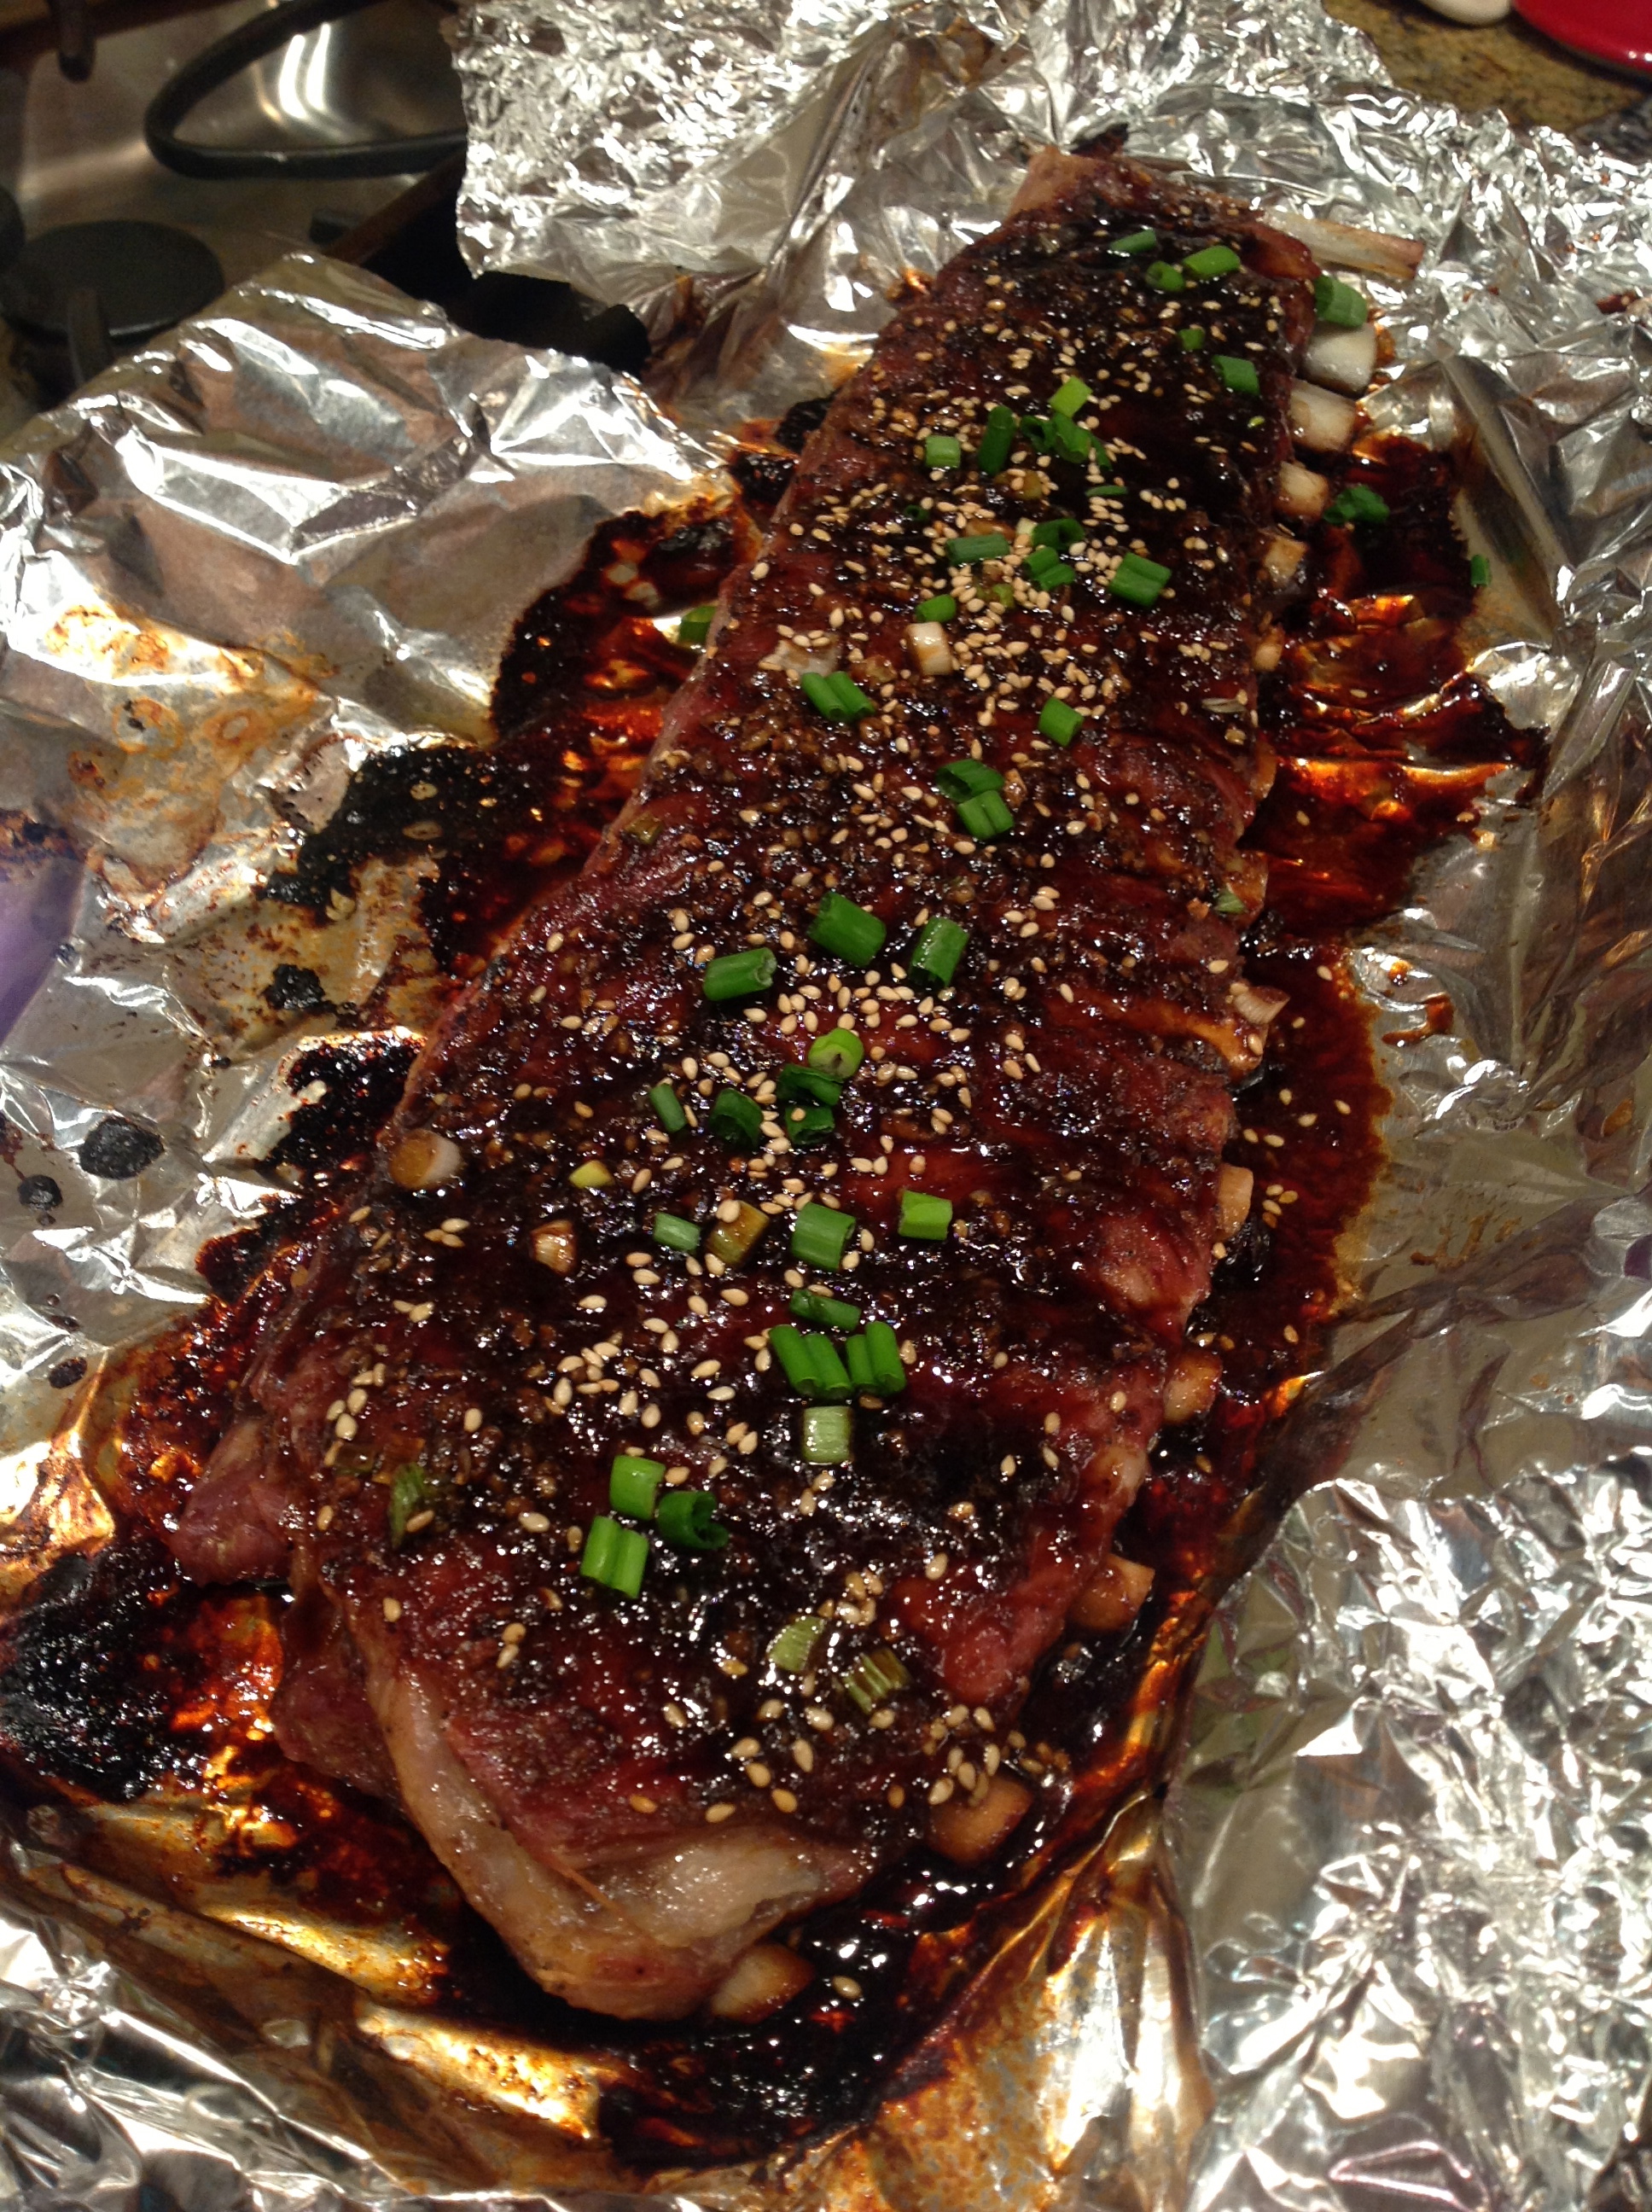
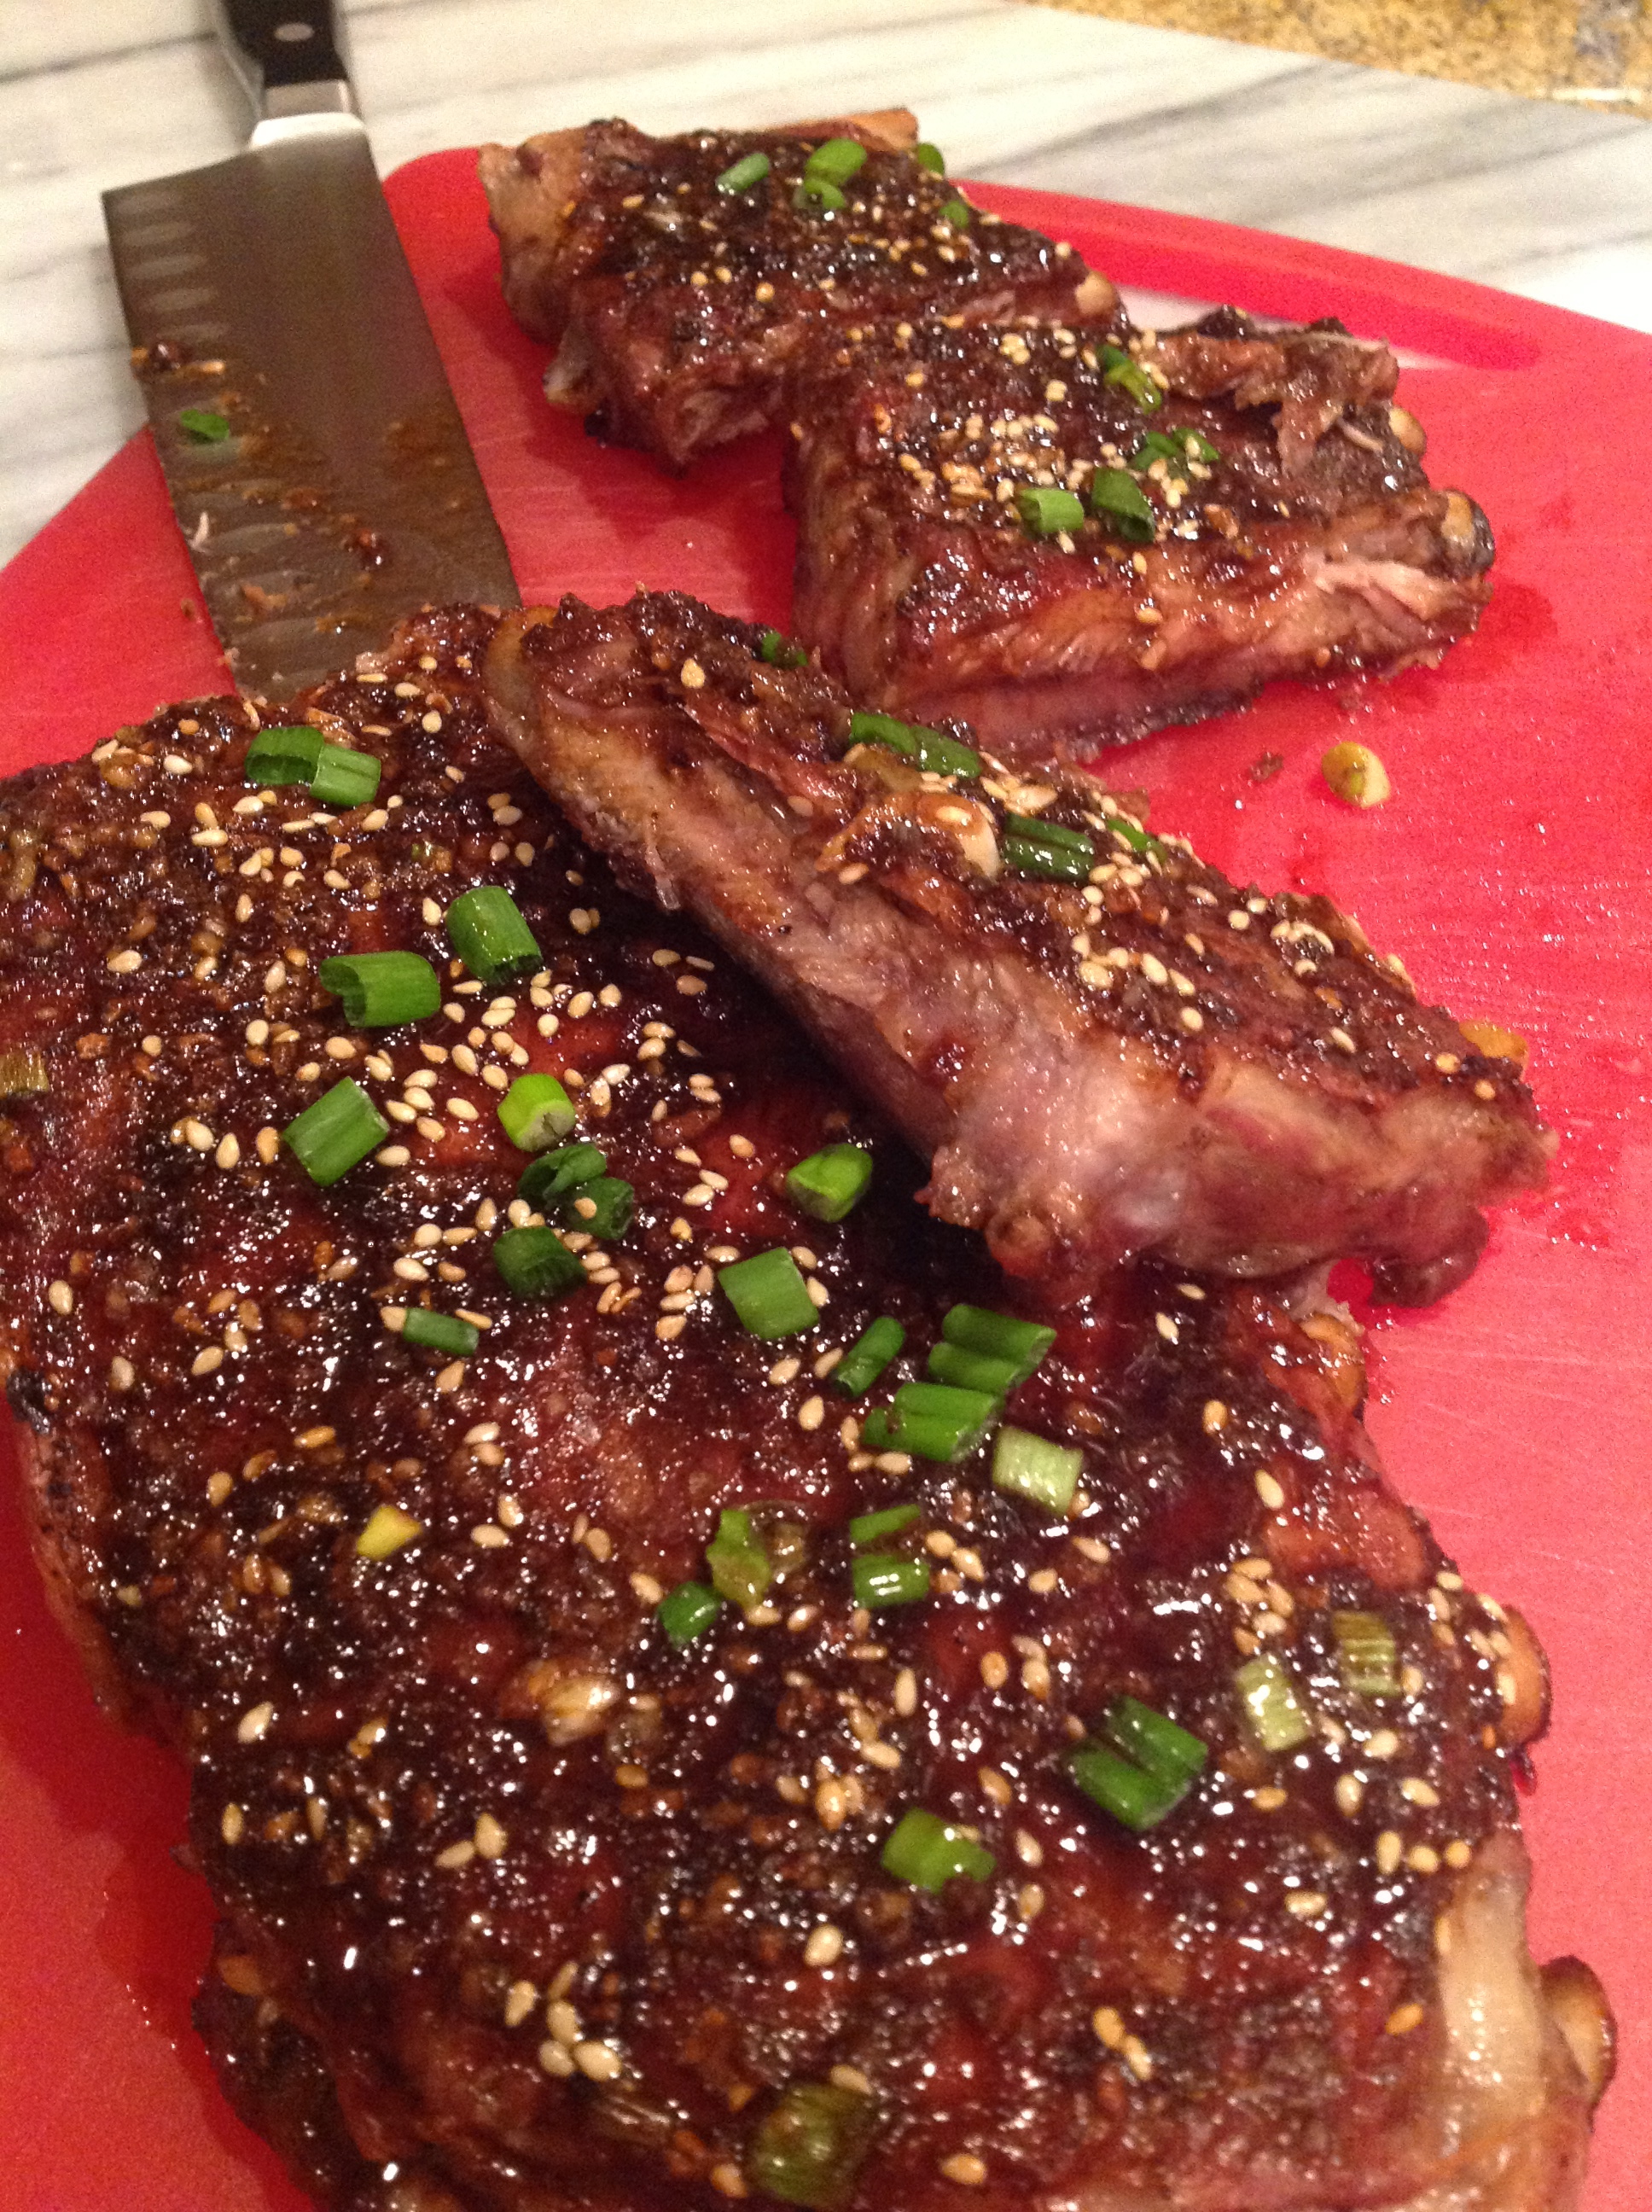
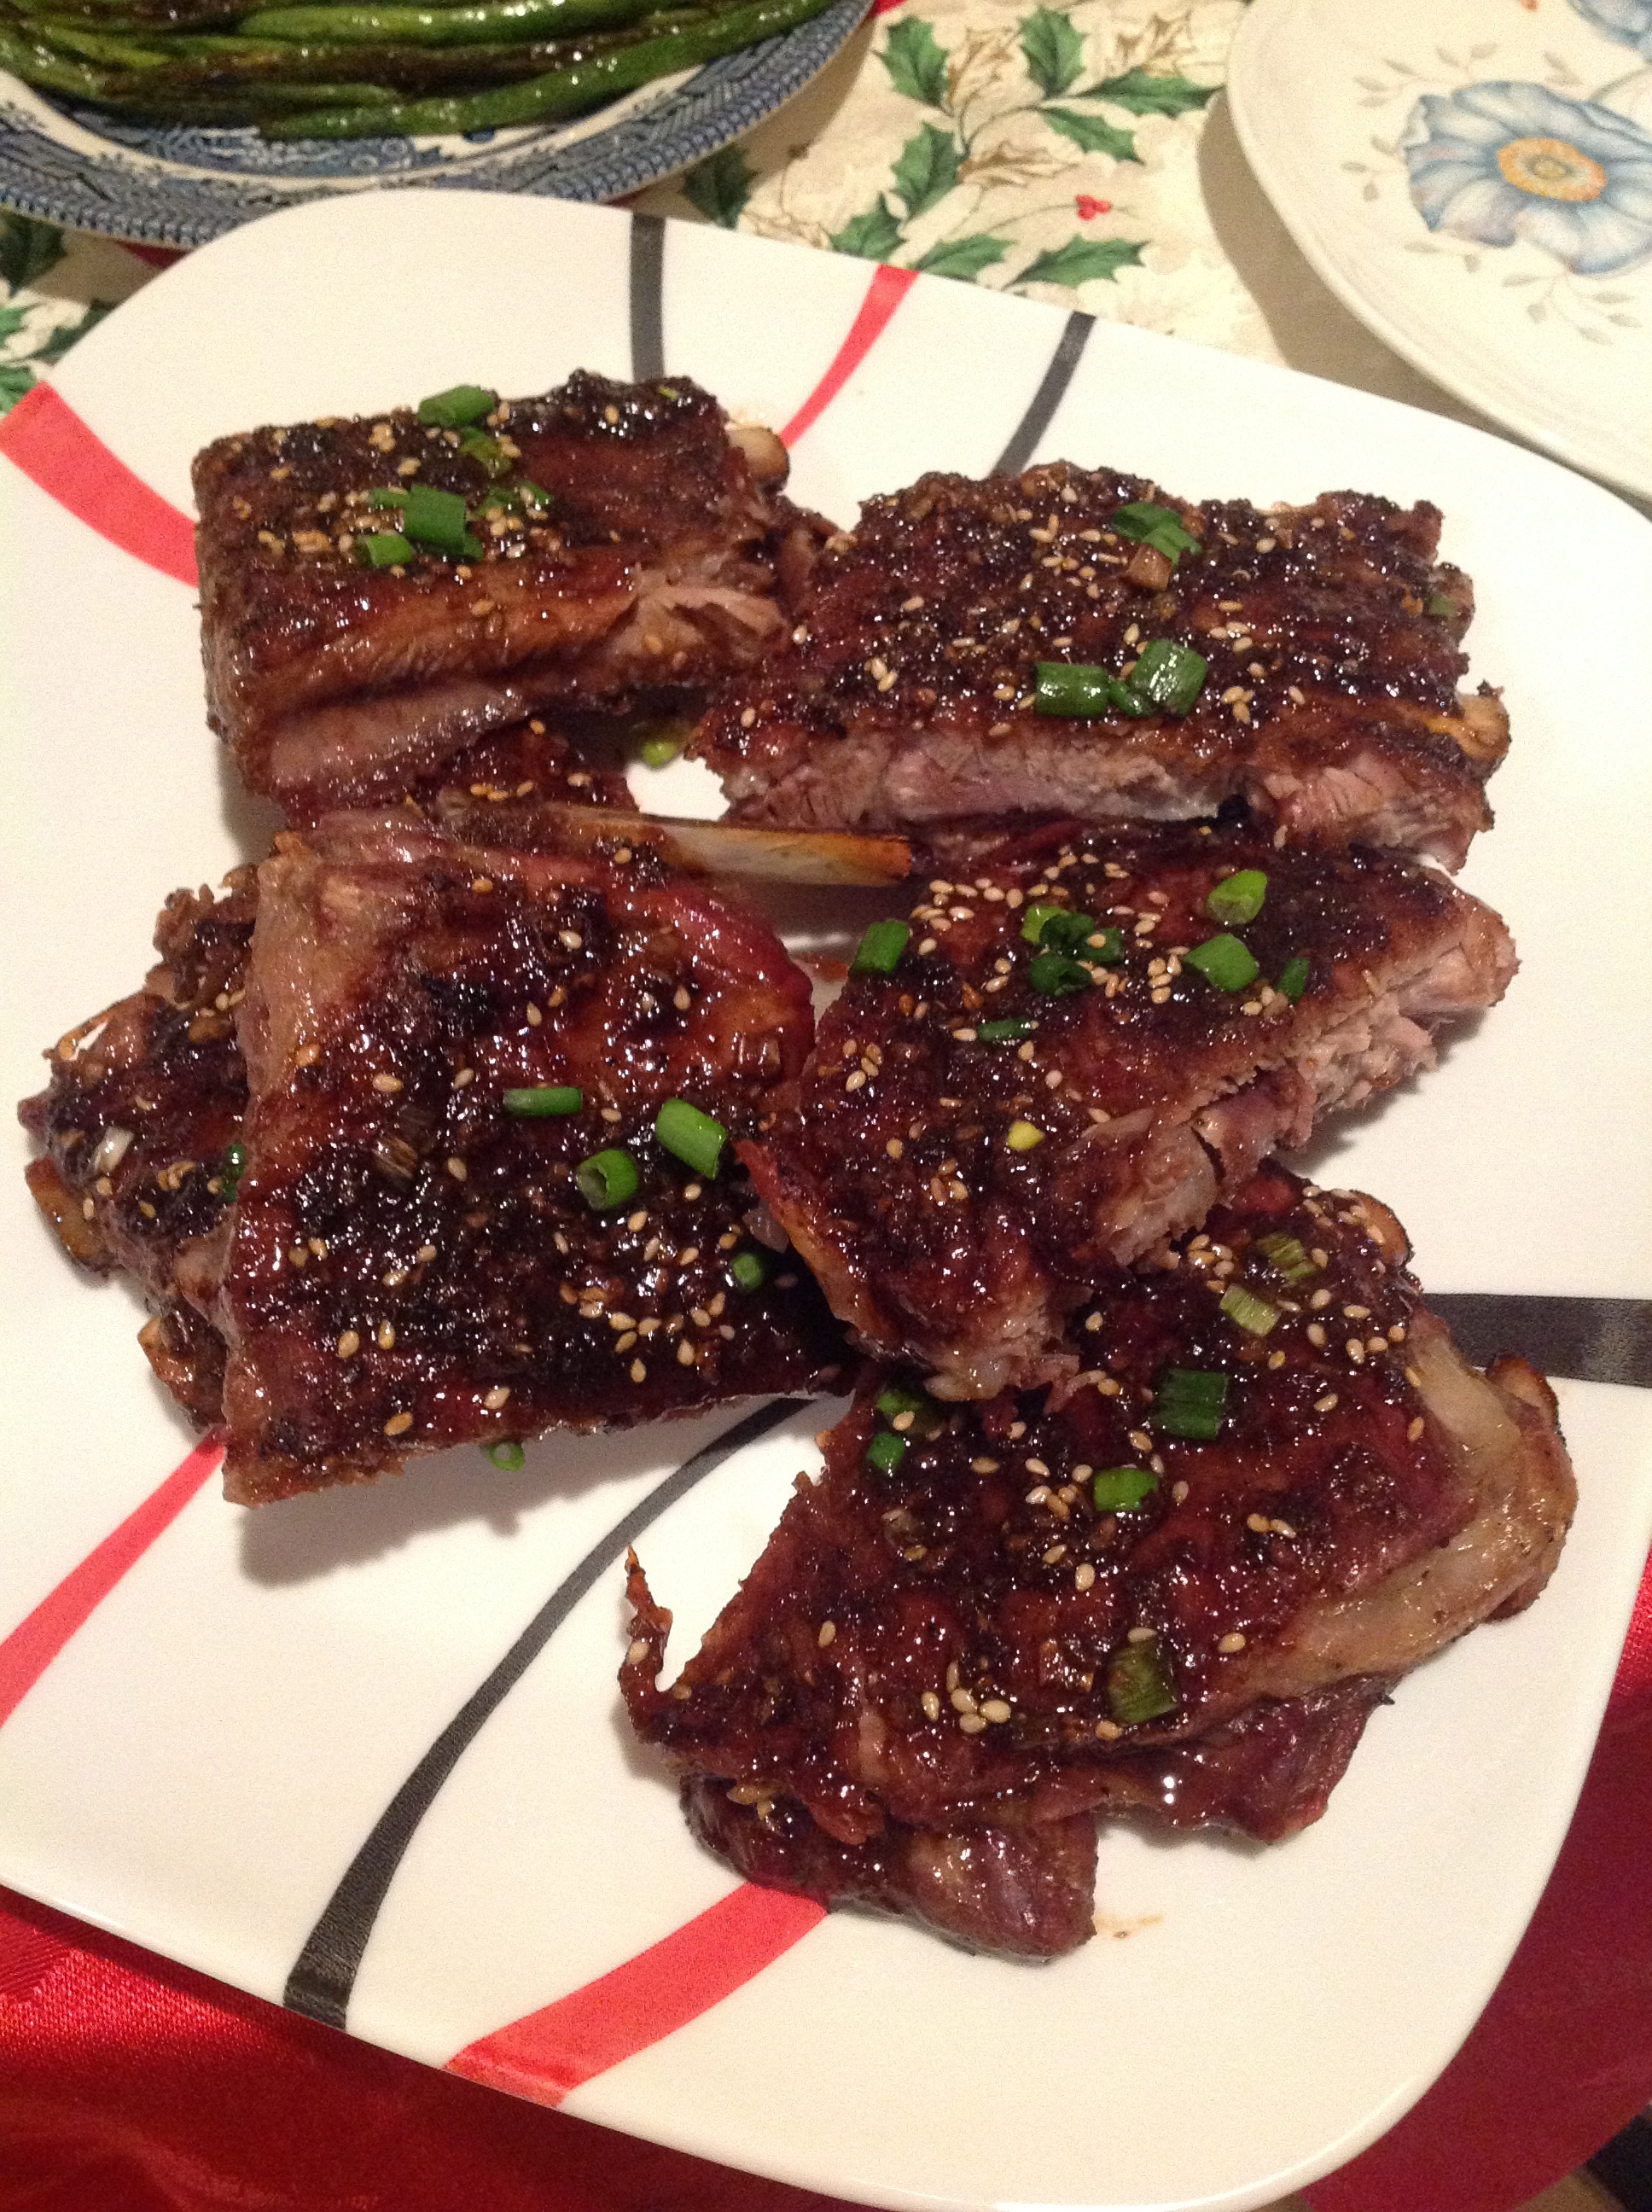
I made my first Baby Back Ribs dish earlier, and thankfully it turned out good.  I was so intimidated to prepare the ribs just because I had never done it before and they always looked so complicated to make.  My husband has prepared them a number of times but we hardly make them at home because it can be a long process,(he’s a really busy guy!). He normally smoked and baked/grilled the ribs and will make a home made bbq sauce. I knew there had to be a quicker process than what he’d done before (I know he used Alton Brown’s and Emeril Lagasse recipes). So I checked the internet and this recipe caught my attention (www.steamykitchen.com). I had all of the ingredients at home and it looked really simple. We really like Korean kalbi ribs(my Father In Law makes the best korean short ribs) so I knew we would like this. I baked the ribs for 2 hours but the recipe called for just 90 minutes. It turned out great, and I will definitely make this again in the future.

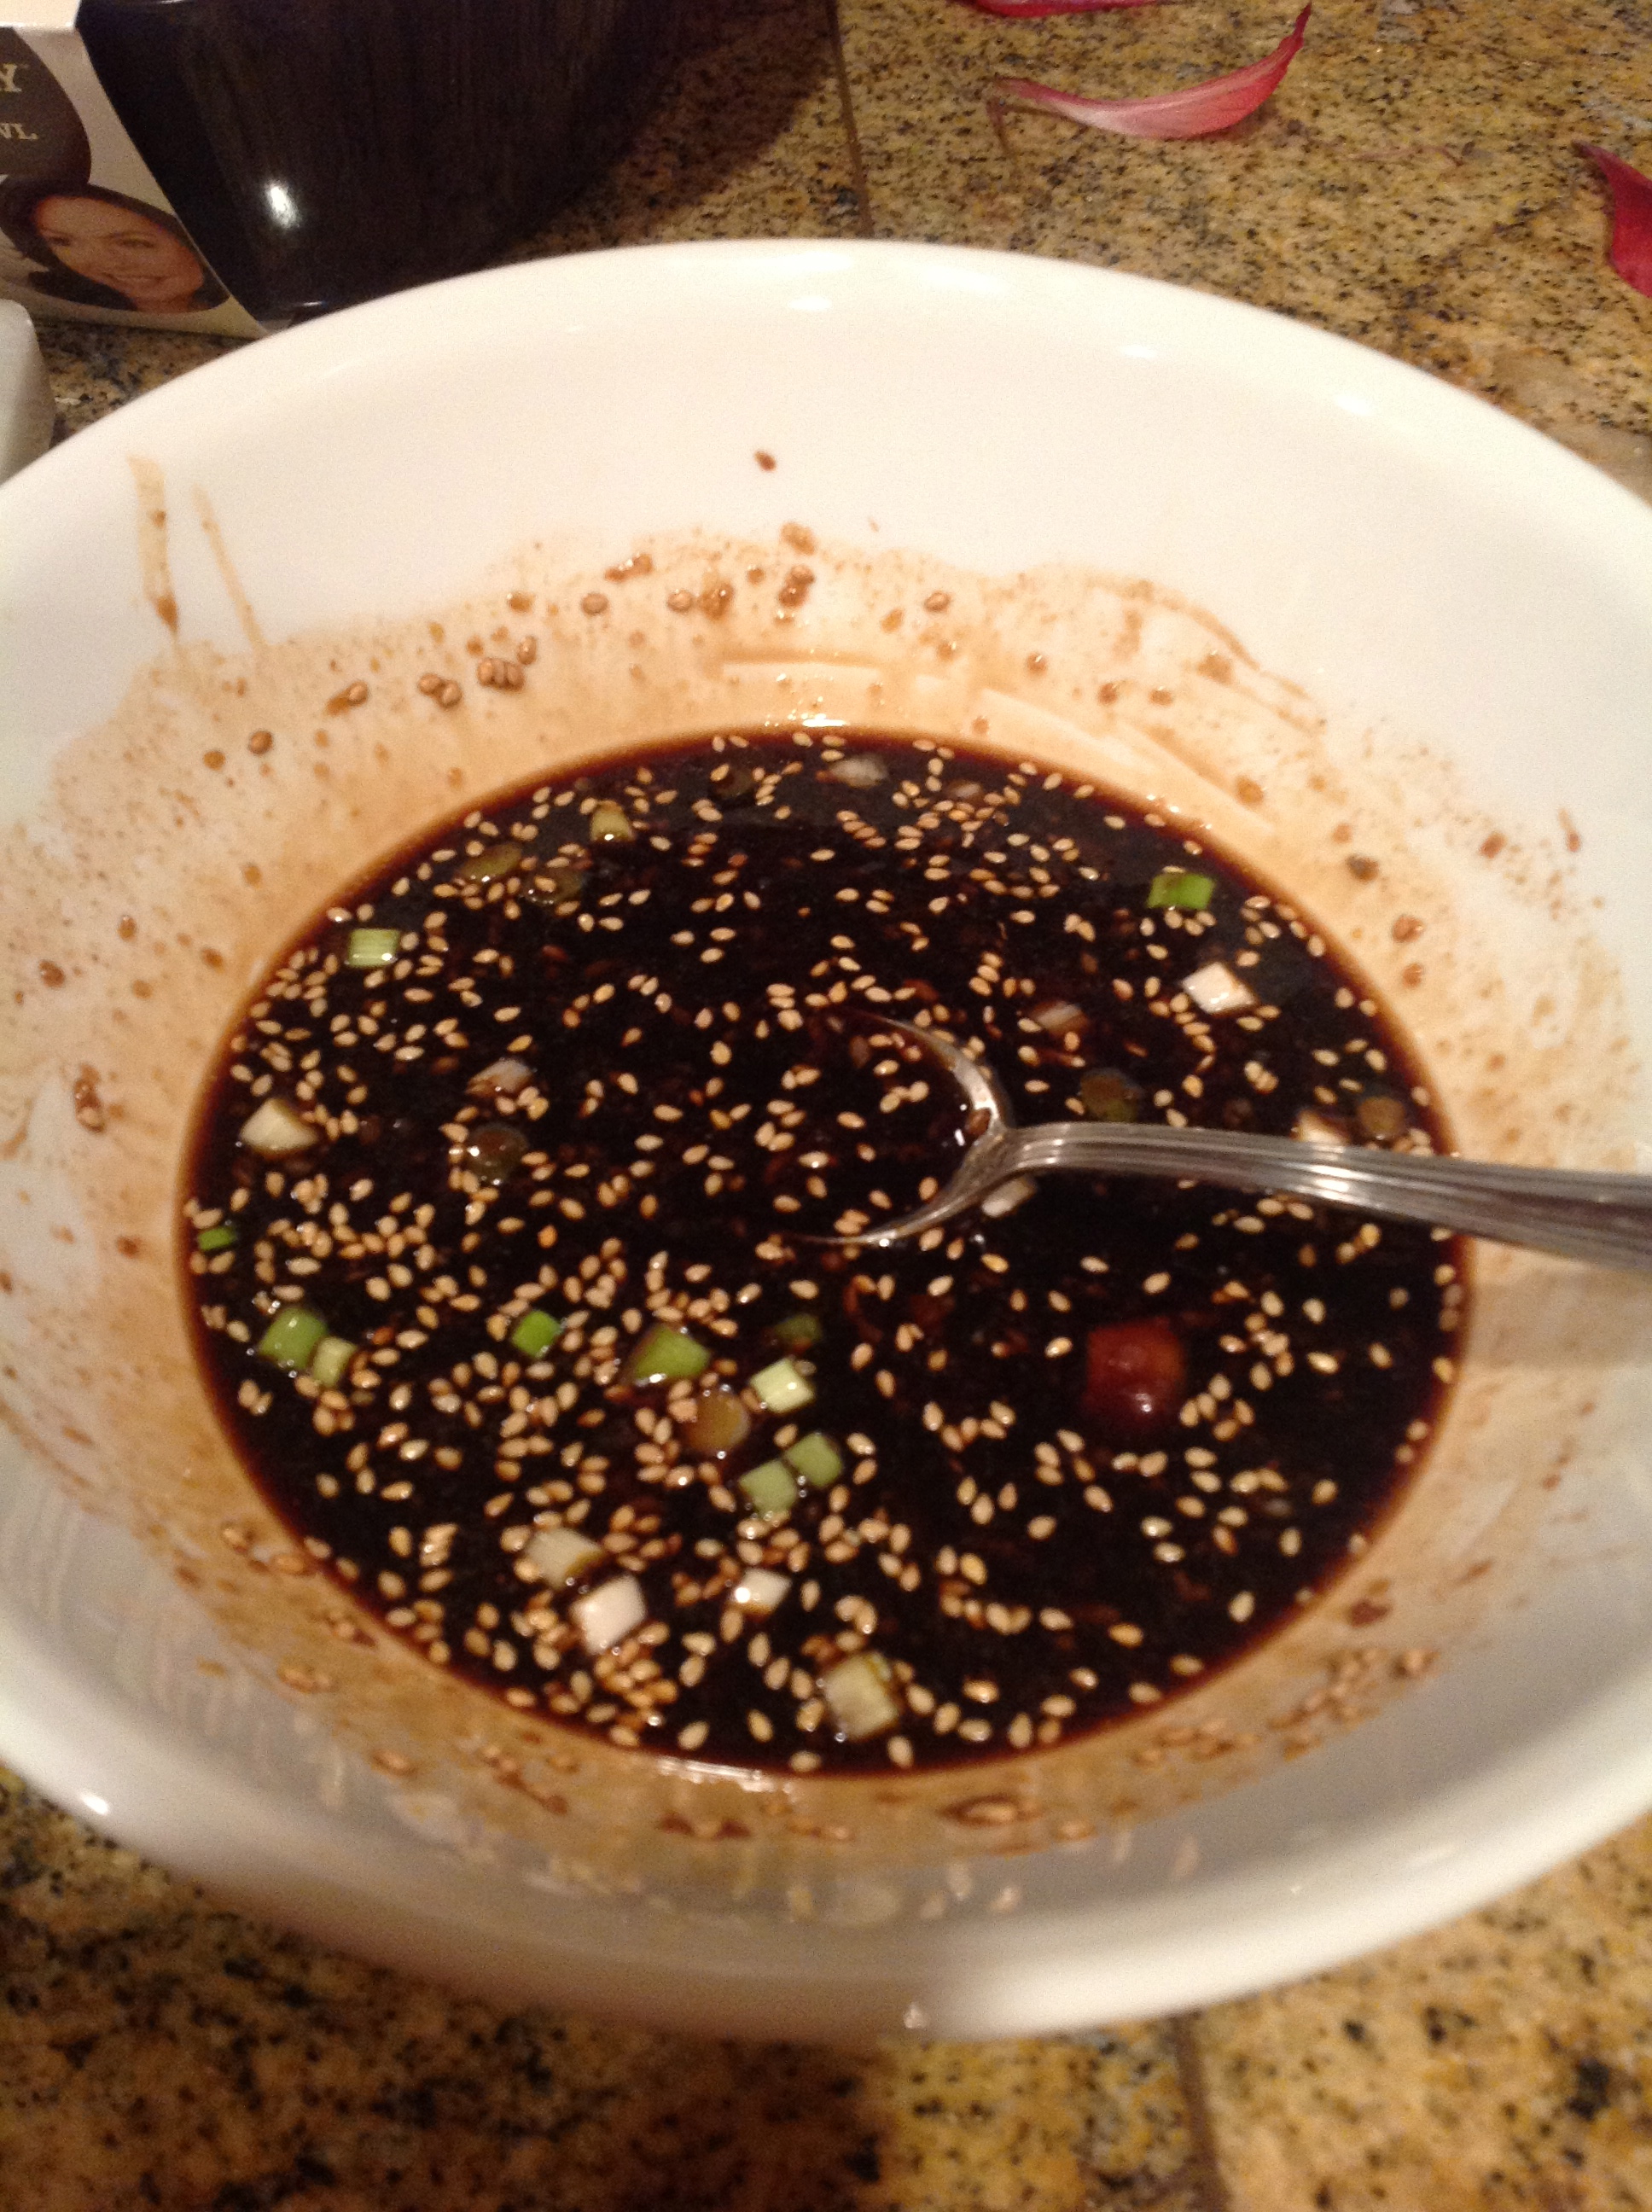
Korean Kalbi sauce
Korean Kalbi sauce
after 2 hours
after 2 hours
:)
🙂
YUM!
YUM!
:)
🙂
wanna bite?
wanna bite?

Korean Kalbi Baby Back Ribs (www.steamykitchen.com)

Ingredients:

6-7 pounds baby back ribs
salt & freshly ground black pepper
1/2 onion, grated
3 cloves garlic, finely minced
2 teaspoons grated fresh ginger
2 tablespoons honey
1/4 brown sugar
1/4 cup soy sauce
1 tablespoon sesame seeds
1 teaspoon dark sesame oil
1 stalk green onion, chopped
2 tablespoons rice vinegar (or white/cider vinegar)
Directions:
Heat oven the 375F.

(optional) Using a butter knife to pry it up, separate the membrane from the back of the ribs and discard.

Generously season both sides of the ribs with salt and pepper. Wrap the ribs in foil, meaty side up and seal completely. Bake for 90 minutes.

To make the Korean Kalbi sauce, mix together the remaining ingredients in a bowl.

After the ribs are cooked, remove from the oven and carefully open up the foil — be careful of the hot steam! Slather 3/4 of the Korean Kalbi sauce on the tops of the ribs. Place the oven rack in the top third of the oven and heat the broiler to high.

Put the ribs back in the oven, foil still open, and broil until the sauce bubbles and carmelizes, about 3-5 minutes. Keep a watch on the ribs – it’s so easy to burn them! Just before serving, pour the remaining Korean Kalbi sauce on top of the ribs.

Apple-Pie Cake!

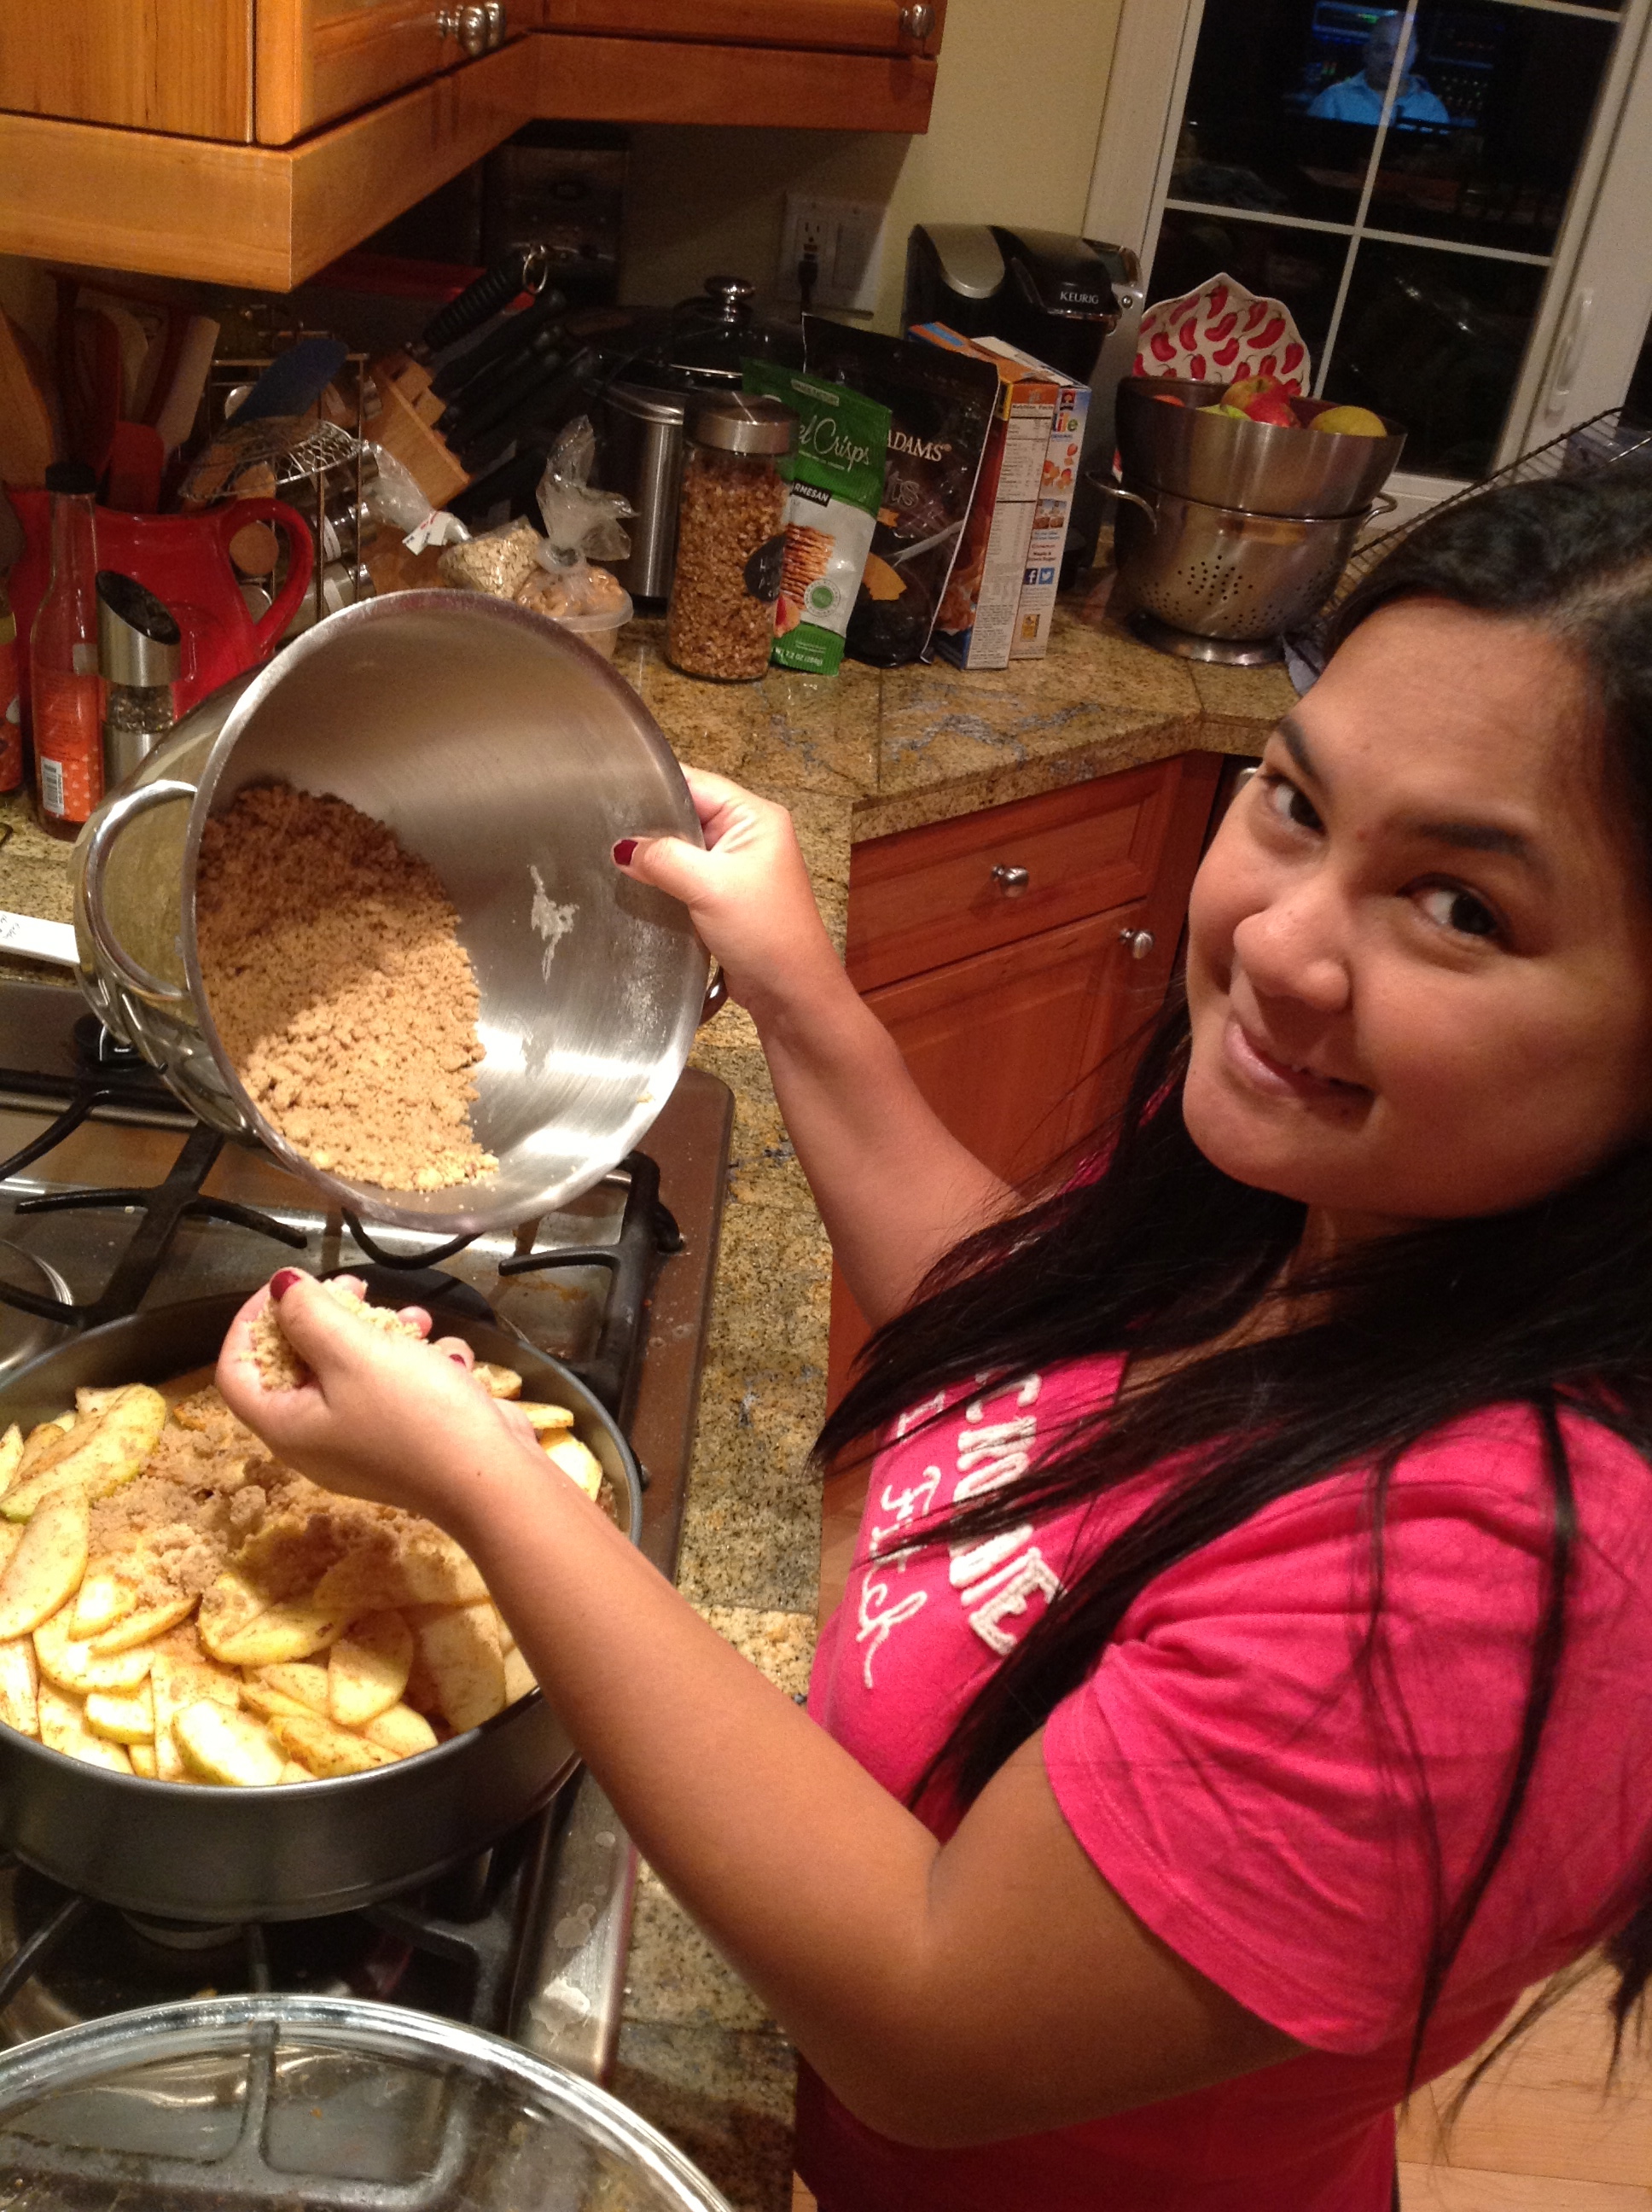
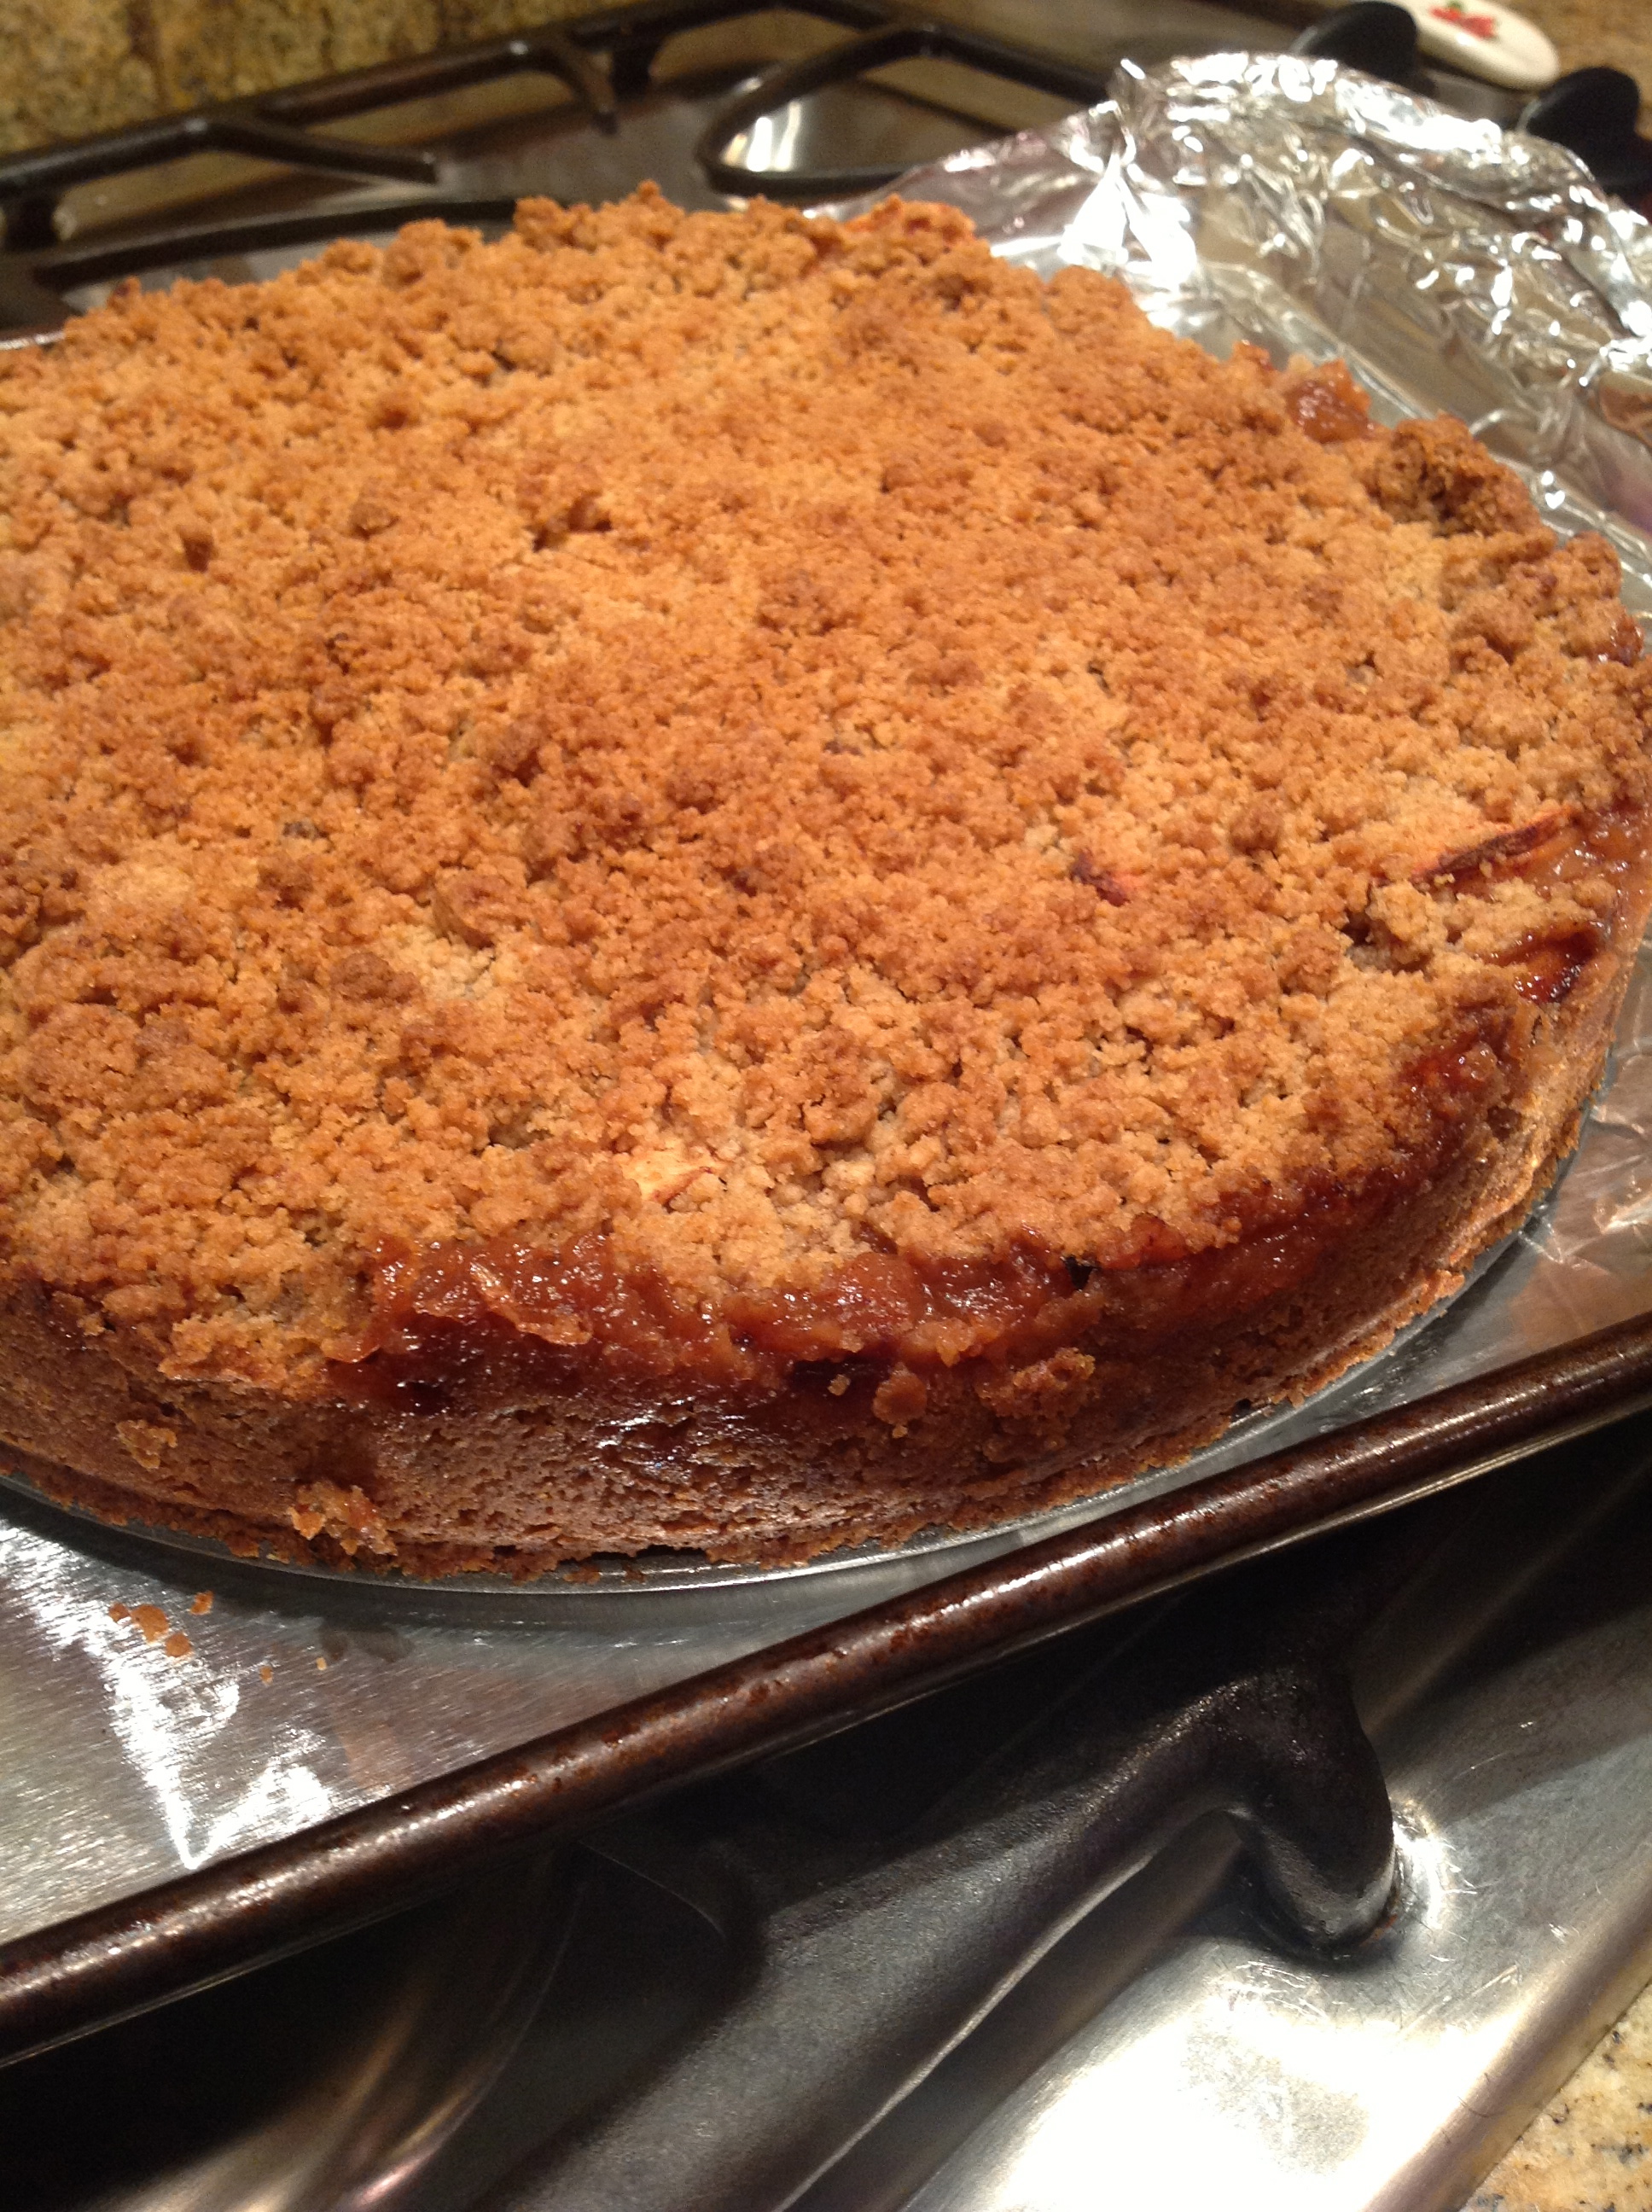
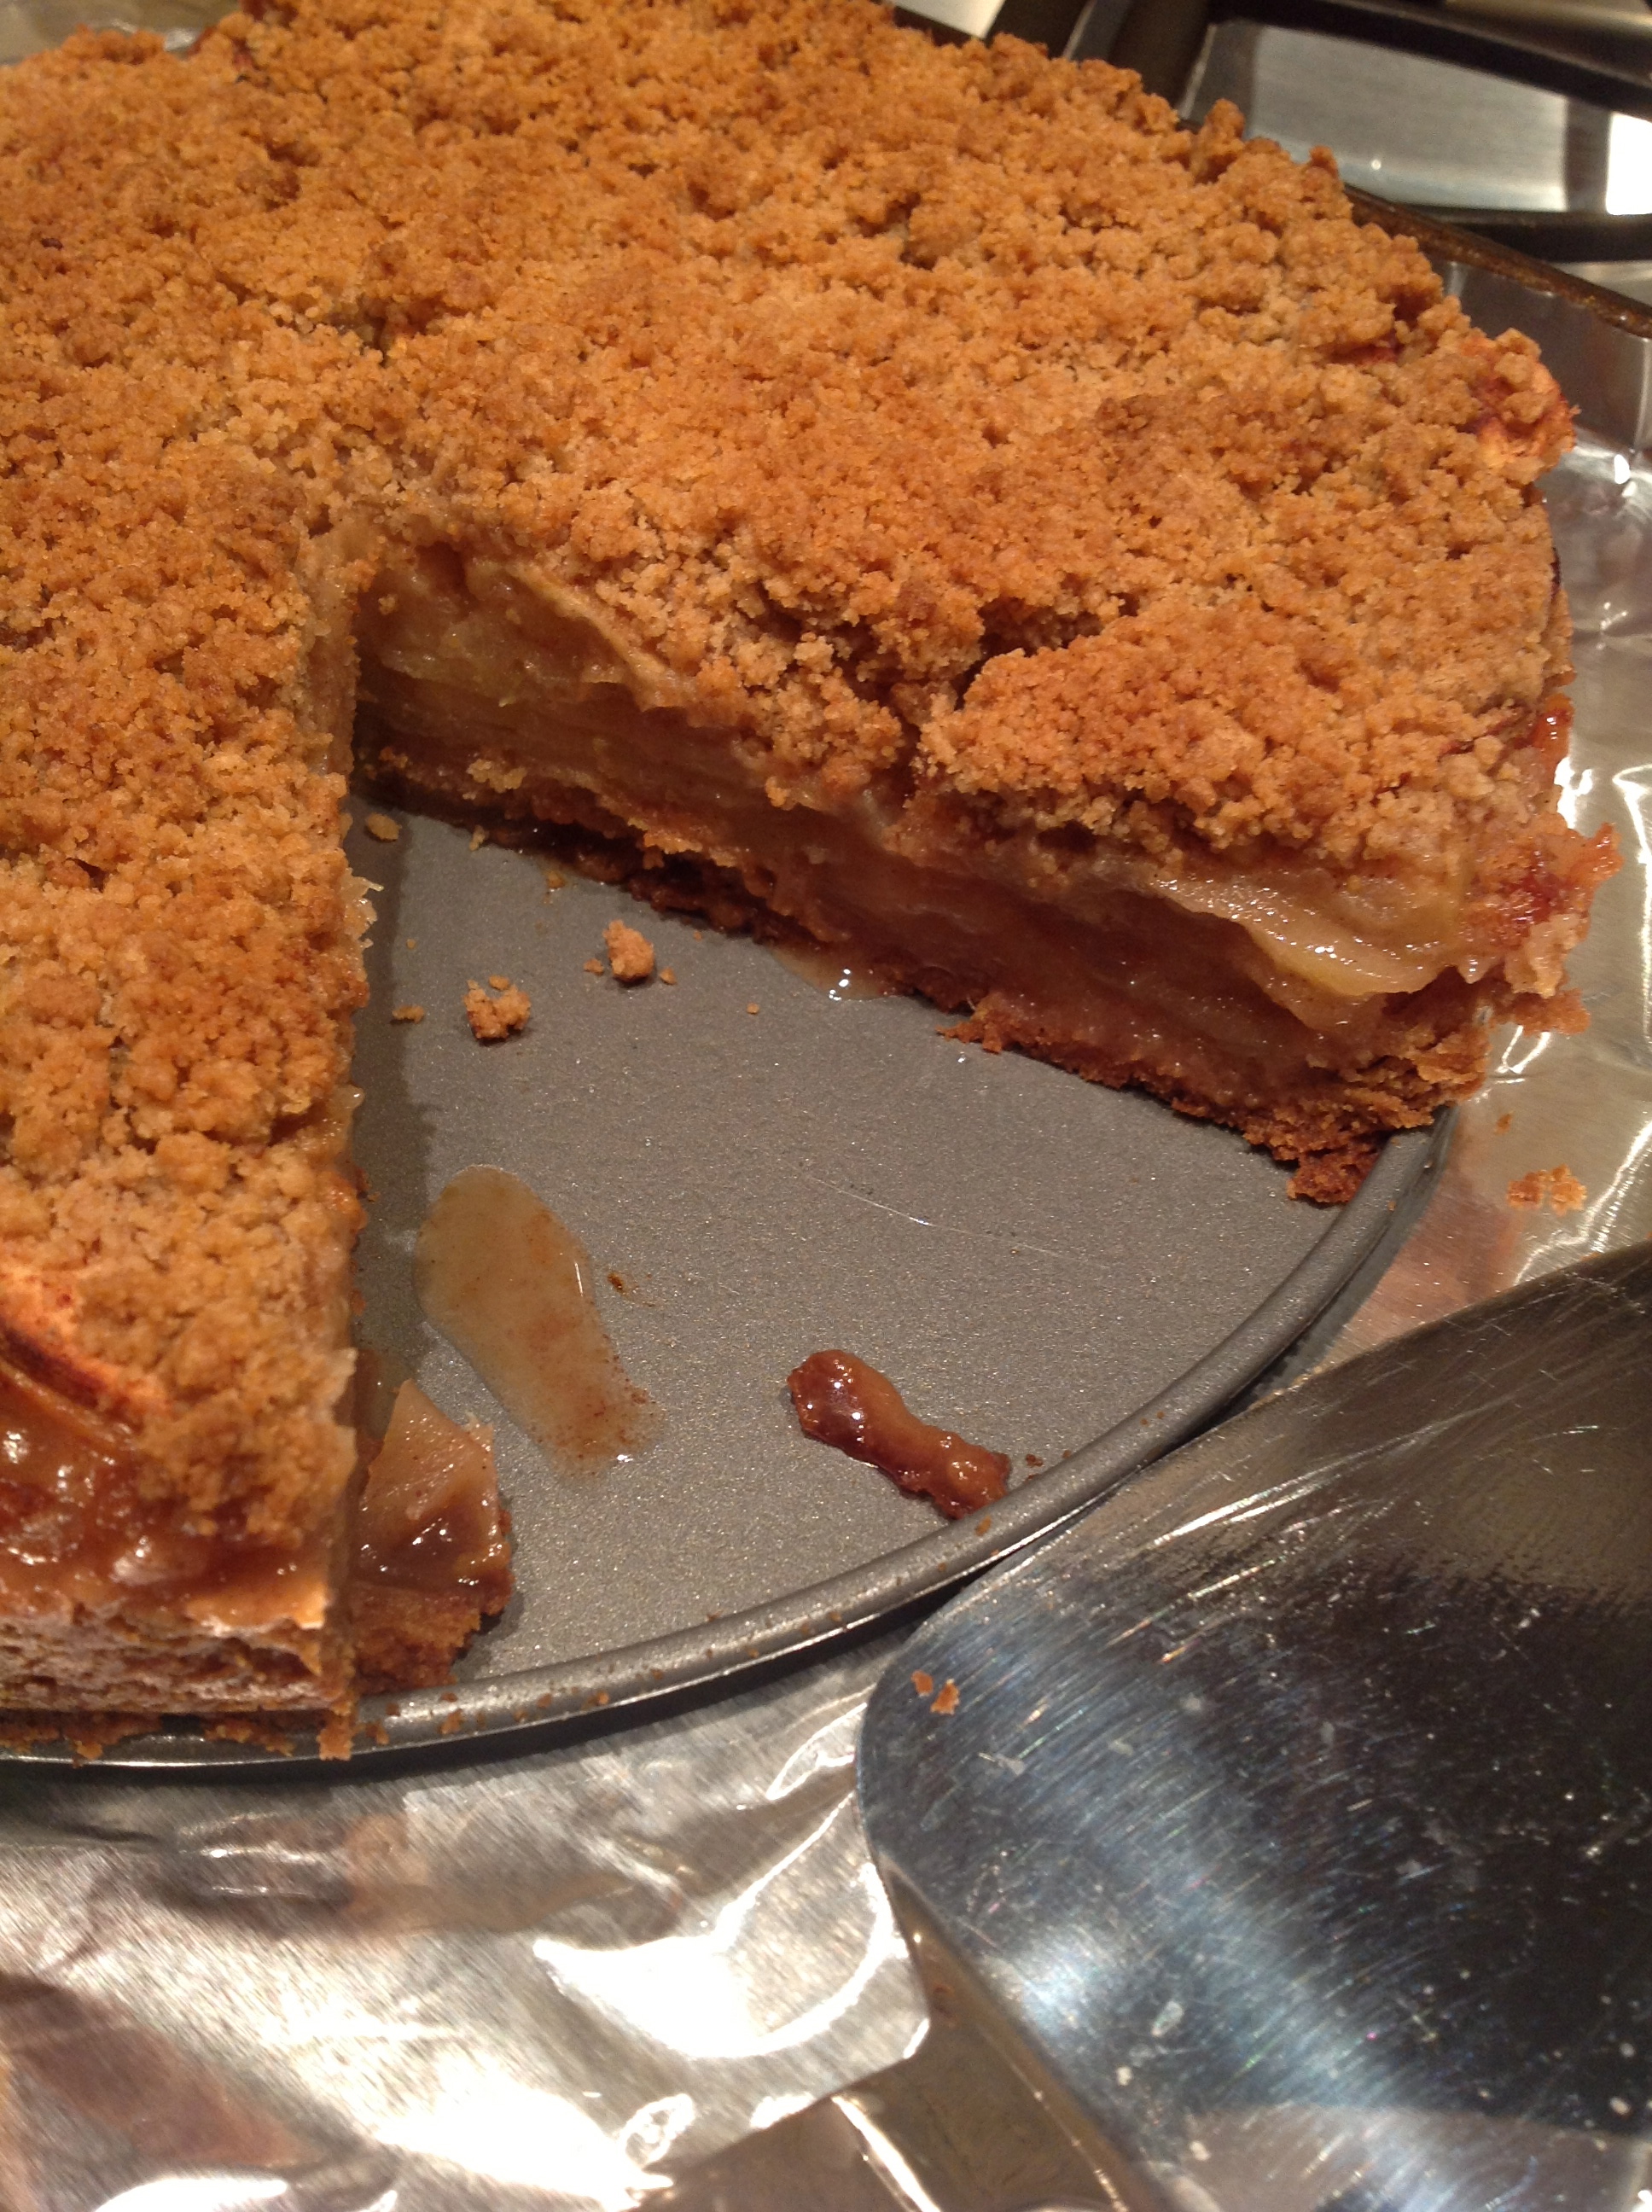
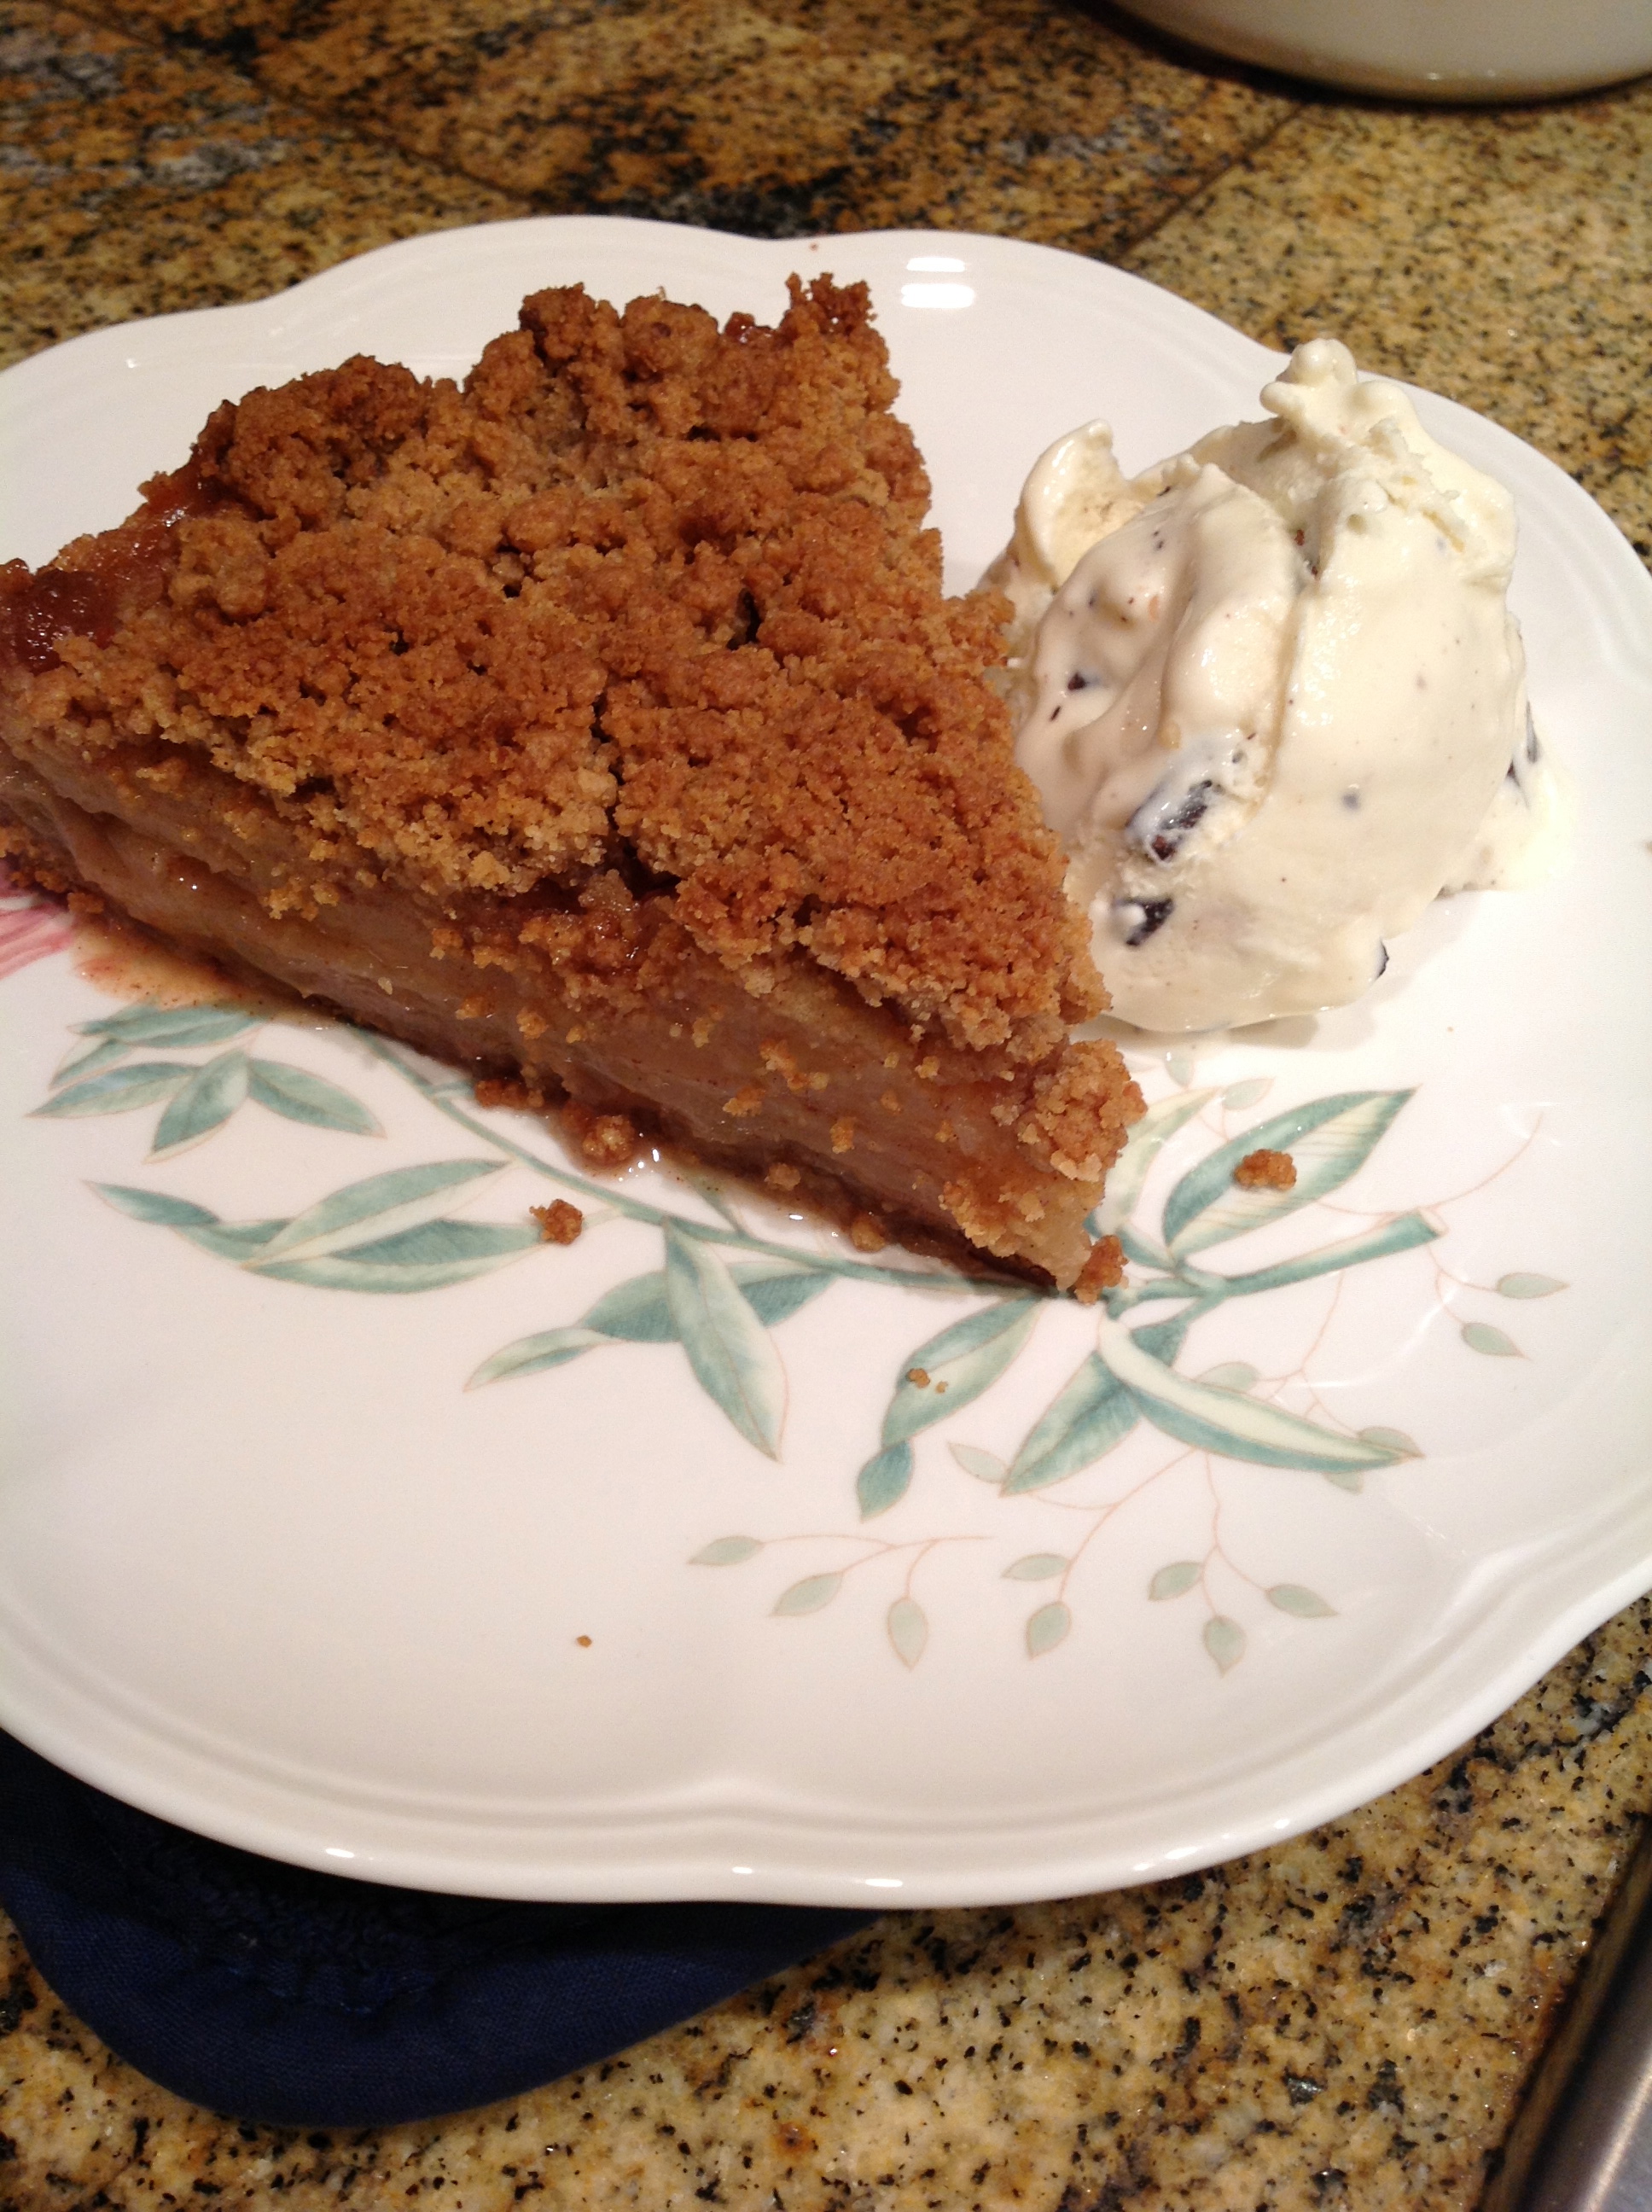
With all of the apples we got from our Apple Picking adventure, we had to do something with them (aside from apple juice, apple sauce) we decided to look for a recipe thats easy and quick.  This recipe was from marthastewart.com, and I’m gonna save this recipe because it was really good (according to my husband and In-laws) and will probably make this again in the future.  I’m not really into baking but Zach’s been encouraging me to try it and expand my cooking skill.  I really don’t like measuring things.  If you have extra apples, I would recommend that you try this recipe. Happy Baking!

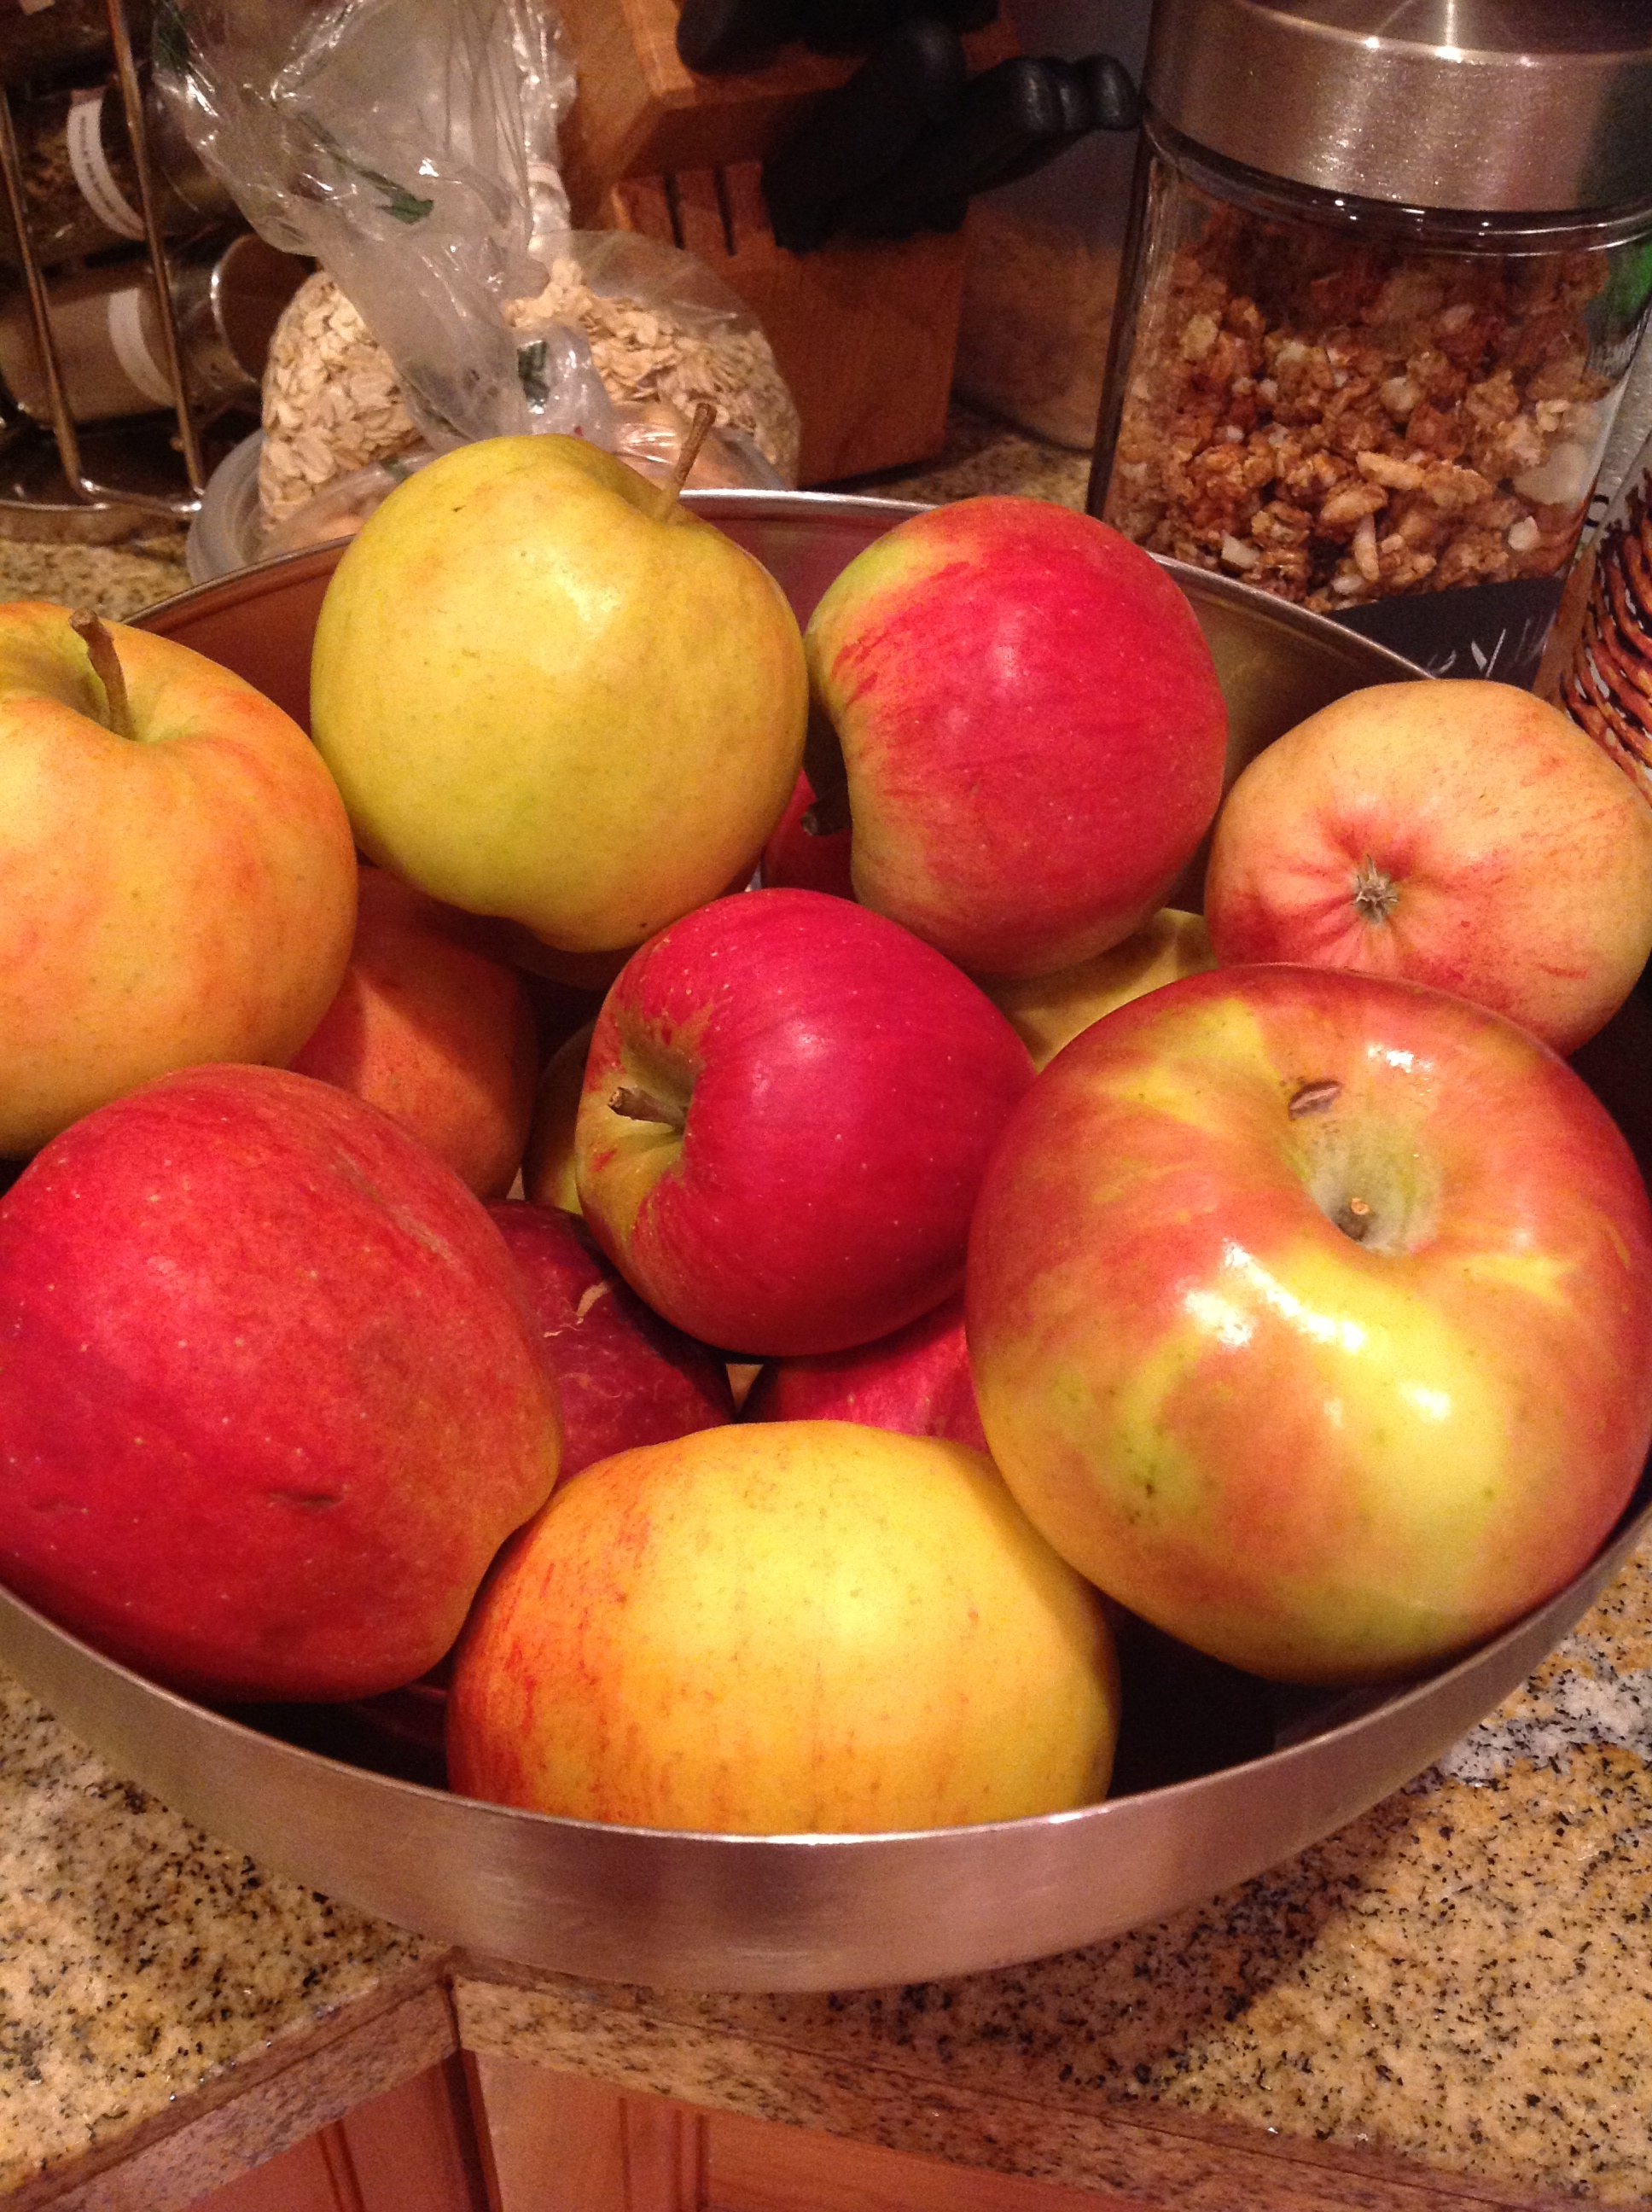
Apples
I used mixed  Apples(recipe called for Granny smith)
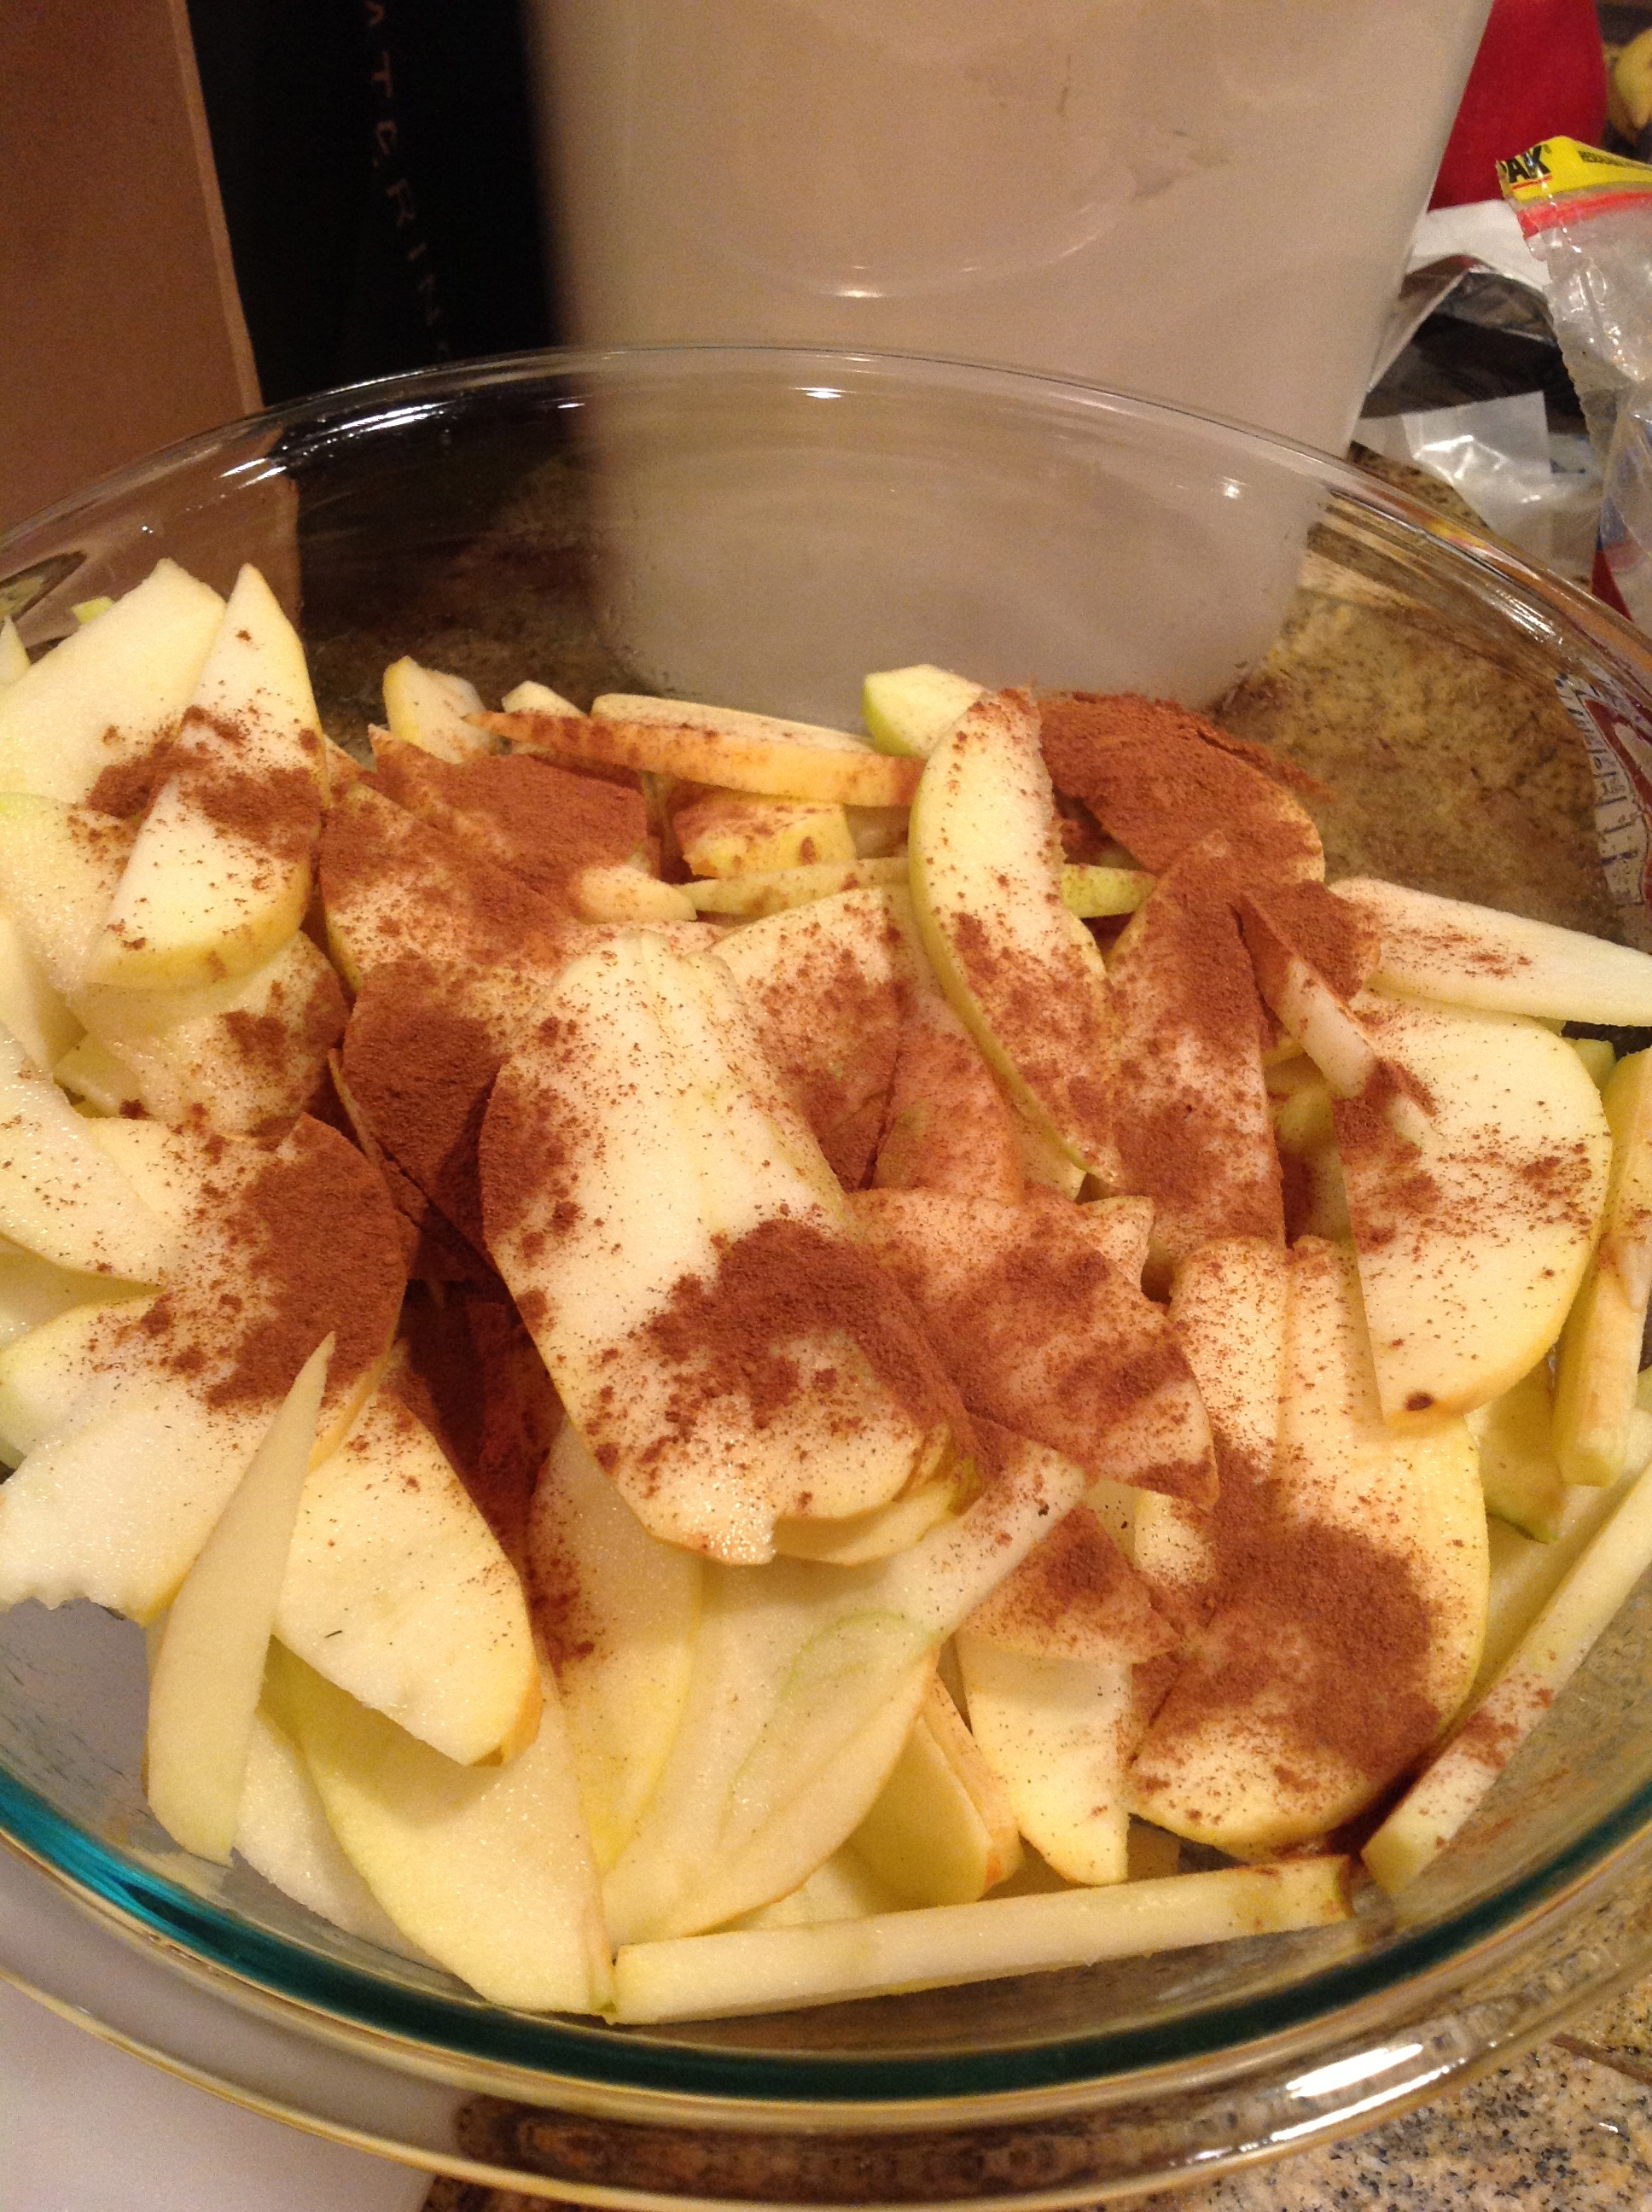
cinnamon"_
cinnamon
:)
🙂
calamariqueen
calamariqueen
done!
done!
:)
🙂
perfect with ice cream

Apple-Pie Cake (http://www.marthastewart.com/341316/apple-pie-cake)

INGREDIENTS
  • 2 cups flour
  • 1 cup packed light-brown sugar
  • 2 teaspoons cinnamon
  • 1/2 pound (2 sticks) cold unsalted butter, cut into 8 pieces
  • 5 pounds (about 12) tart apples, such as Granny Smith
  • 2 tablespoons fresh lemon juice

DIRECTIONS

  1. STEP 1

    In a large bowl, combine flour, brown sugar, and 1 teaspoon cinnamon. Using an electric mixer or a pastry cutter, cut in butter until the mixture forms pea-size pieces. Press 2/3 of the mixture onto bottom and 1 inch up the side of a 9-inch springform pan.

  2. STEP 2

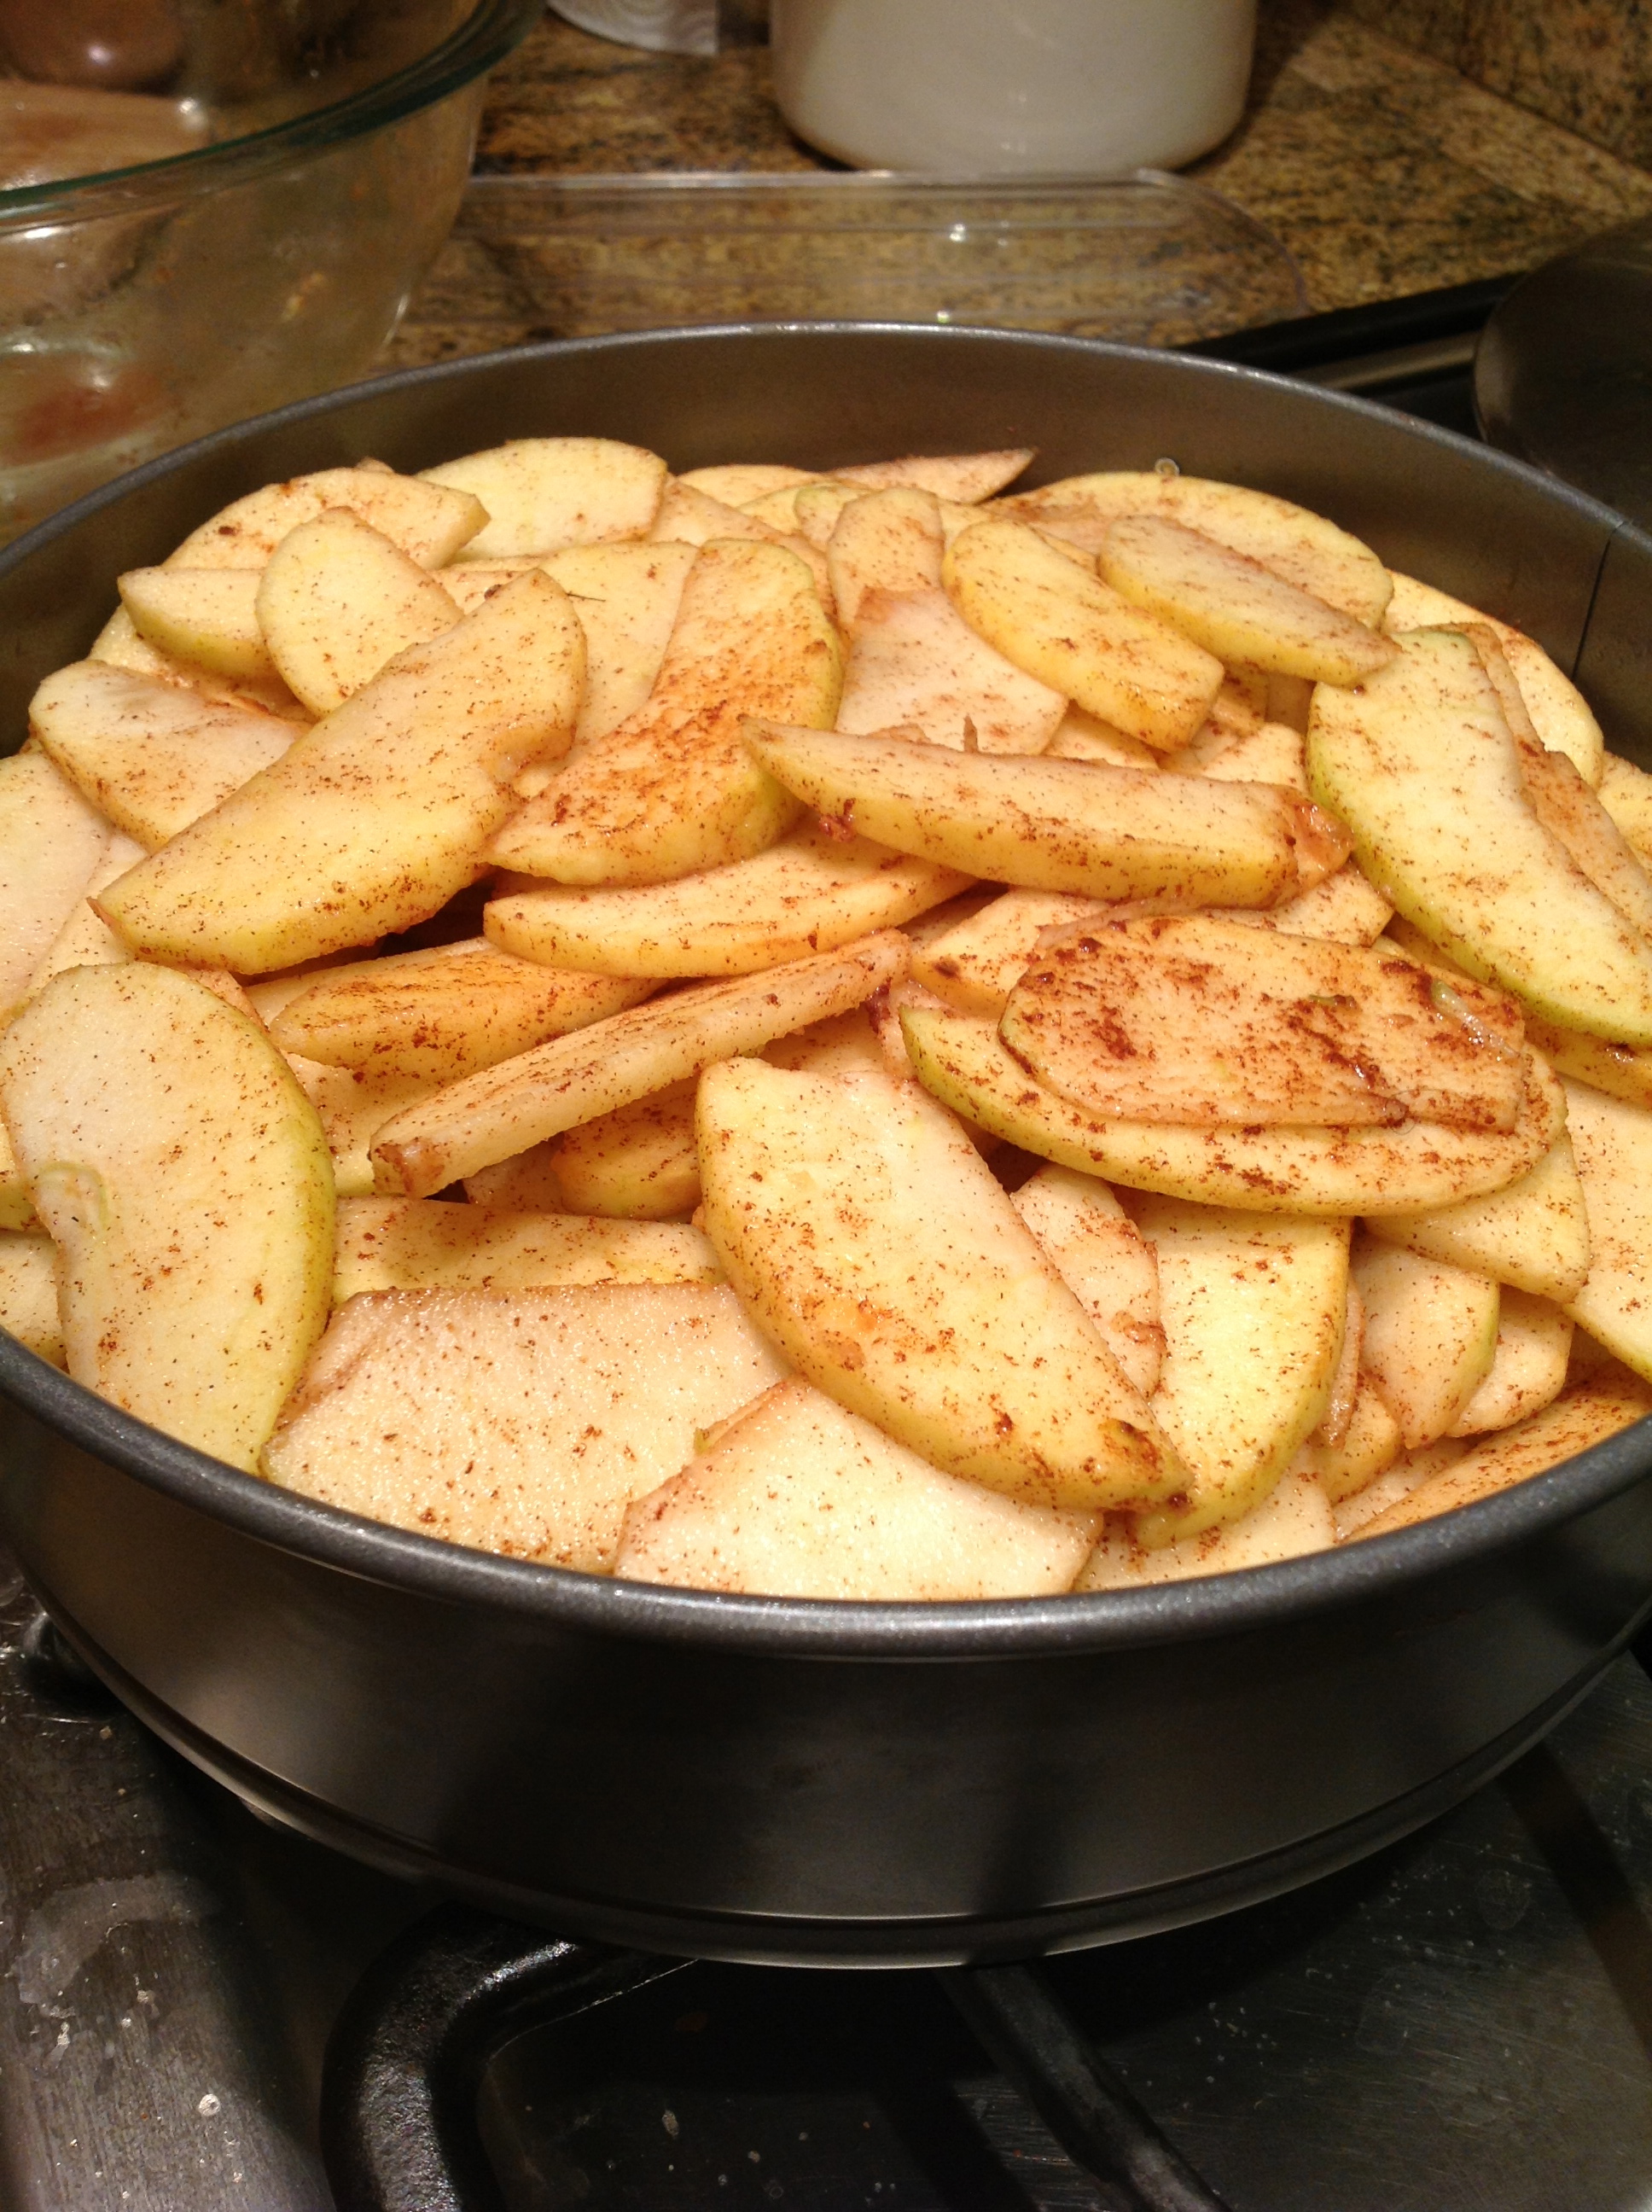
    Preheat oven to 350 degrees. Peel apples, cut into thin slices, and place in a bowl. Pour off any accumulated liquid. Toss apple slices with remaining teaspoon cinnamon and lemon juice, and put them in the prepared pan, pressing down gently as you pack them in (they will mound above the edge of the pan). Sprinkle remaining crumb mixture on top.

  3. STEP 3

    Put the pan on an aluminum foil-lined baking sheet, and bake for 1 hour and 15 minutes, or until golden brown on top. Run a knife around the edge of the pan, and let the cake cool in the pan to set. Serve at room temperature.

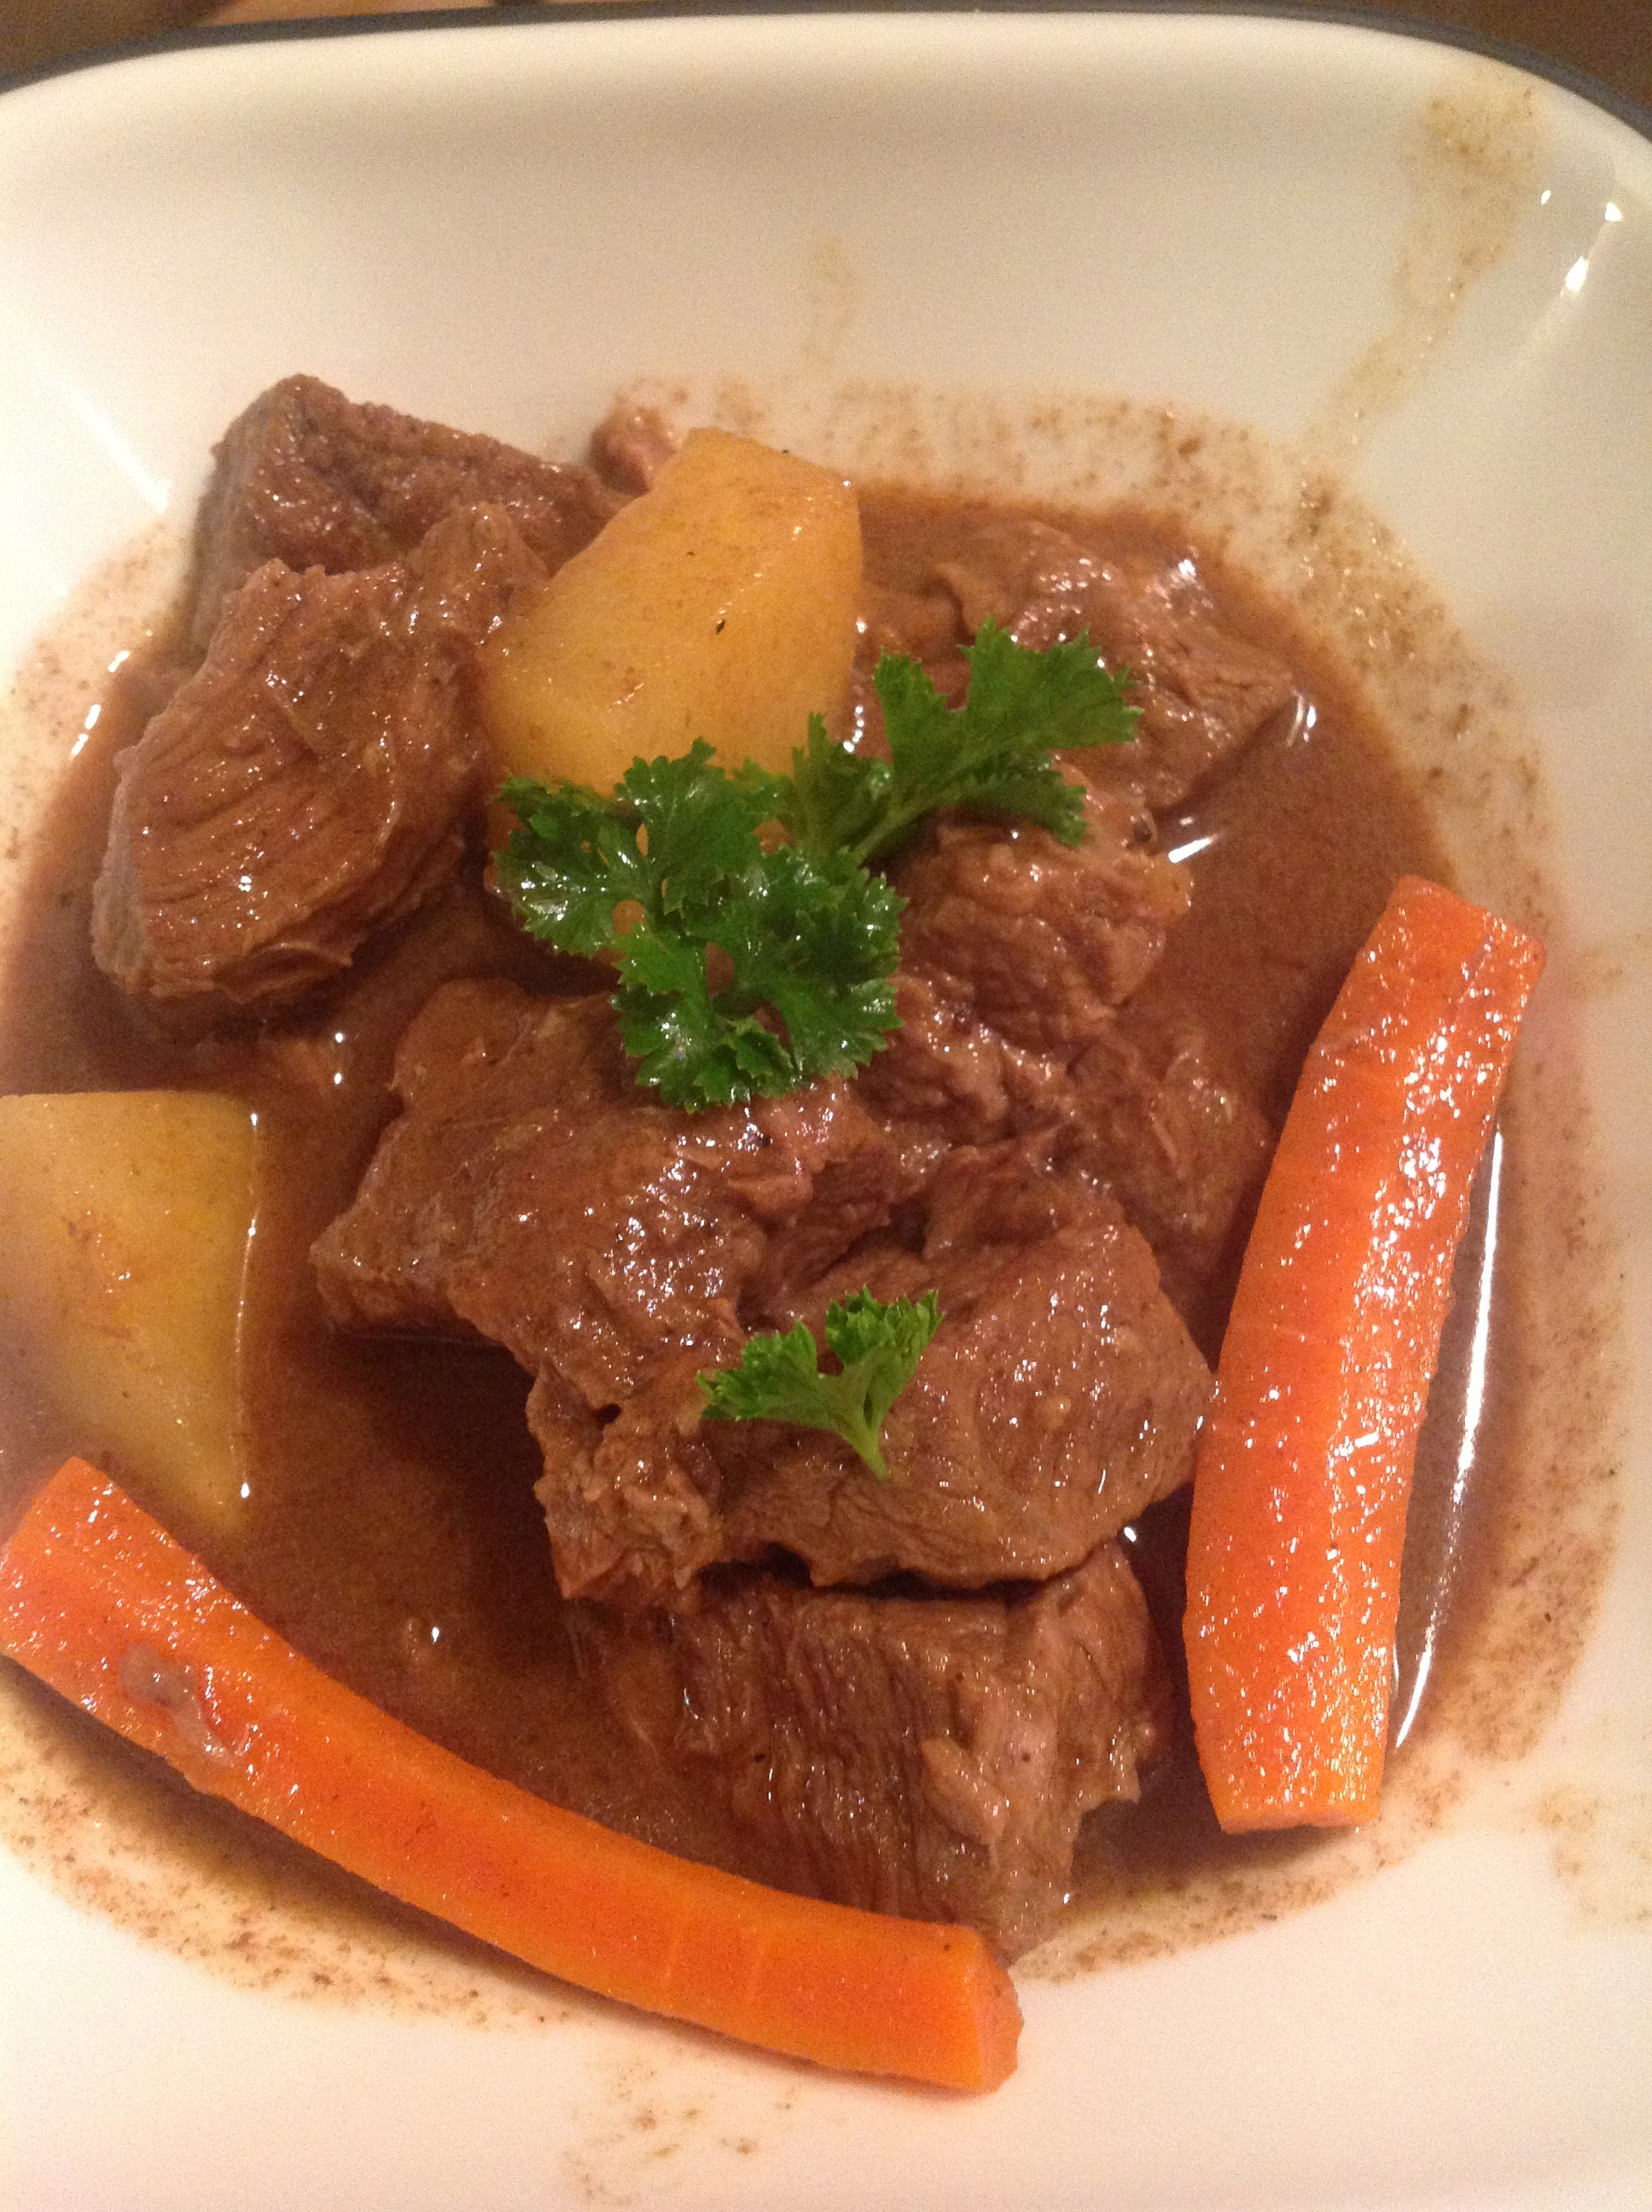
Slow-Cooker Beef and Potato stew!

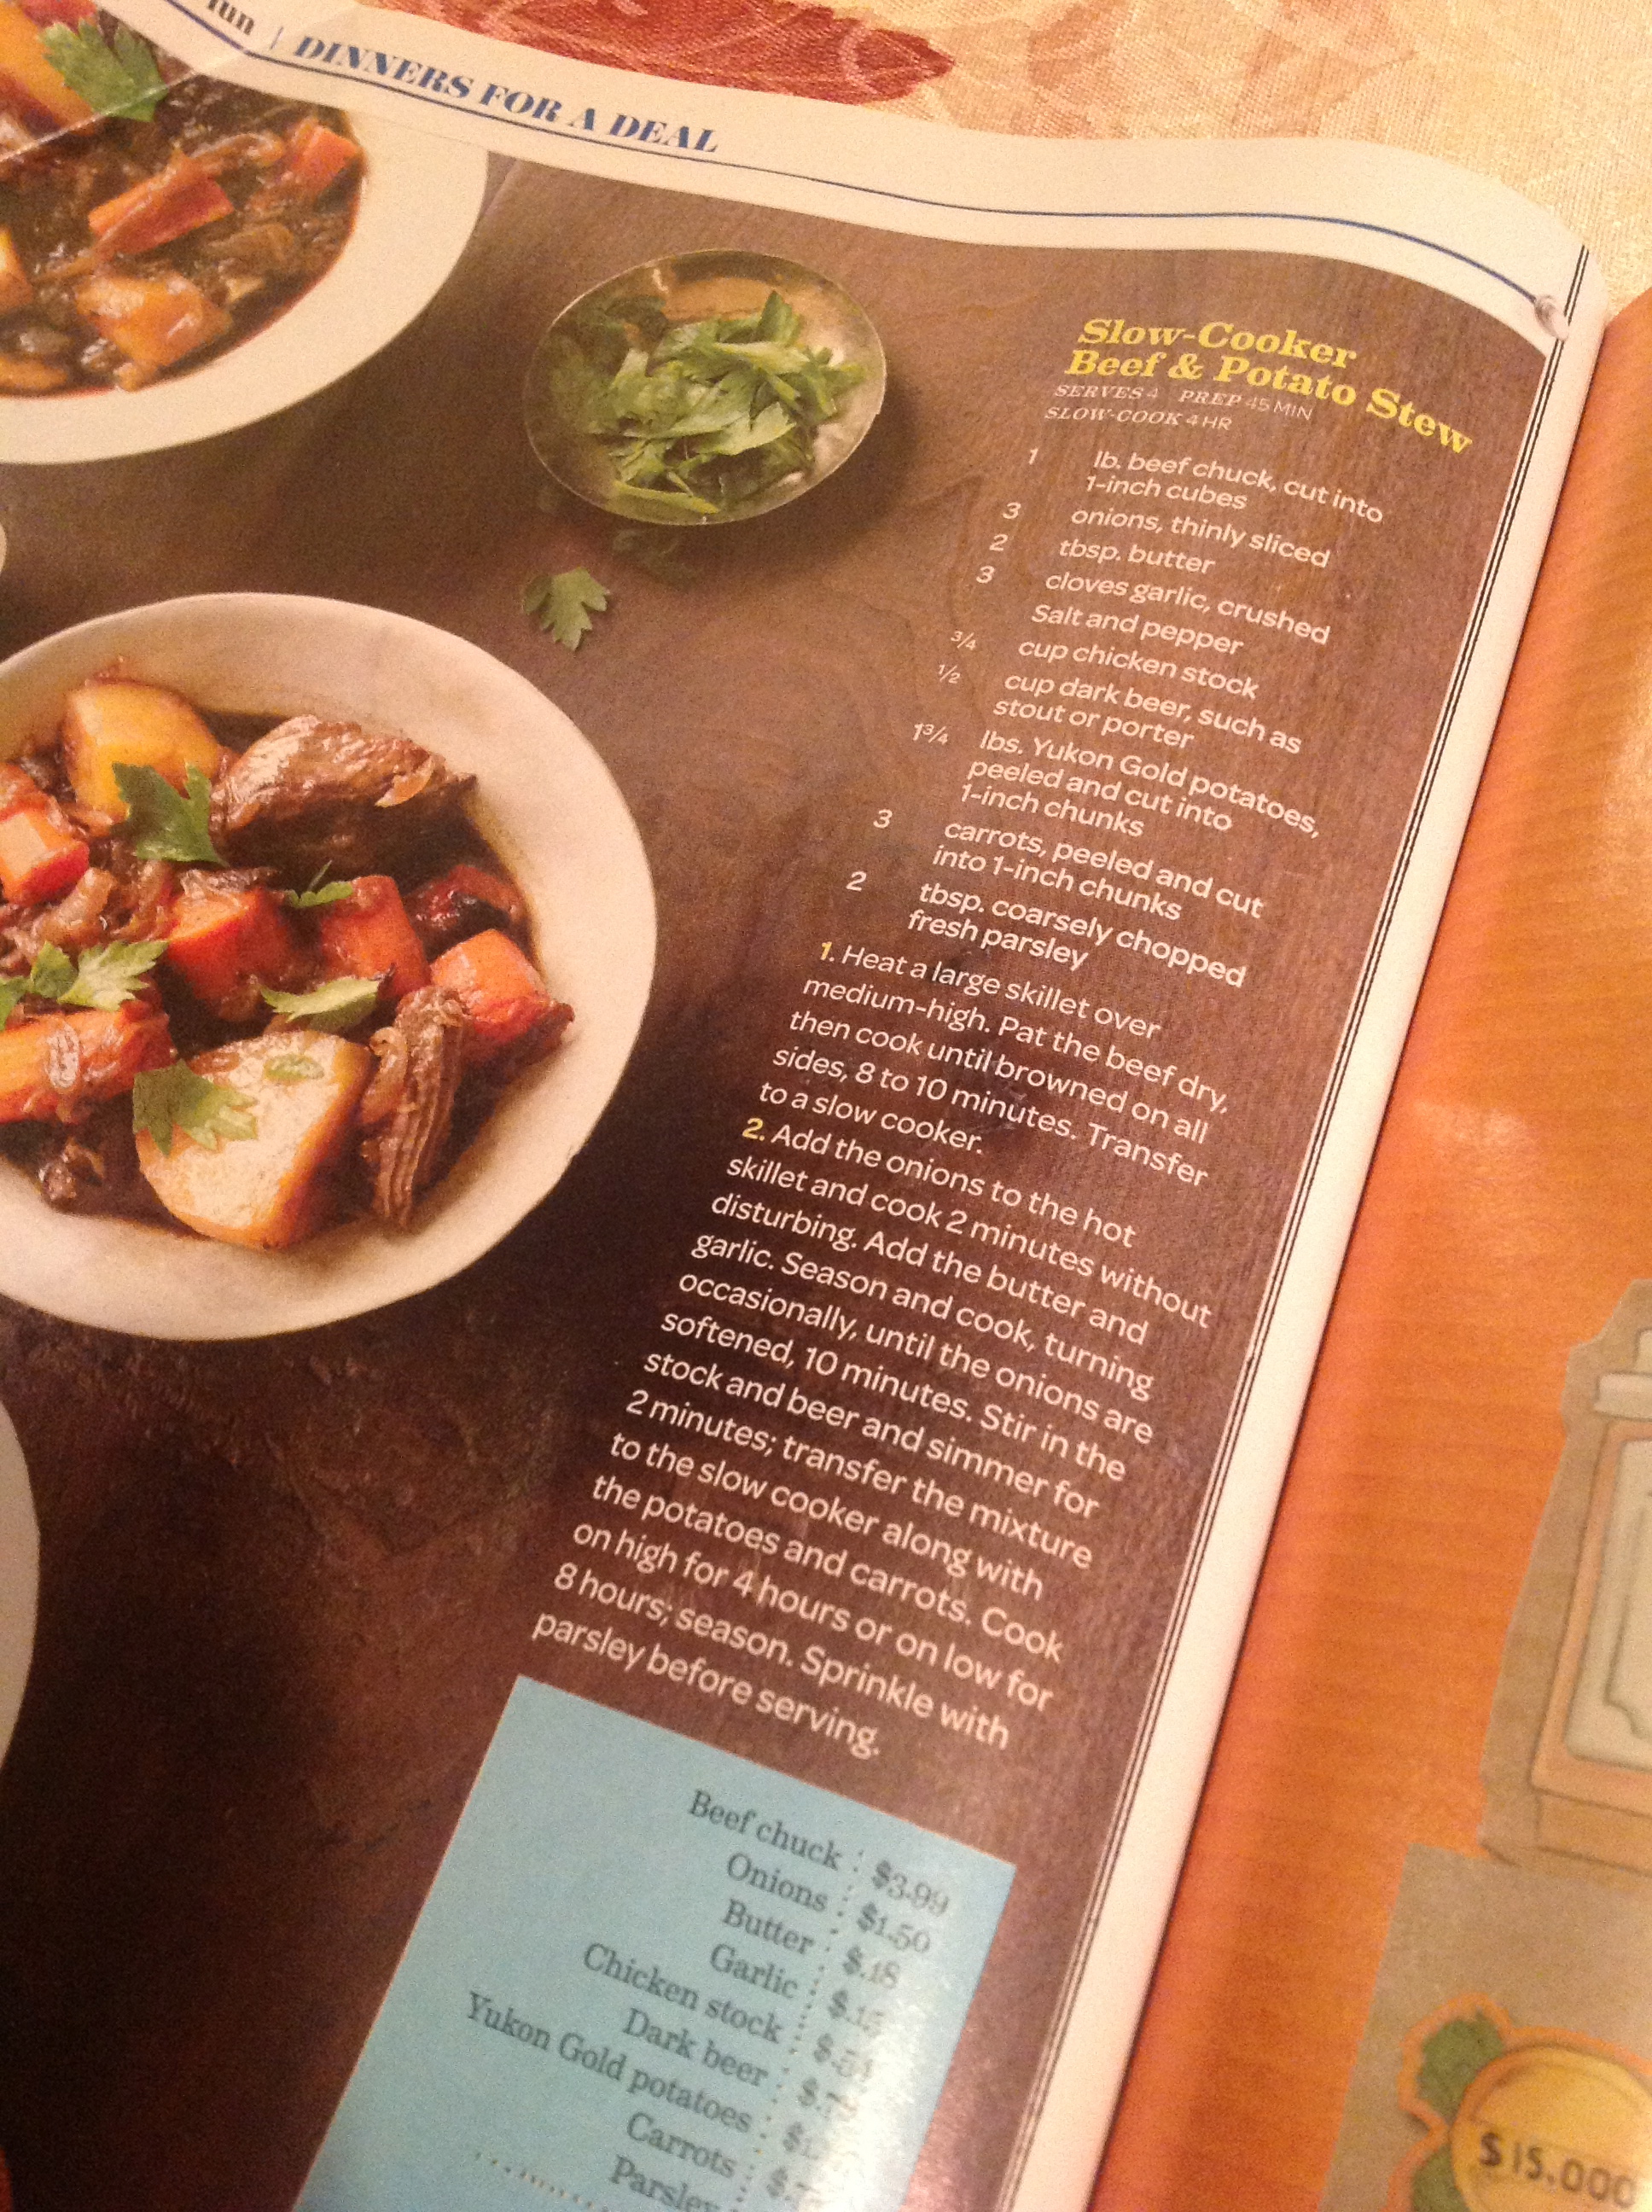
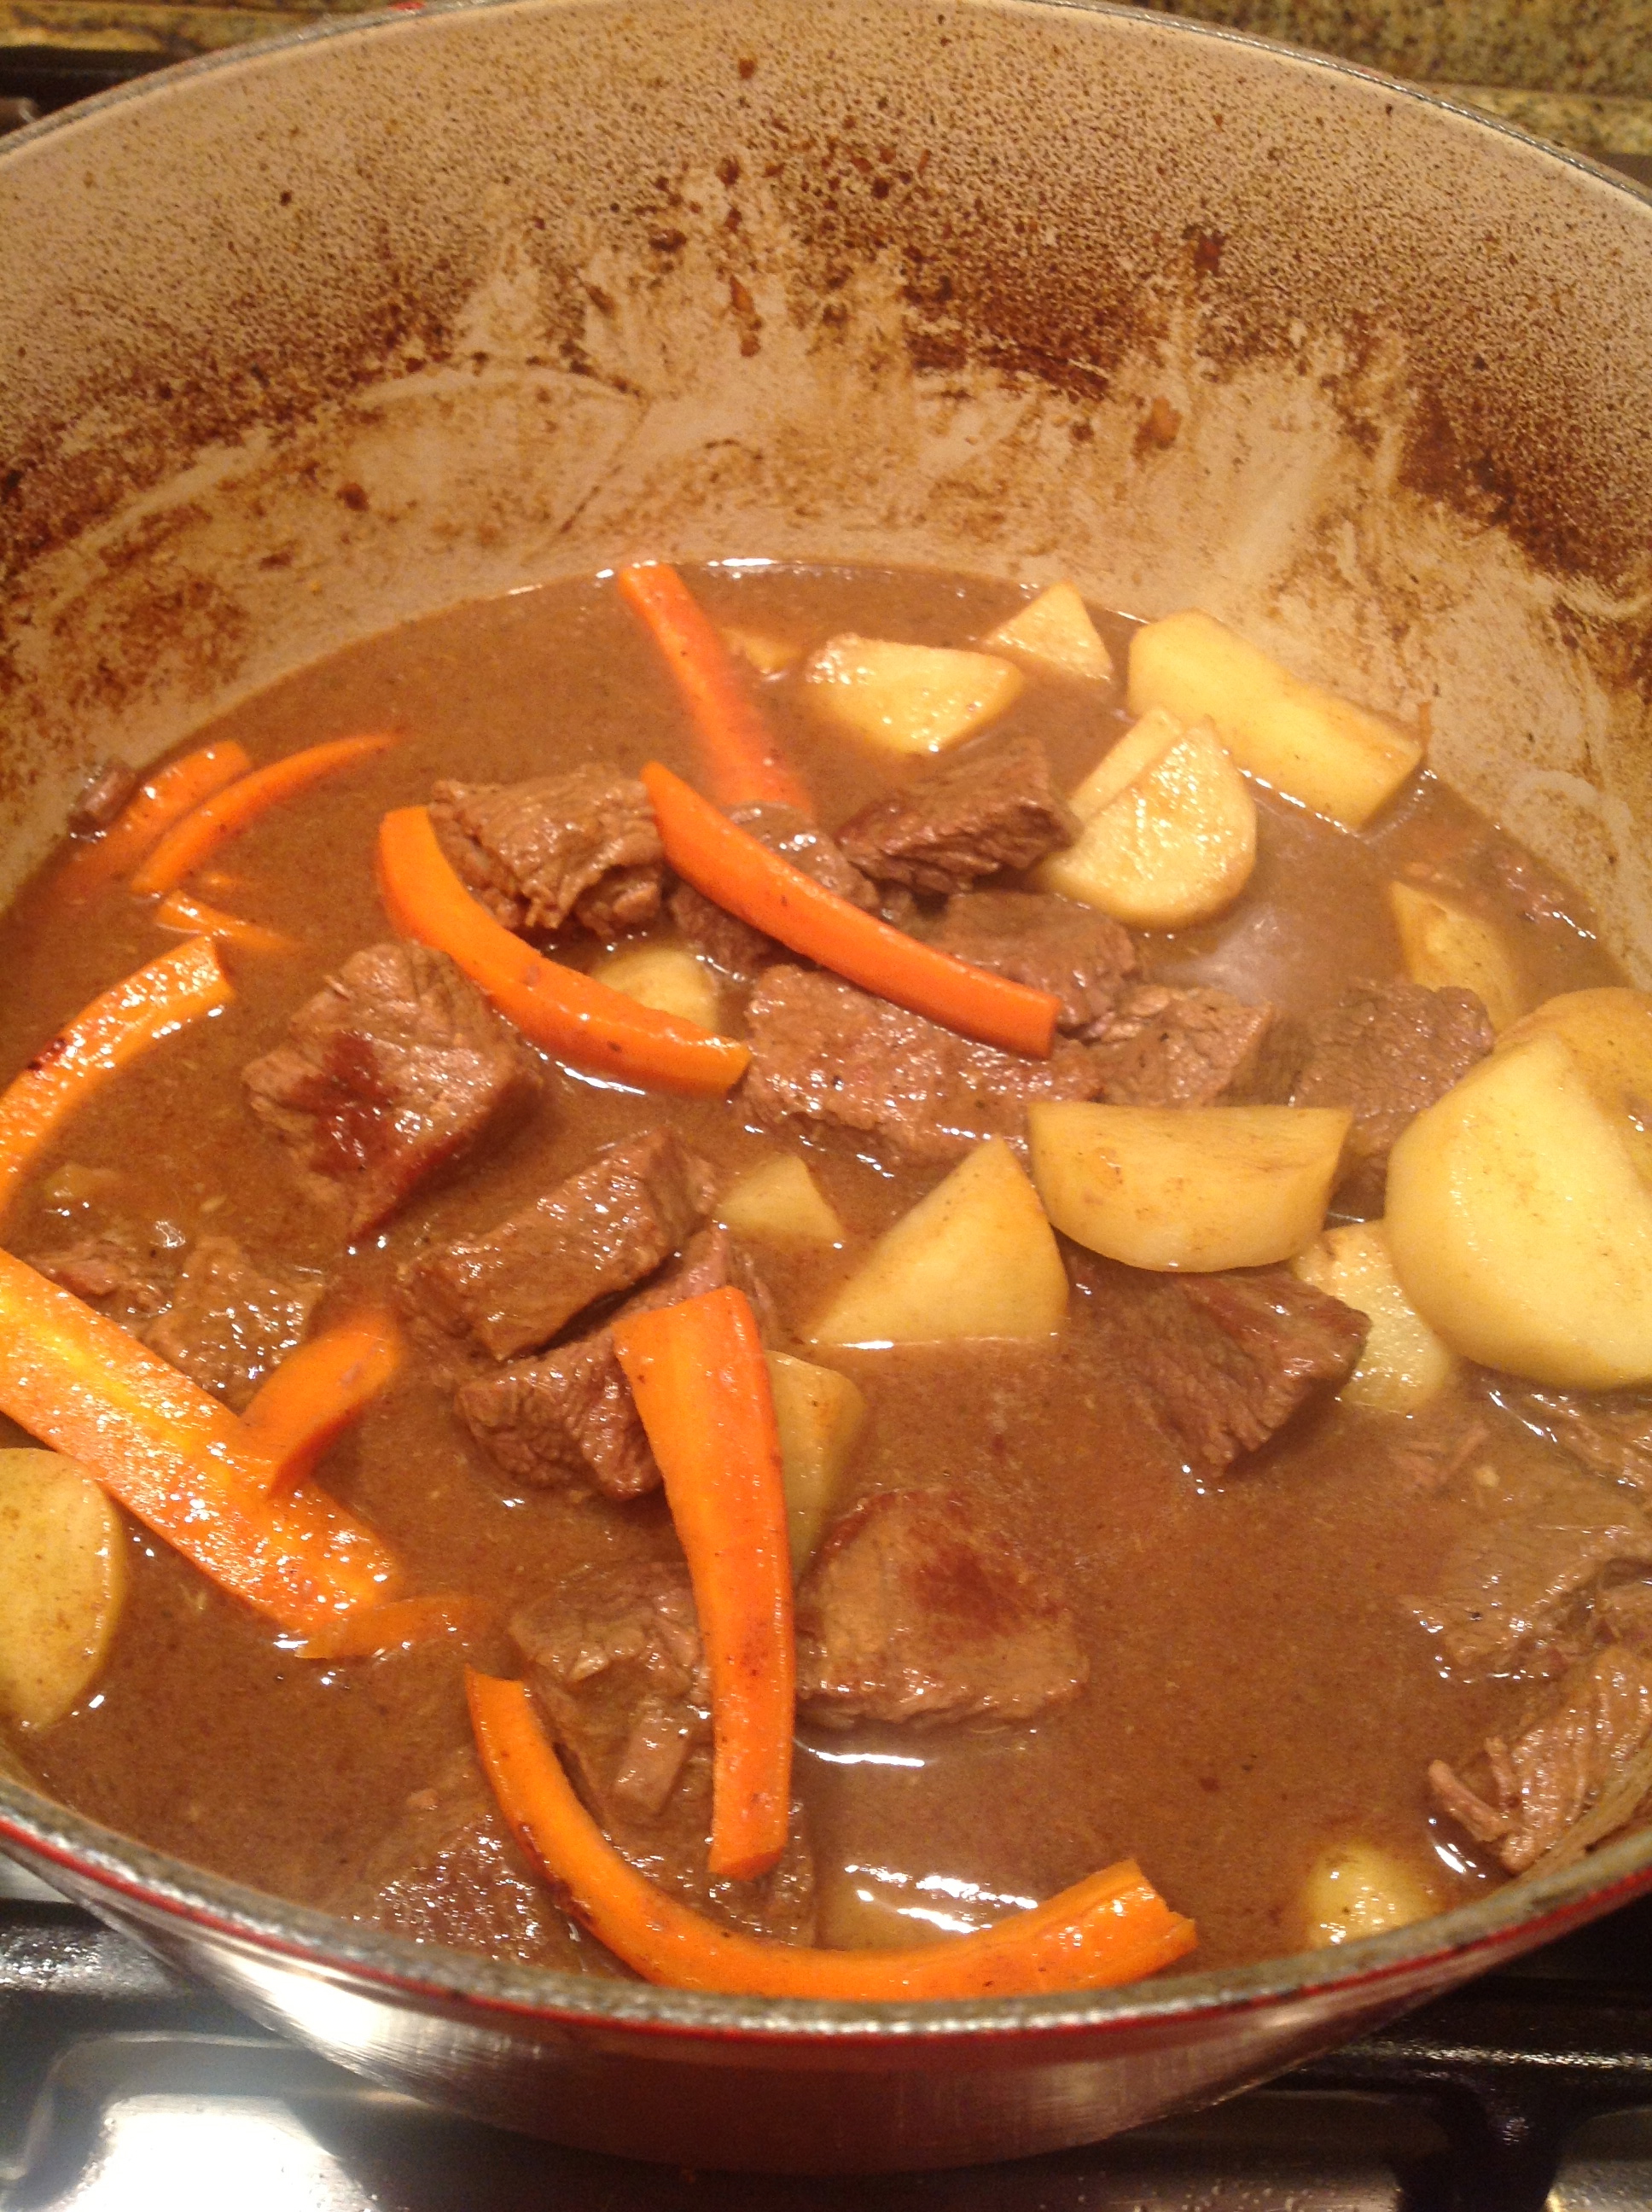
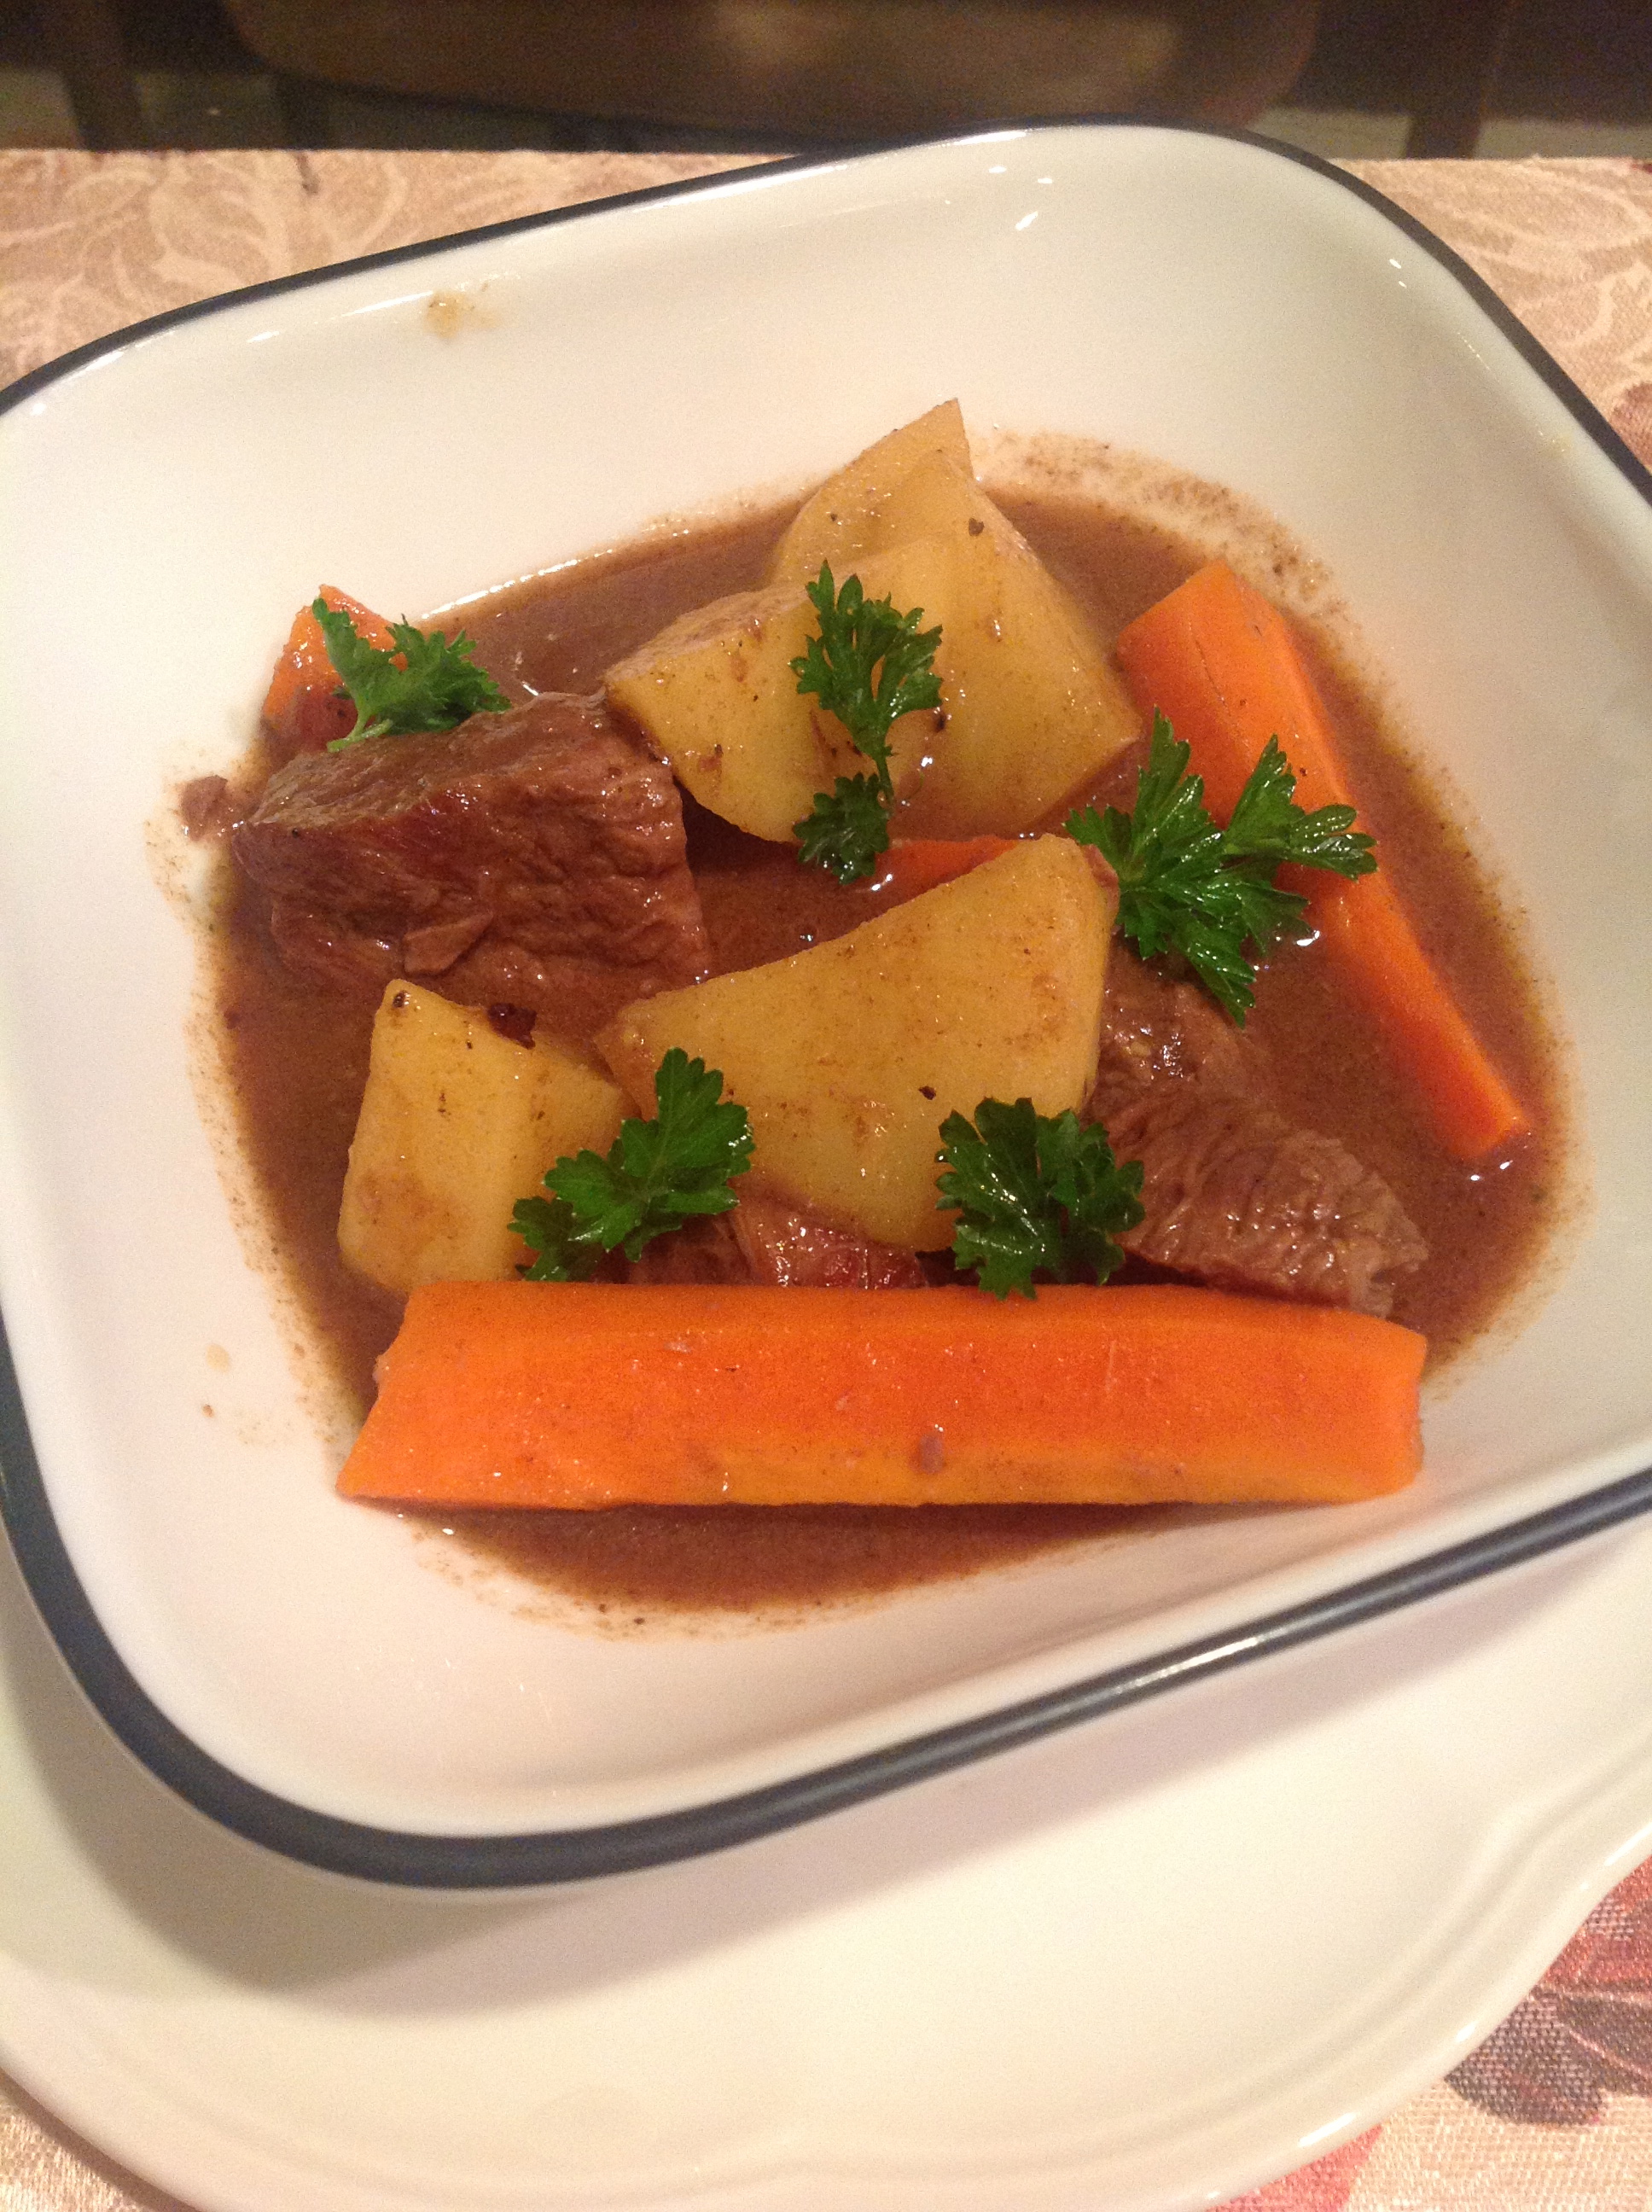
It’s officially fall here in the Pacific North West, with the rain and the wind out there, summer is gone.  With the weather like this, I for sure will make a lot of stew and soup dishes in the coming weeks.  I subscribe to Rachael Ray’s magazine, ‘Everyday with Racheal Ray’ and this recipe looks so easy and has basic pantry ingredients.  The Hubs thinks the dish was okay and didn’t care for the stew so much (he likes thicker stew) but I liked it and will most definitely make this again.  I used my Le Creuset instead of my crockpot. I had a busy day yesterday and it was just too late to use the crockpot.

Recipe from Everyday eith Rachael Ray (october 2013)
Recipe from Everyday with Rachael Ray (october 2013)
Beef and Potato
Beef and Potato
Dinner's ready!
Dinner’s ready!
YUM!
YUM!


Chili!

One of the items on my fall “bucket” list is to make Chili from scratch. I’ve seen most of Ina Garten’s Barefoot Contessa episodes so when she featured this chili recipe along with it’s creator I knew that I wanted to try this dish.  I totally adjusted the chili in this one because I’ve read in the reviews that a lot of people found it too spicy.  Using stew meat is my favorite, although the browning of the meat is time consuming I think it’s so worth it in the end. We love tender chunky meat in our chilies.  I will probably do this again as the weather continues to get colder.

browning of the meat..
hmmmmmmm
🙂
added green onions
little chili station
🙂

Devon’s Award-Winning Chili!!

Ingredients (recipe from Barefoot Contessa/foodnetwork.com)

  • 5 pounds beef brisket, cut in 1-inch cubes
  • 1/4 cup olive oil
  • 2 cups chopped yellow onions
  • 6 large garlic cloves, minced
  • 2 tablespoons chili powder
  • 1 tablespoon red pepper flakes, crushed
  • 1 tablespoon cayenne pepper, or to taste
  • 2 tablespoons ground cumin
  • 2 green peppers, seeded and diced
  • bay leaf
  • 6 cups tomatoes, chopped with their liquid
  • Salt and freshly ground black pepper
  • 1/2 cup strong coffee
  • 2 (15-ounce) cans kidney beans
  • 2 tablespoons chopped basil leaves

Serve with:

  • Sour cream
  • Grated Cheddar
  • Diced tomato
  • Tortilla chips
  • Guacamole (see recipe)

Directions

Pat the brisket cubes dry with paper towels. Heat the oil in a very large heavy-bottomed pot and quickly brown the meat, in batches, on all sides. Transfer the brisket to a separate bowl and set aside. Saute the onion and garlic in the same oil over medium heat until limp, but not brown, about 8 to 10 minutes. Add the chili powder, pepper flakes, cayenne pepper and cumin and saute for 1 minute. Add the green peppers, bay leaf, tomatoes with their juice, the reserved meat, 1 tablespoon of salt and 1 teaspoon pepper and bring to a boil. Reduce the heat, cover the pot with a tight fitting lid and simmer for 2 1/2 hours, stirring occasionally. Taste and season with salt, to taste. Add the coffee, cover the pot and simmer for 1 more hour.

Add the kidney beans and basil, and warm through. Transfer the chili to a large serving bowl and serve with sour cream, grated Cheddar, diced tomato, tortilla chips and guacamole.

Chicken Piccata

I made this chicken dish last Sunday night and it was delish:) Hubby totally enjoyed it and I will definitely make this again. It’s really simple, although the pounding can take a little time (maybe 5 minutes?) not really a big deal to me because I like the pounding process:)

🙂
🙂
so good!
we paired it with salad.

Ingredients(www.myrecipes.com)

  • 4 (6-ounce) skinless, boneless chicken breast halves
  • 2 ounces all-purpose flour, divided (about 1/2 cup)
  • 1/2 teaspoon kosher salt
  • 1/4 teaspoon freshly ground black pepper
  • 2 1/2 tablespoons butter, divided
  • 2 tablespoons olive oil, divided
  • 1/4 cup finely chopped shallots
  • 4 medium garlic cloves, thinly sliced
  • 1/2 cup dry white wine
  • 3/4 cup fat-free, lower-sodium chicken broth, divided
  • 2 tablespoons fresh lemon juice
  • 1 1/2 tablespoons drained capers
  • 3 tablespoons coarsely chopped fresh flat-leaf parsley

Preparation

  1.  Place each chicken breast half between 2 sheets of heavy-duty plastic wrap; pound to 1/2-inch thickness using a meat mallet or small heavy skillet. Place 1 teaspoon flour in a small bowl, and place remaining flour in a shallow dish. Sprinkle both sides of chicken evenly with salt and pepper. Dredge chicken in flour in shallow dish; shake off excess.
  2.  Melt 1 tablespoon butter in a large skillet over medium-high heat. Add 1 tablespoon oil to pan; swirl to coat. Add chicken to pan; sauté 4 minutes on each side or until done. Remove chicken from pan; keep warm.
  3.  Heat remaining 1 tablespoon oil in pan; swirl to coat. Add shallots to pan; sauté 3 minutes, stirring frequently. Add garlic; sauté 1 minute, stirring constantly. Add wine; bring to a boil, scraping pan to loosen browned bits. Cook until liquid almost evaporates, stirring occasionally. Add 1/4 cup broth to reserved 1 teaspoon flour; stir until smooth. Add remaining 1/2 cup broth to pan; bring to a boil. Cook until reduced by half (about 5 minutes). Stir in flour mixture; cook 1 minute or until slightly thick, stirring frequently. Remove from heat; stir in remaining 1 1/2 tablespoons butter, juice, and capers. Place 1 chicken breast half on each of 4 plates; top each serving with about 2 tablespoons sauce. Sprinkle each serving with about 2 teaspoons parsley.

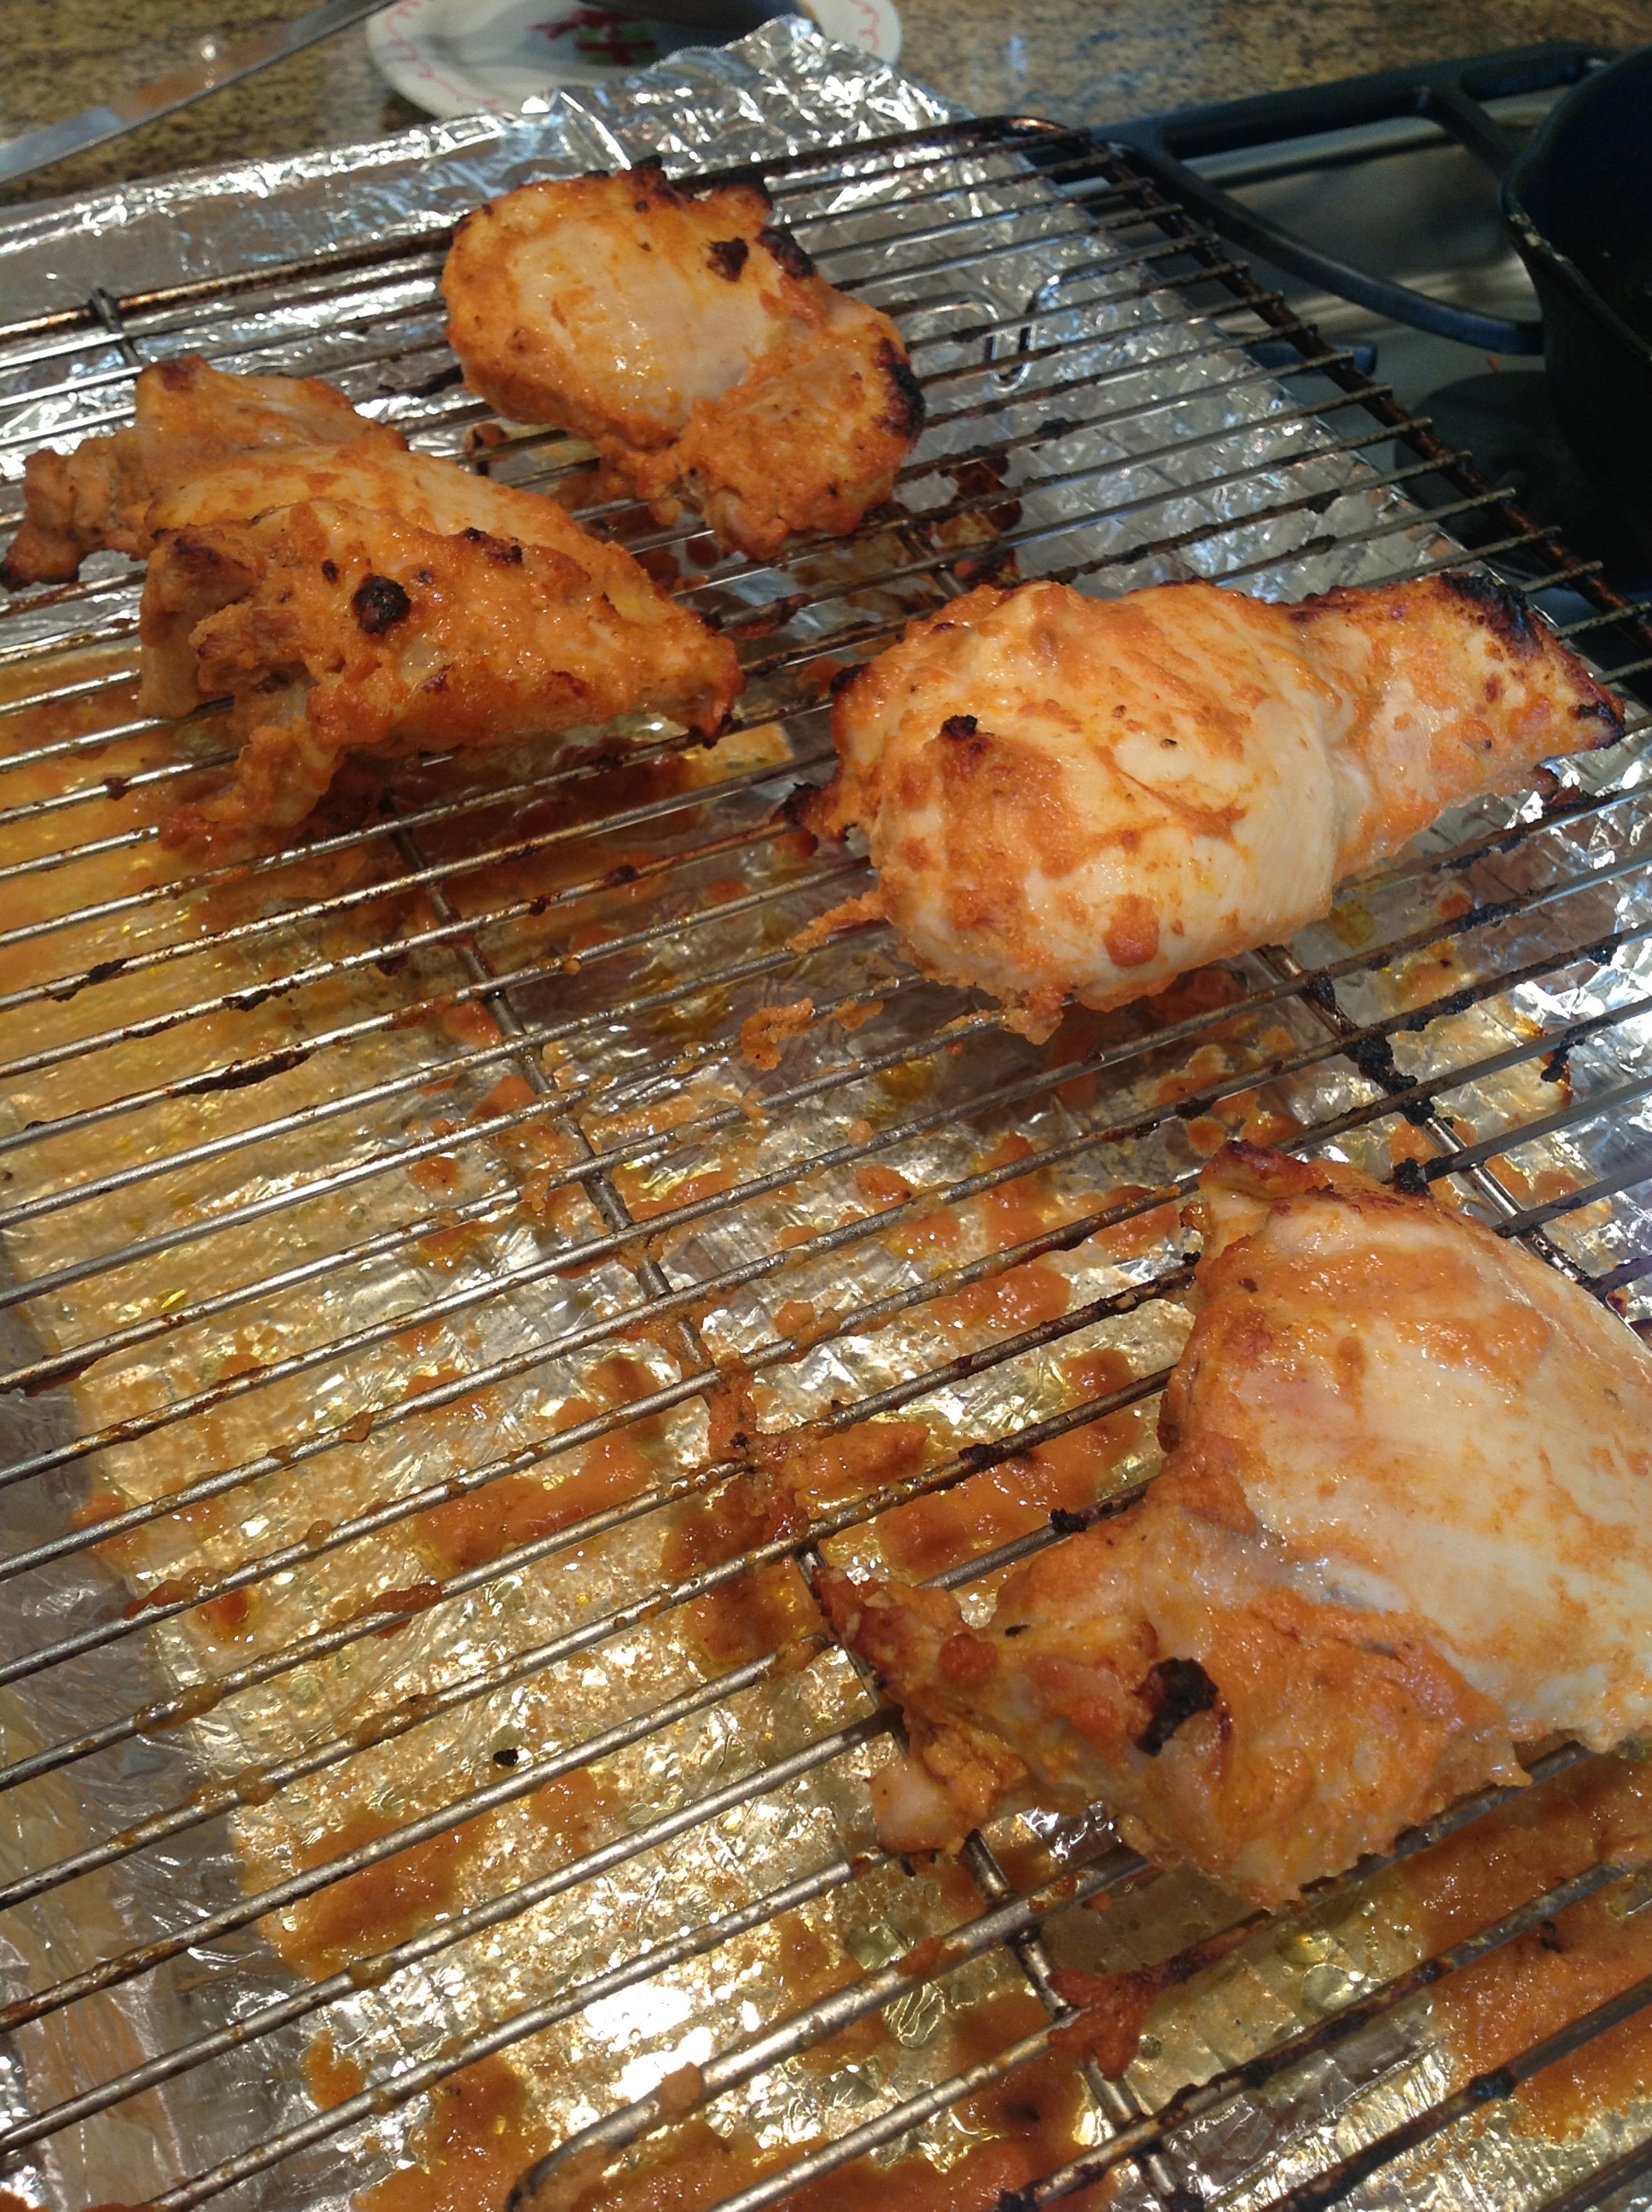
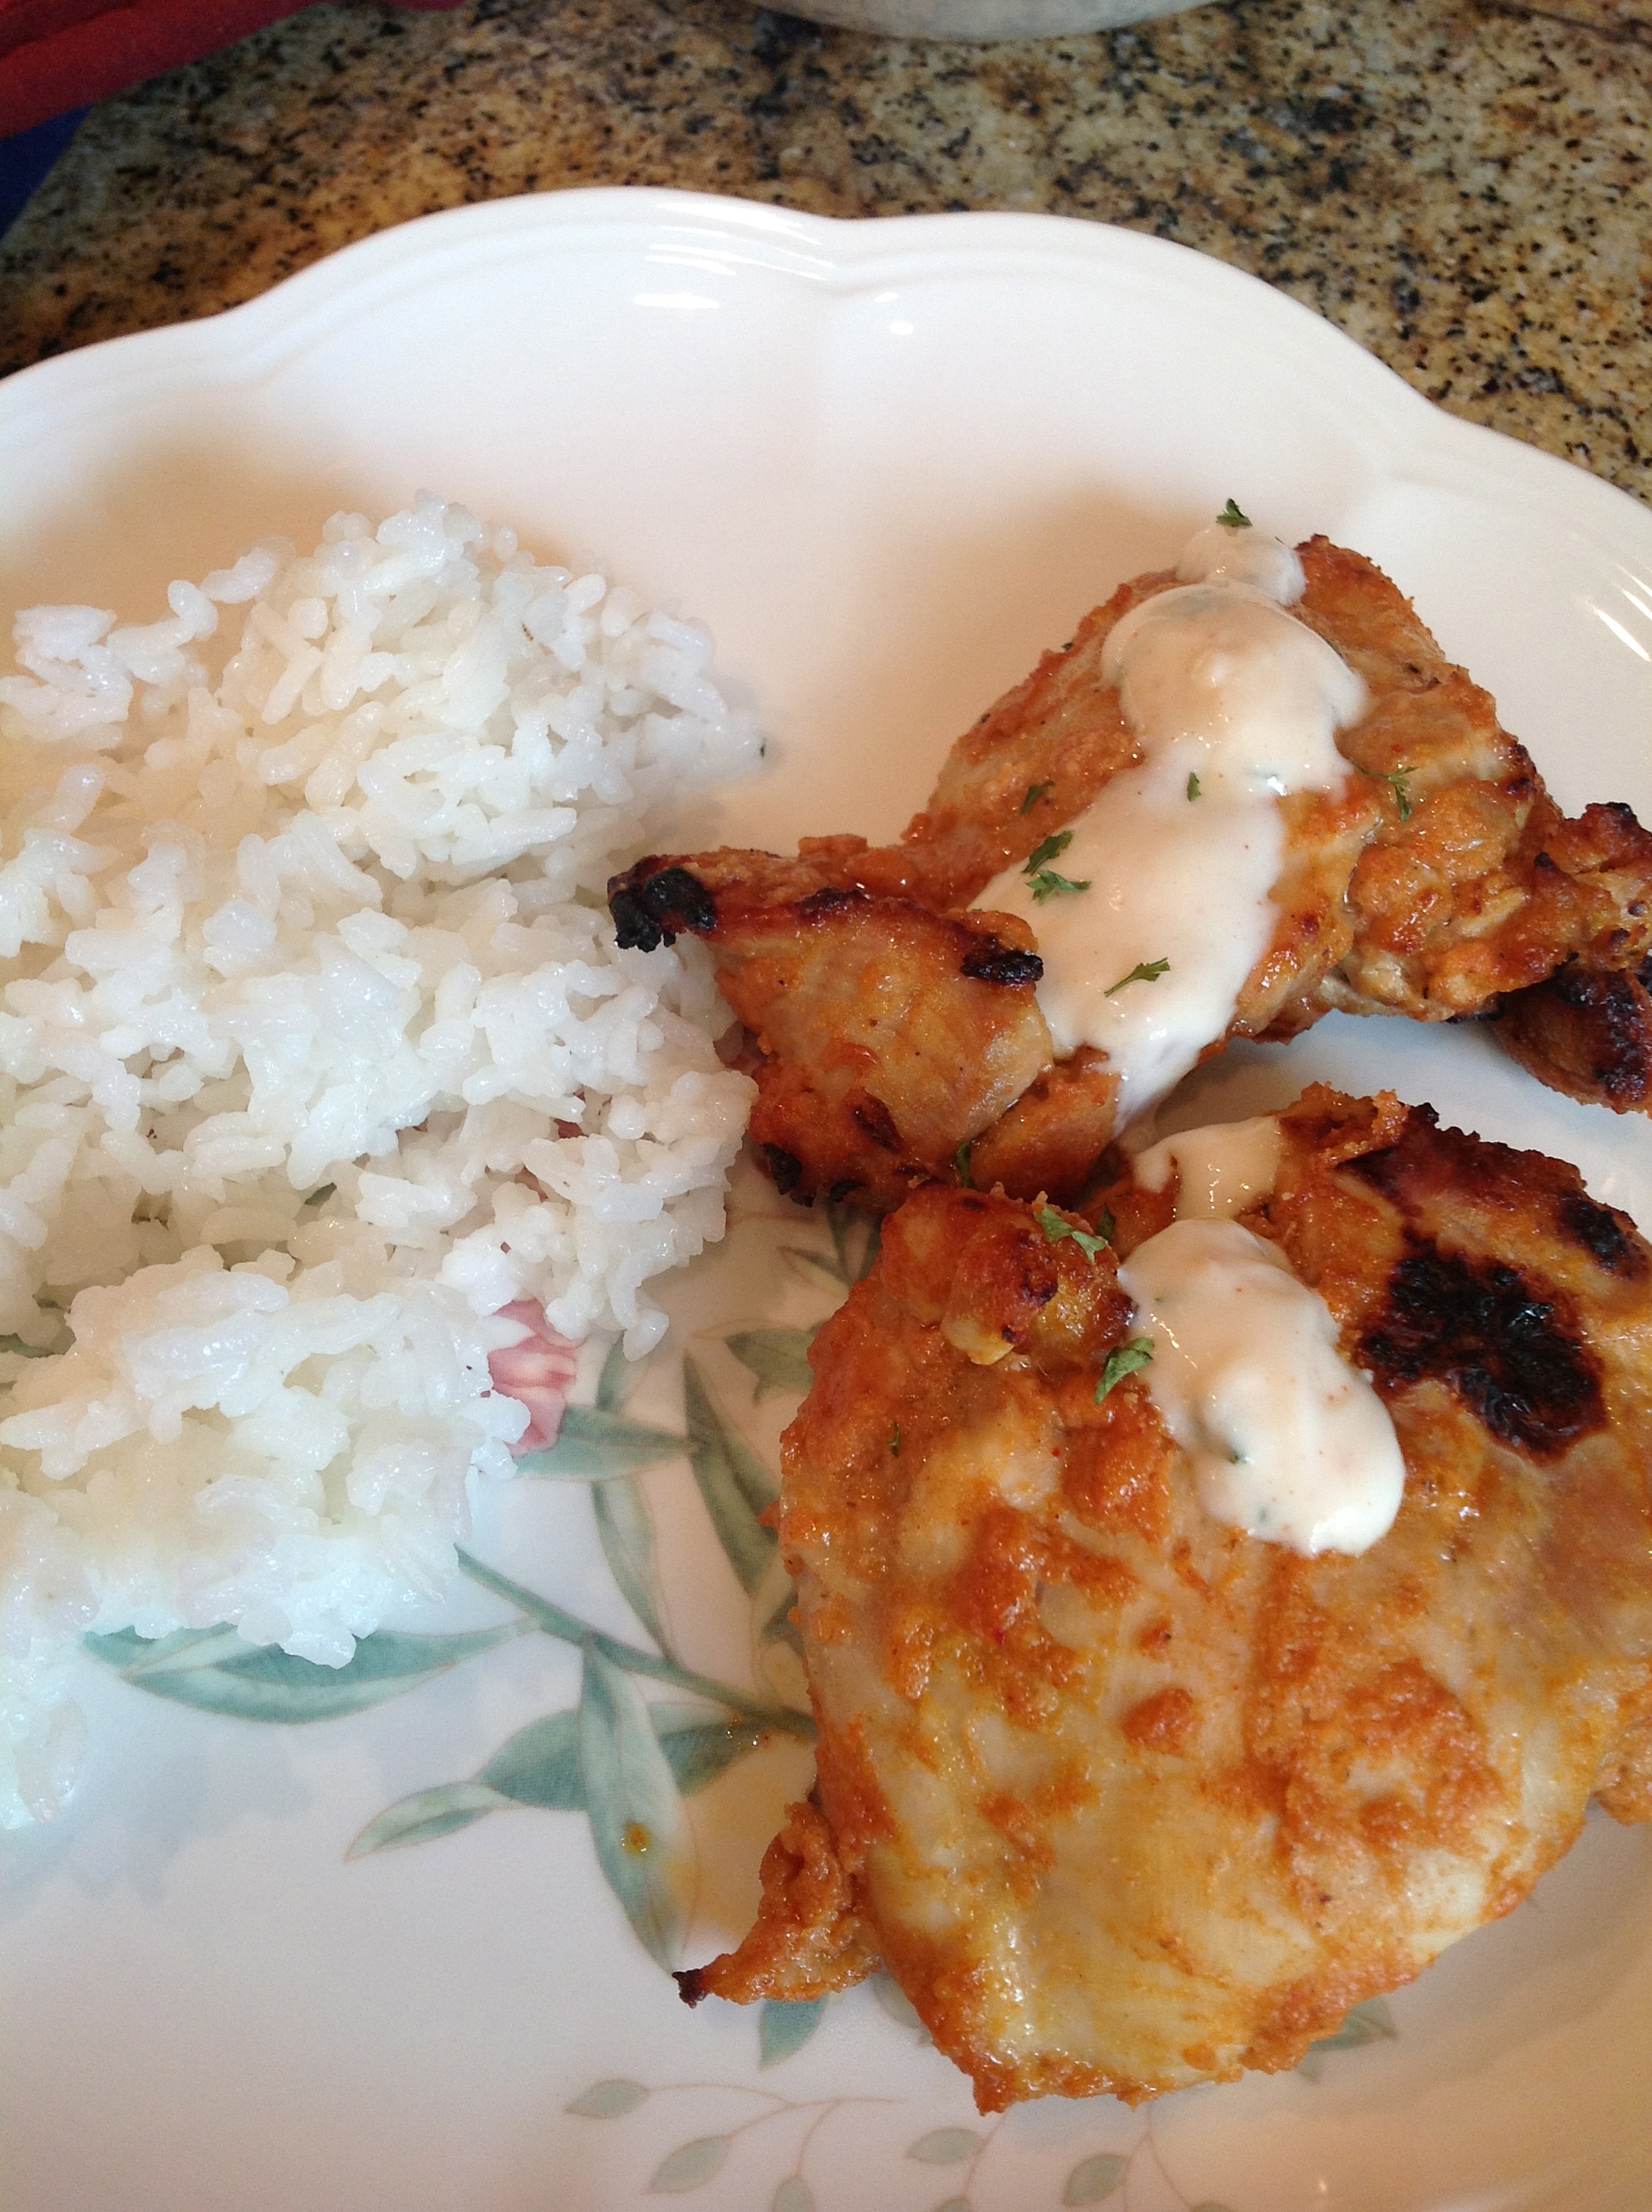
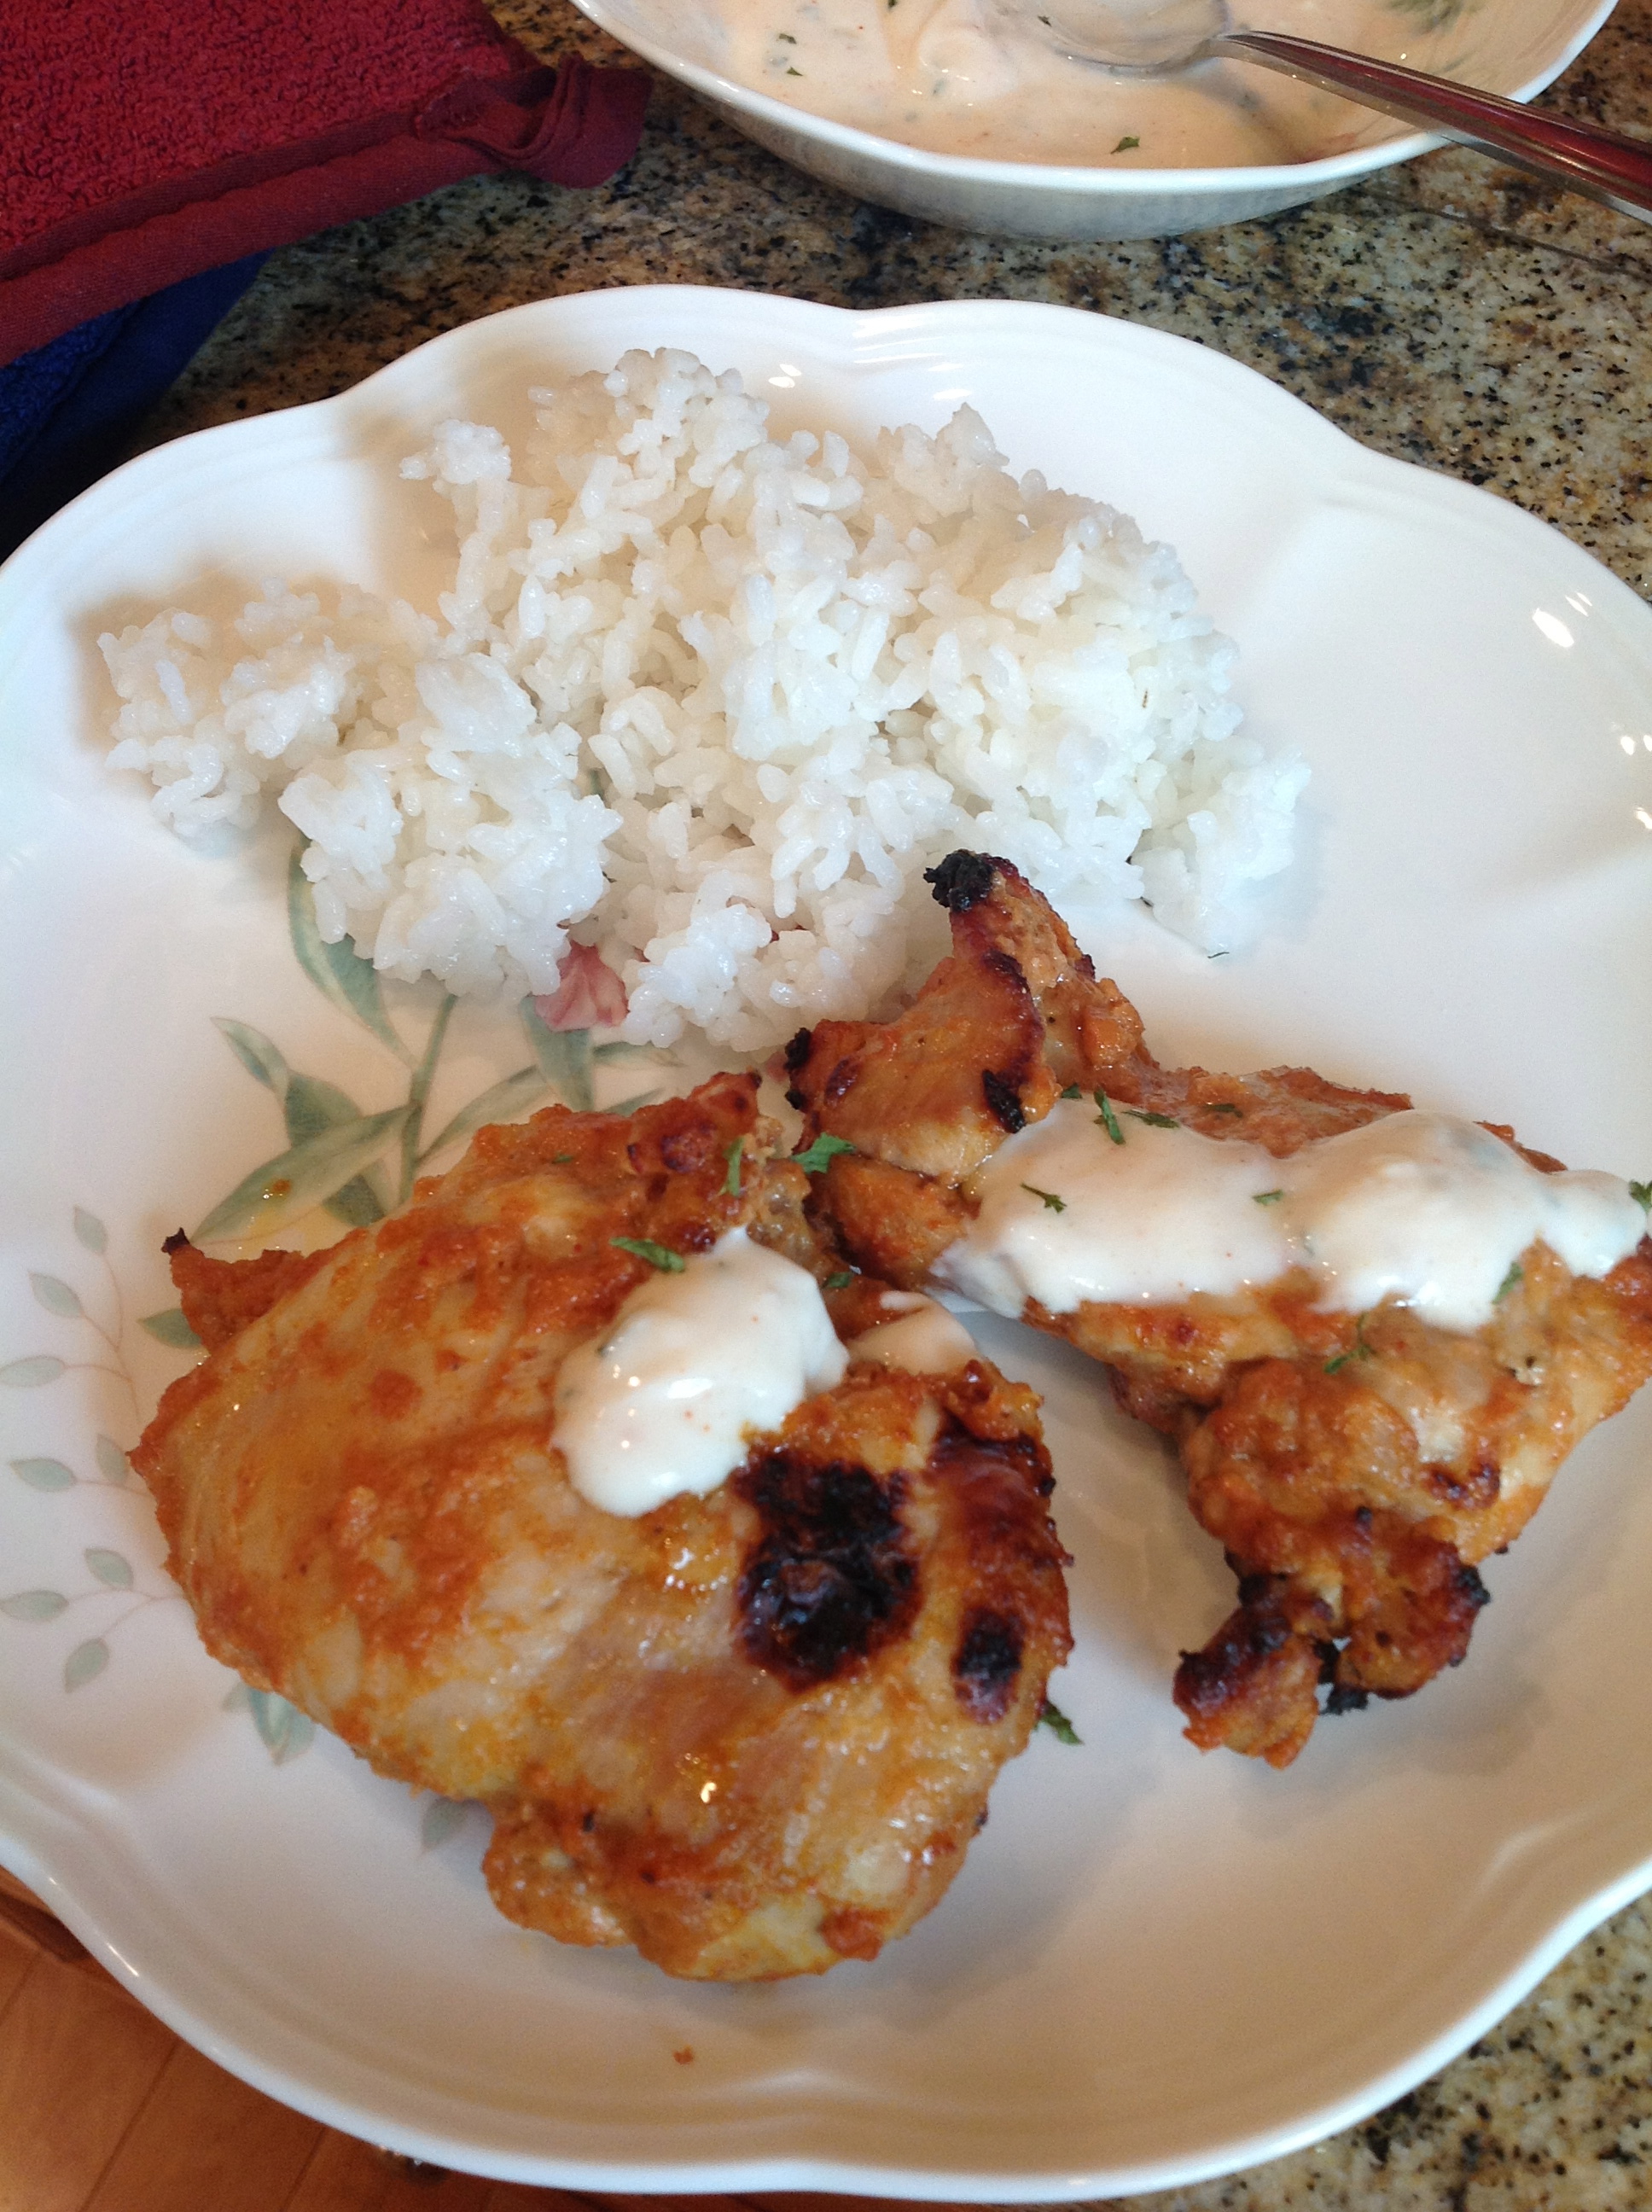
Chicken Tandoori

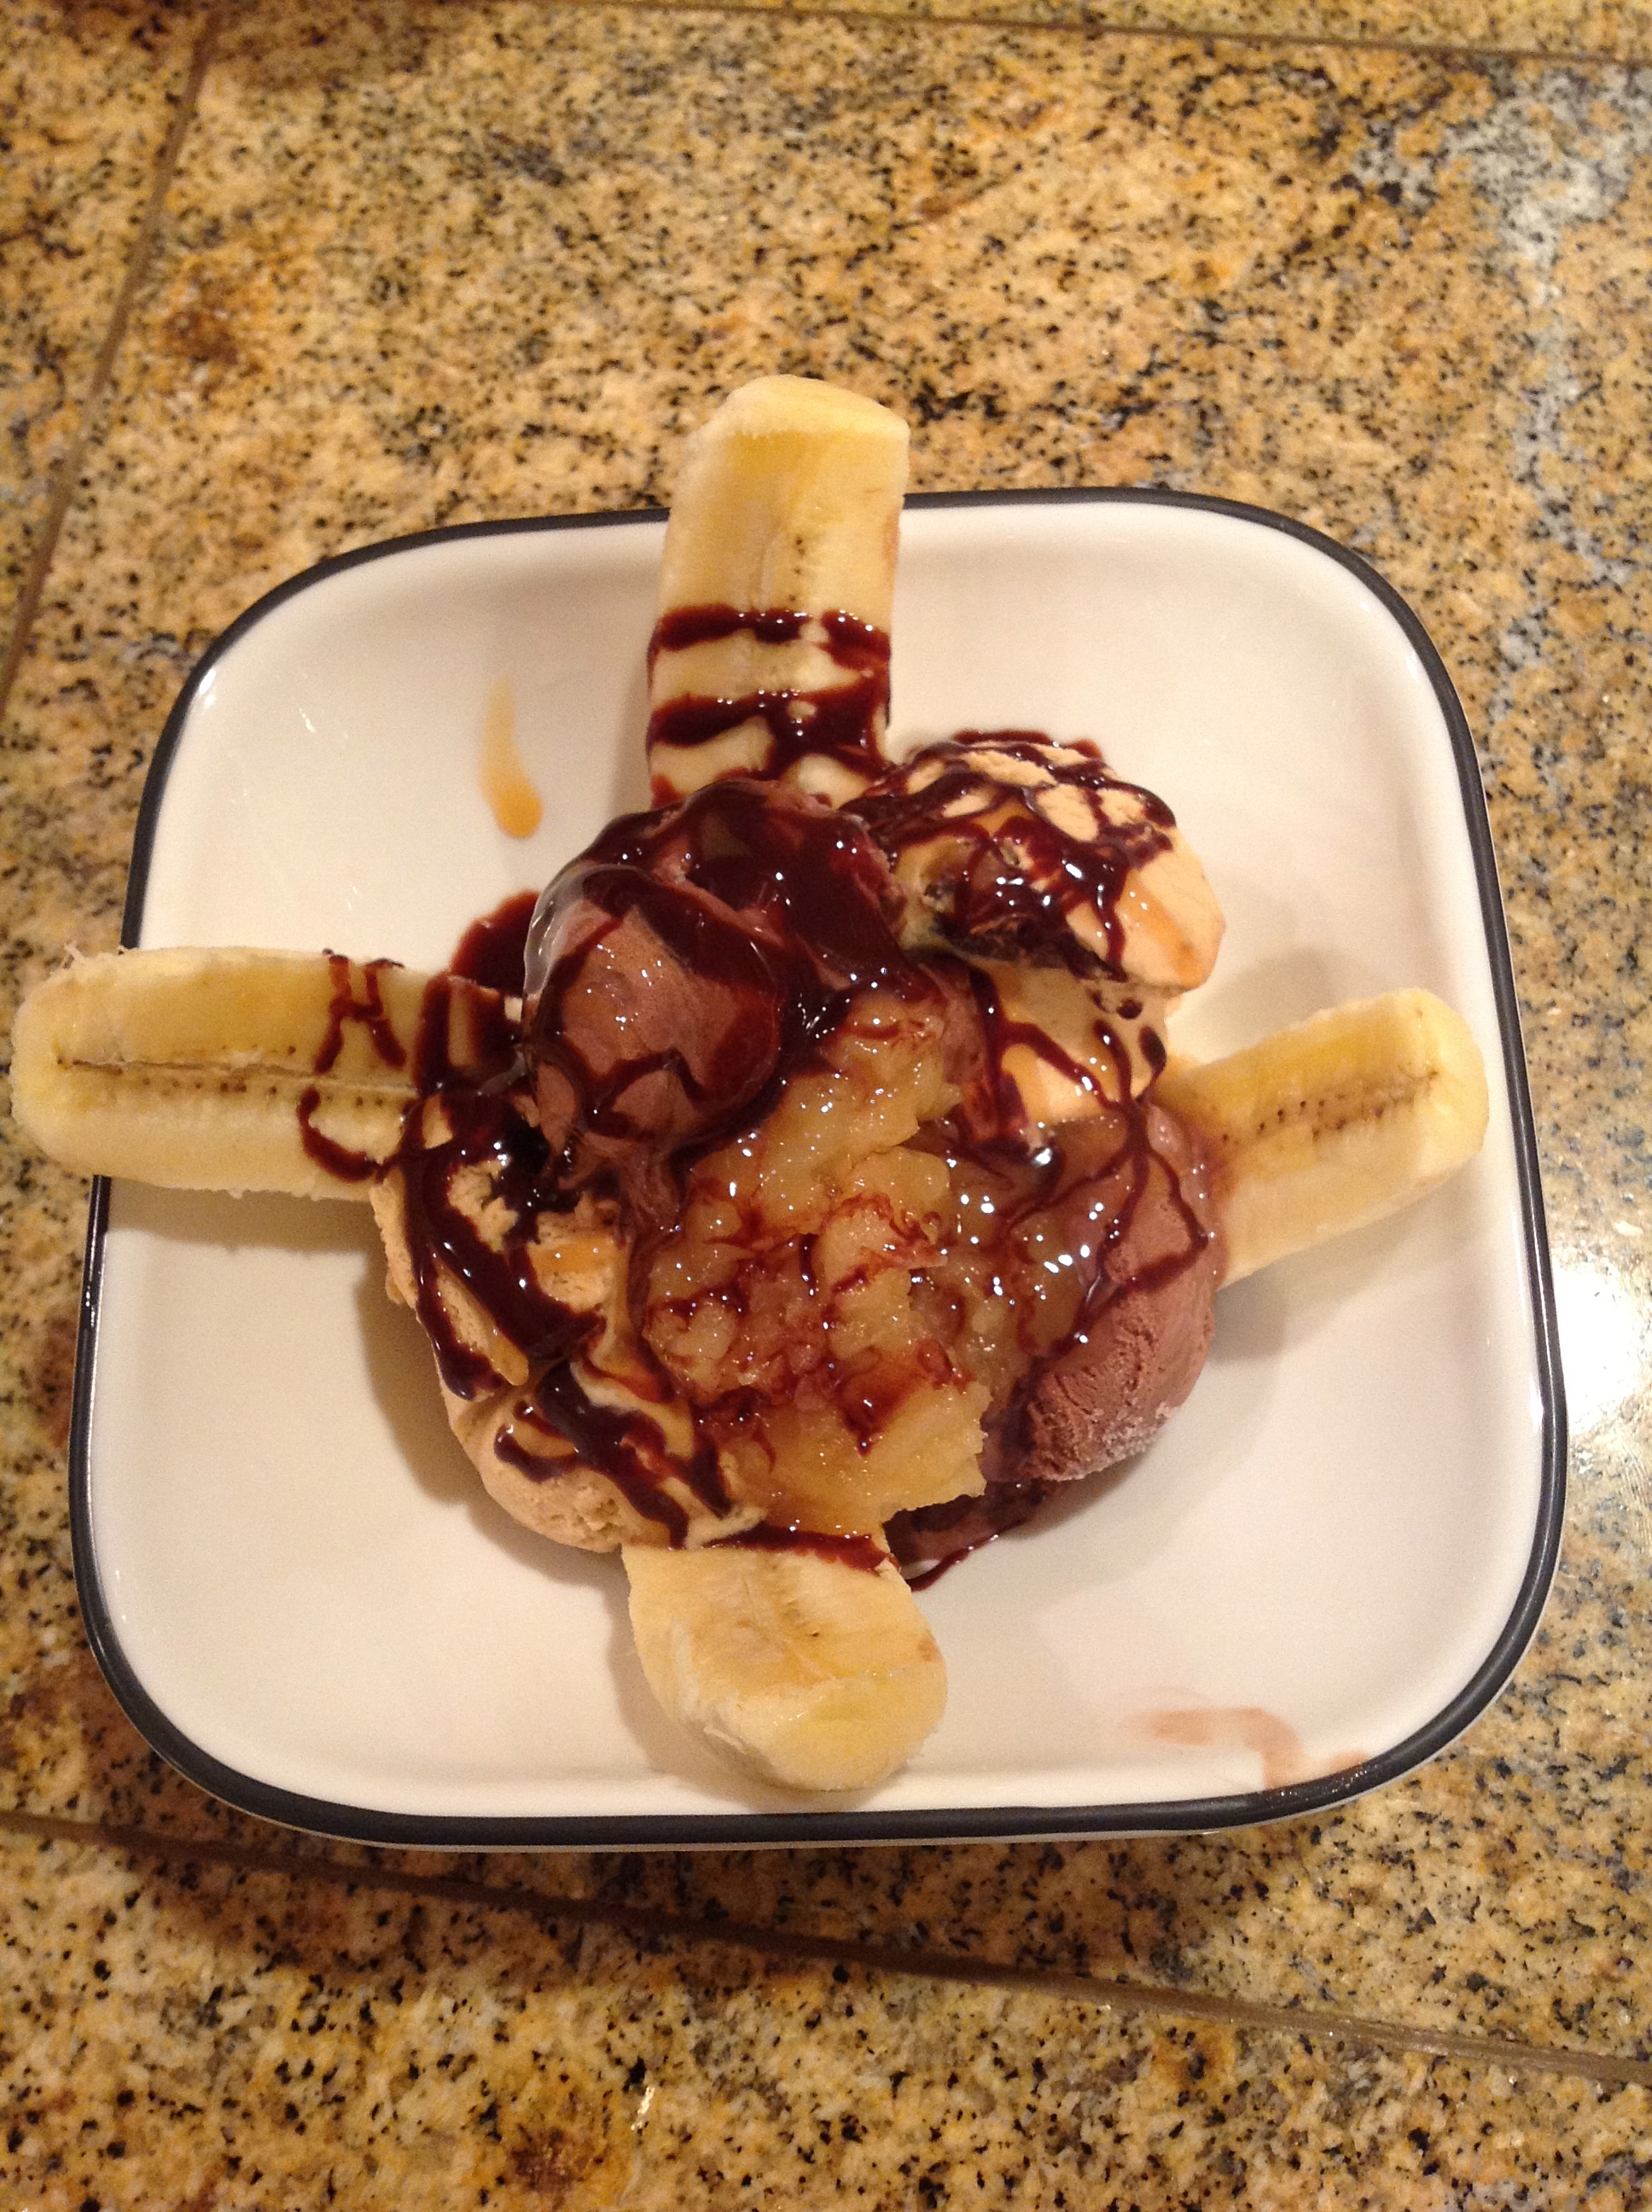
I’ve made this dish a couple of times now.  It’s delicious and easy (my kind of dish).  The spices smelled so good. My Husband really likes Indian food, and I’m not a big fan but with this dish I totally enjoyed it.  I will likely cook this again soon!  I made a simple salad to go with our meal, and Hubby made dessert (banana split!).

🙂
🙂
🙂
🙂
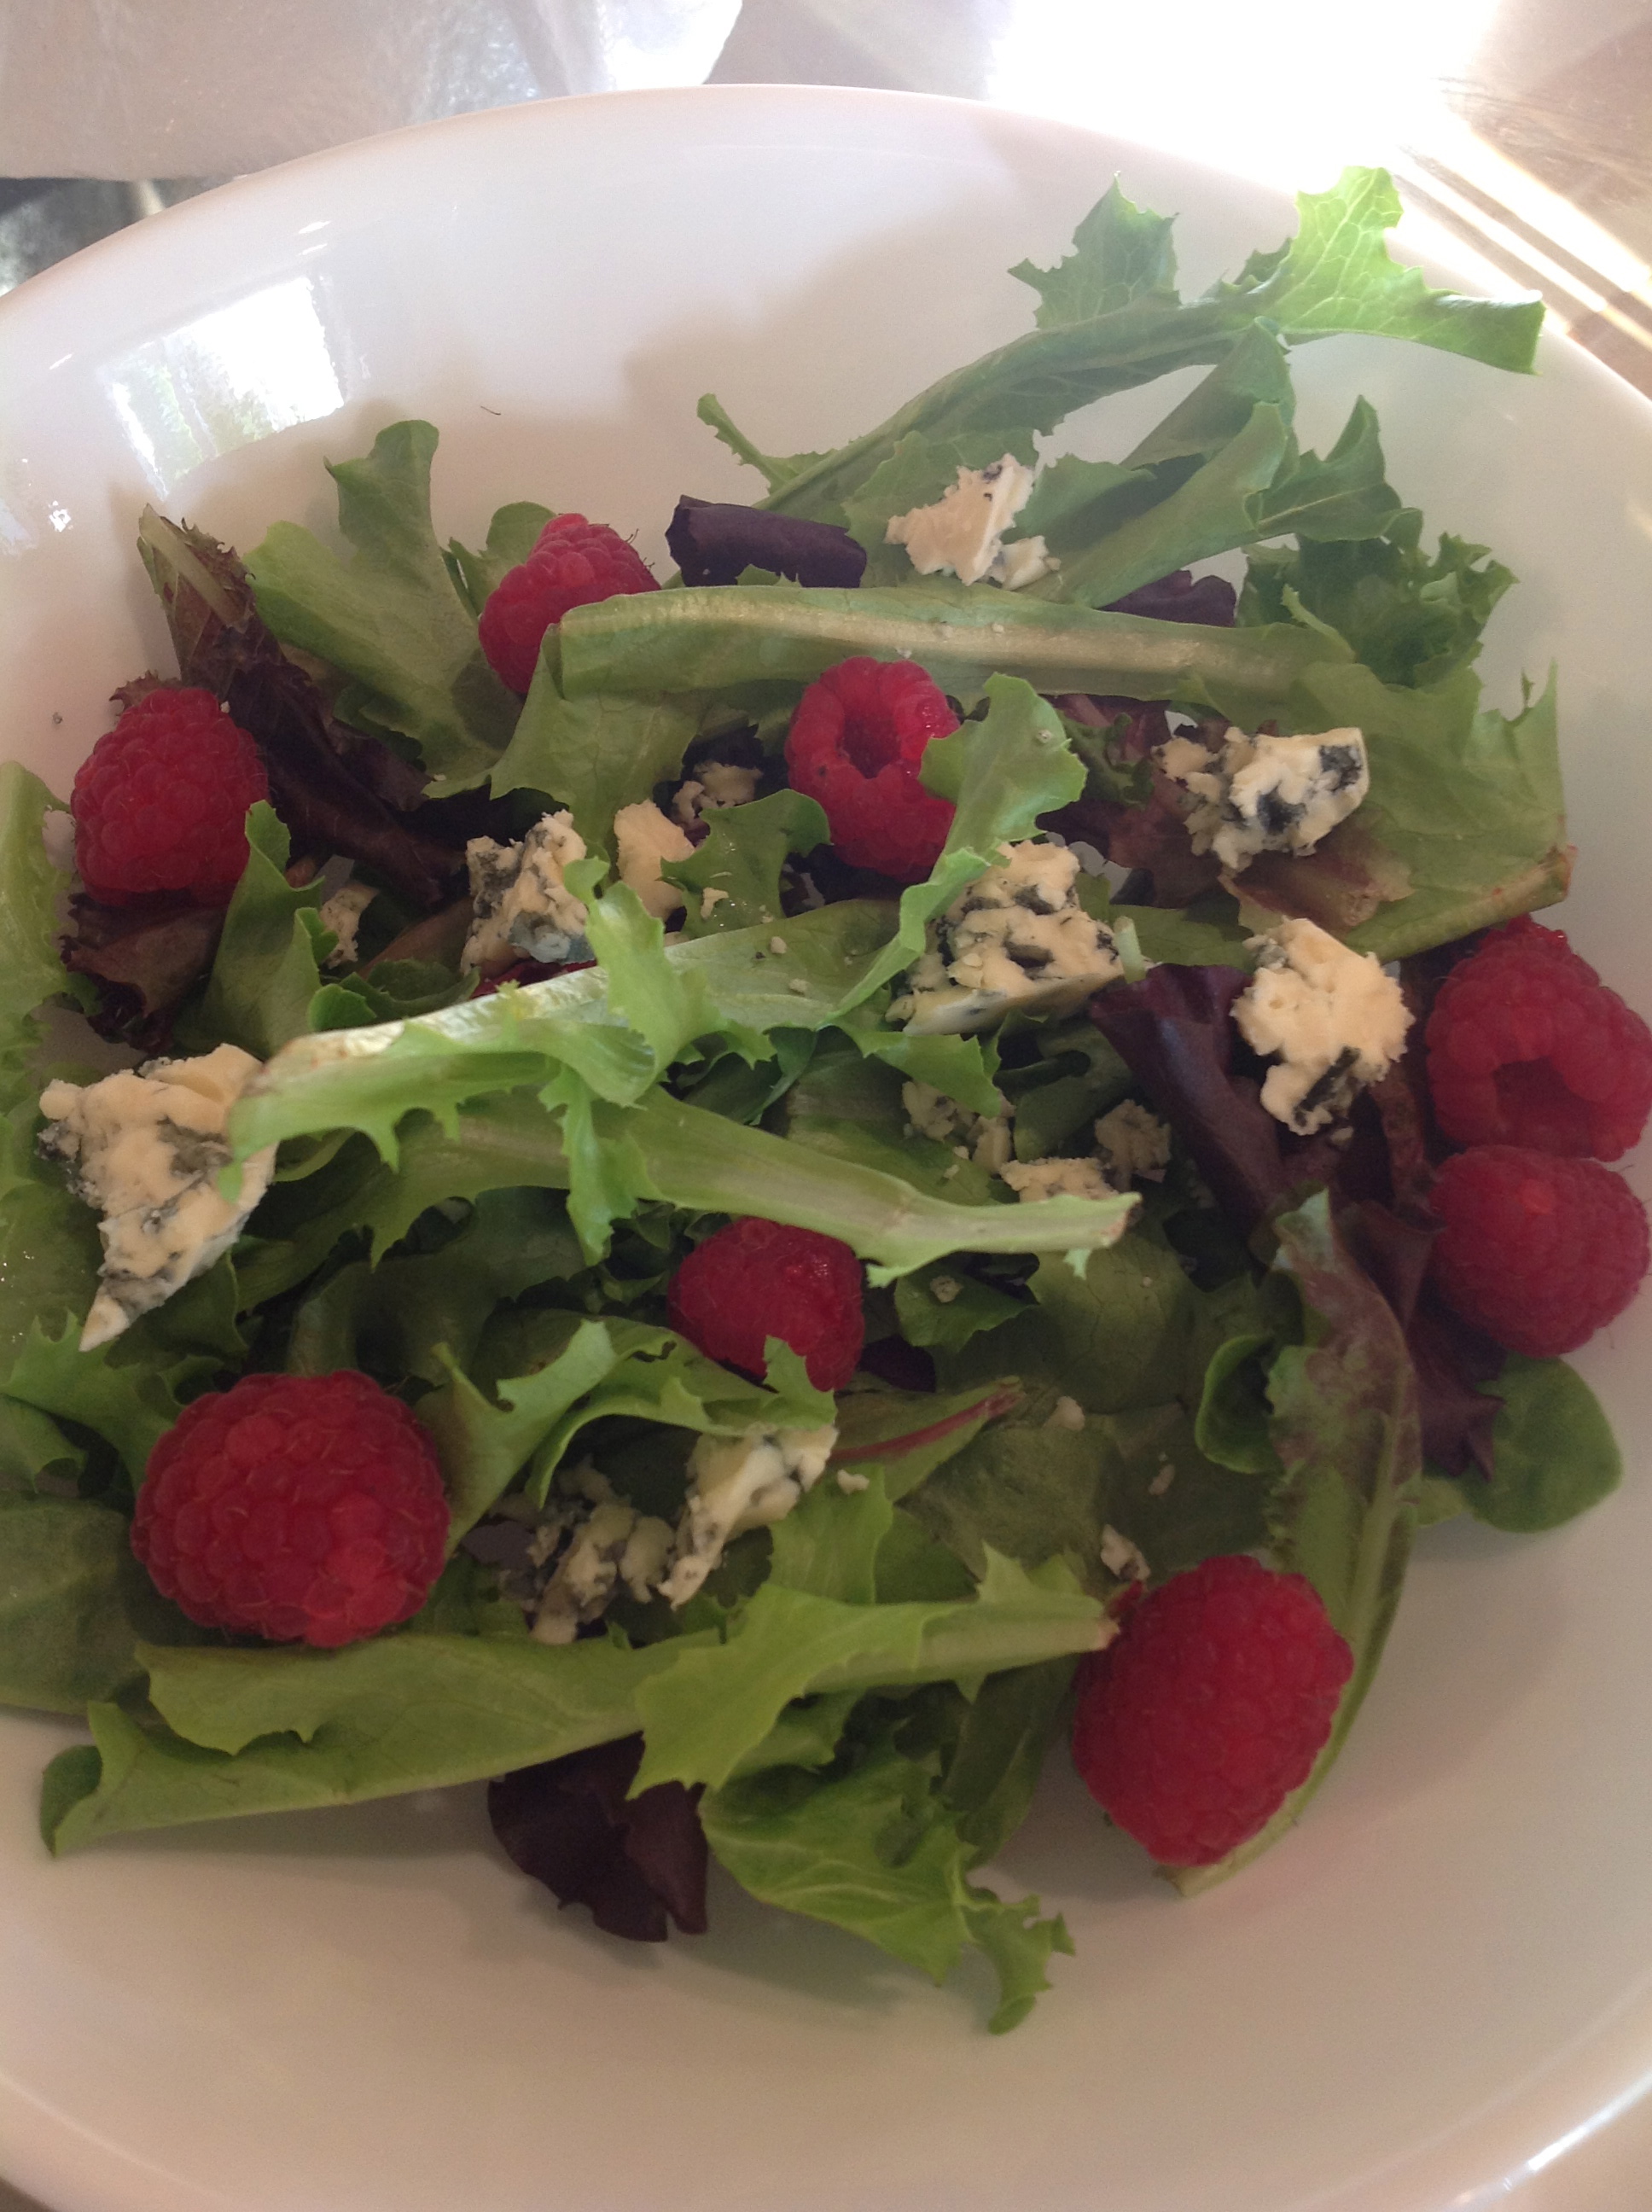
spring mix salad with raspberry,blue cheese,almonds
split with caramelized pineapple

Chicken Tandoori (www.foodnetwork.com)

Ingredients

  • 8 skinless, boneless chicken thighs (about 2 1/2 pounds)
  • Juice of 1 lemon
  • Kosher salt
  • 1/2 cup plus 2 tablespoons plain yogurt
  • 1 tablespoon vegetable oil
  • 1/2 small red onion, roughly chopped
  • 3 cloves garlic, smashed
  • 1 2-inch piece ginger, peeled and roughly chopped
  • 4 teaspoons tomato paste
  • 2 teaspoons ground coriander
  • 1 1/2 teaspoons ground cumin
  • 1 3/4 teaspoons hot paprika
  • 2 tablespoons chopped fresh cilantro
  • Cooked rice, for serving (optional)

Directions

Preheat the broiler. Make shallow cuts in the chicken thighs with a sharp knife. Toss the chicken with the lemon juice and 1 1/2 teaspoons salt in a large bowl.

Pulse 2 tablespoons yogurt, the vegetable oil, onion, garlic, ginger, tomato paste, coriander, cumin, 11/2 teaspoons paprika and 1/2 teaspoon salt in a food processor to make a paste. Toss the chicken in the mixture and let marinate 15 minutes.

Place the chicken on a foil-lined broiler pan. Broil, turning once, until slightly charred and a thermometer inserted into the center registers 165 degrees F, 5 to 6 minutes per side.

Meanwhile, combine the remaining 1/2 cup yogurt and 1/4 teaspoon paprika, the cilantro and a pinch of salt in a bowl. Top the chicken with the yogurt sauce and serve with rice, if desired.