French Onion Soup

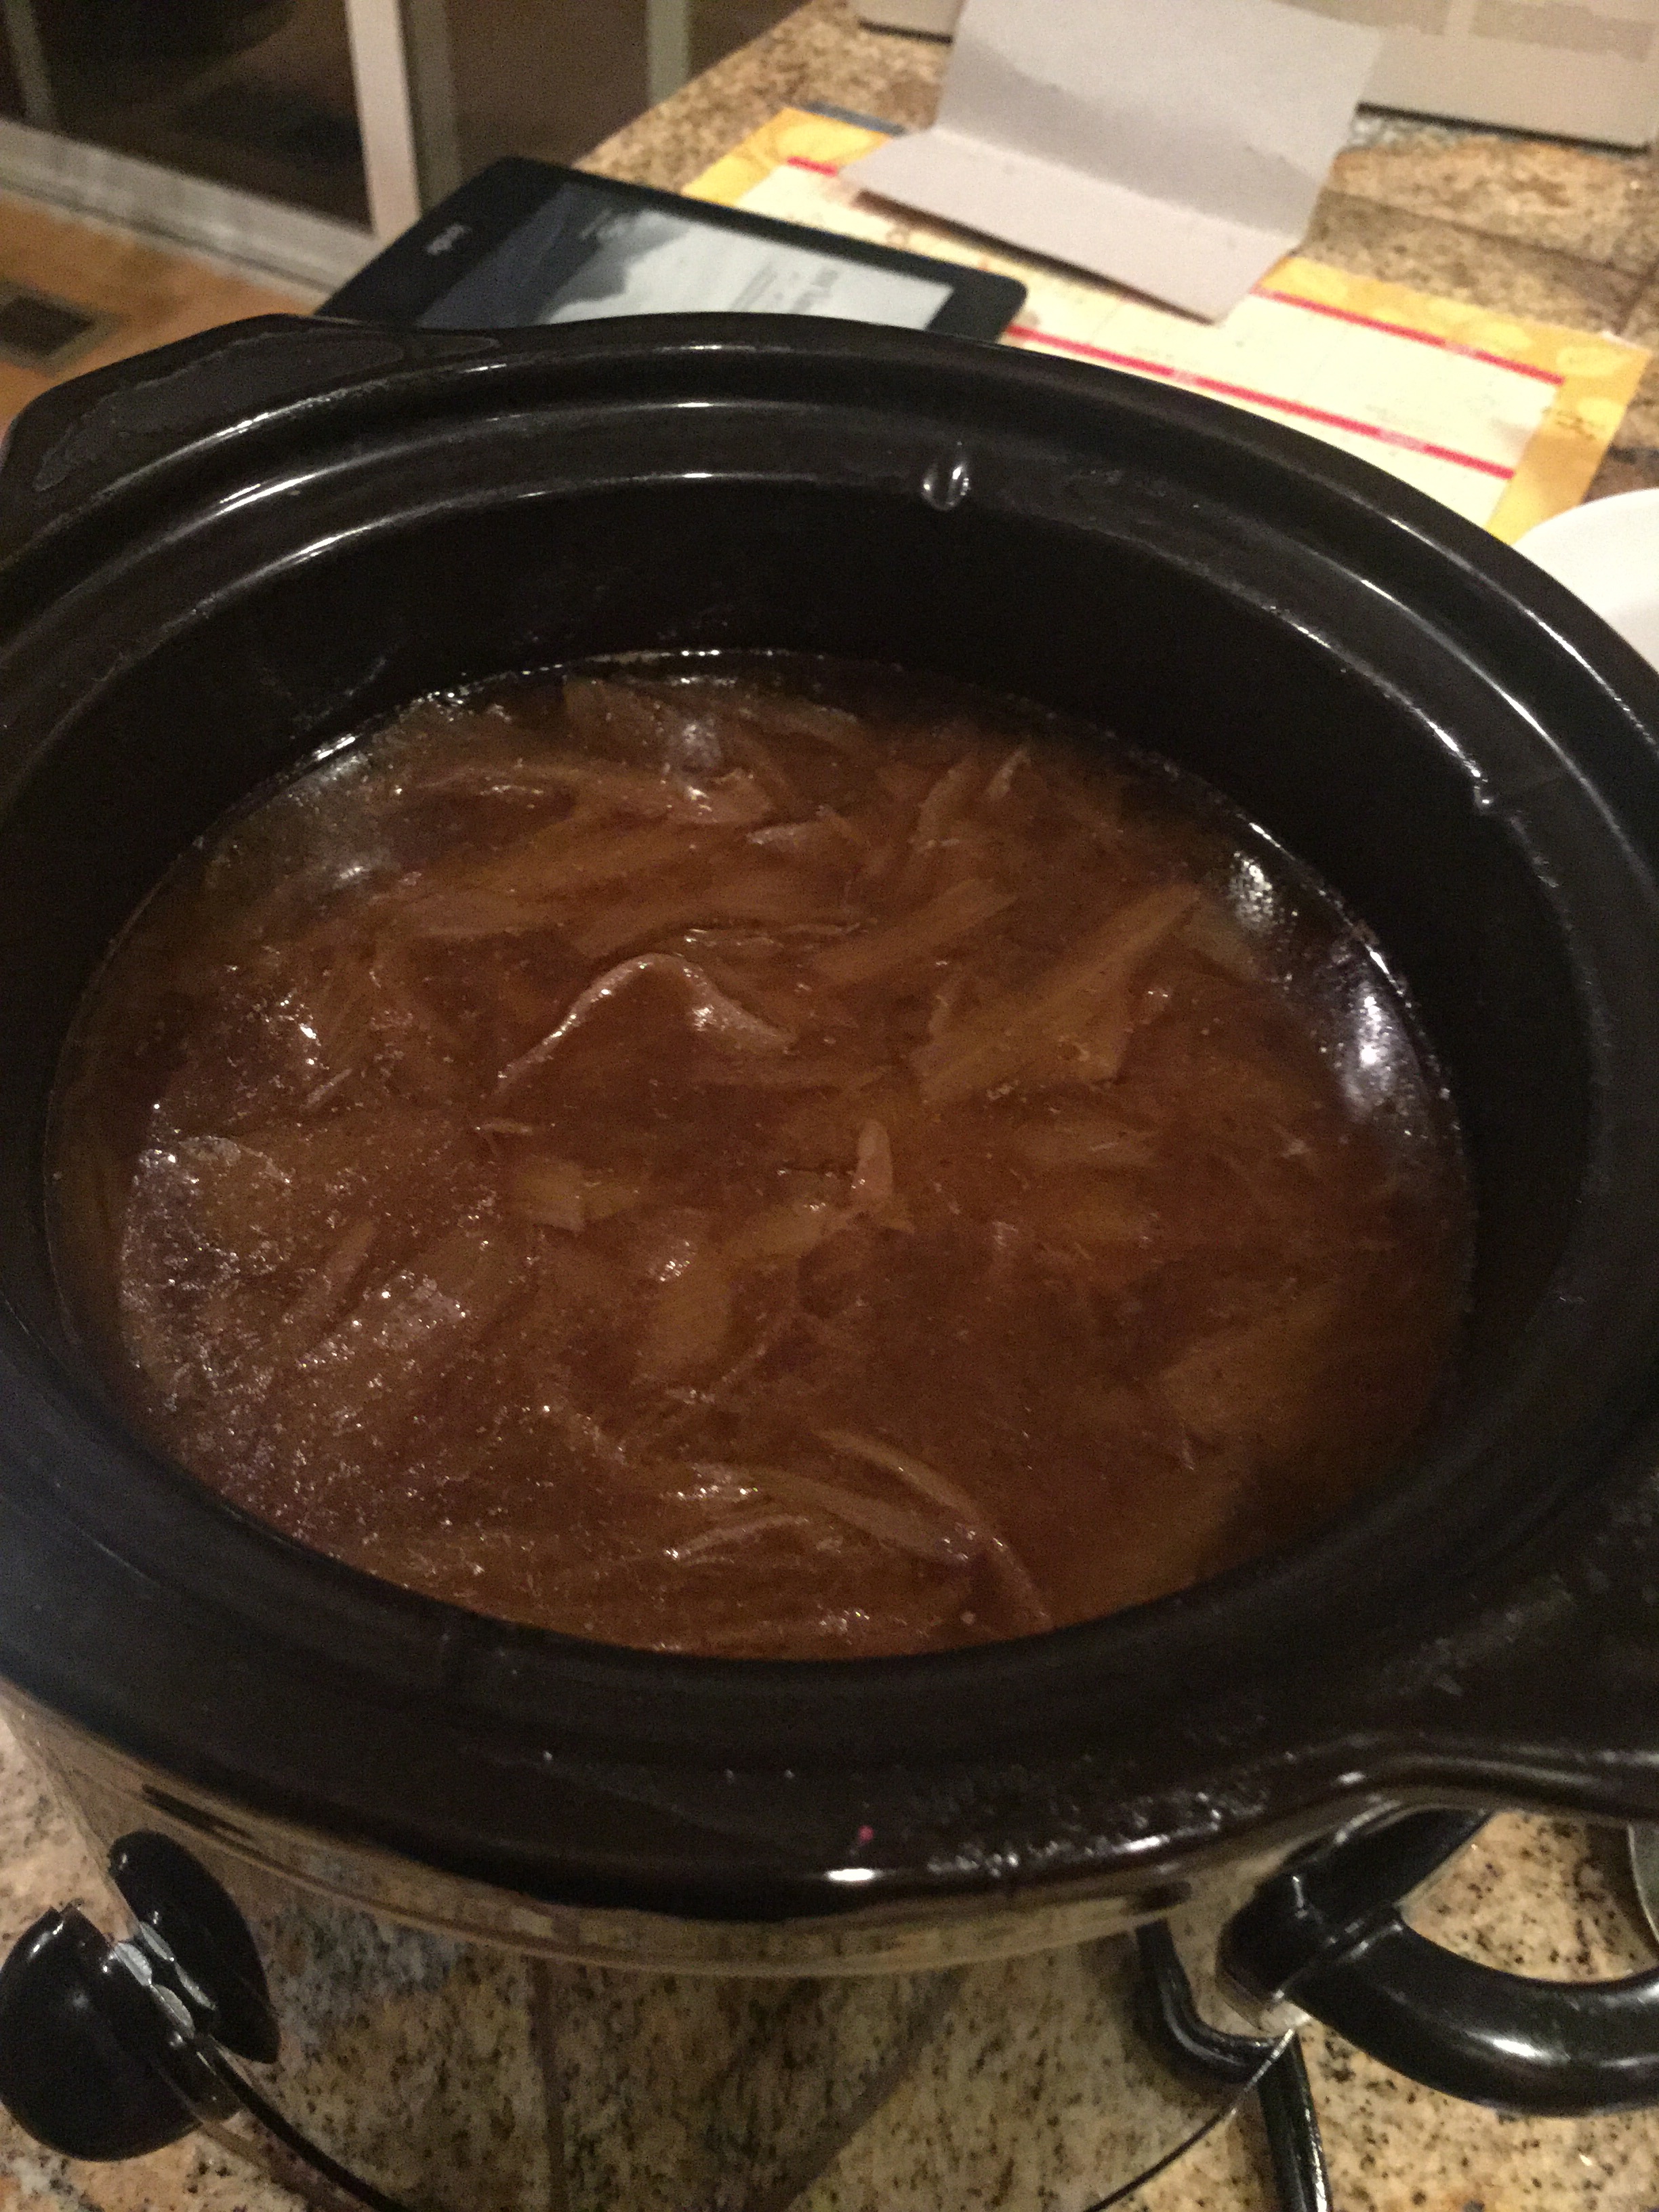
This is Pioneer Woman’s (Ree Drummond) French Onion soup recipe. I saw her make this on her Food Network show and checked it on her website too. My husband loves this soup. I’ve made this before and it’s a really simple, cheap kind of soup. I had everything in my pantry too (even the gruyere cheese). Her recipe called for the oven, but again this time I used my crockpot and it turned out good. I still have leftovers and we plan to finish it this week.
IMG_0575

IMG_0576

IMG_0579

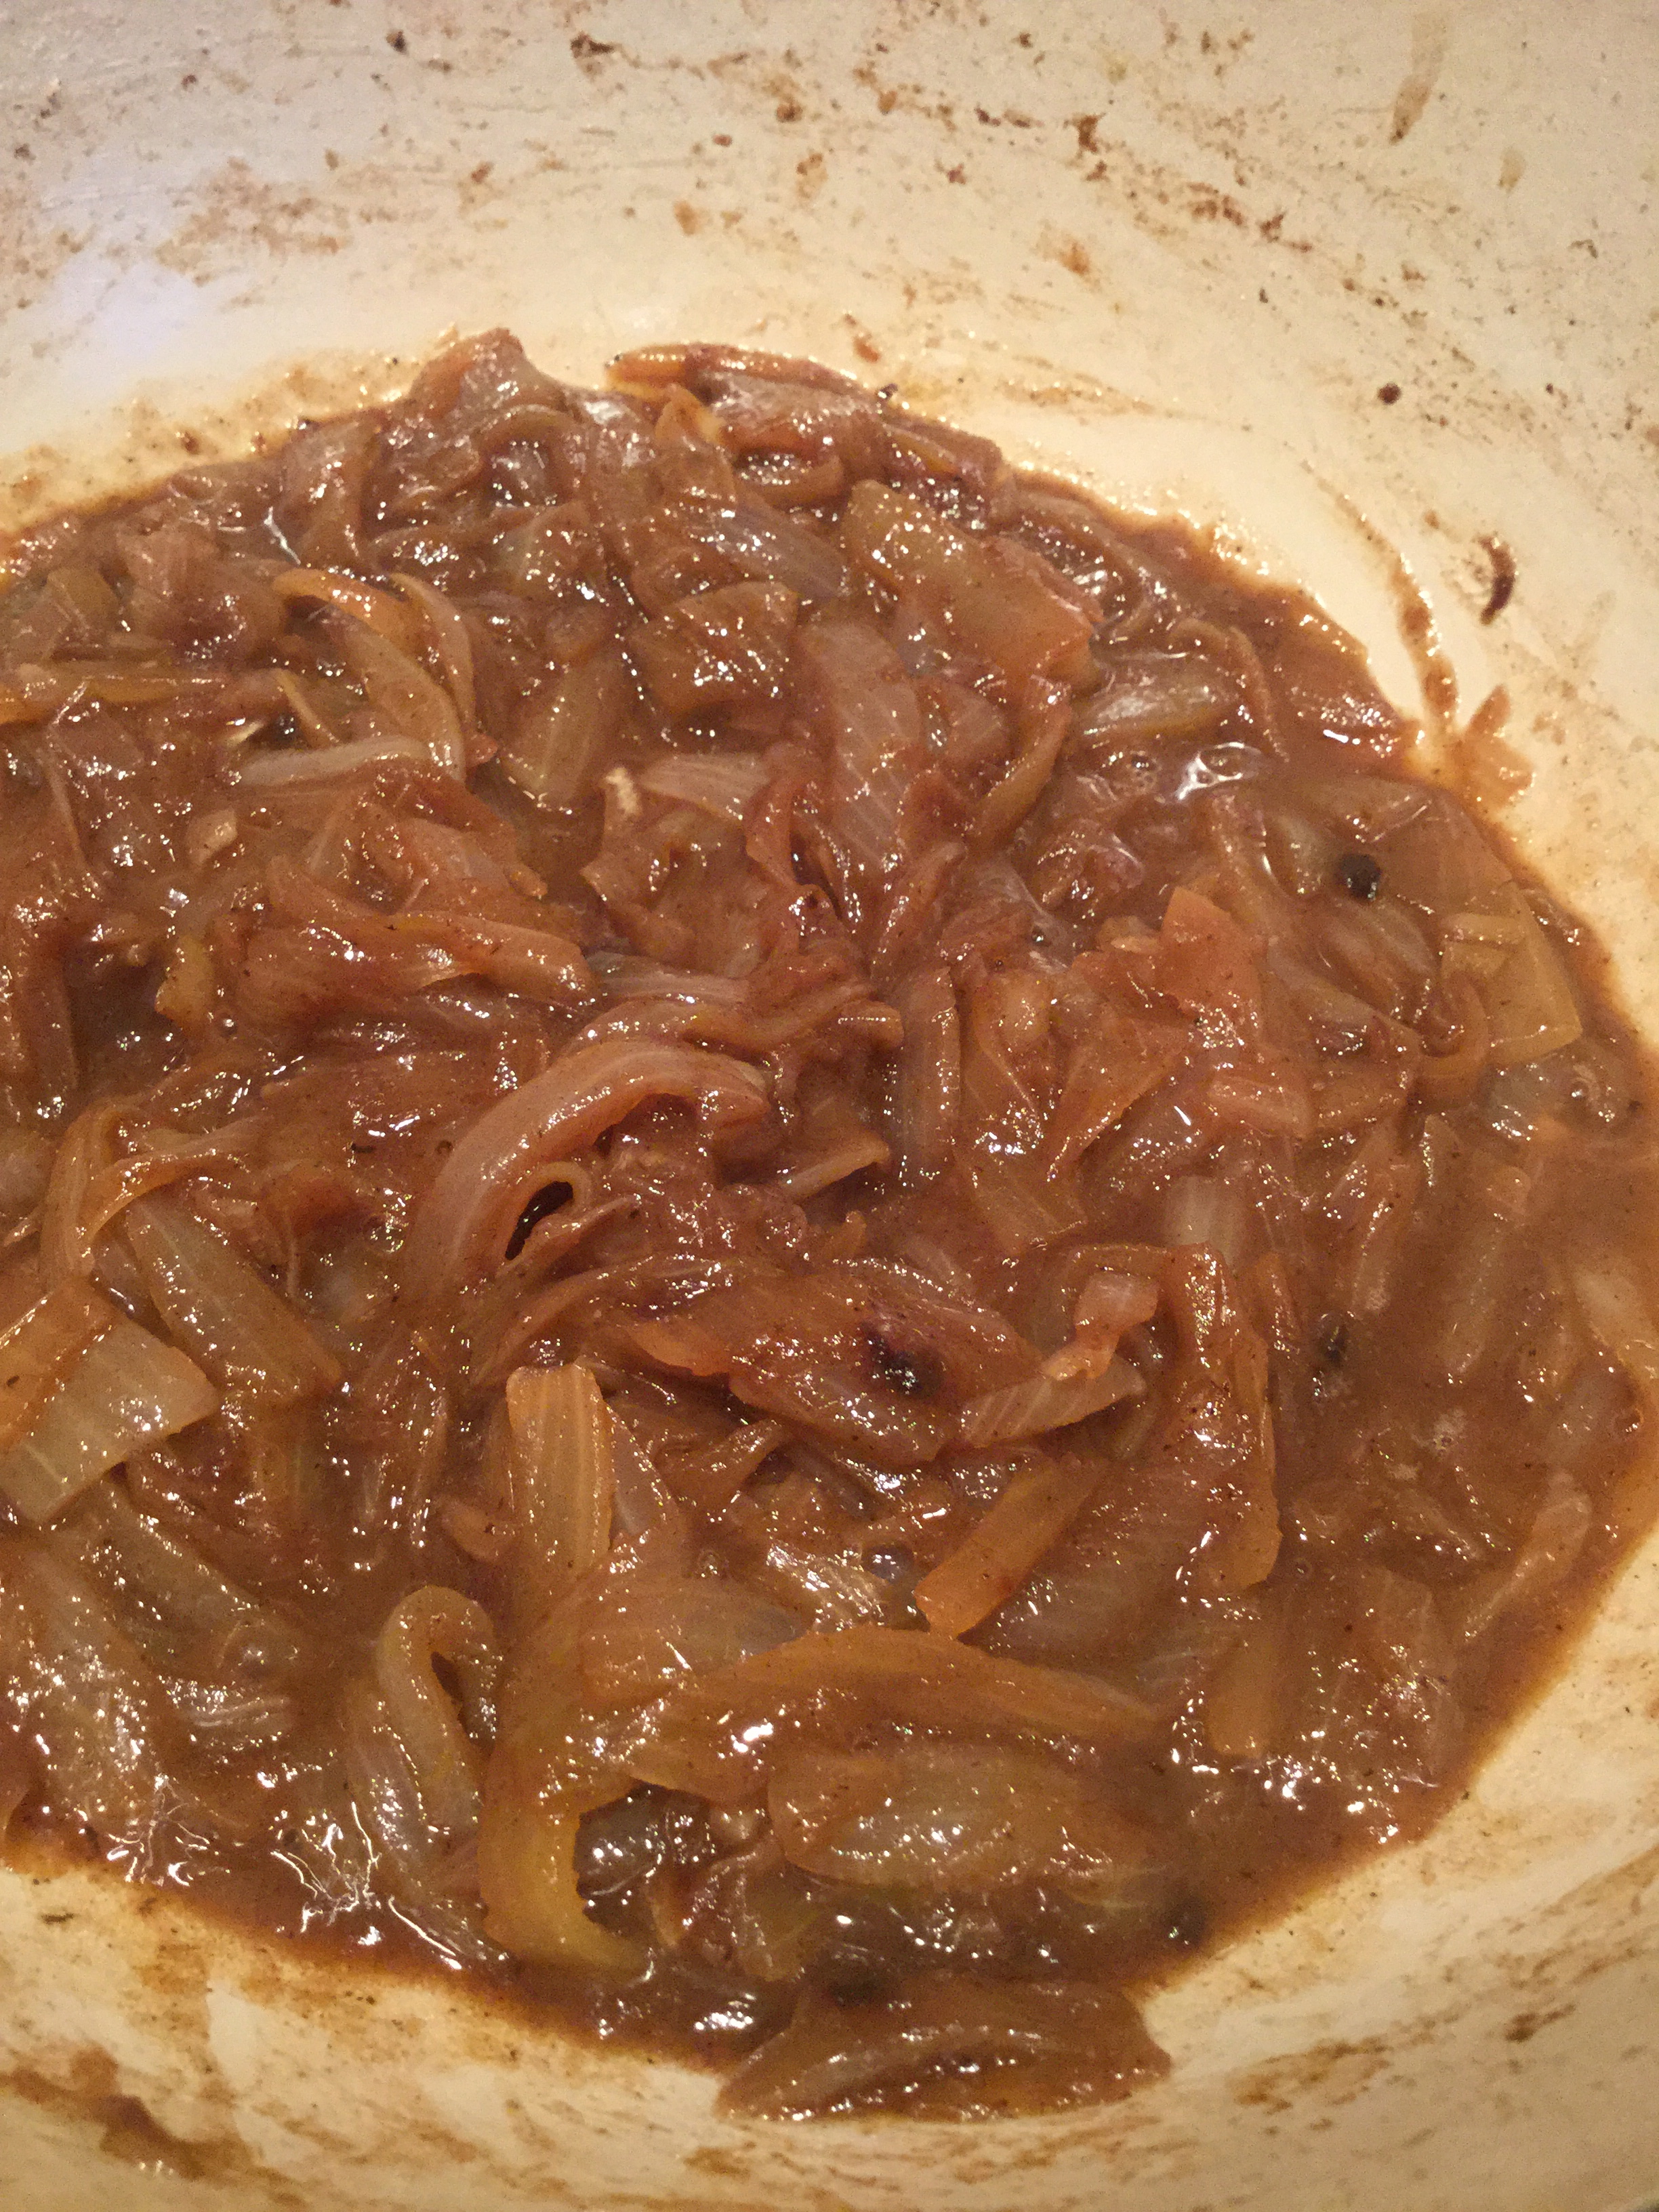
simmering in the crockpot for couple of hours now!
simmering in the crockpot for a couple of hours now!
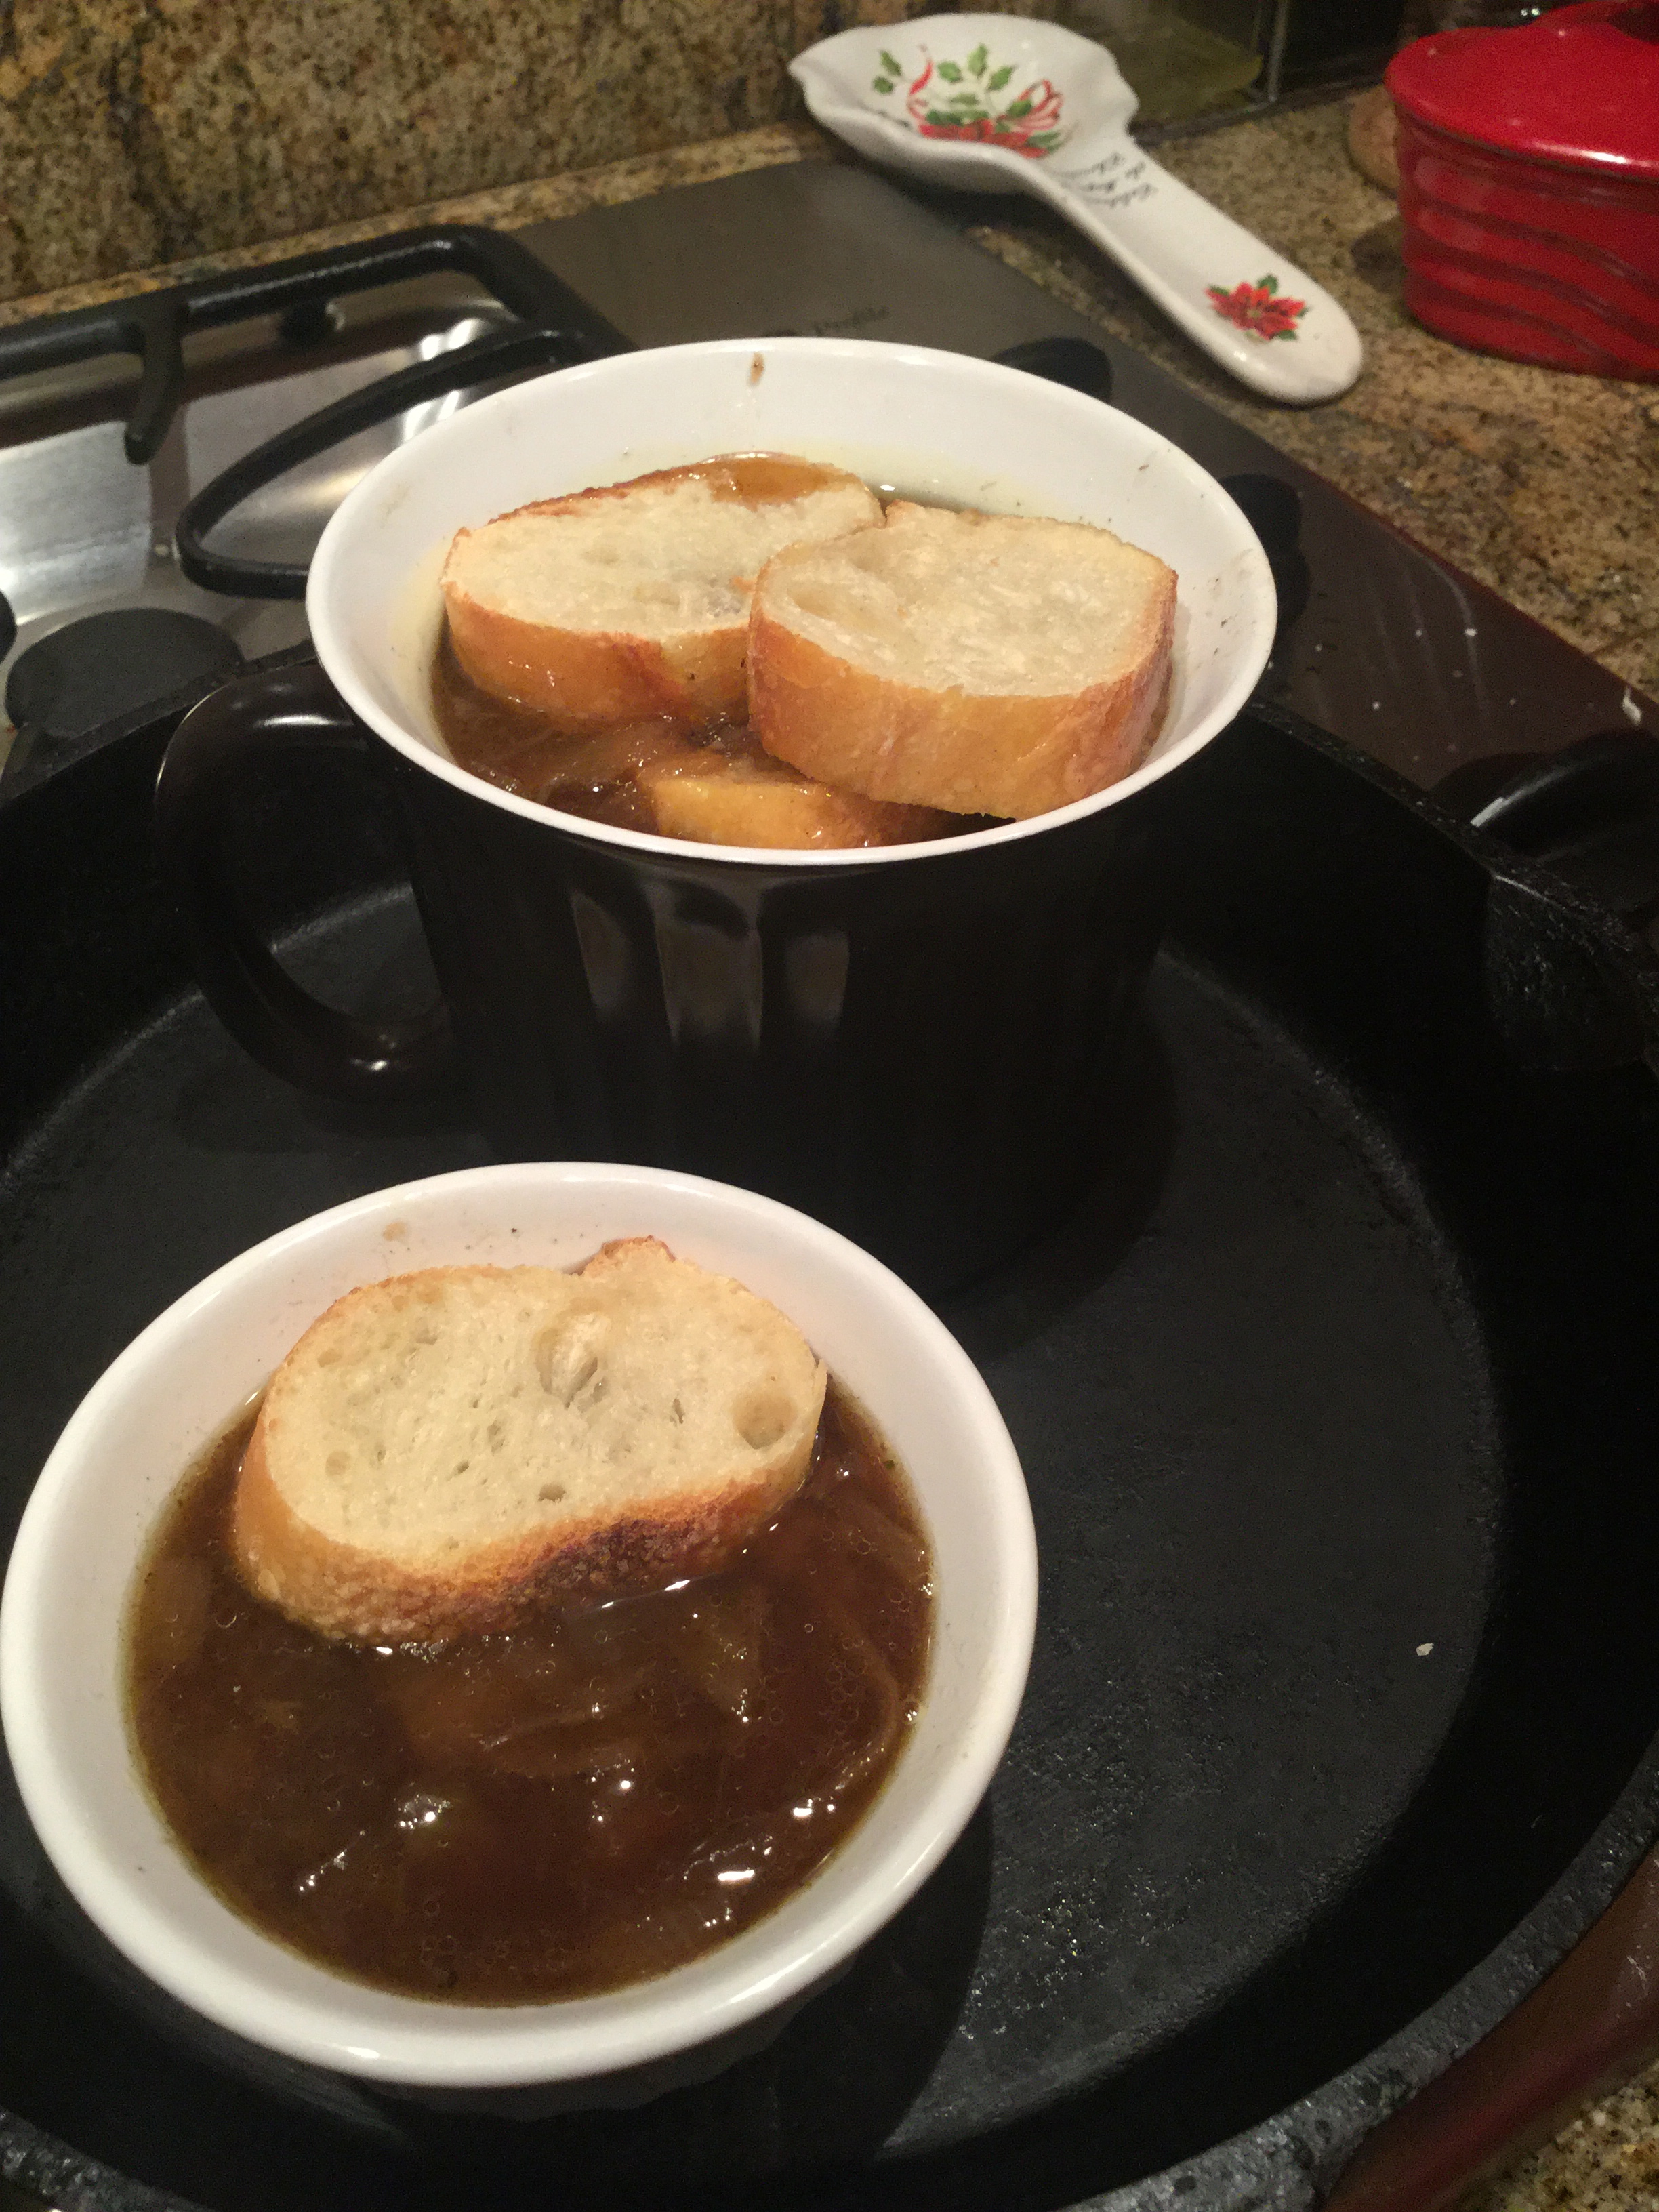
with toasted Baguette
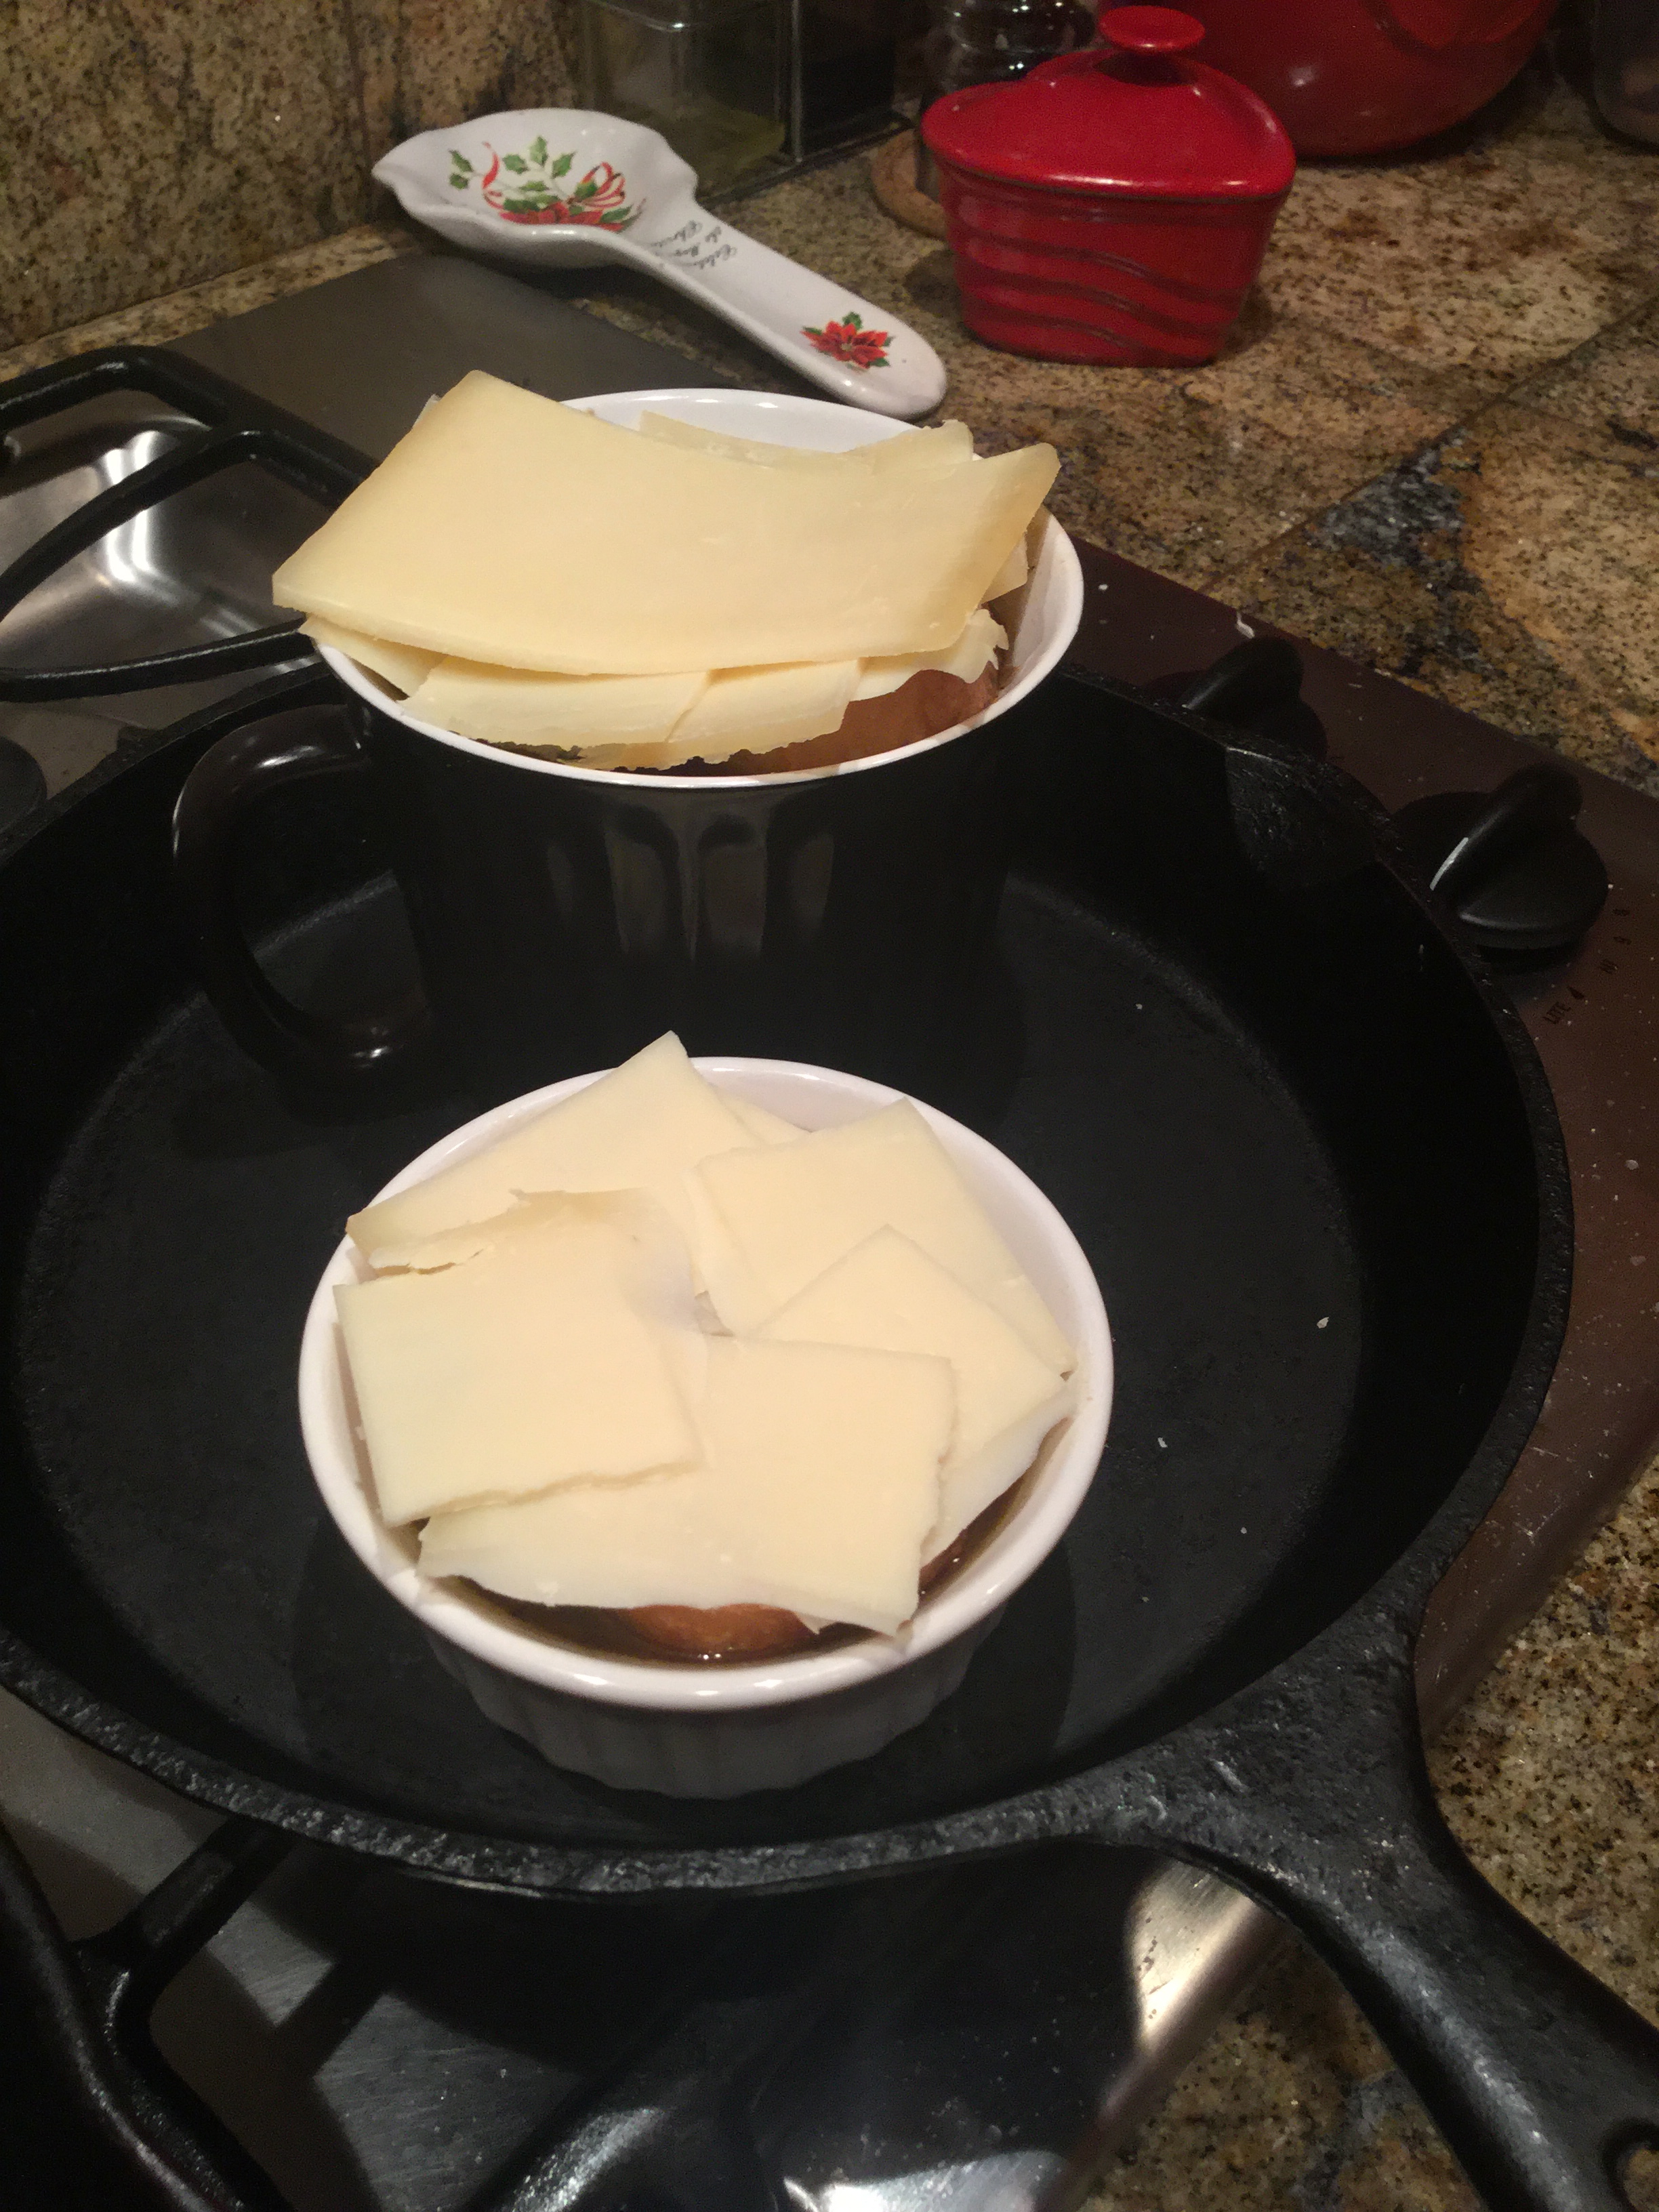
top with gruyere cheese
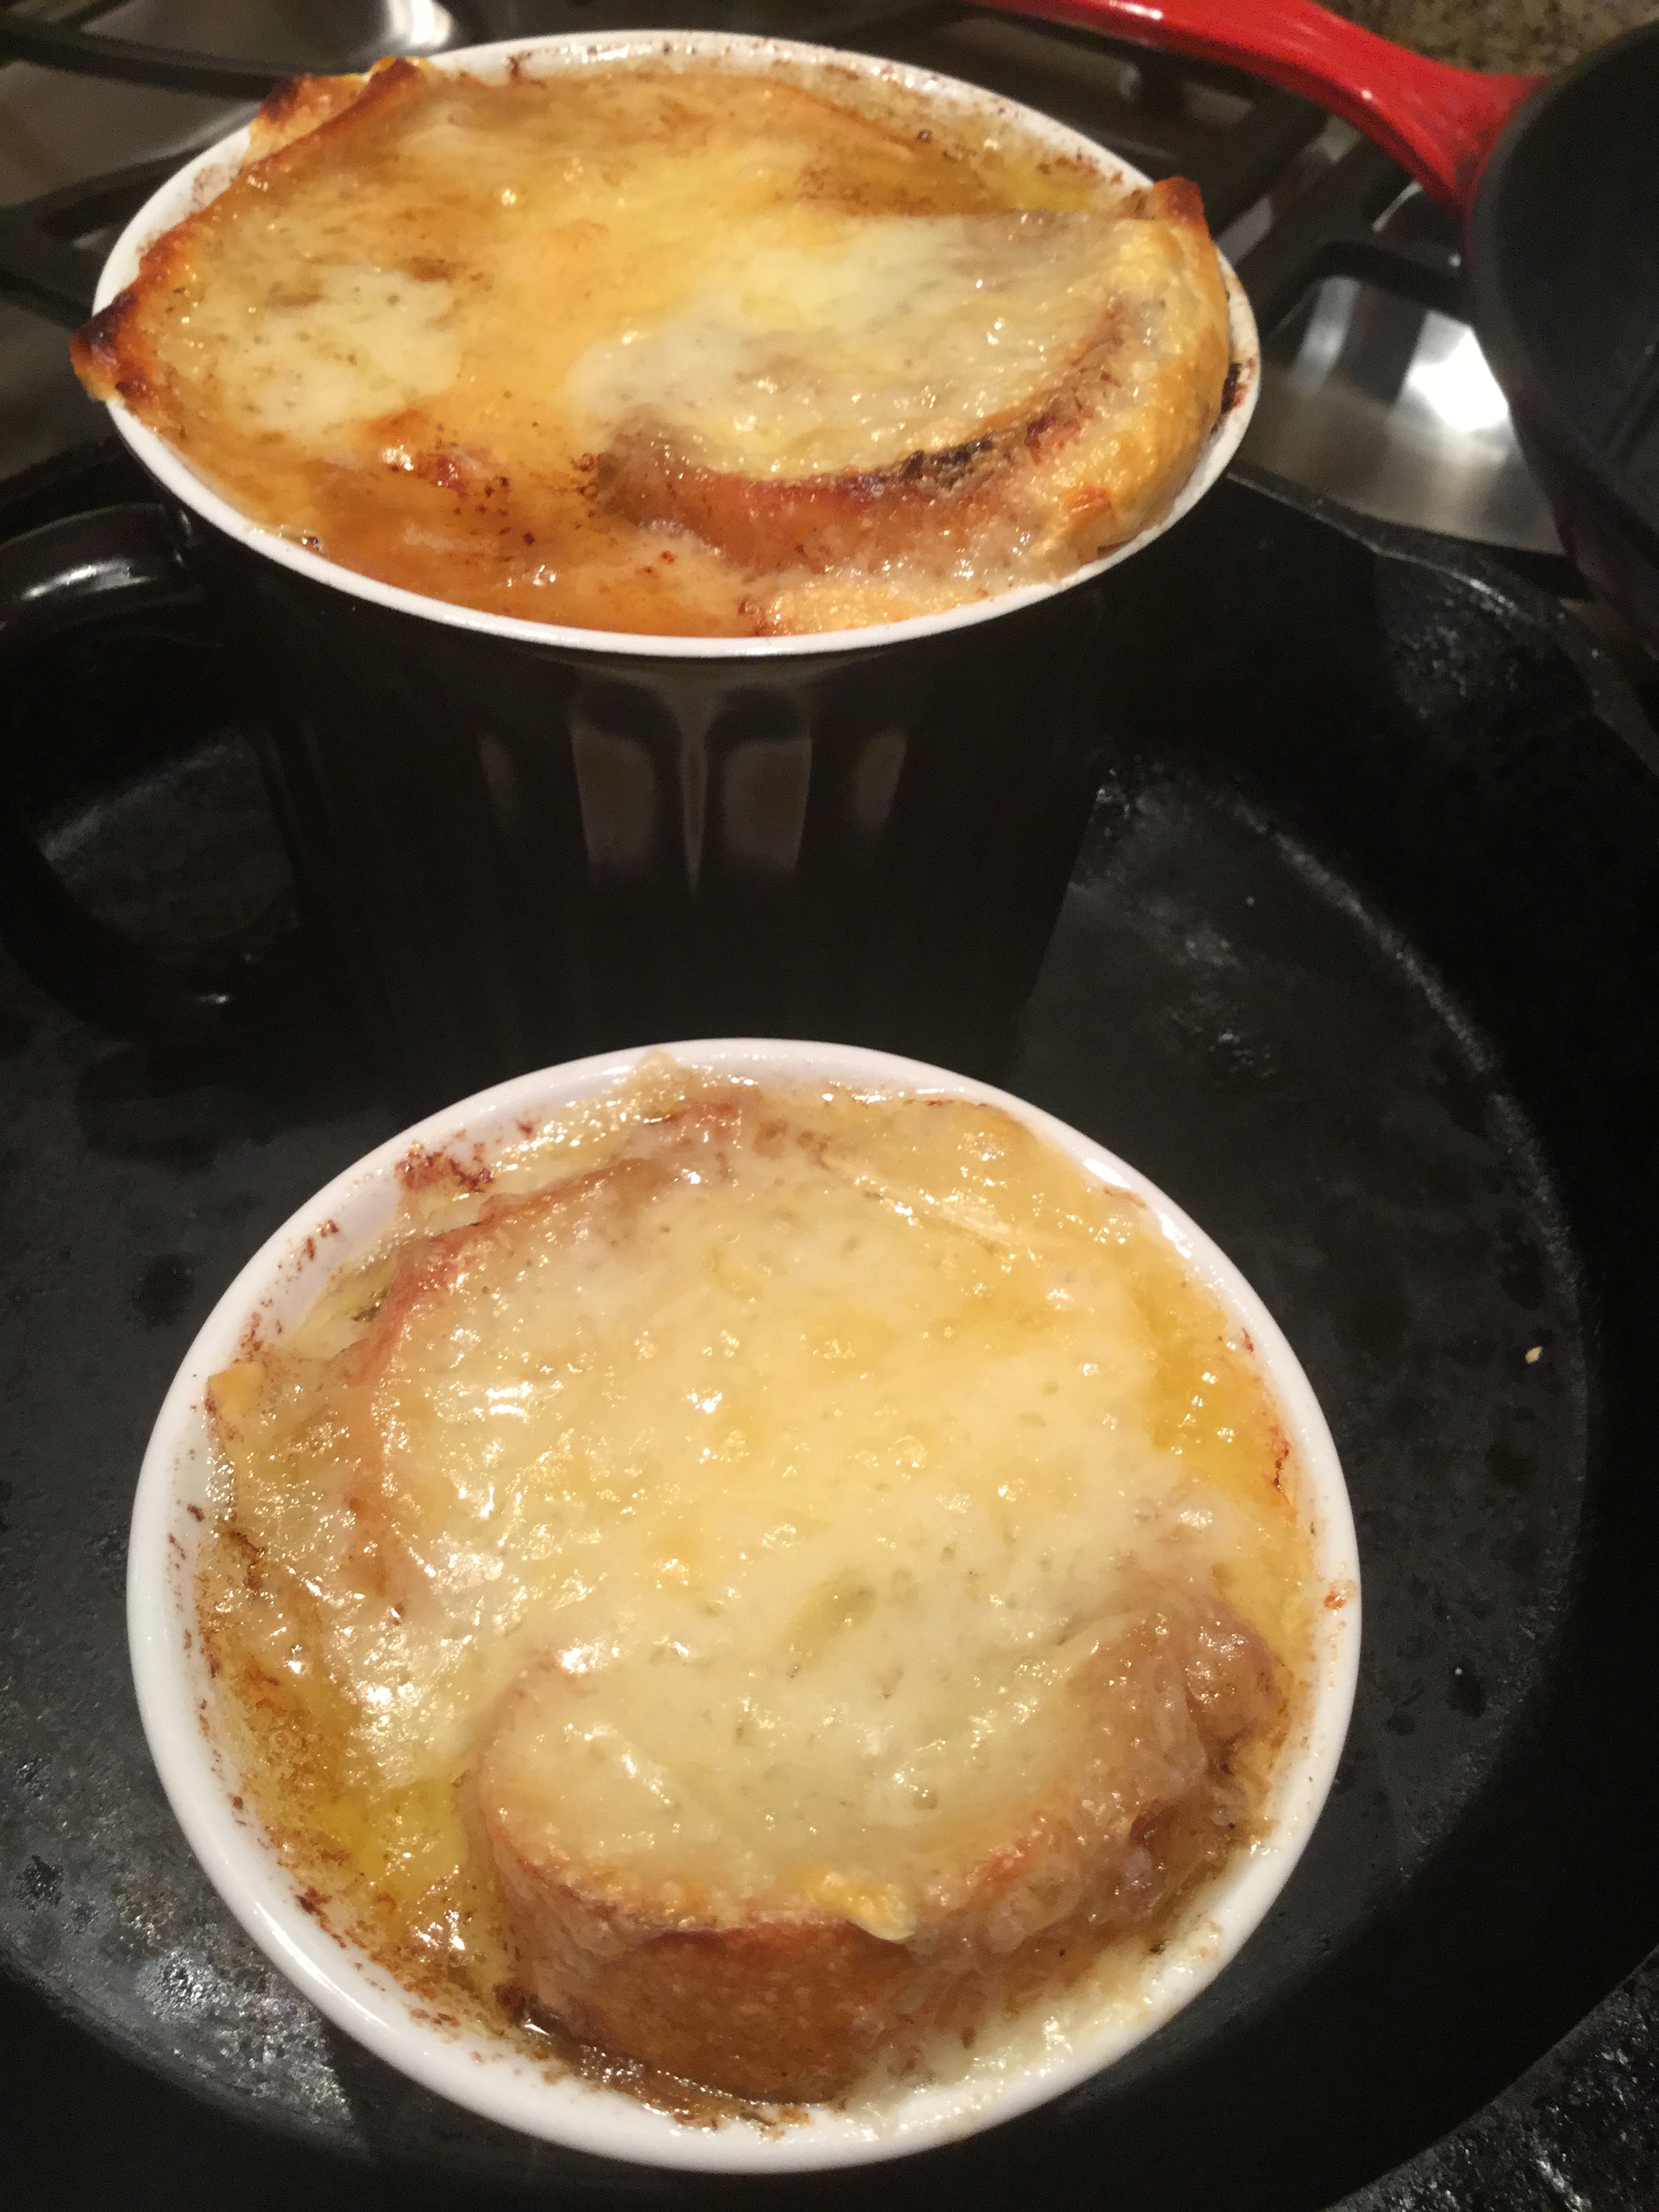
cheesy and bubble!
cheesy and bubble!
makes me happy that Hubs enjoyed my dishes!

Ingredients

  • 1 stick Butter
  • 4 whole Large (or 6 Medium) Yellow Onions, Halved Root To Tip, And Sliced Thin
  • 1 cup (generous) Dry White Wine
  • 4 cups Low Sodium Chicken Broth
  • 4 cups Beef Broth
  • 2 cloves Minced Garlic
  • Worcestershire Sauce
  • Several Thick Slices Of French Bread Or Baguette
  • 5 ounces, weight (to 7 Ounces) Gruyere Cheese, Grated


Preparation Instructions

Preheat oven to 400 degrees.

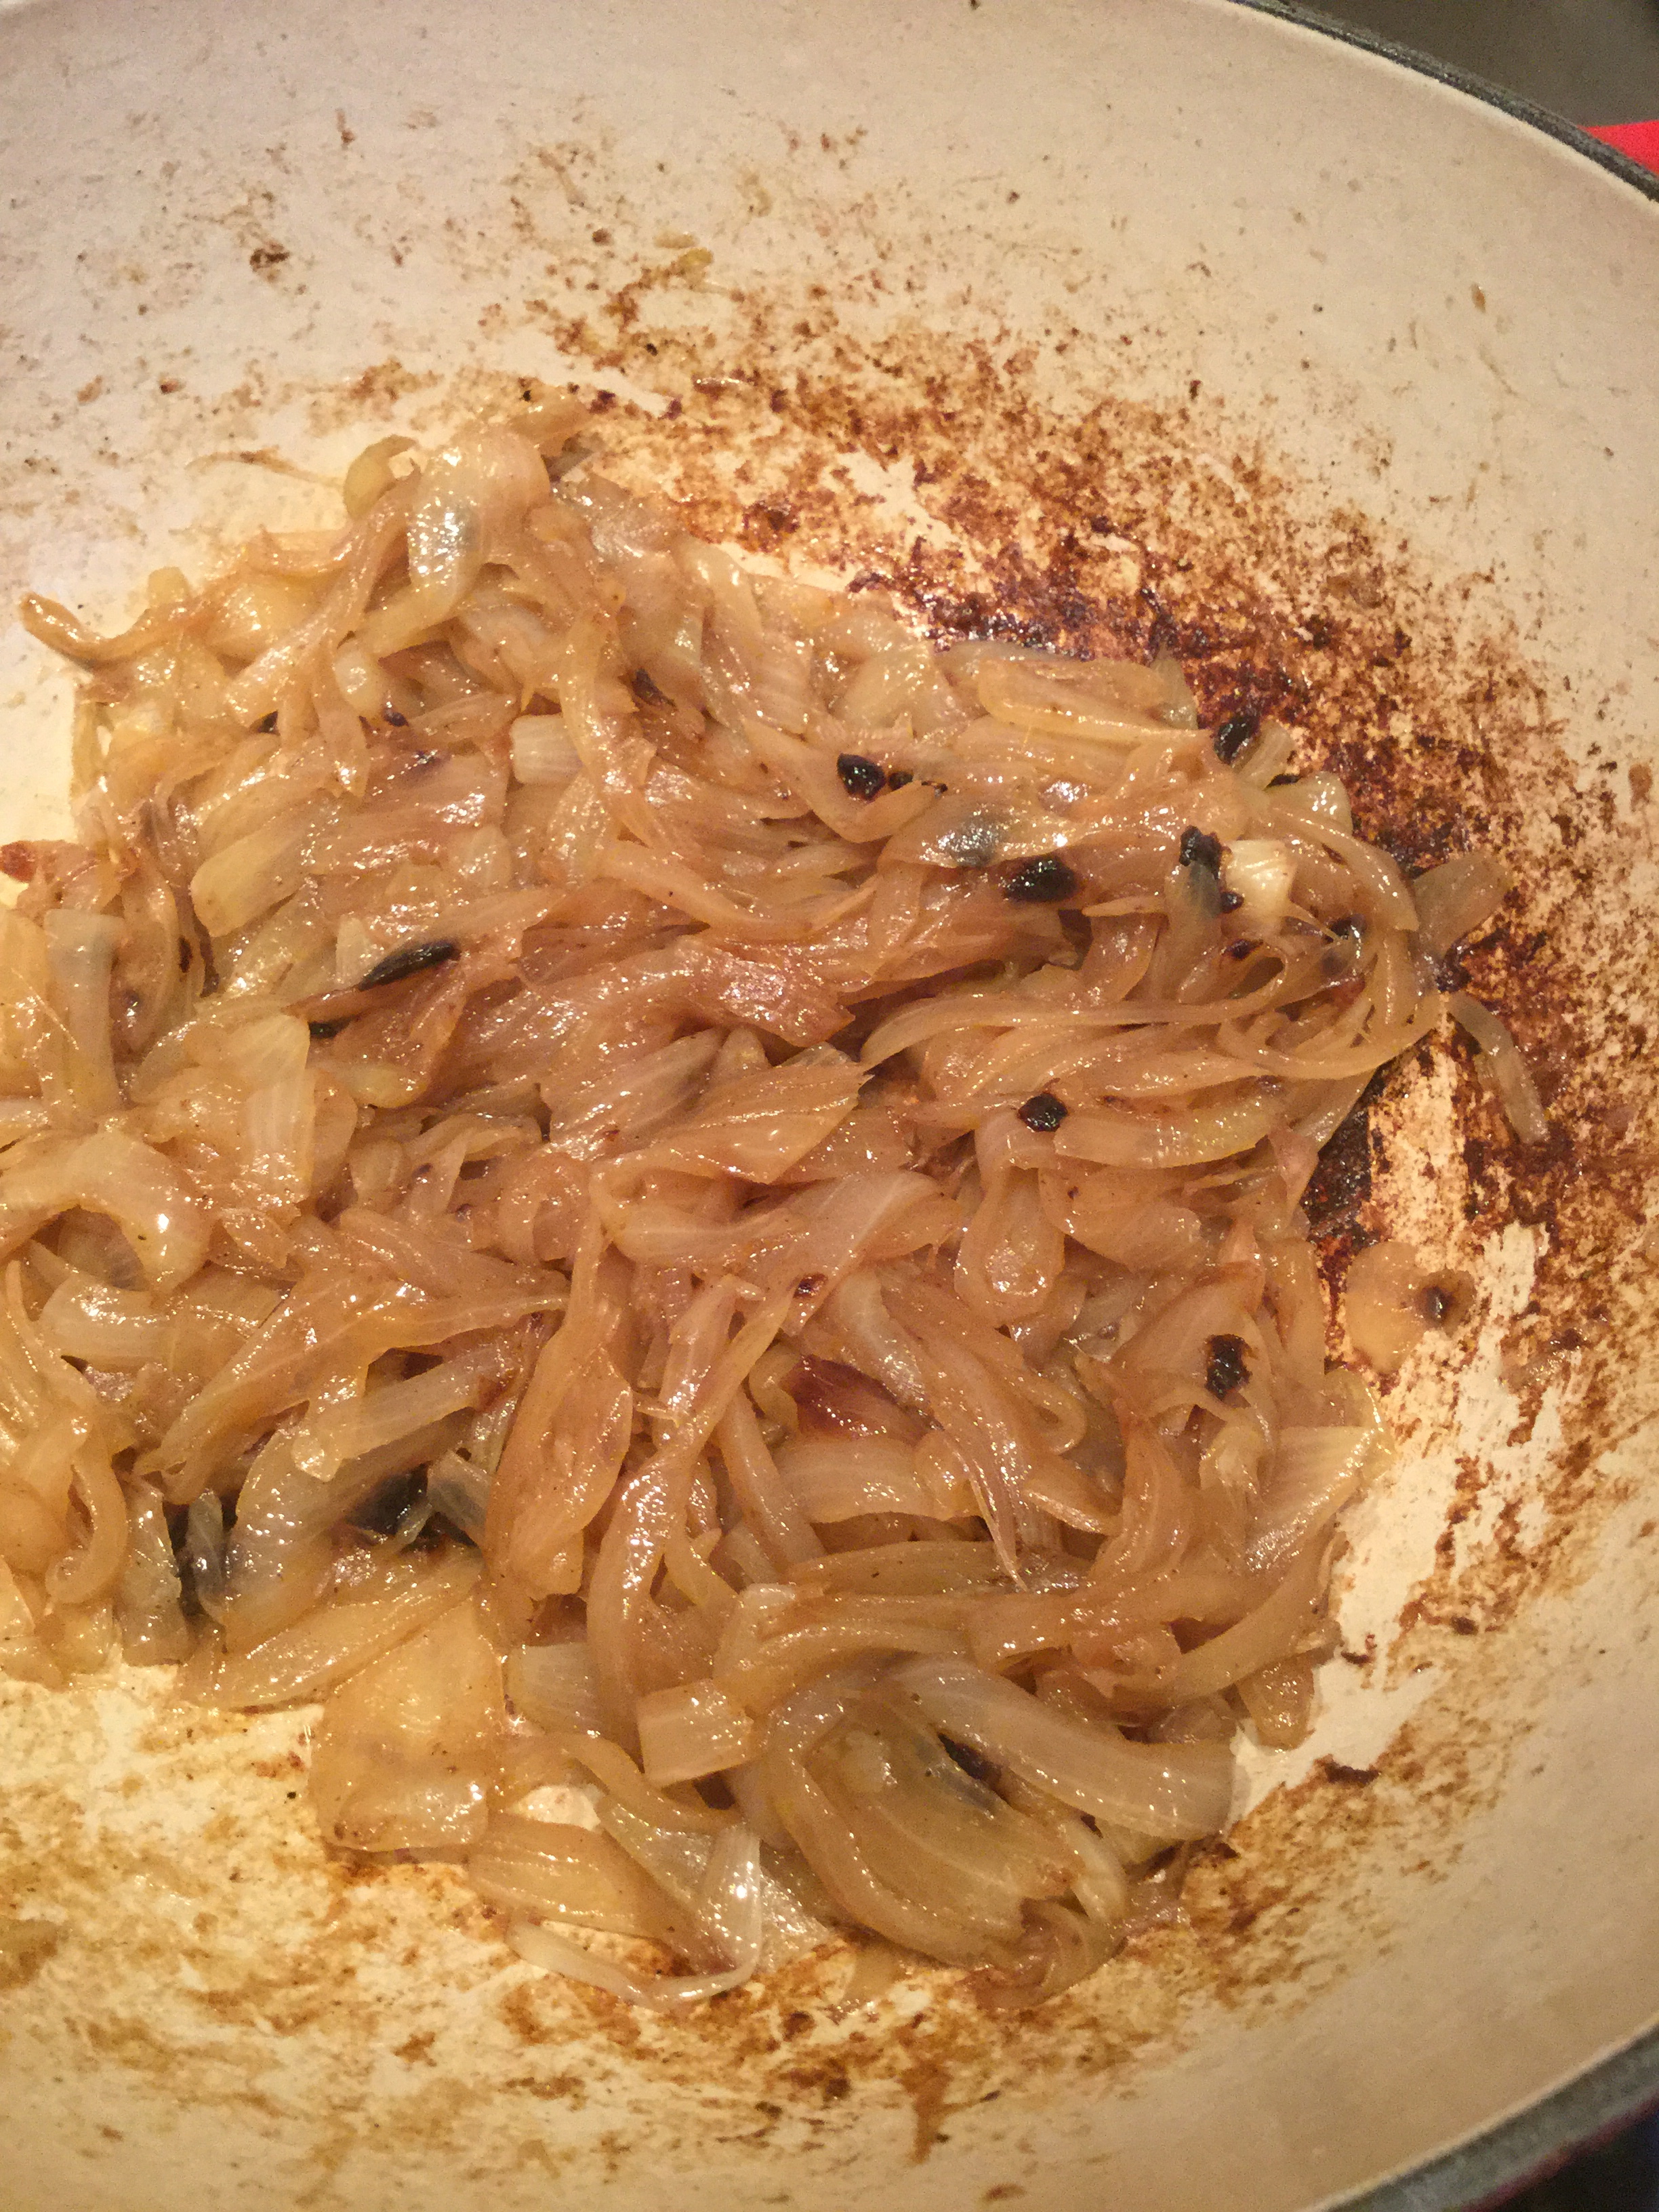
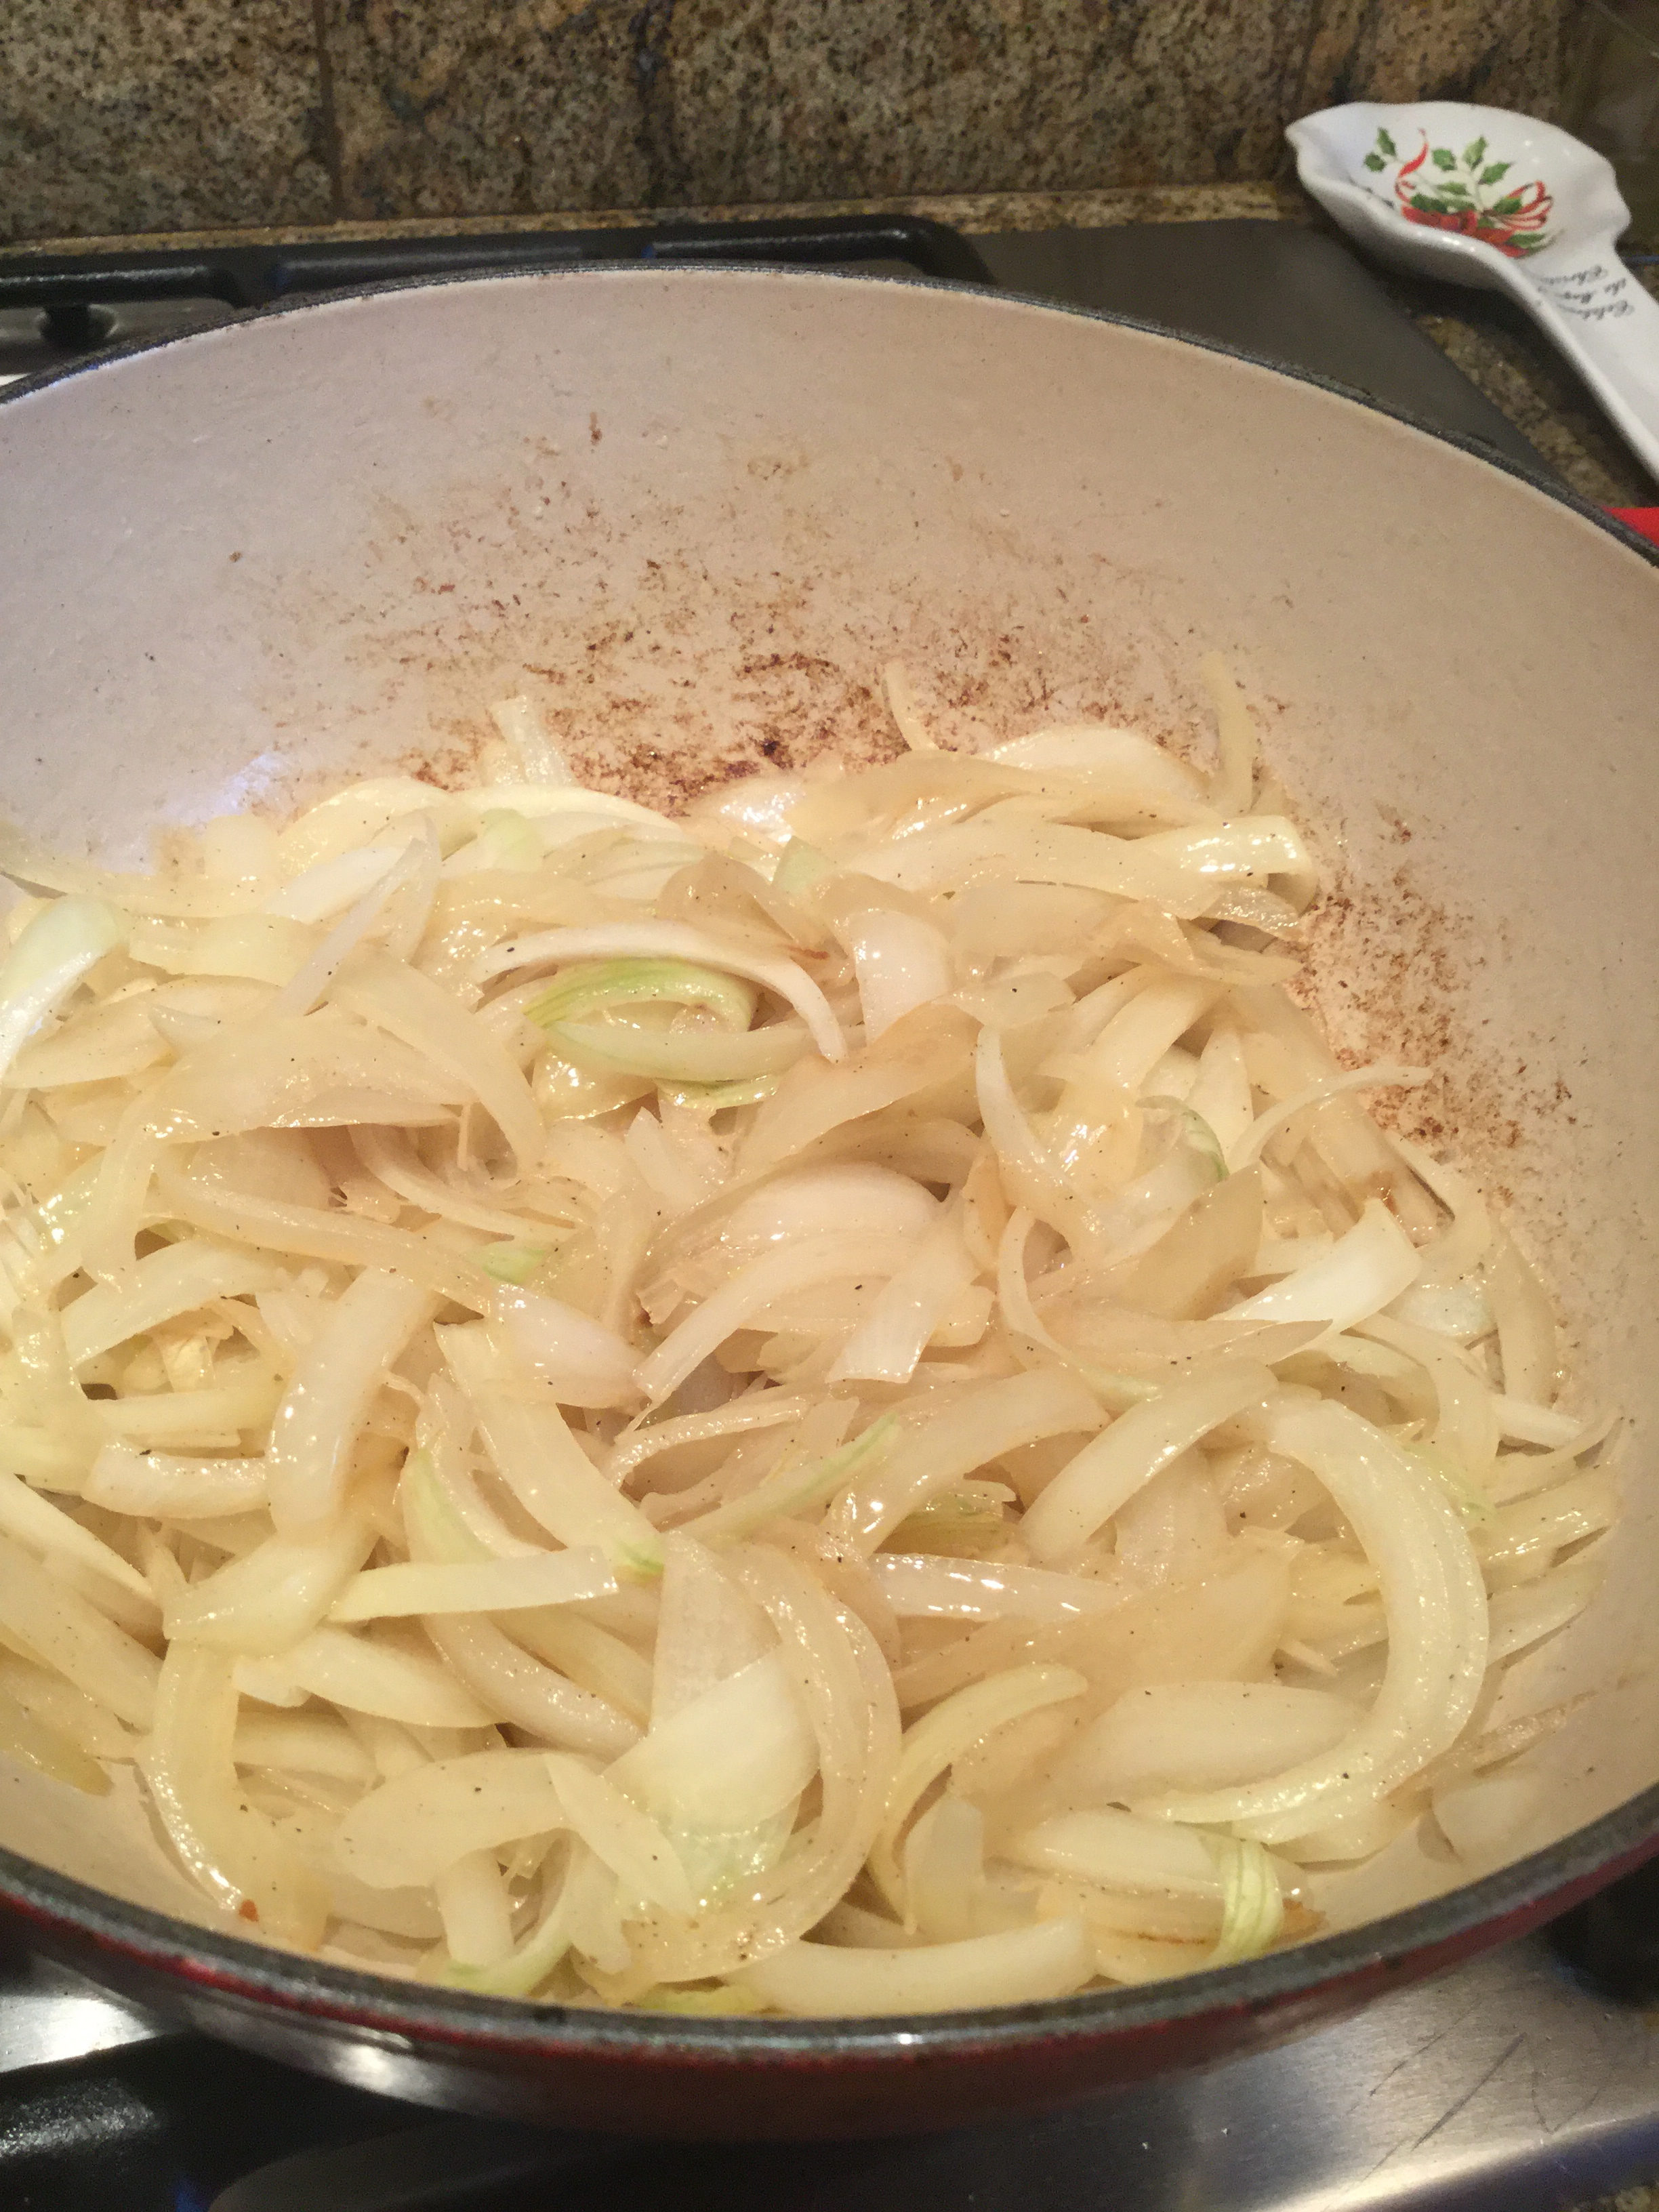
Melt butter in a heavy soup pot or Dutch oven over medium-low heat. Add onions and cook, covered, for 20 minutes. Place soup pot into the oven with the lid slightly ajar to ensure the onions will brown. Allow onions to cook in the oven for 1 hour, stirring at least once during the cooking process so onions won’t stick and burn.

Remove pot from oven and place back on stovetop over medium heat. Stir, scraping off all the brown, flavorful bits. Turn off heat and pour in wine. Turn heat back to medium. Cook wine for five minutes, allowing it to reduce. Add broths, Worcestershire Sauce and minced garlic and reduce heat to low. Simmer for 30 to 45 minutes.

Butter one side of the bread slices and broil over low heat, allowing bread to brown and become crispy.
When soup is ready, ladle into bowl or ramekin. Place crispy bread on top, and then sprinkle generously with grated cheese. Broil until cheese is melted and bubbly.

Serve immediately.
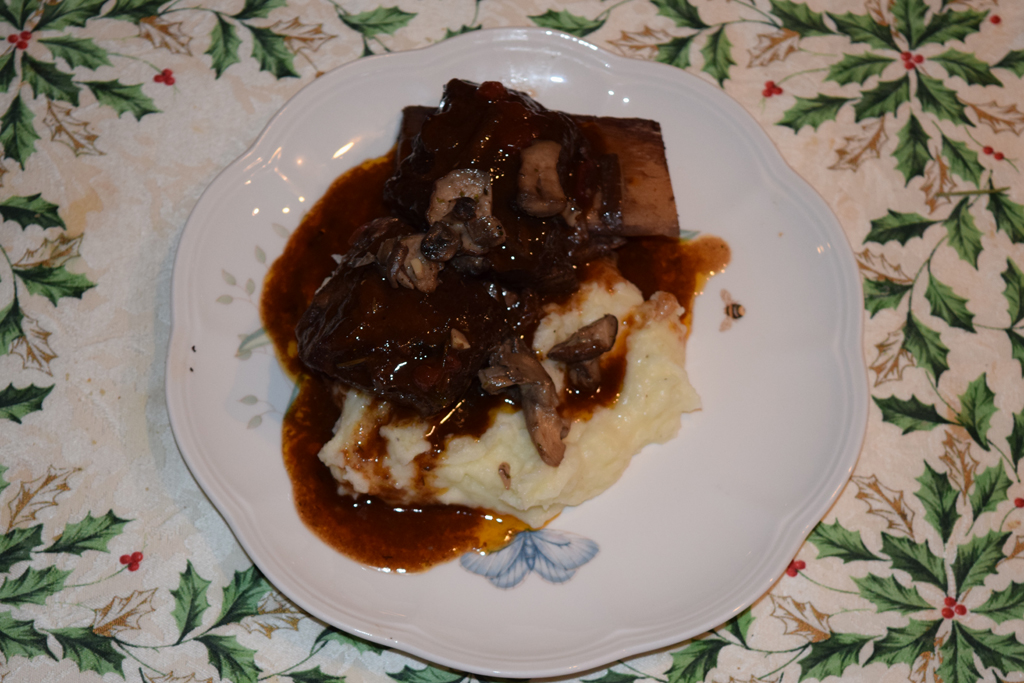
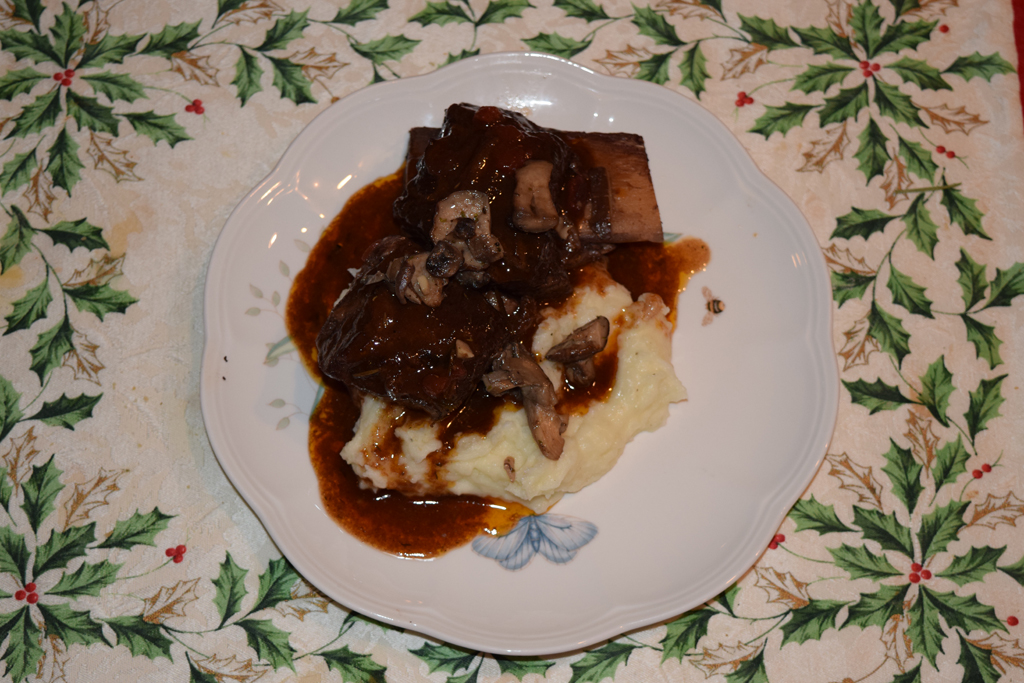
Short Ribs in Red Sauce!

Hello family and friends! Happy weekend! Just relaxing here at home and  currently watching 3 shows (Miss Universe 2015/Pro-Bowl/NBA). I wanted to post another recipe (Rachael Ray again!) because I really enjoyed this Short ribs dish. Short ribs are one of my favorite meat cuts (if it’s on a restaurant menu, I will most likely order it). I found this recipe on Rachael’s website. I did tweak it a bit because her original recipe called for Rigatoni pasta (my Hubs is not a big fan of this kind of pasta,so I used mashed potatoes to go with the ribs). It’s just a comfort food. And instead of cooking this in the oven (like her original recipe called for) I used my crockpot and it still turned out delicious.

comfort food! so tender and full of flavor!
comfort food! so tender and full of flavor! I made this early this month thus still my Christmas placemat!

2015-01-22_DSC_1924

Short Ribs in Red Sauce with Rigatoni (but I used mashed potato for us;I will just use the original recipe by Rachael Ray)

Ingredients

  • 8-10 bone-in beef short ribs, trimmed of fat
  • Salt and pepper
  • 4 tablespoons extra virgin olive oil (EVOO)
  • 2 carrots, finely diced
  • 2 ribs celery, finely diced
  • 1 large onion, finely diced
  • 4 large cloves garlic, thinly sliced
  • 2 large fresh bay leaves
  • 1/4 cup tomato paste
  • 2 cups dry red or white wine or 2 additional cups beef stock
  • 3 cups beef stock
  • 1 can Italian San Marzano tomatoes (32 ounces)
  • 1 herb bundle of sage, parsley and thyme
  • 1-1 1/2 pounds rigatoni, regular or whole wheat
  • 3 tablespoons butter, cut into pieces
  • Freshly grated Pecorino Romano cheese, divided
  • Finely chopped flat leaf parsley, for garnish

Preparation

Pre-heat the oven to 325ºF.

Heat the EVOO in a large Dutch oven over medium-high heat. Season the meat with salt and pepper and brown all over in batches. Remove the meat to a plate and add the vegetables, garlic and bay leaves to the pot; season with salt and pepper. Cook to soften, 5-6 minutes. Stir in the tomato paste, cook for 1 minute, then add the wine. Reduce by half, then add the stock and tomatoes. Break up the tomatoes and slide the meat back in along with the herb bundle. Cover and transfer to the oven; cook to tender, 2 1/2 hours.

Remove the meat and discard the herb bundle. Cover and keep warm; simmer the sauce to thicken while you cook the rigatoni.

Bring a large pot of water to a boil for the pasta. Season the water with salt and cook the rigatoni to al dente. Drain the pasta and toss with butter and half to two-thirds of the sauce. Serve the pasta topped with the meat on or off the bone. Pass extra sauce at the table with the remaining cheese.

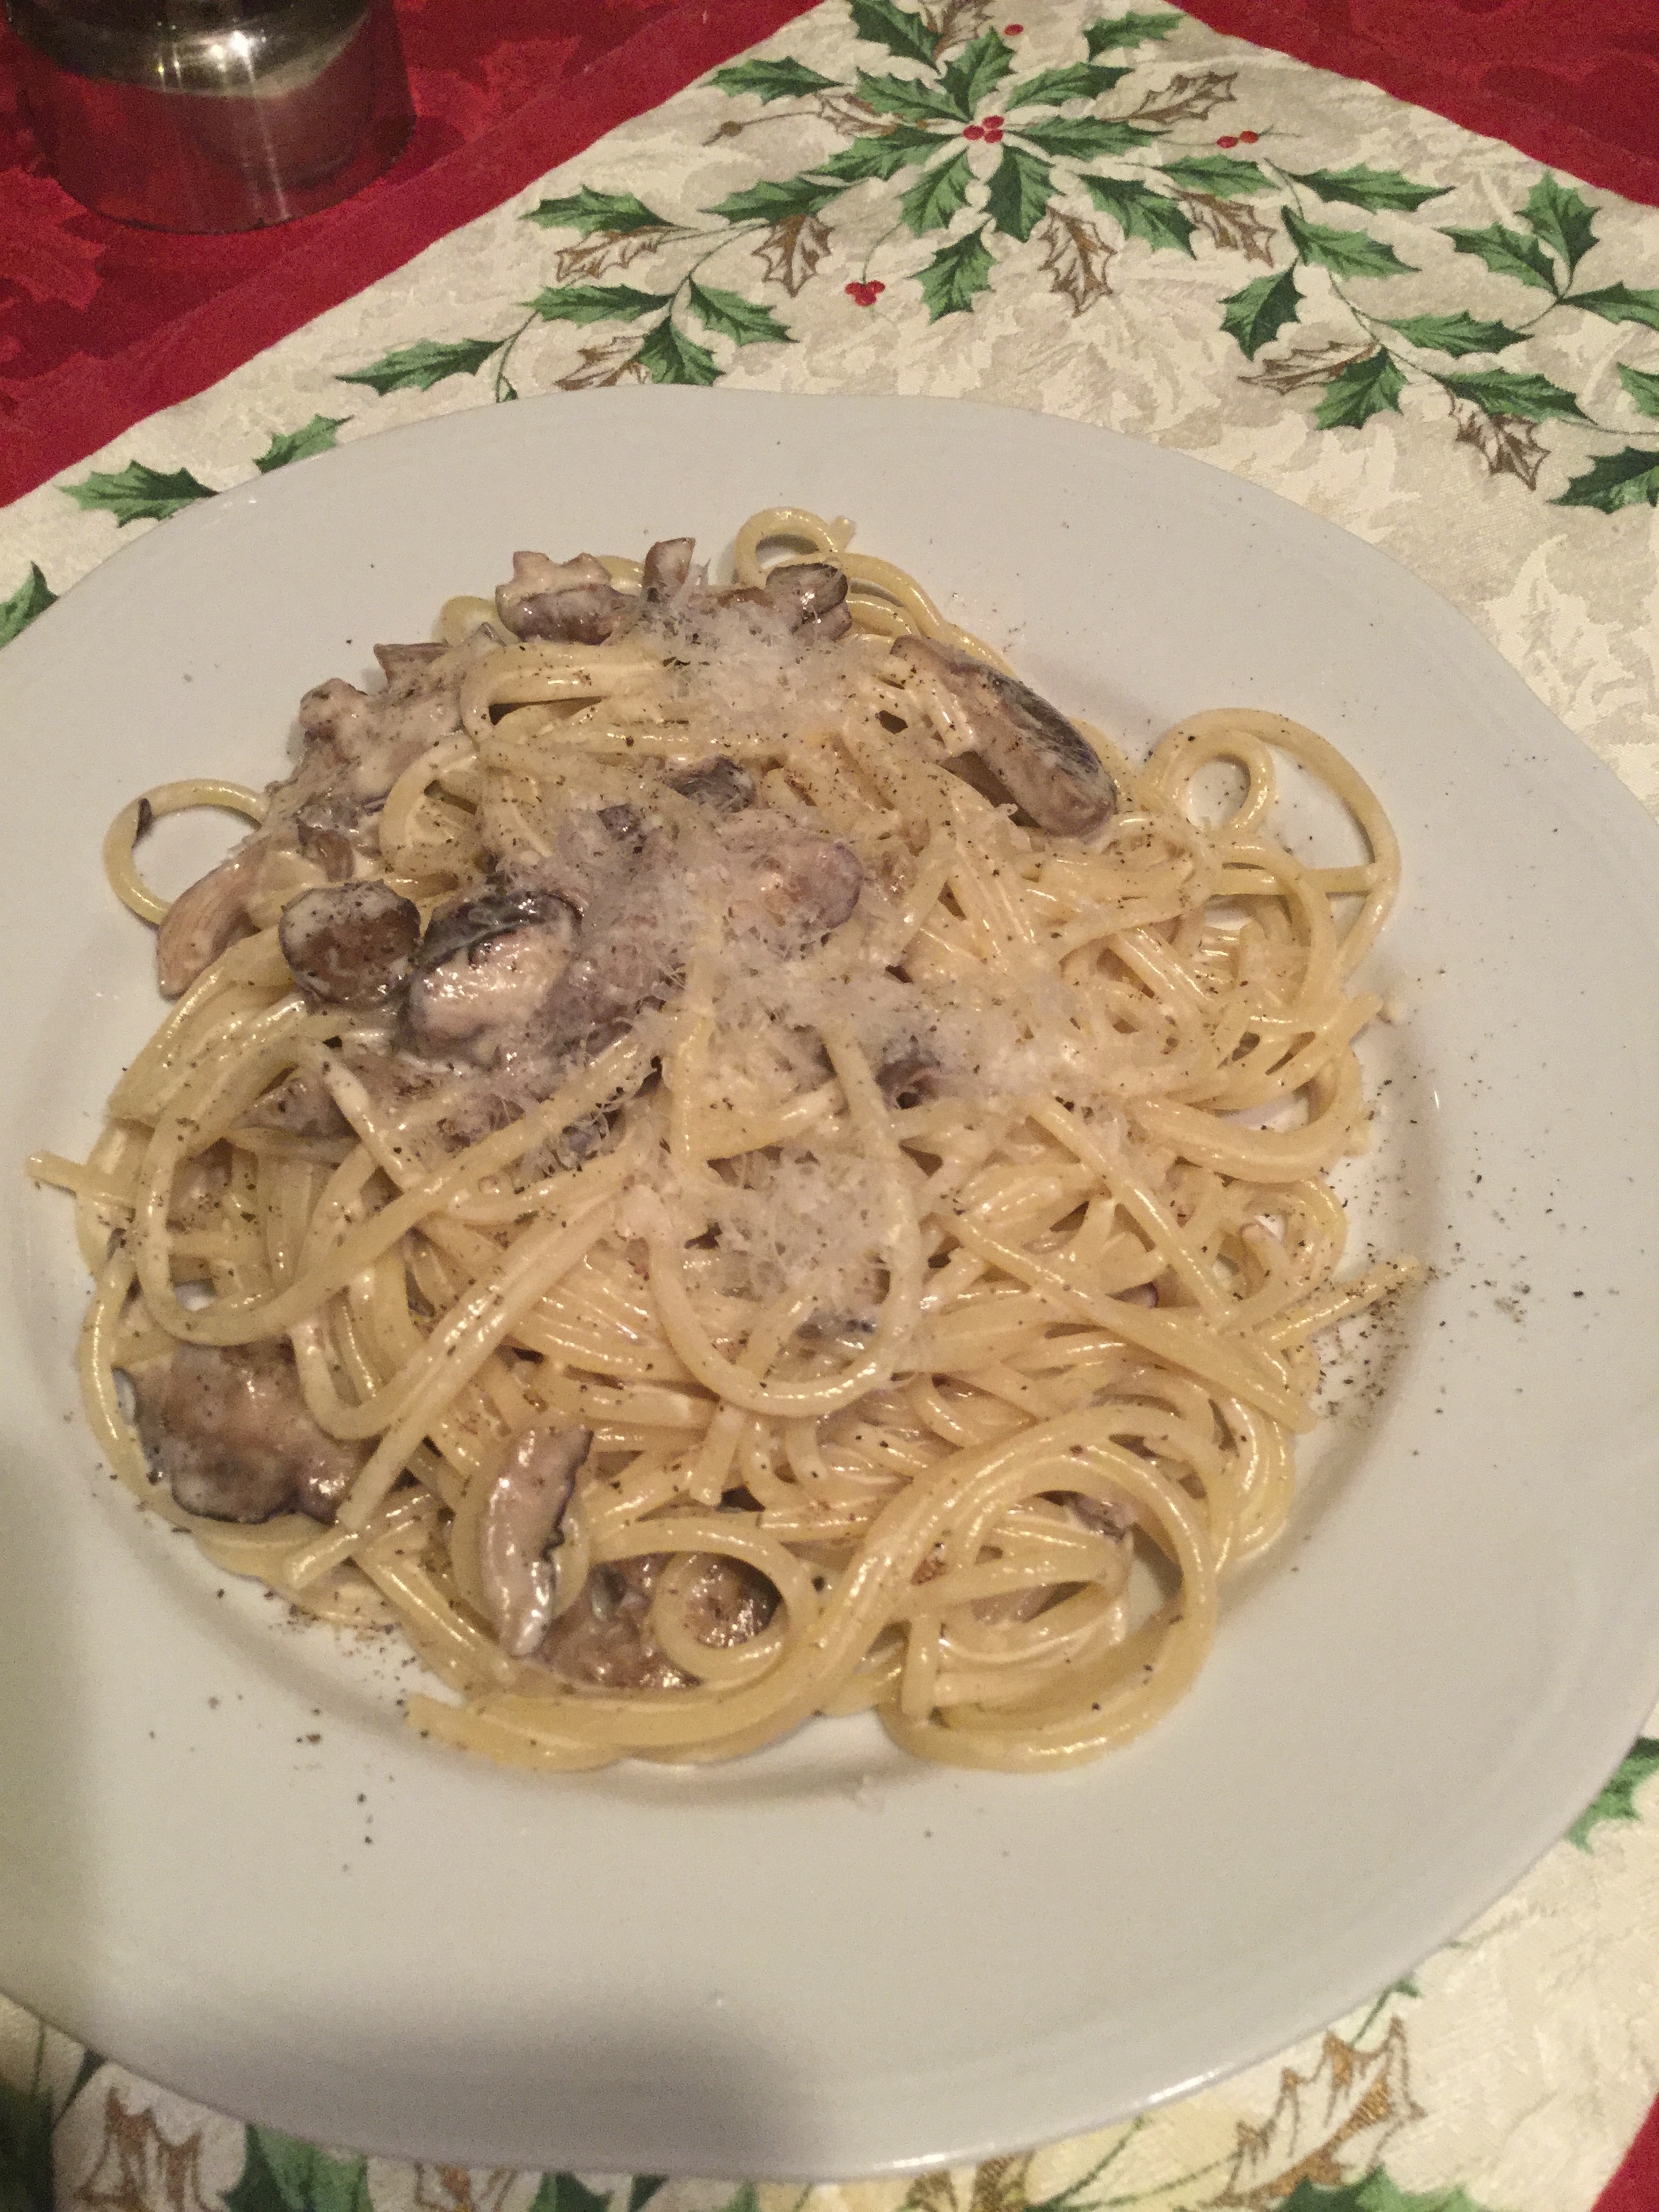
Creamy Mushroom Pasta

Hello family and friends! I hope you’re all are having a great day. I wanted to share this recipe (a Rachael Ray) from her Everyday with Rachael Ray magazine. I’m not a big fan of her (she’s too “exag” as a host and find her annoying sometimes) but every now and then I still watch some of her reruns on the food network. I do subscribe to her magazine because I enjoy the food pictures and it’s easy to follow her recipes. This pasta recipe was delicious and will probably make this again sometime (we do eat this kind of food in moderation because of the high cals). Her original recipe called for fusilli pasta.  I have fusilli in my pantry but I prefer spaghetti, so that’s what I used instead. I also added some shiitake mushrooms because they’re my fave kind of mushroom. If you like pasta dishes,you should try this one (simple and tasty!).

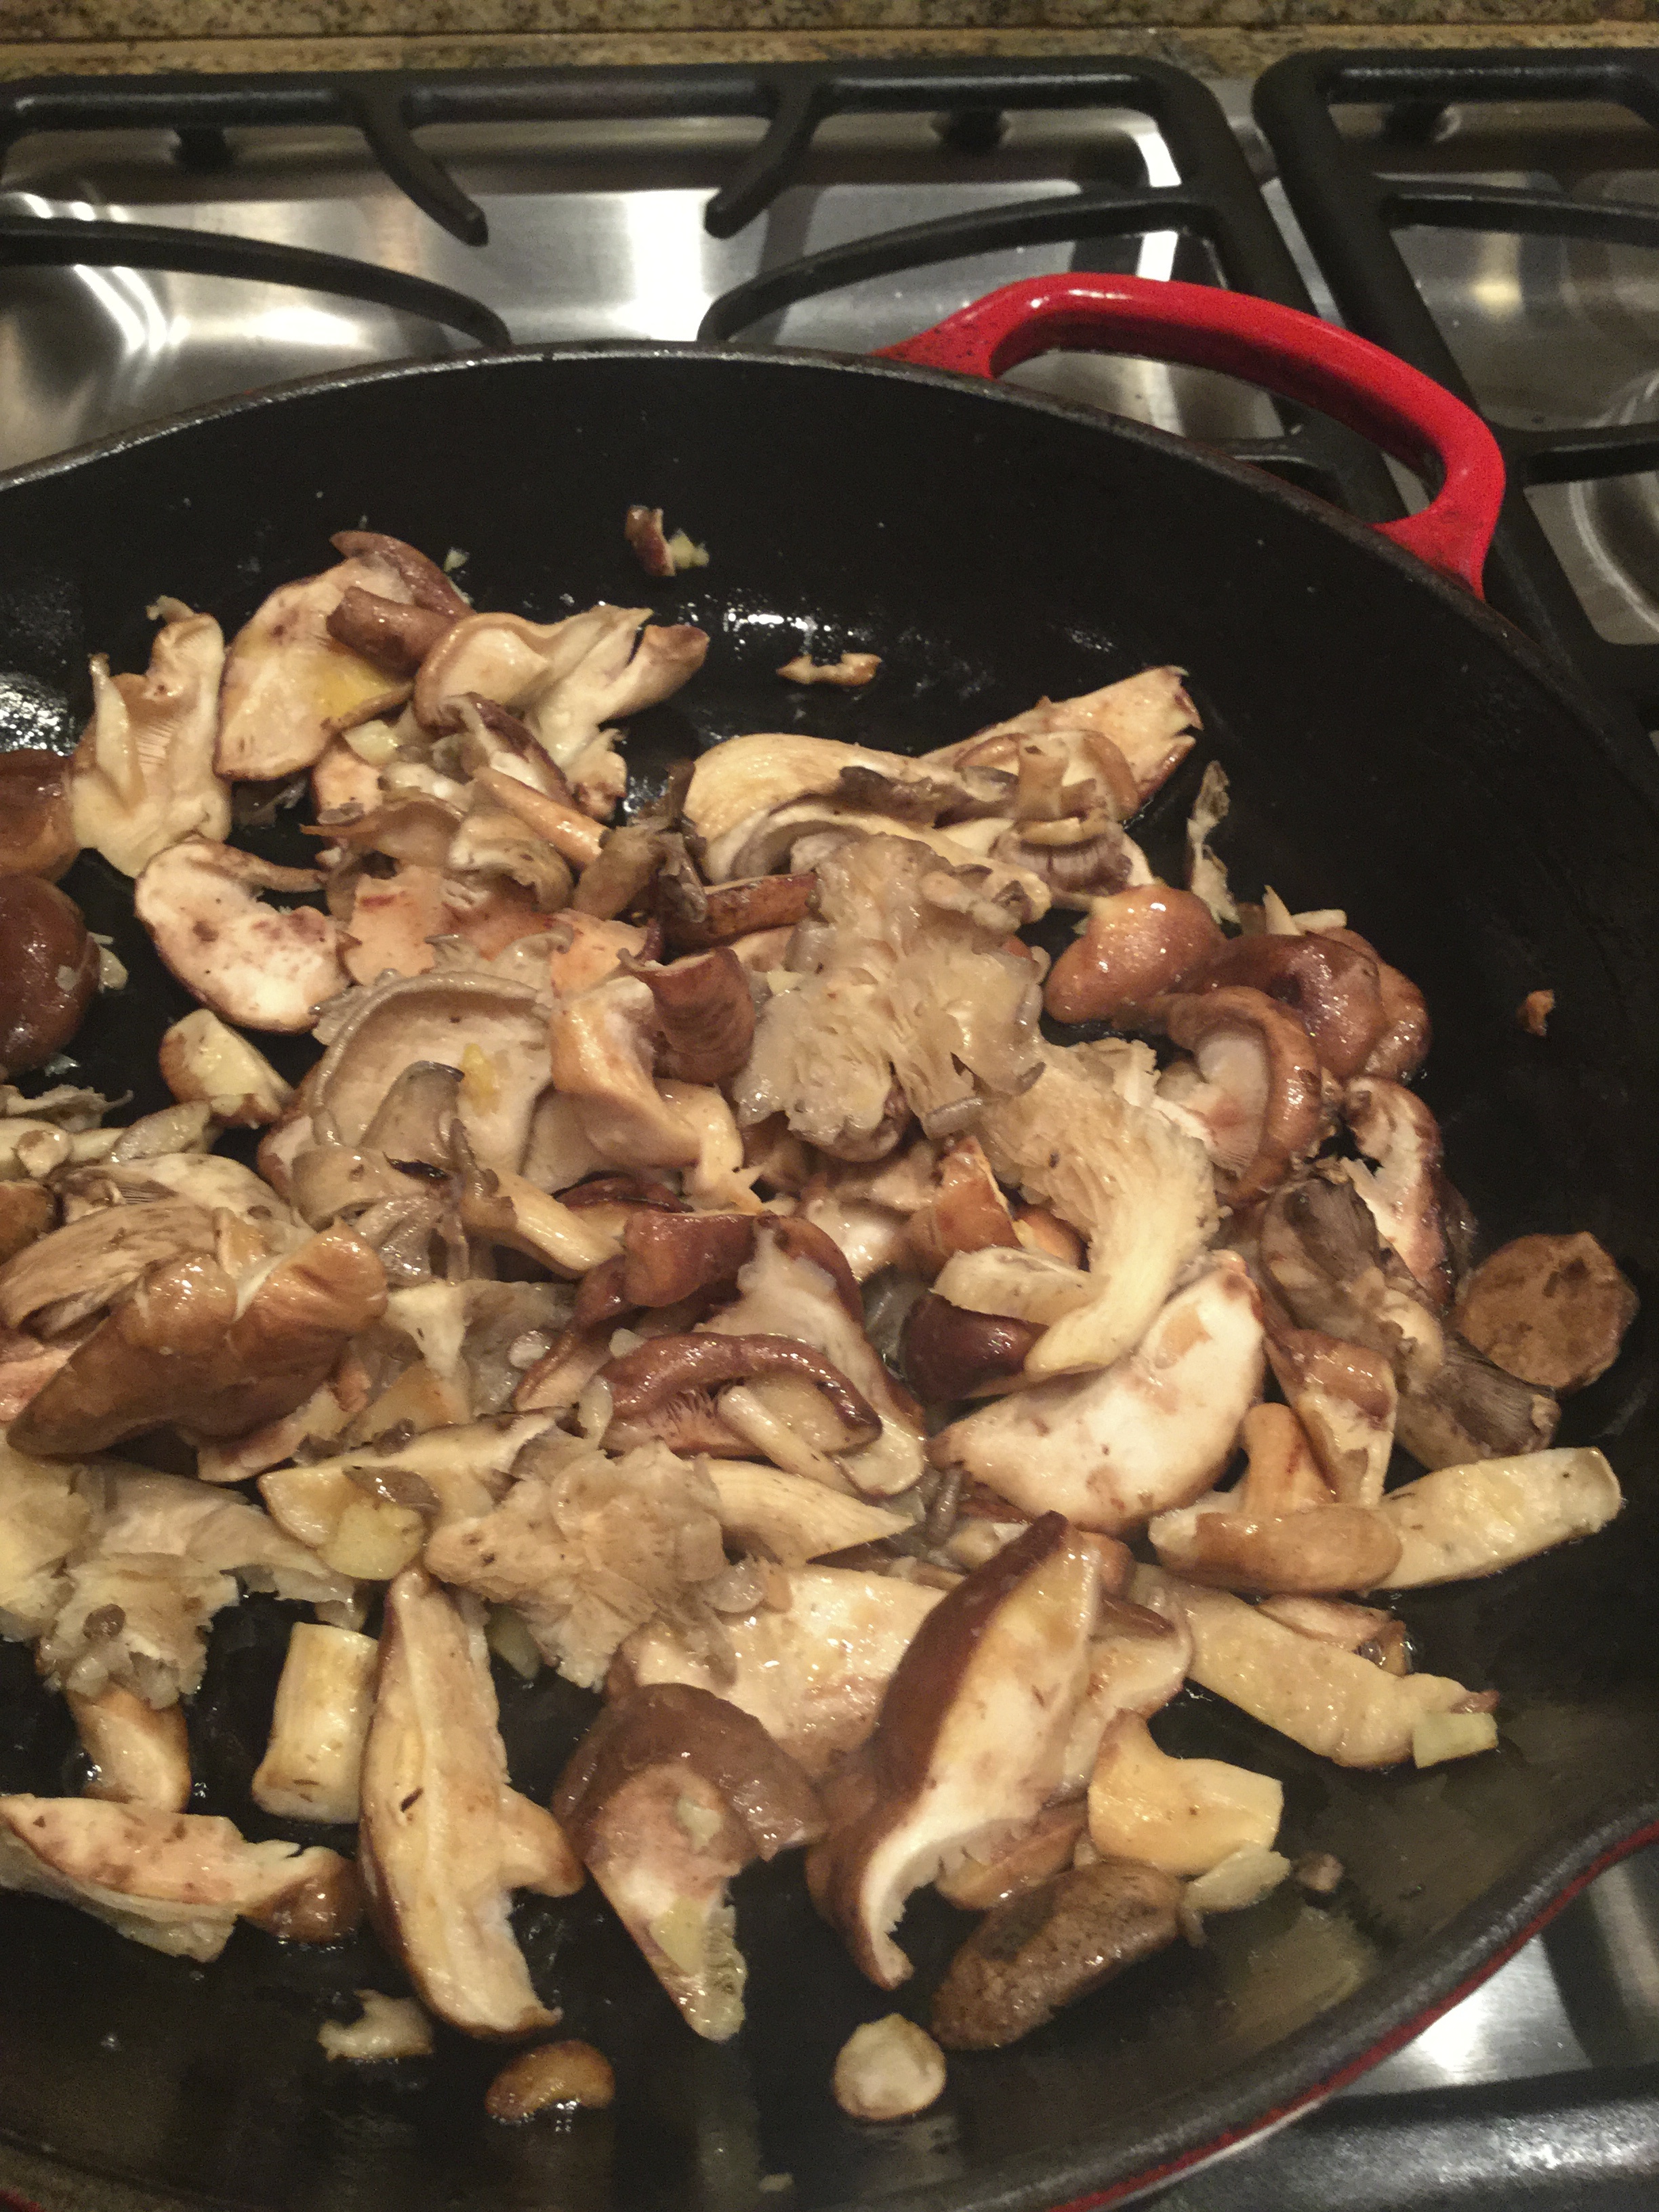
I love shiitake mushroom
I love shiitake mushroom( I used 3 kinds of mushrooms)
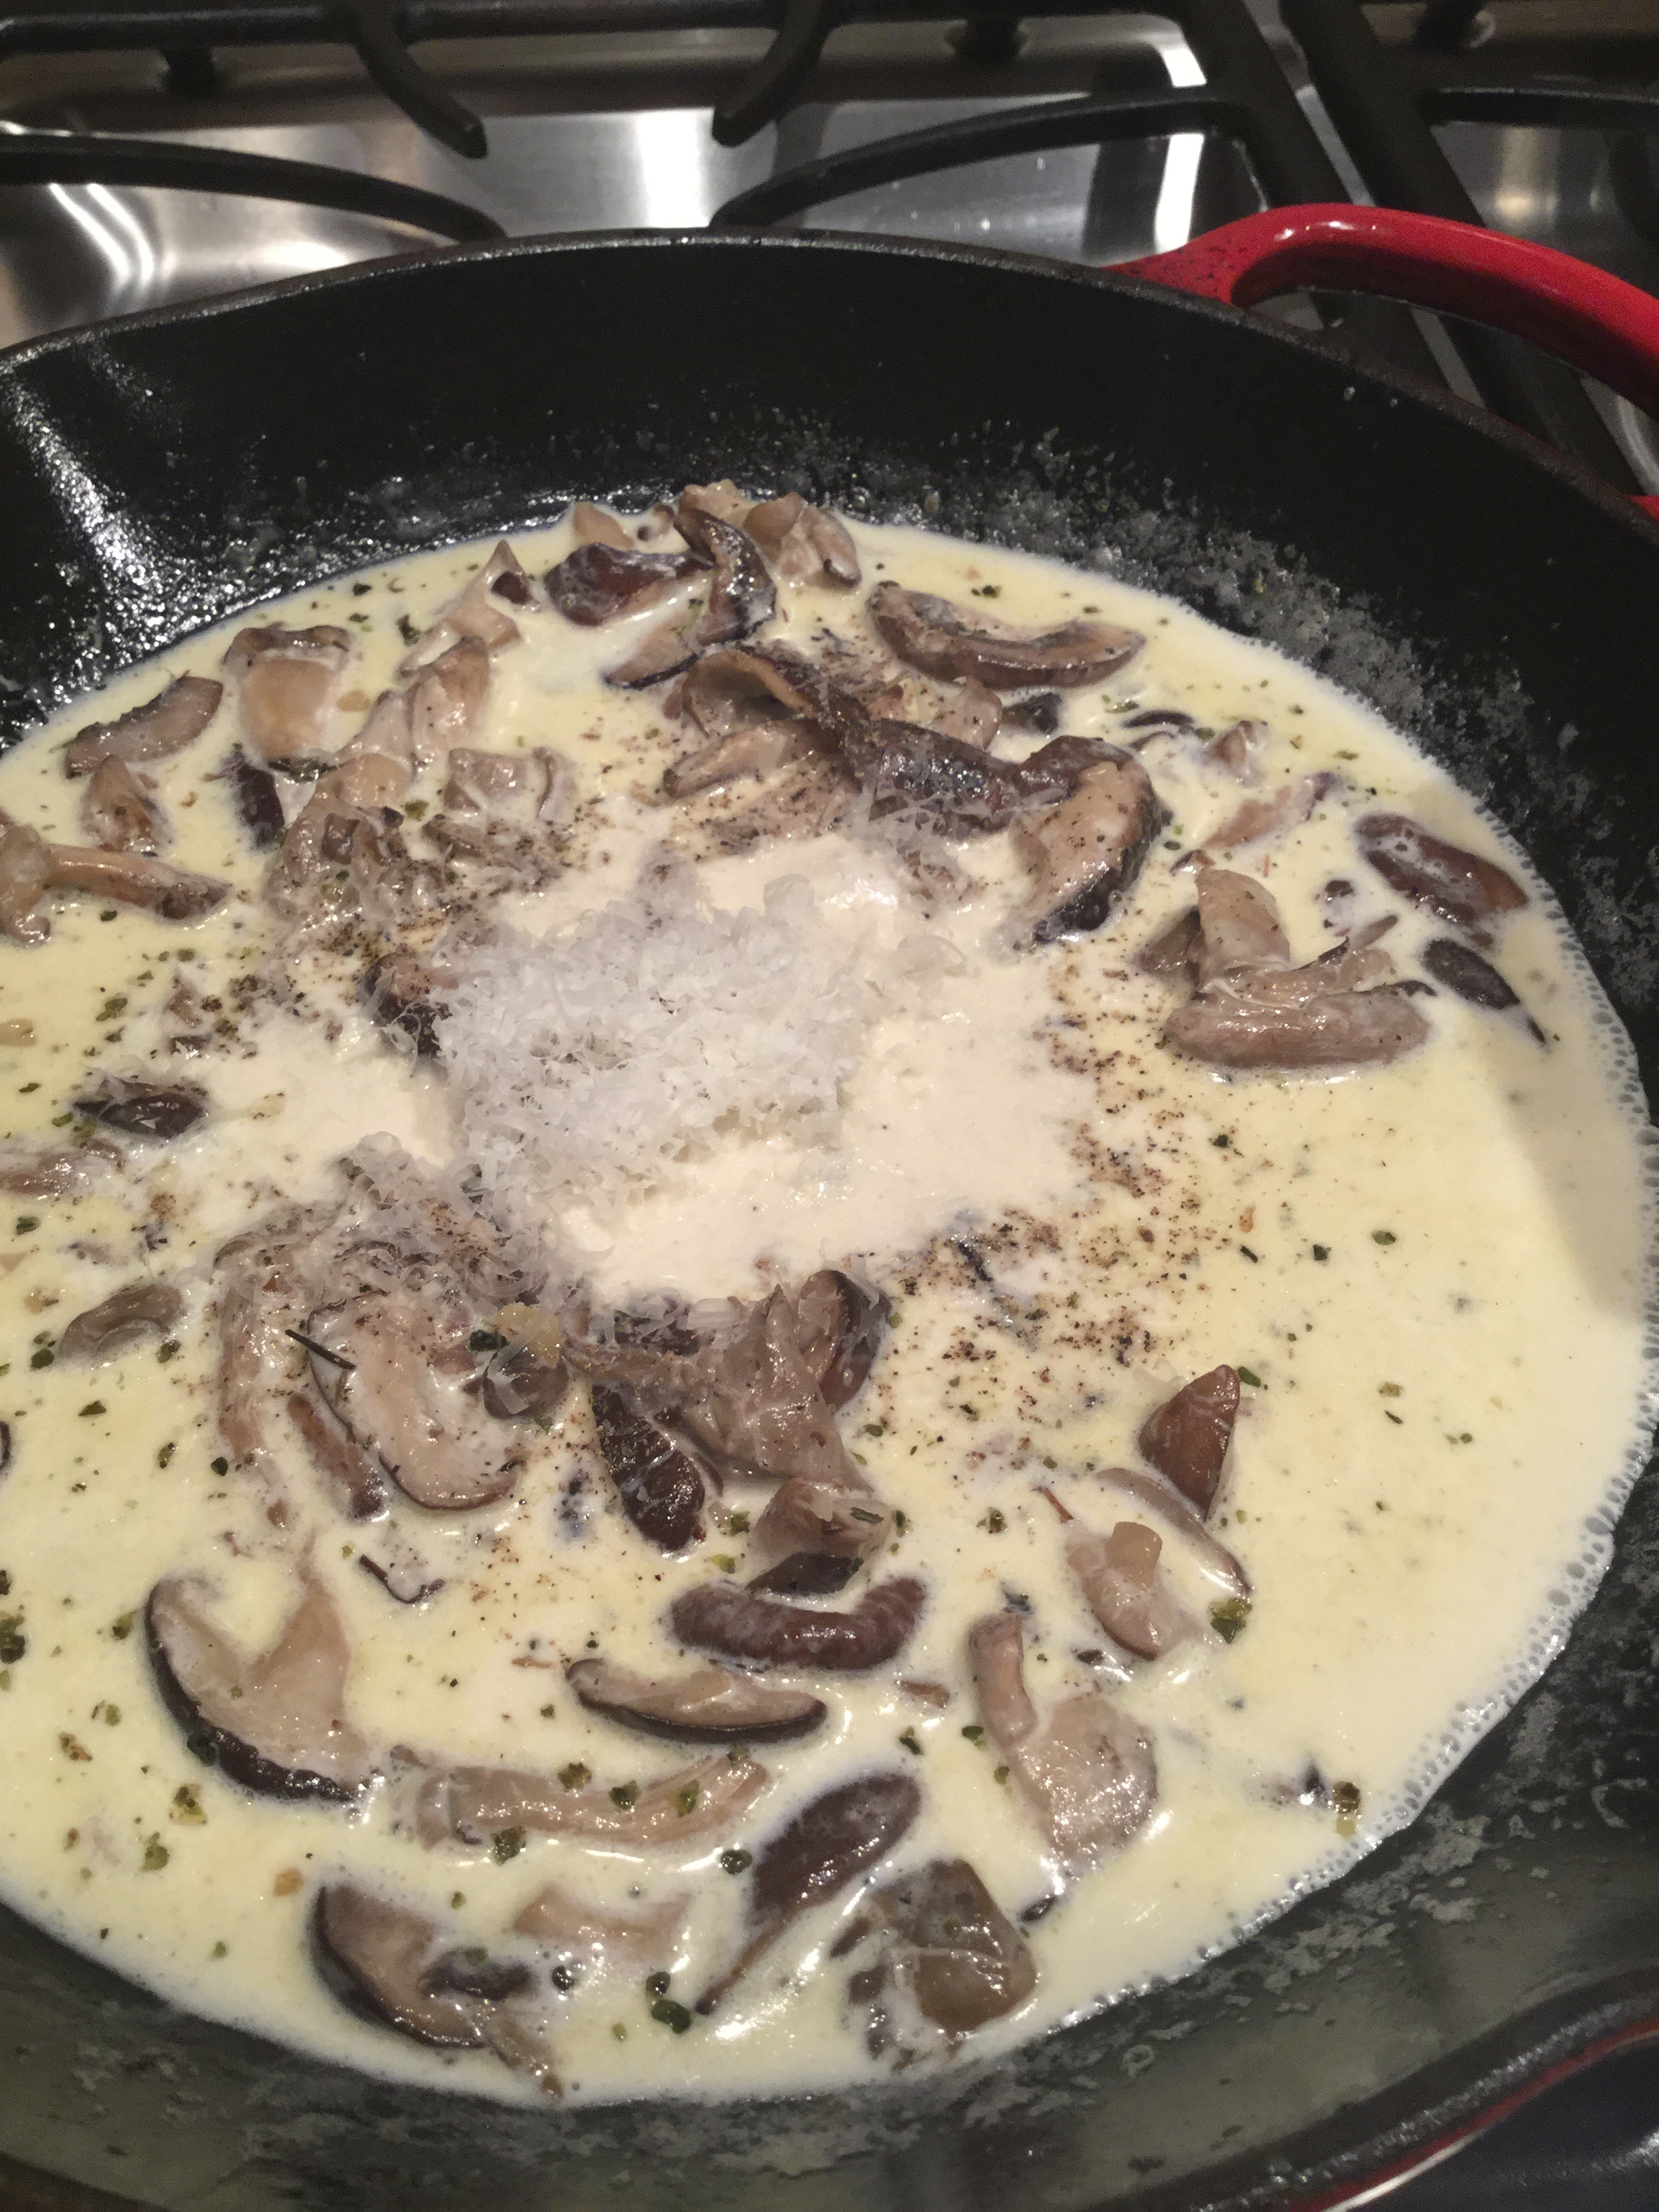
Parmesan galore!
Parmesan galore!
YUM!
YUM!

Creamy Mushroom Pasta (recipe:Rachael Ray)

Ingredients (serves:4)

1 lb. fusilli                                                        1 onion,chopped

3 tbsp. plus 1 tsp. olive oil                            2 cloves garlic,chopped

1/4 cup panko                                                  3/4 cup heavy cream

8 oz. cremini mushrooms, sliced                 1/2 cup grated Parmesan

2 tbsp. chopped fresh sage                            2 tbsp. white wine


1. Bring a large pot of water to a boil. Salt the water and add the fusilli;cook until al dente. Drain, reserving 1/2 cup pasta cooking water.

2. Meanwhile, in a small skillet,heat 1 tsp.oil over medium-high. Add the panko and toast,stirring, until golden, 3 minutes; transfer to a plate.

3. In a large skillet, heat 2 tbsp oil over medium-high. Add the mushrooms and sage. Season with salt and pepper and cook, stirring, until browned, 5 minutes. Transfer to another plate. Reduce the heat to medium. Cook the onion and garlic in the remaining 1 tbsp oil, stirring, until softened, 4 to 6 minutes;season.

4. Add the mushrooms,fusilli,reserved pasta cooking water,cream,parmesan and wine to the large skillet. Cook over medium, stirring often, until the sauce thickens, about 3 minutes;season. Divide among the plates;top with the panko.


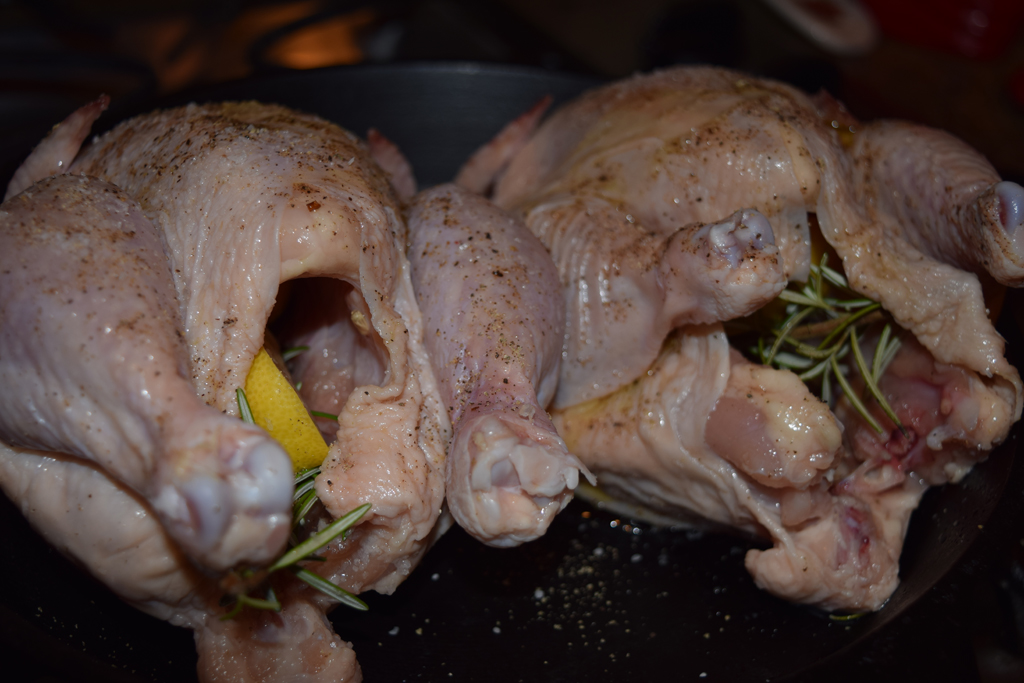
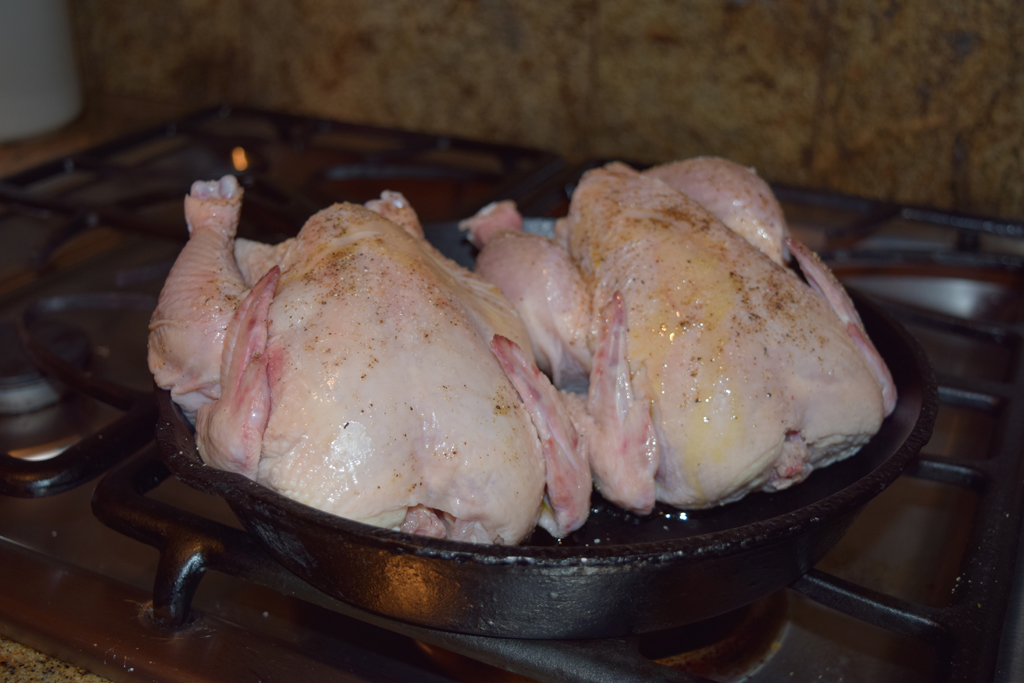
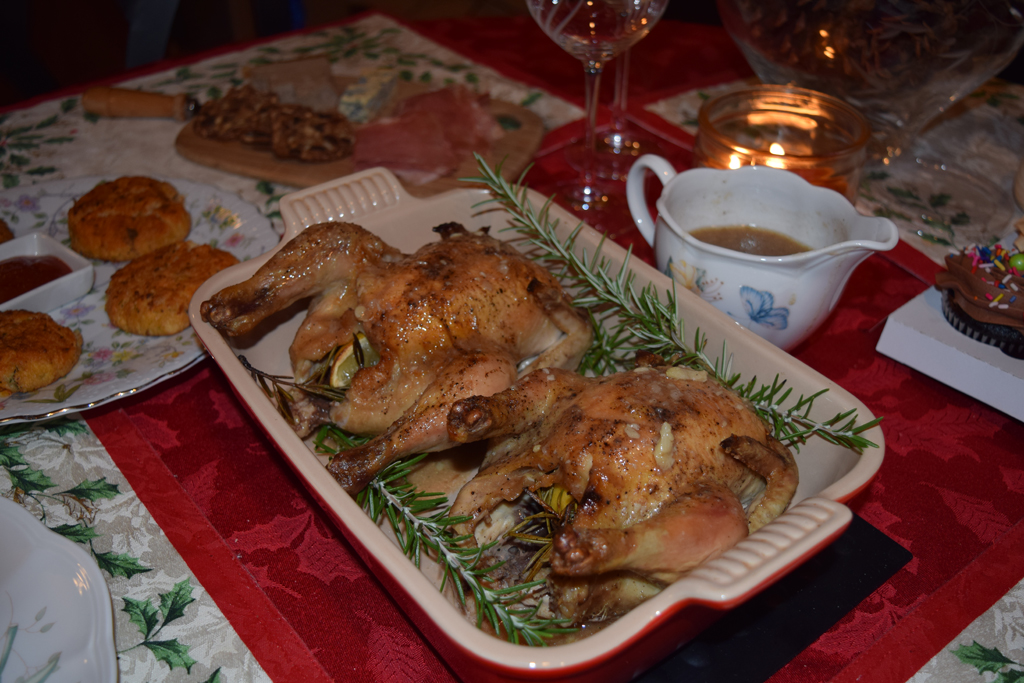
Cornish Game Hens with Garlic and Rosemary

Hello Friends! Hope you’re having a good weekend, we just saw the Seahawks beat the Panthers in NFC playoffs game minutes ago. So Seattle is pretty happy right now! Anyways, I wanted to share the Cornish Game recipe I used for our NYE dinner because it was really tasty and so simple. I will definitely put this in my recipe binder for future use. I cut the recipe in half because it was just me and the Hubs.

2014-12-31_DSC_1896

2014-12-31_DSC_1898

2014-12-31_DSC_1902

Cornish Game Hens with Garlic and Rosemary (allrecipes.com)

Ingredients:

4 Cornish Game Hens

salt and pepper to taste

1 lemon,quartered

4 springs fresh rosemary

3 tablespoons olive oil

24 cloves garlic

1/3 cup white wine

1/3 cup low sodium chicken broth

4 fresh spring rosemary for garnish

Directions:

    1. Preheat oven to 450 degrees F (230 degrees C).
    2. Rub hens with 1 tablespoon of the olive oil. Lightly season hens with salt and pepper. Place 1 lemon wedge and 1 sprig rosemary in cavity of each hen. Arrange in a large, heavy roasting pan, and arrange garlic cloves around hens. Roast in preheated oven for 25 minutes.
    3. Reduce oven temperature to 350 degrees F (175 degrees C). In a mixing bowl, whisk together wine, chicken broth, and remaining 2 tablespoons of oil; pour over hens. Continue roasting about 25 minutes longer, or until hens are golden brown and juices run clear. Baste with pan juices every 10 minutes.
    4. Transfer hens to a platter, pouring any cavity juices into the roasting pan. Tent hens with aluminum foil to keep warm. Transfer pan juices and garlic cloves to a medium saucepan and boil until liquids reduce to a sauce consistency, about 6 minutes. Cut hens in half lengthwise and arrange on plates. Spoon sauce and garlic around hens. Garnish with rosemary sprigs, and serve.


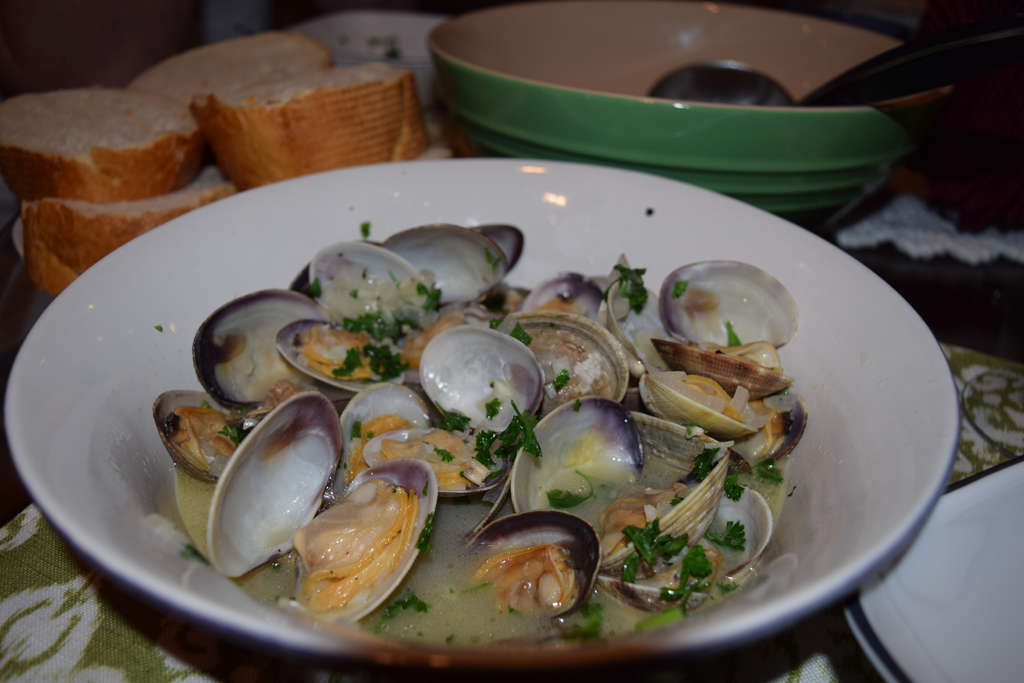
Steamed Clams!

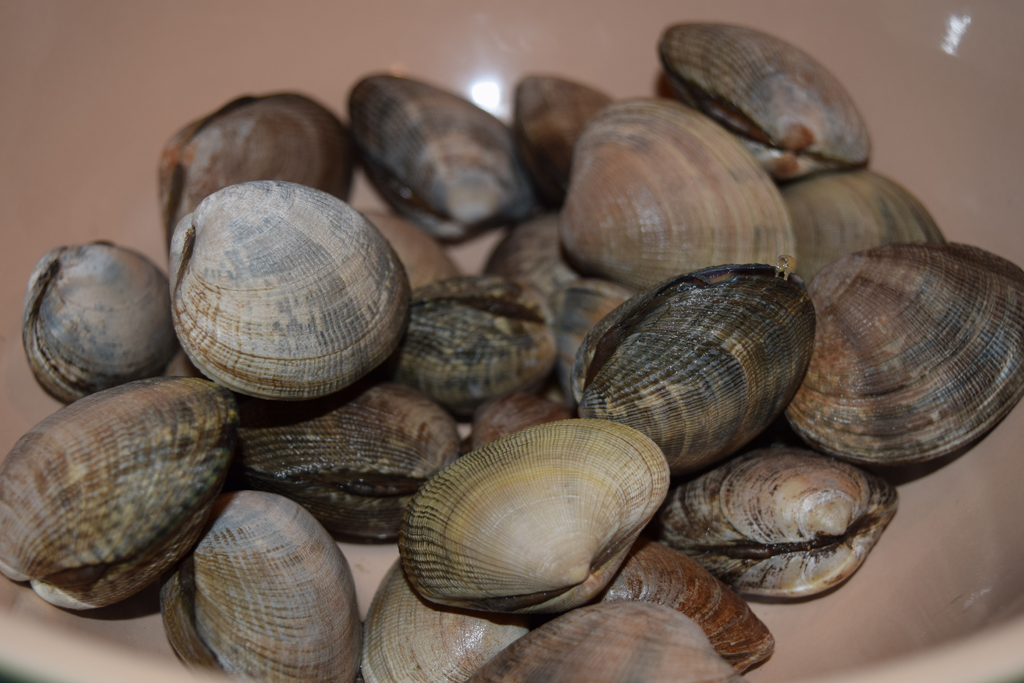
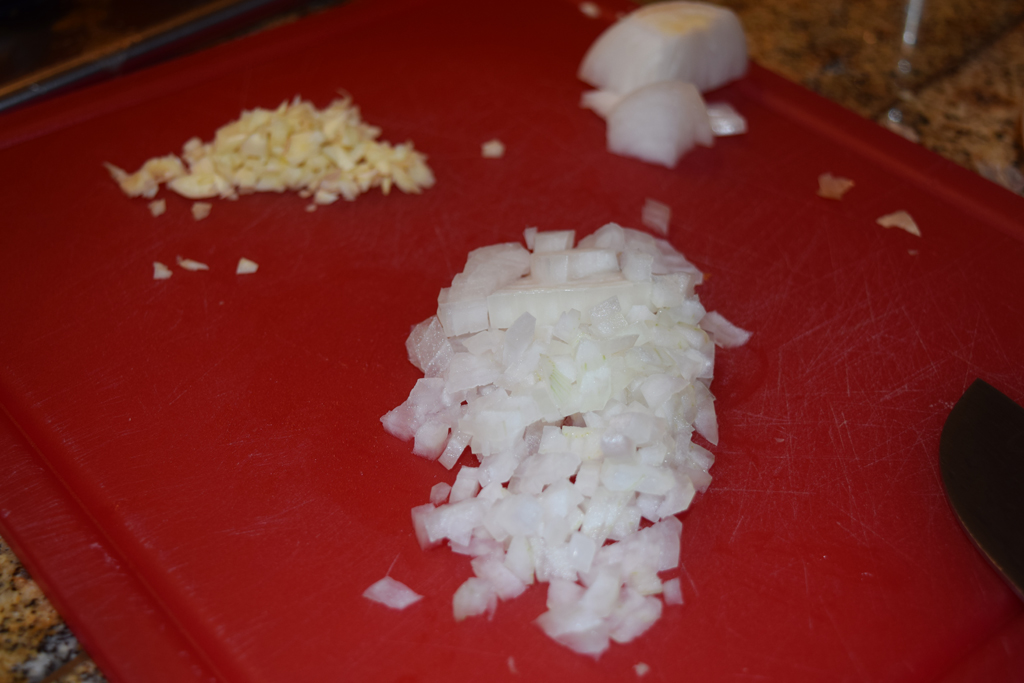
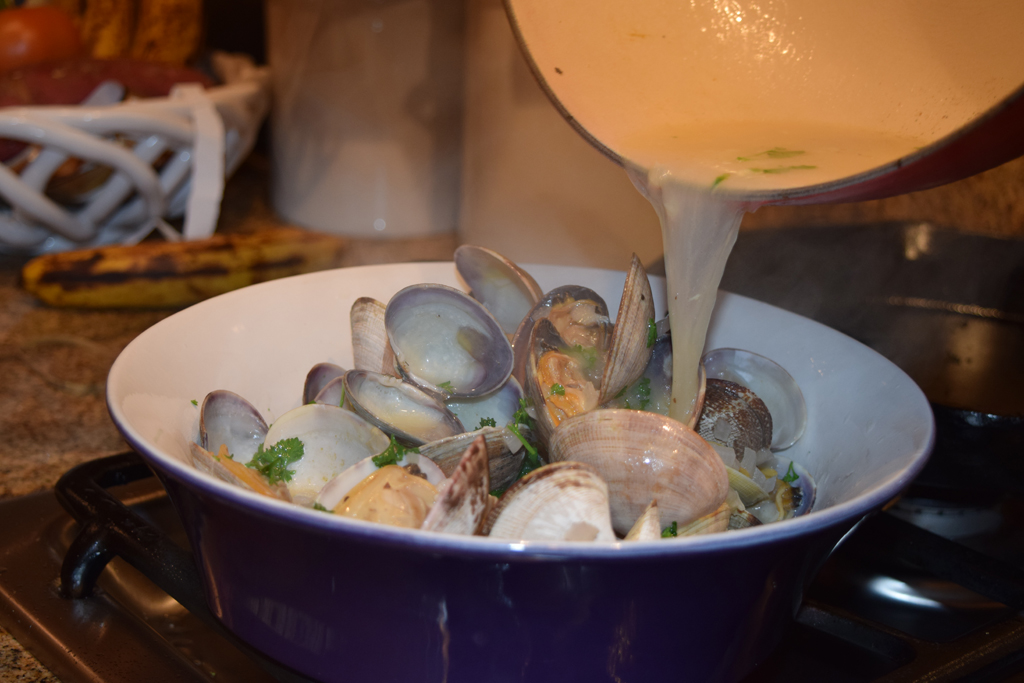
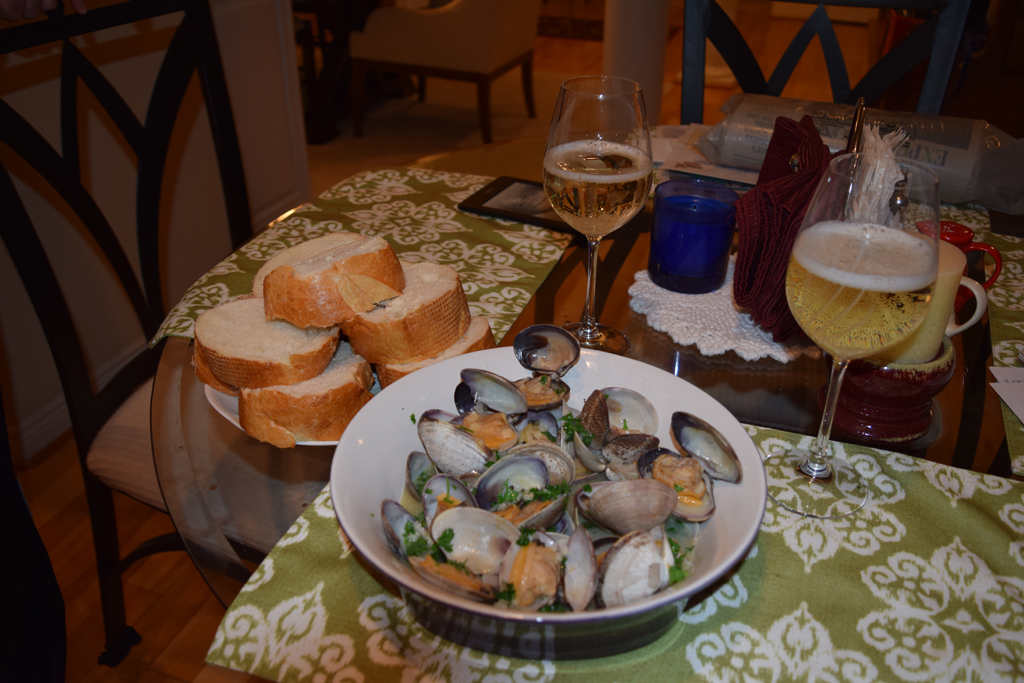
We had this Clam  dish a couple of weeks ago, and my Hubs, Zach, cooked this for us. Although I did the prep thing, like cleaning the clams (you have to make sure you really clean the clams because who wants “sandy” broth to dip their bread in?), Zach is the one who makes this for us. I just assume that whenever we have steamed clams, he’s cooking. This is such a simple and quick recipe, I think that’s why he doesn’t mind it! Anyways, Hubs tweaked this recipe by Robert Irvine from food network.  Hubs found some bargain priced moscato de’ asti that we paired with our meal!

2014-09-01_DSC_0123

2014-09-01_DSC_0125

2014-09-01_DSC_0126

2014-09-01_DSC_01292014-09-01_DSC_0133

YUM!
YUM!

Steamed Clams (recipe:Robert Irvine)

6 dozen fresh clams (littlenecks or middlenecks, your choice)
3 tablespoons grapeseed oil
4 cloves garlic, chopped
1 large onion, chopped
1 cup white wine
2 cups clam juice or water
Chopped parsley leaves
Salt and pepper
1/2 cup melted butter (1 stick)

Directions:

Wash the clams thoroughly and remove any blemishes. They should have no odor. Heat oil in a large saucepan (with a cover) over medium heat and cook garlic and onion until translucent. Add the wine and let cook for a couple of minutes to combine the flavors. Add the clams and clam juice (or water) and cover the pan for about 10 minutes until the clams open. Discard any clams that do not open and remove clams to serving bowls. Season the juices in the pan with salt and pepper to make a sauce. Pour the sauce and melted butter over the clams.


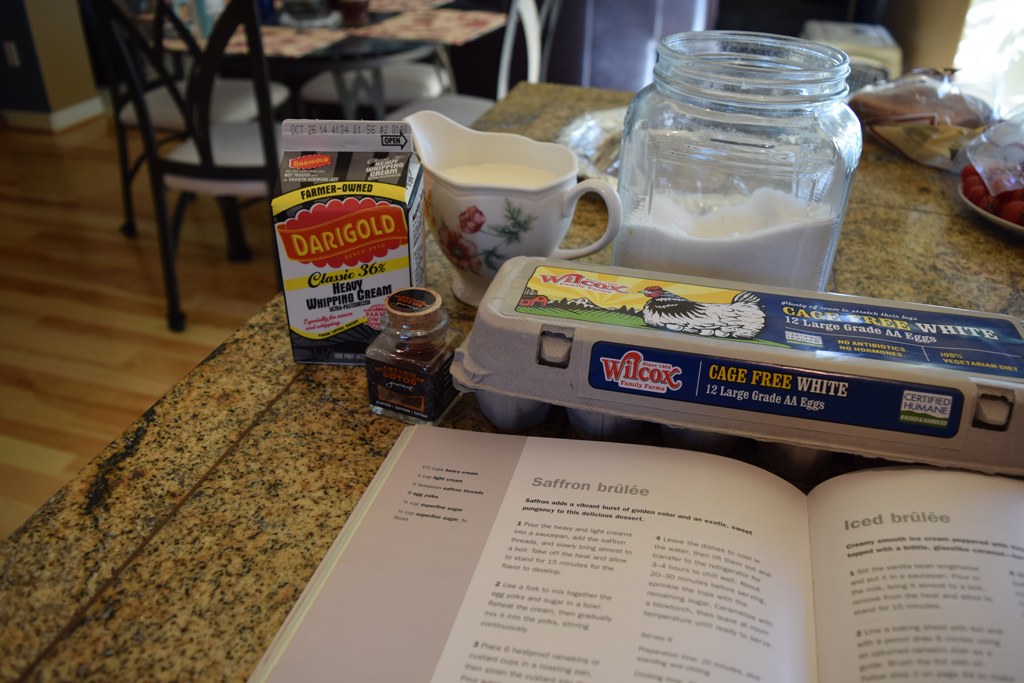
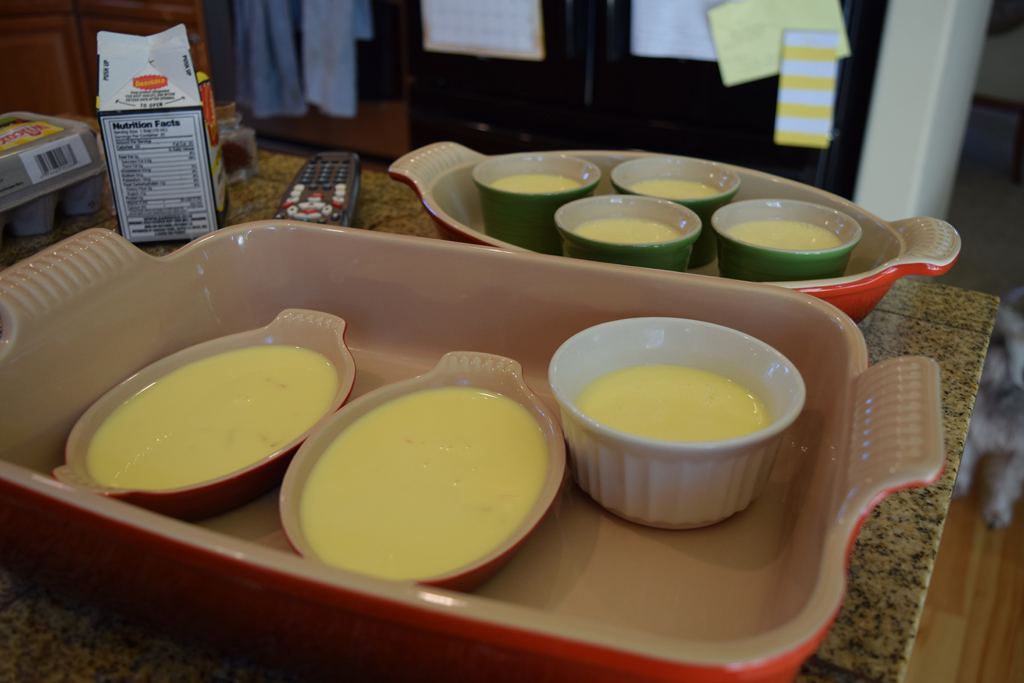
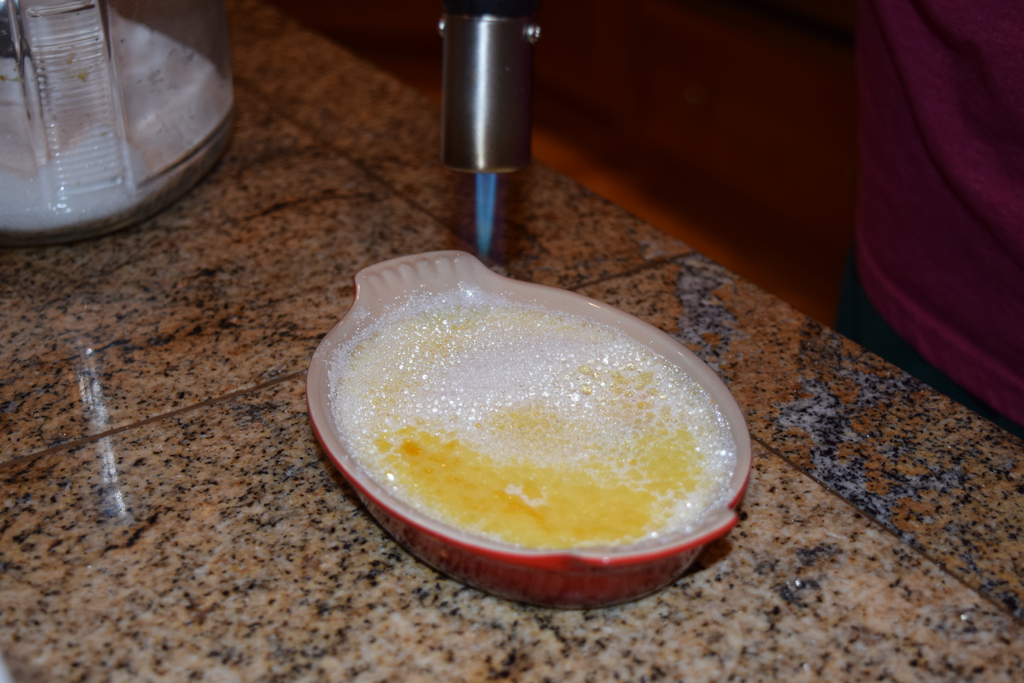
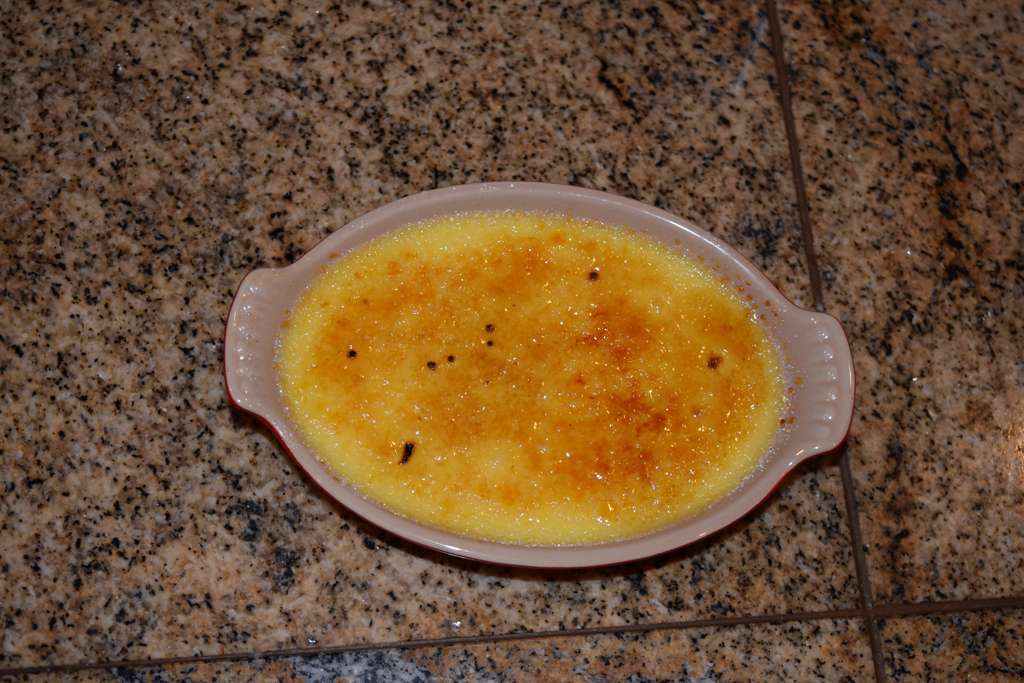
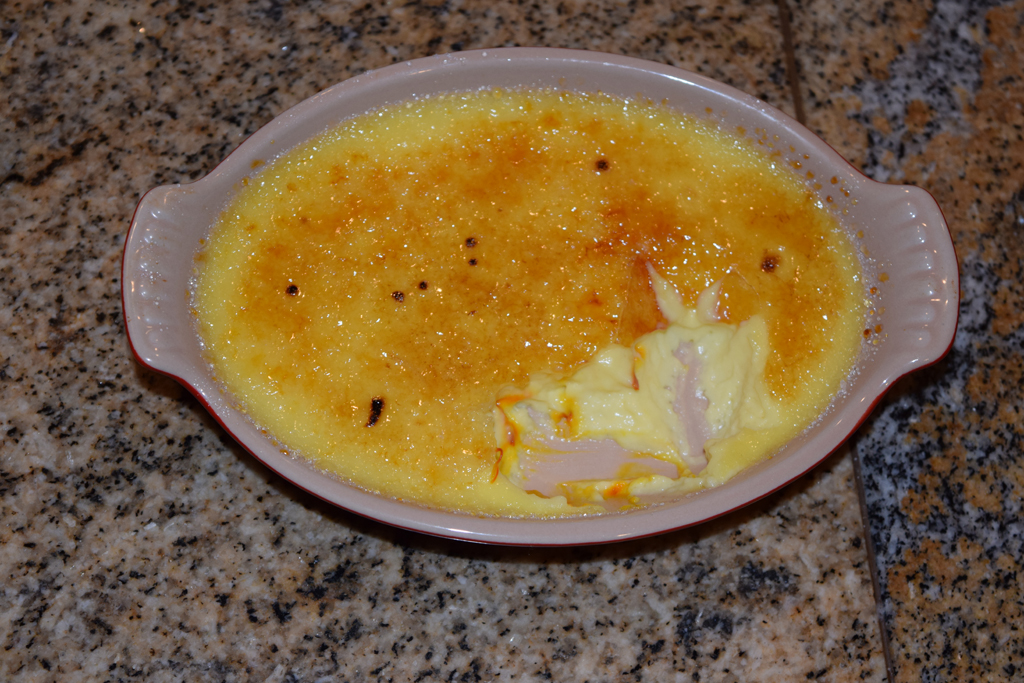
Saffron brûlée!

I made this brûlée last week because it’s been a while since I’ve made cream brûlée and “saffron” sounded so decadent to me that day! This recipe was just OK for me, I still prefer the Vanilla cream brûlée, I’m still glad I tried the recipe though! My Hubs liked it and so did my Father In law, so maybe I will make this next time for them.

2014-09-13_DSC_0268

2014-09-13_DSC_0271

2014-09-13_DSC_0273

2014-09-13_DSC_0279

2014-09-13_DSC_0287

2014-09-13_DSC_0294

2014-09-13_DSC_0300

Saffron Brûlée (recipe: Sara Lewis)

Ingredients: (serves 6)

1 1/2 cups heavy cream

1 cup light cream

1/2 teaspoon saffron threads

8 egg yolks

1/4 cup superfine sugar

1/4 cup superfine sugar,to finish


Procedure:

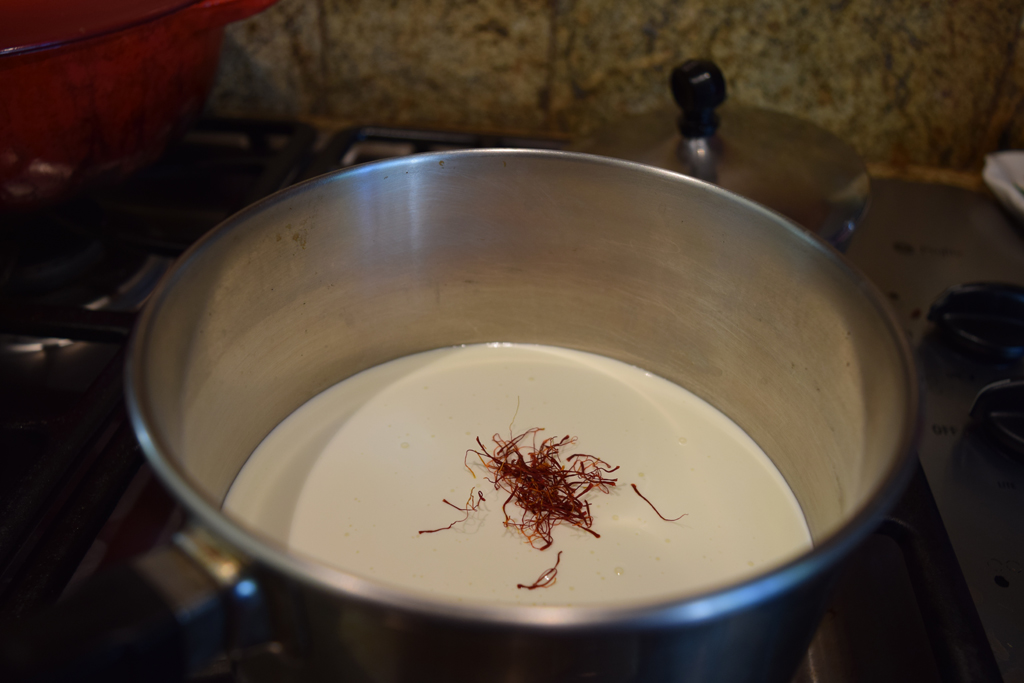
1. Pour the heavy and light creams into a saucepan, add the saffron threads, and slowly bring almost to a boil. Take off the heat and allow to stand for 15 minutes for the flavor to develop.

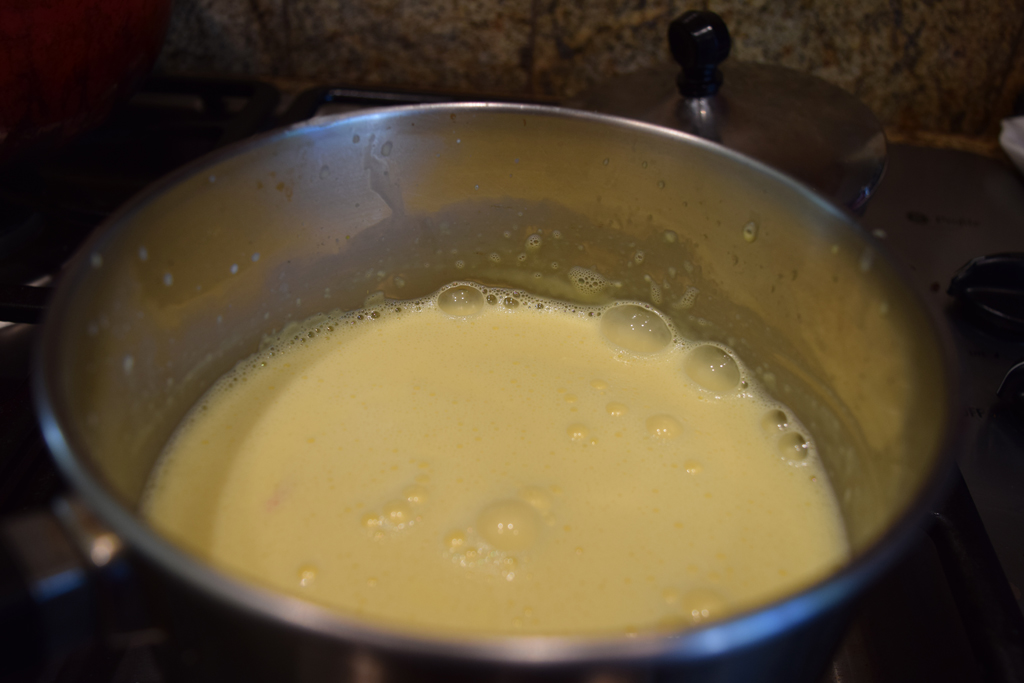
2. Use a fork to mix together the egg yolks and sugar in a bowl. Reheat the cream, then gradually mix it into the yolks, stirring continuously.
3. Place 6 heatproof ramekins or custard cups in a roasting pan, then strain the custard into them. Pour warm water into the roasting pan to come halfway up the sides of the dishes. Bake in a preheated oven at 350 F for 20-25 minutes, until the custards are just set with a slight softness at the center.

4. Leave the dishes to cool in the water, then lift them out and transfer to the refrigerator for 3-4 hours to chill well. About 20-30 minutes before serving, sprinkle the tops with the remaining sugar. Caramelize with a blowtorch, then leave at room temperature until ready to serve.

Butter Chicken!

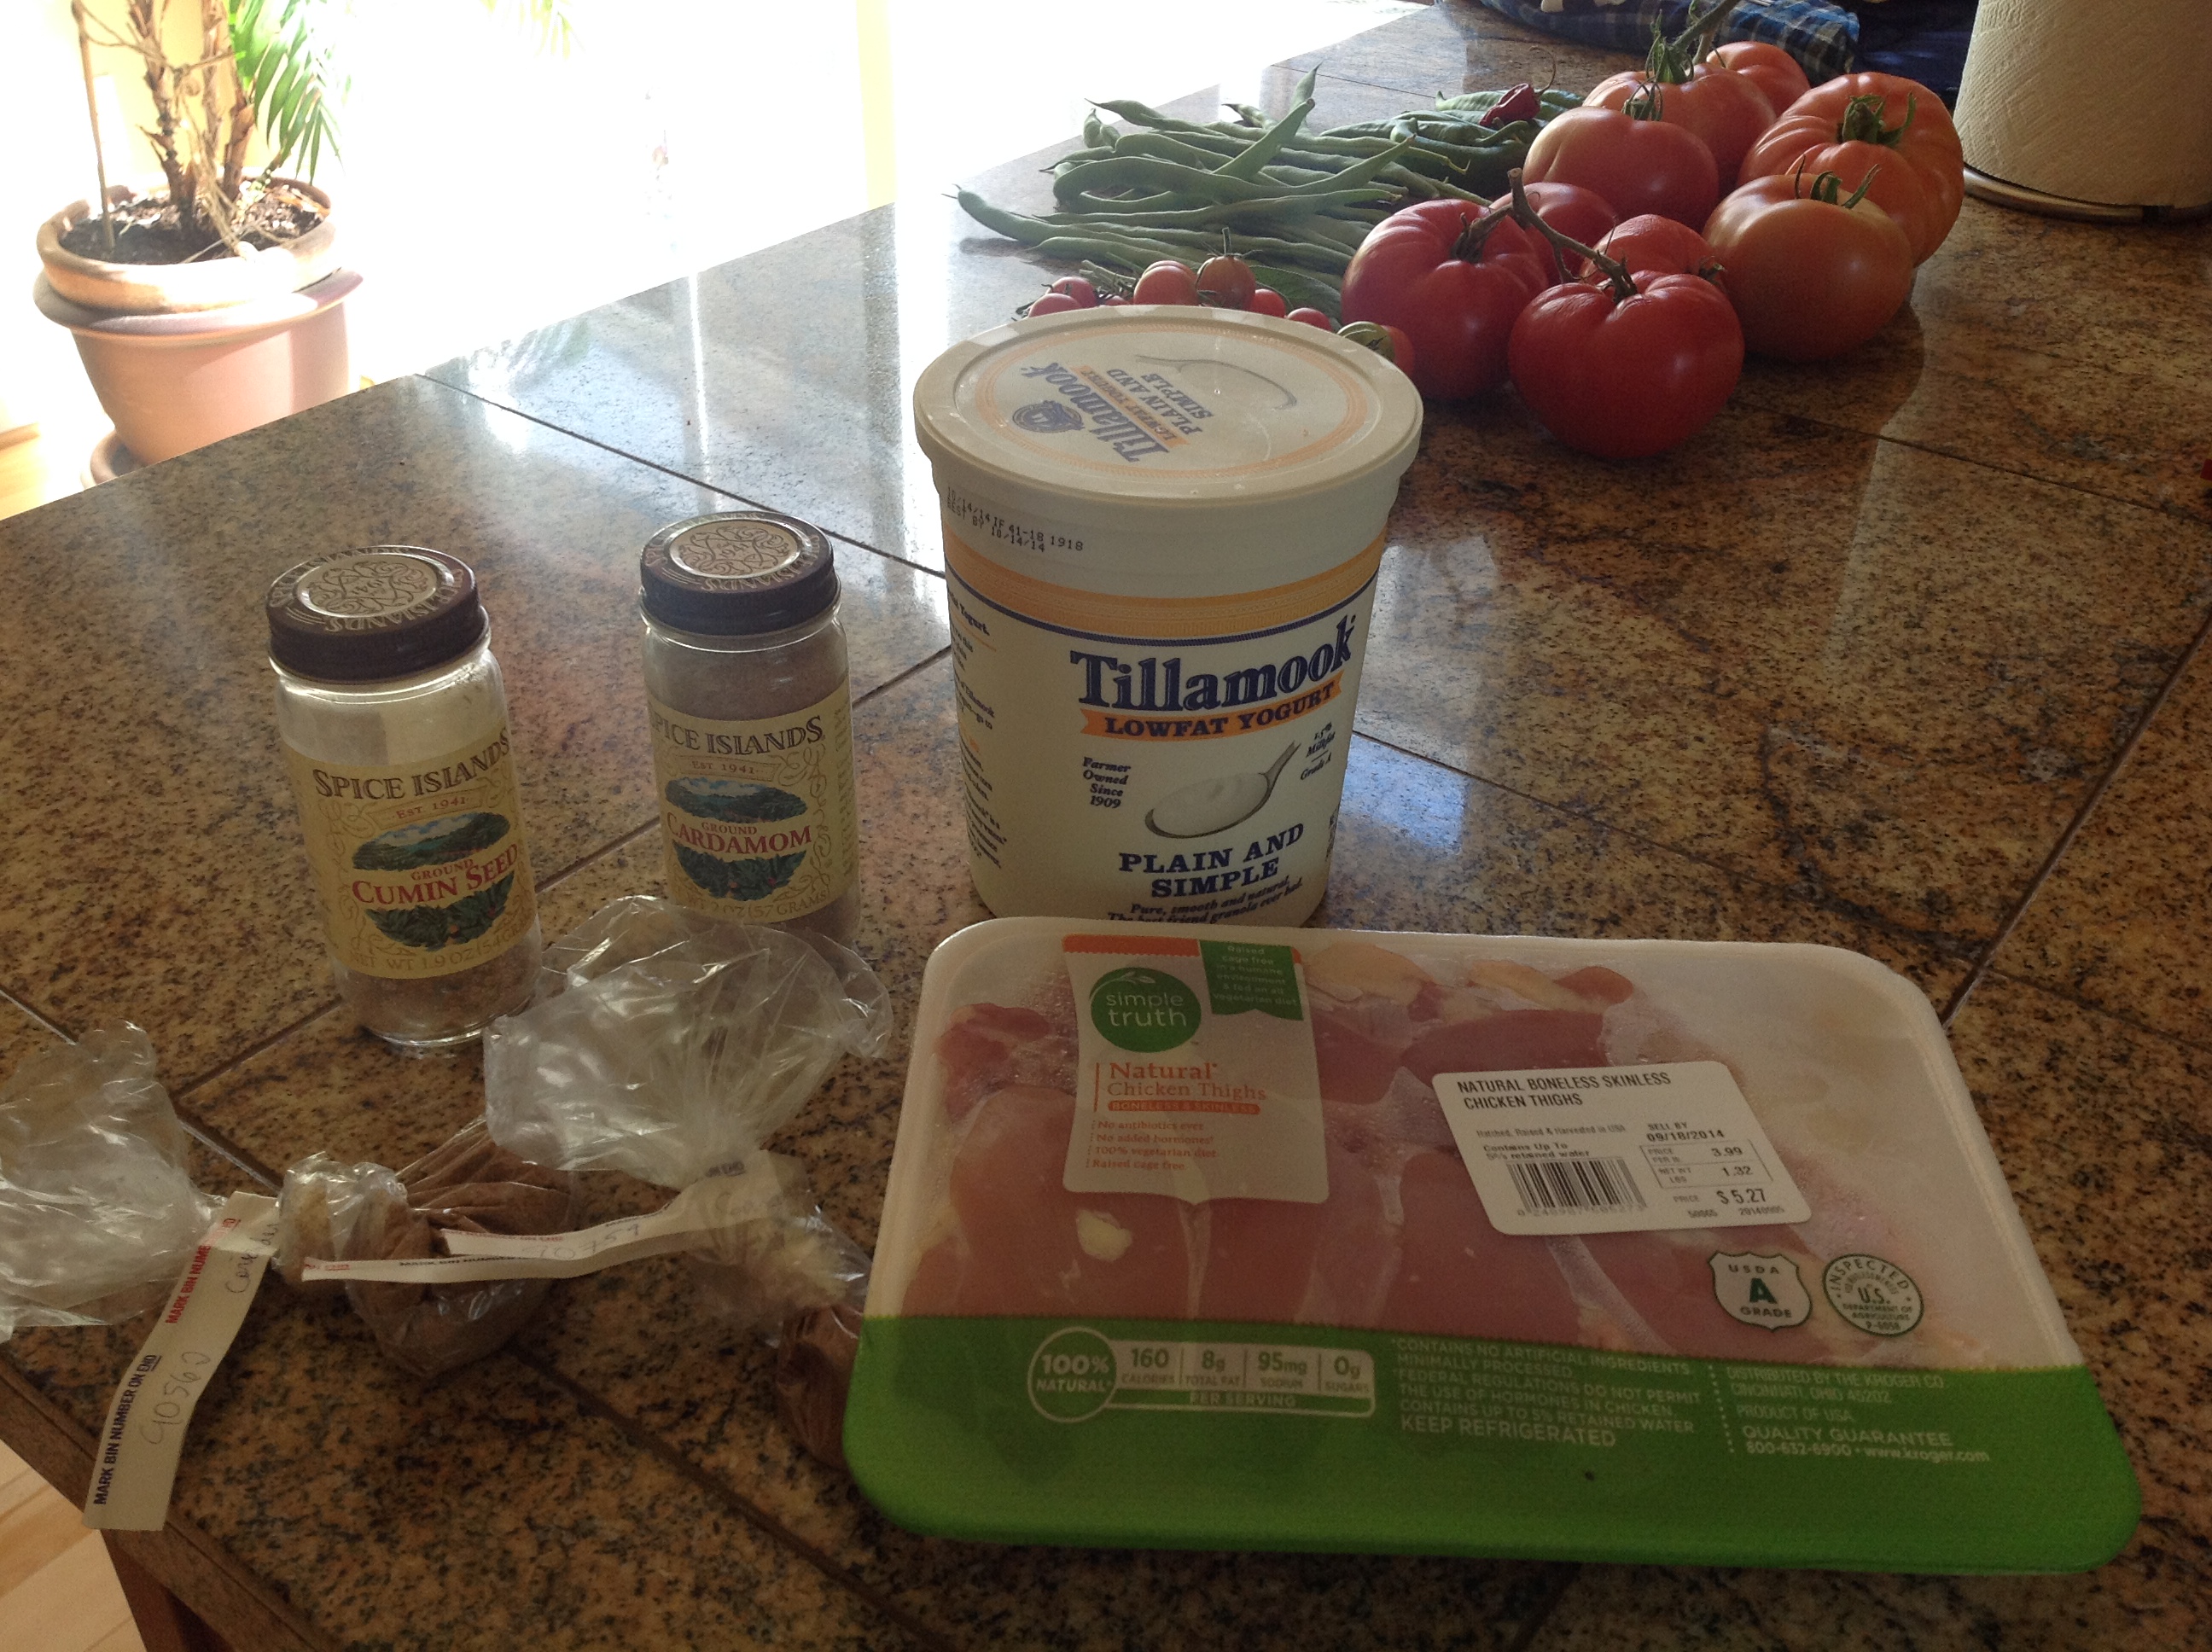
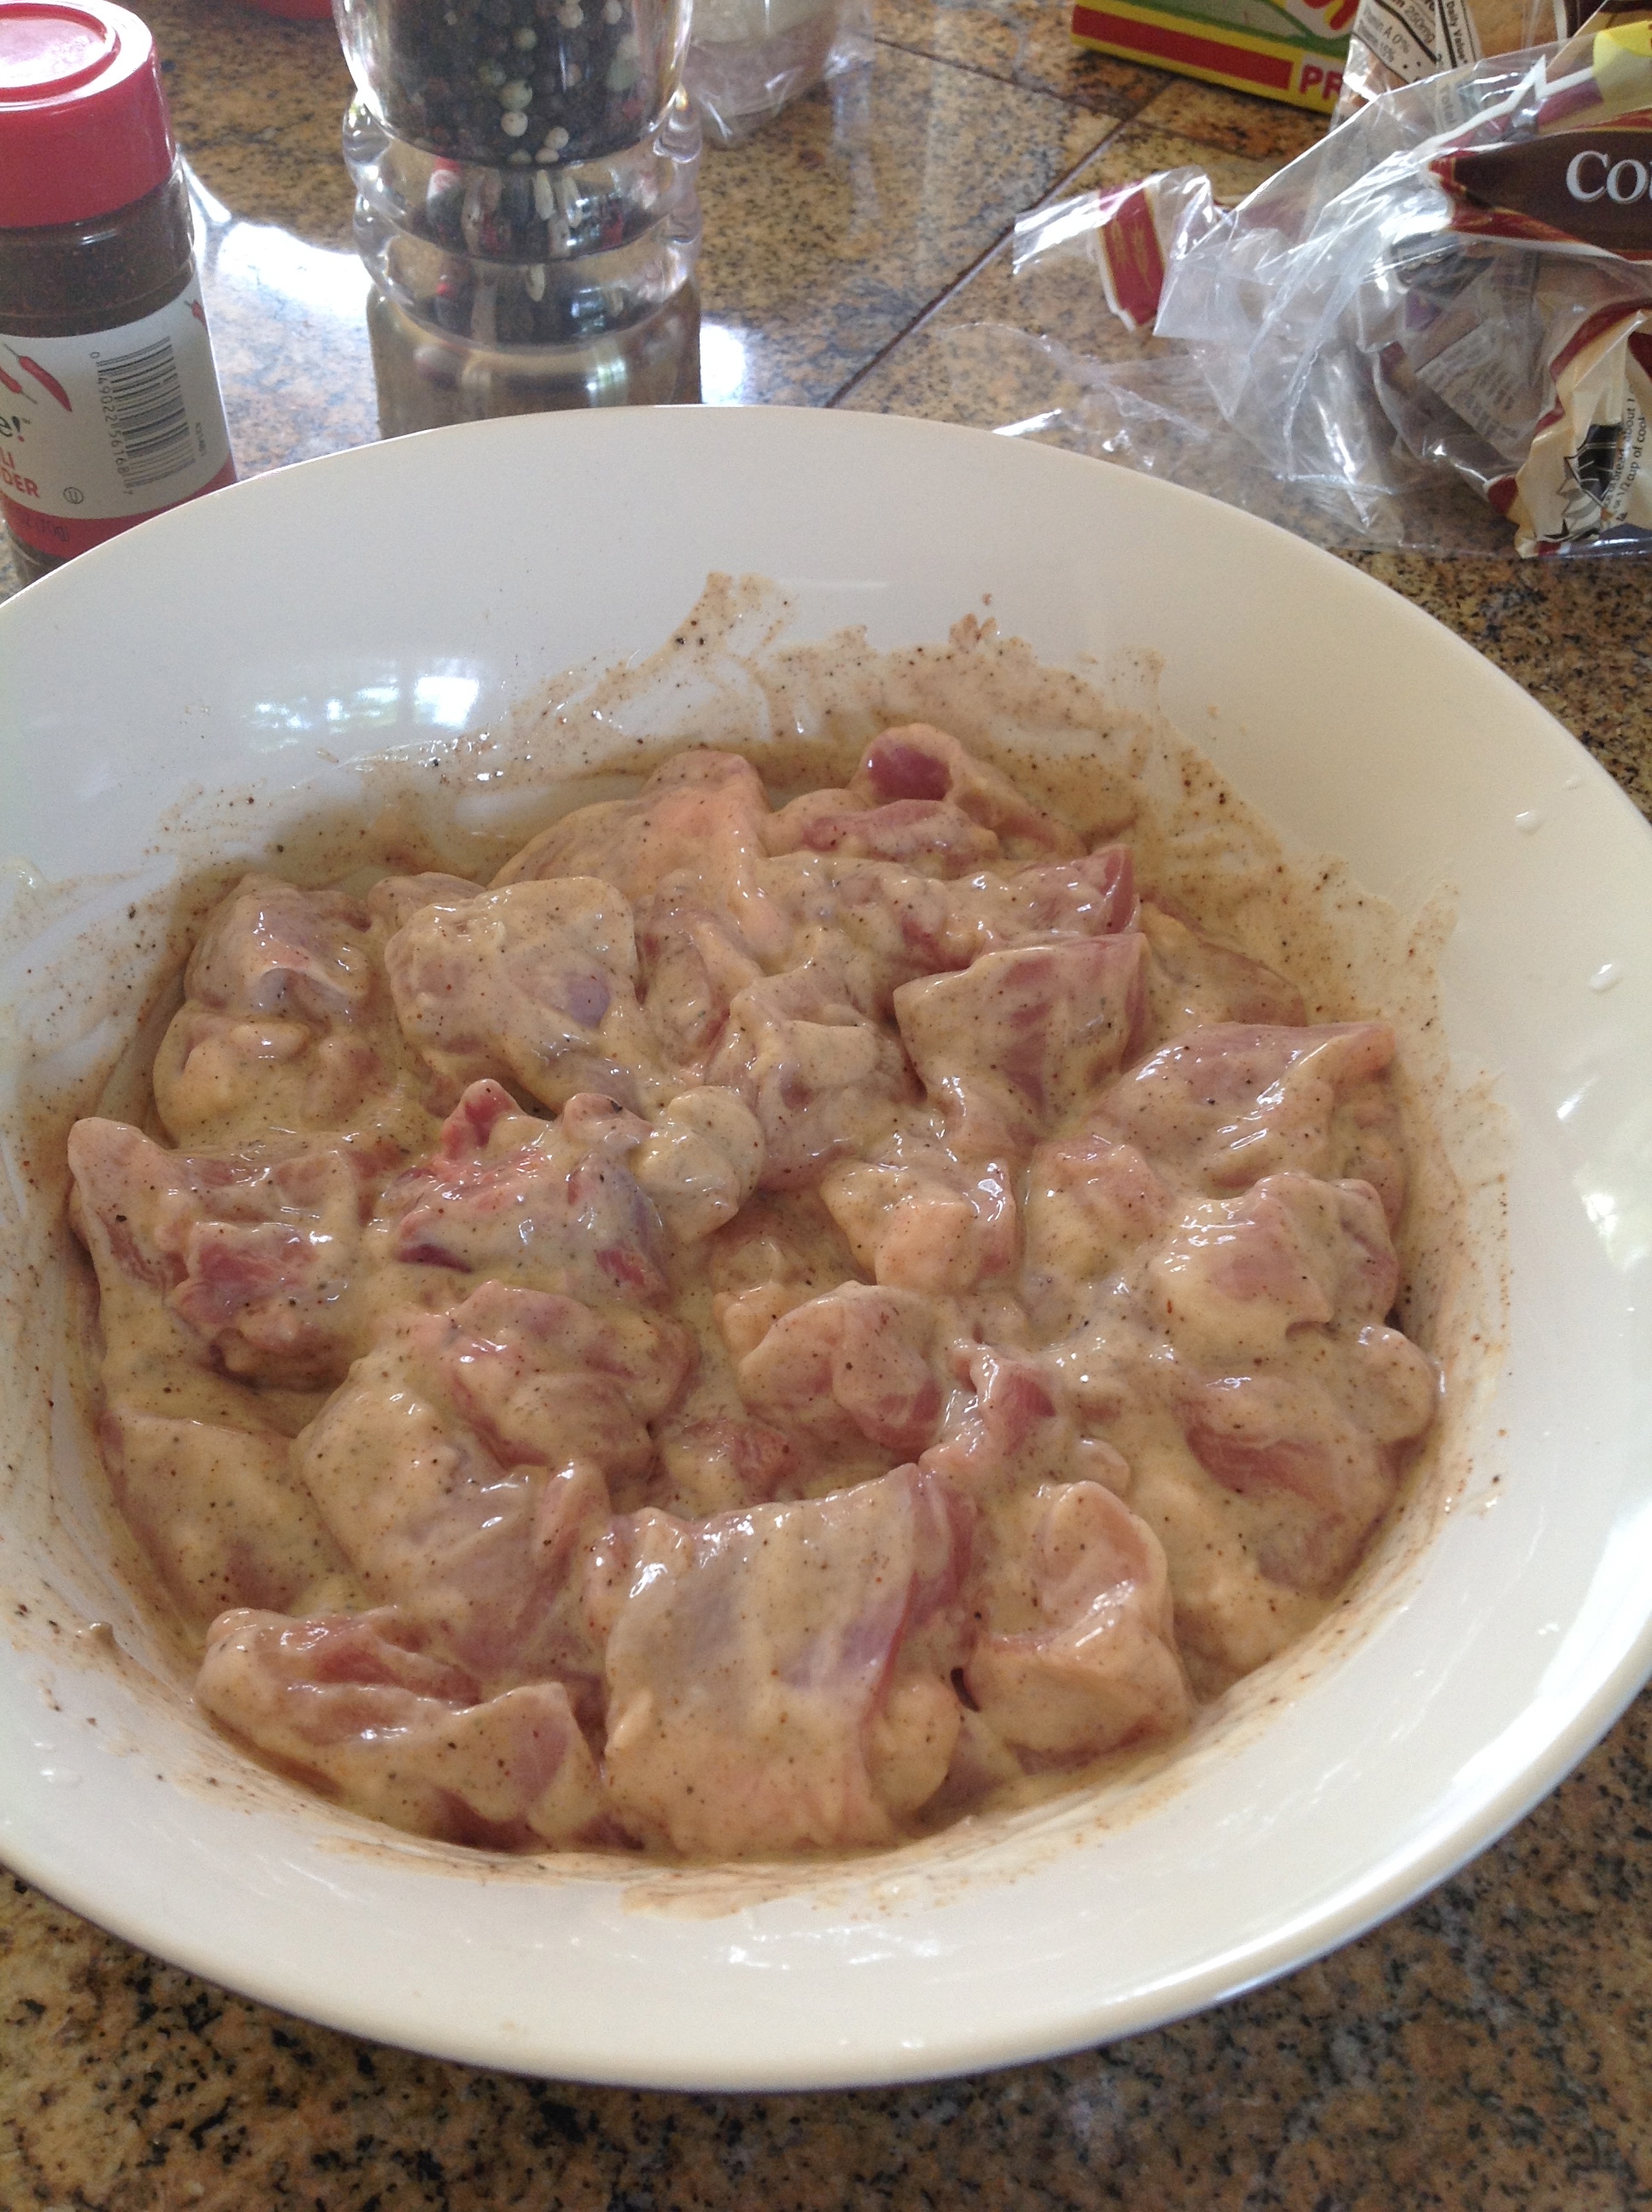
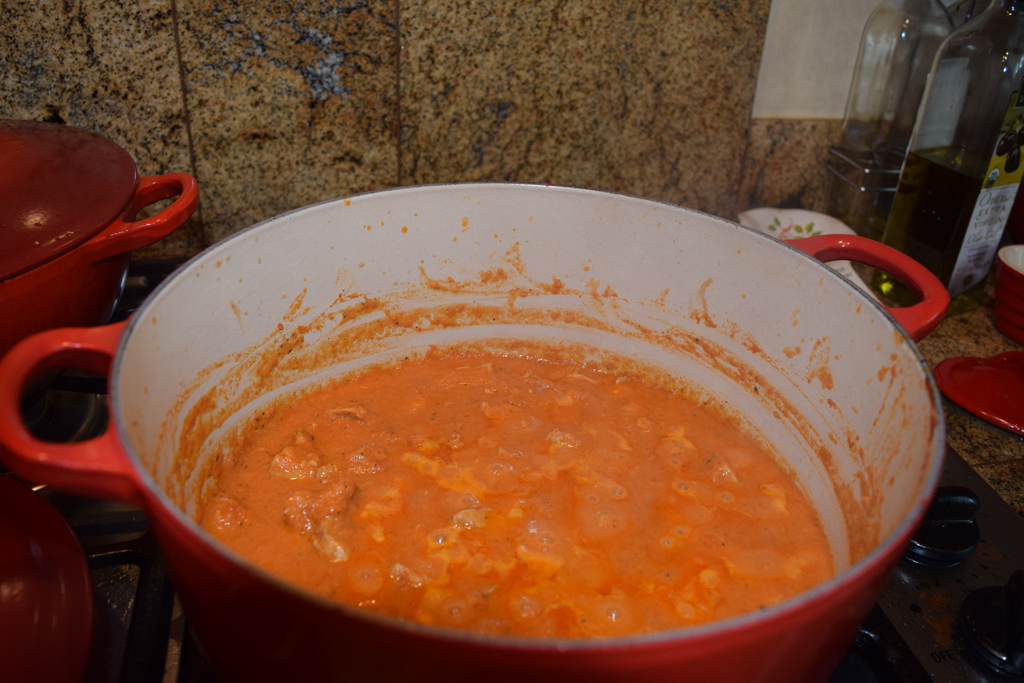
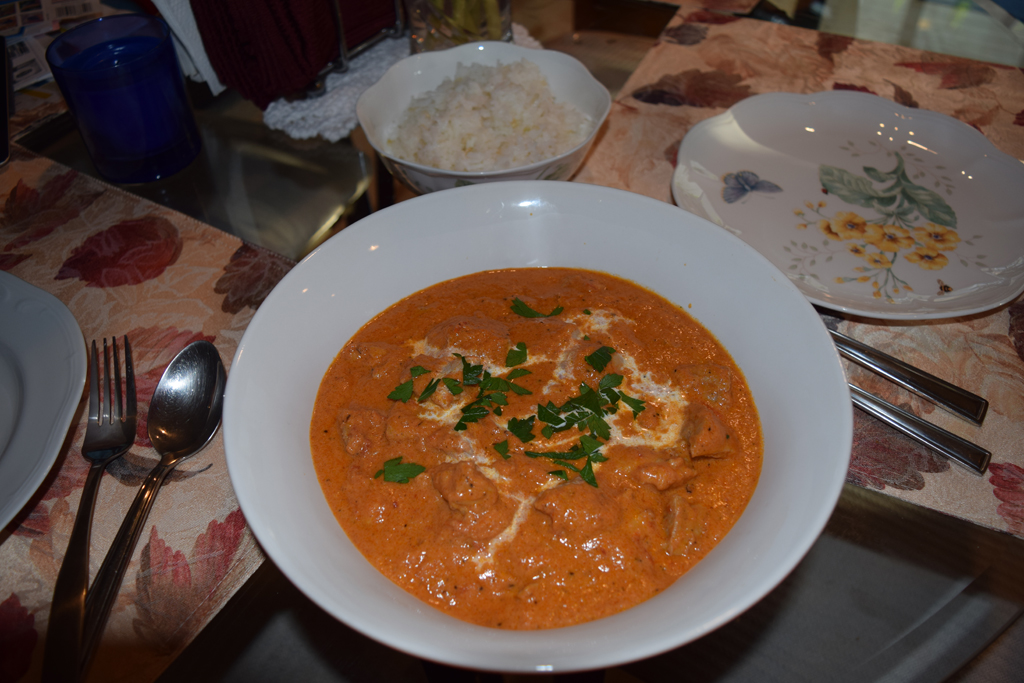
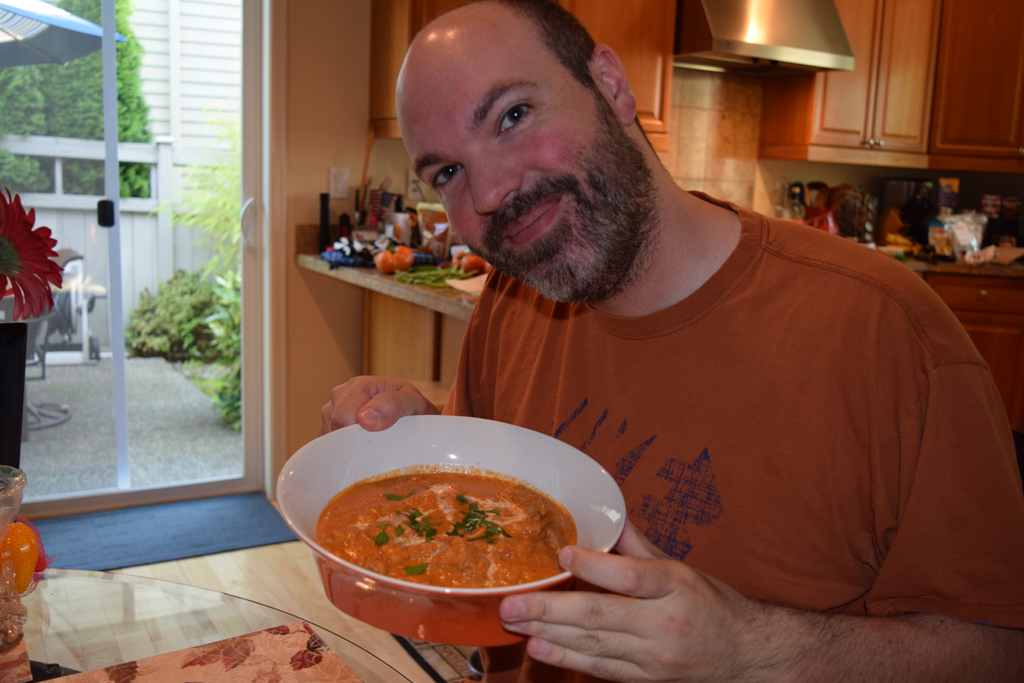
I made this Indian dish last night because my Hubs has been requesting/challenging me to make this because it’s his favorite Indian dish. So I started watching “how to” cook videos on YouTube regarding Butter Chicken. This is the recipe/video that I followed youtube vid. I had to buy a couple of spices that she used because I don’t have it in my pantry (like Garam Marsala). I did adjusted and didn’t follow her measurements specifically, like I added more brown sugar,more cream, etc. In her video, she used chicken breast while I used thigh(it’s just our preference). My Hubs enjoyed it a lot, I think he said it’s OK with him if I’ll cook this once a week:) I’m glad that the dish turned out great,because this is my second time cooking Indian food (I cooked Tandoori Chicken before) and it’s kinda hard if you’re not familiar with some of the spices they use in their cooking. It encourages me to try other dishes when the recipe isn’t a disaster!

preparing some of the ingredients
marinating for 2 hours
bad picture(i really need to practice taking pics)
i think she used cilantro for garnish,i used parsley (its what i have in the garden)
my happy Hubs
my happy Hubs

Crockpot Pumpkin Spice Latte!

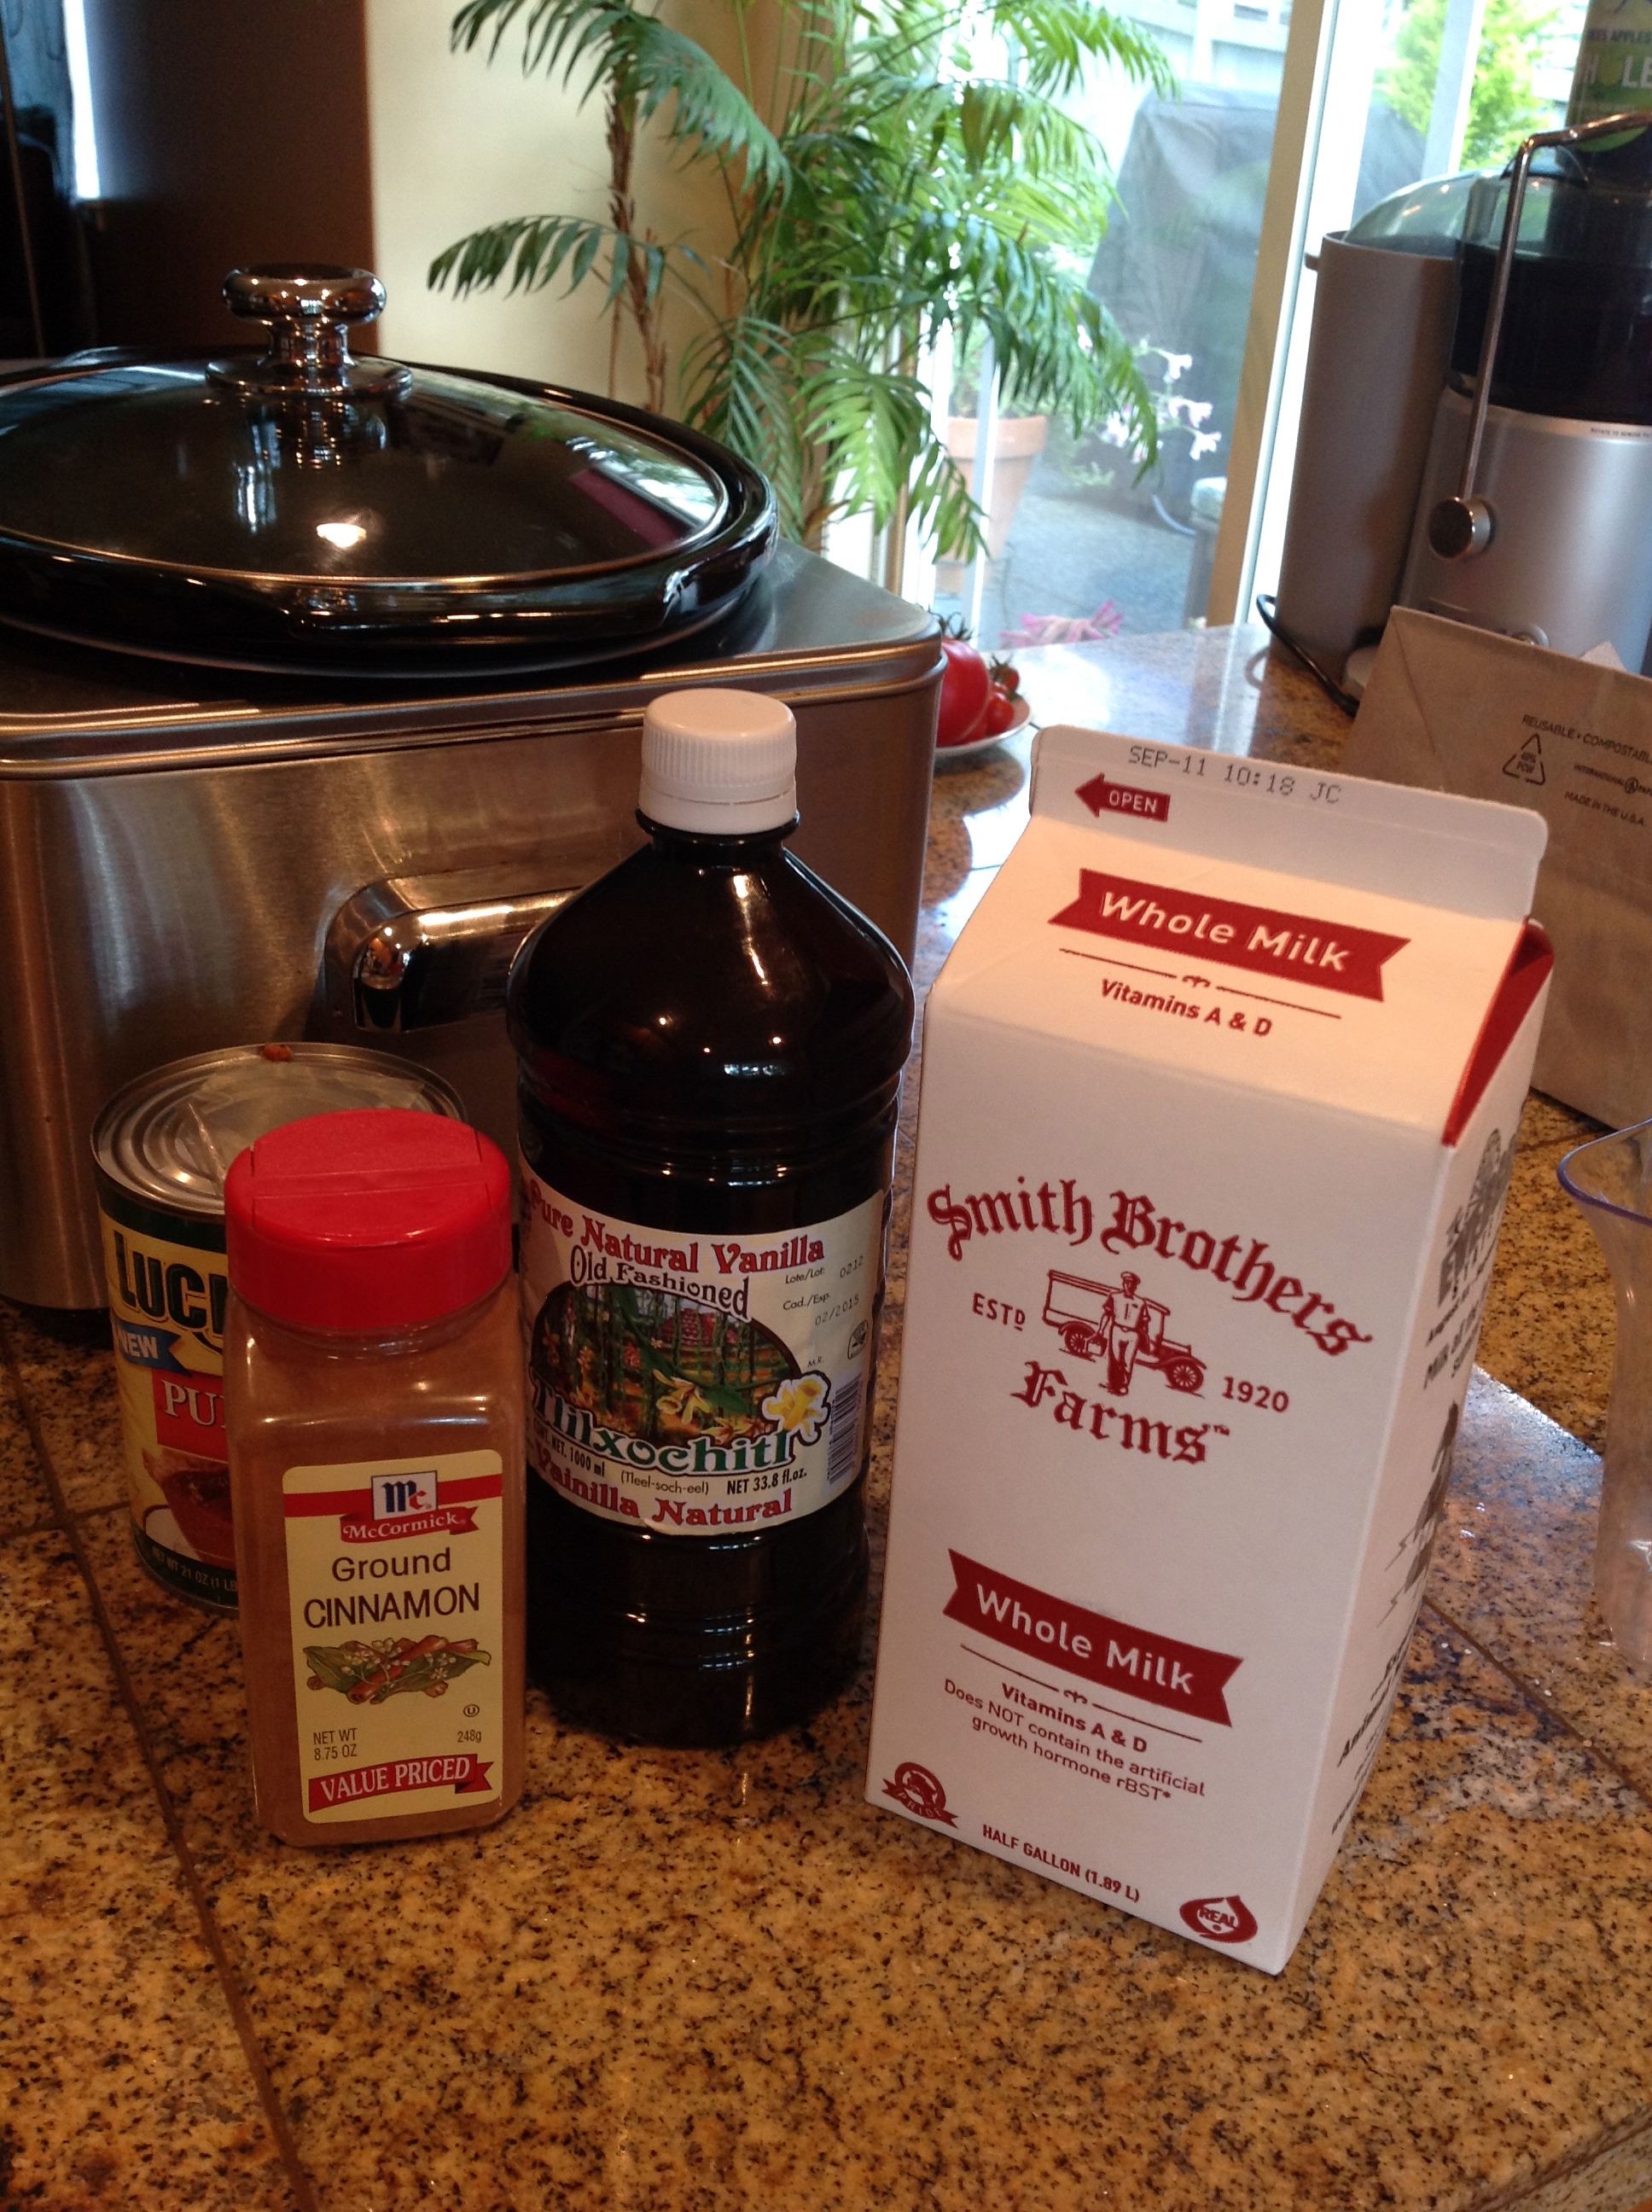
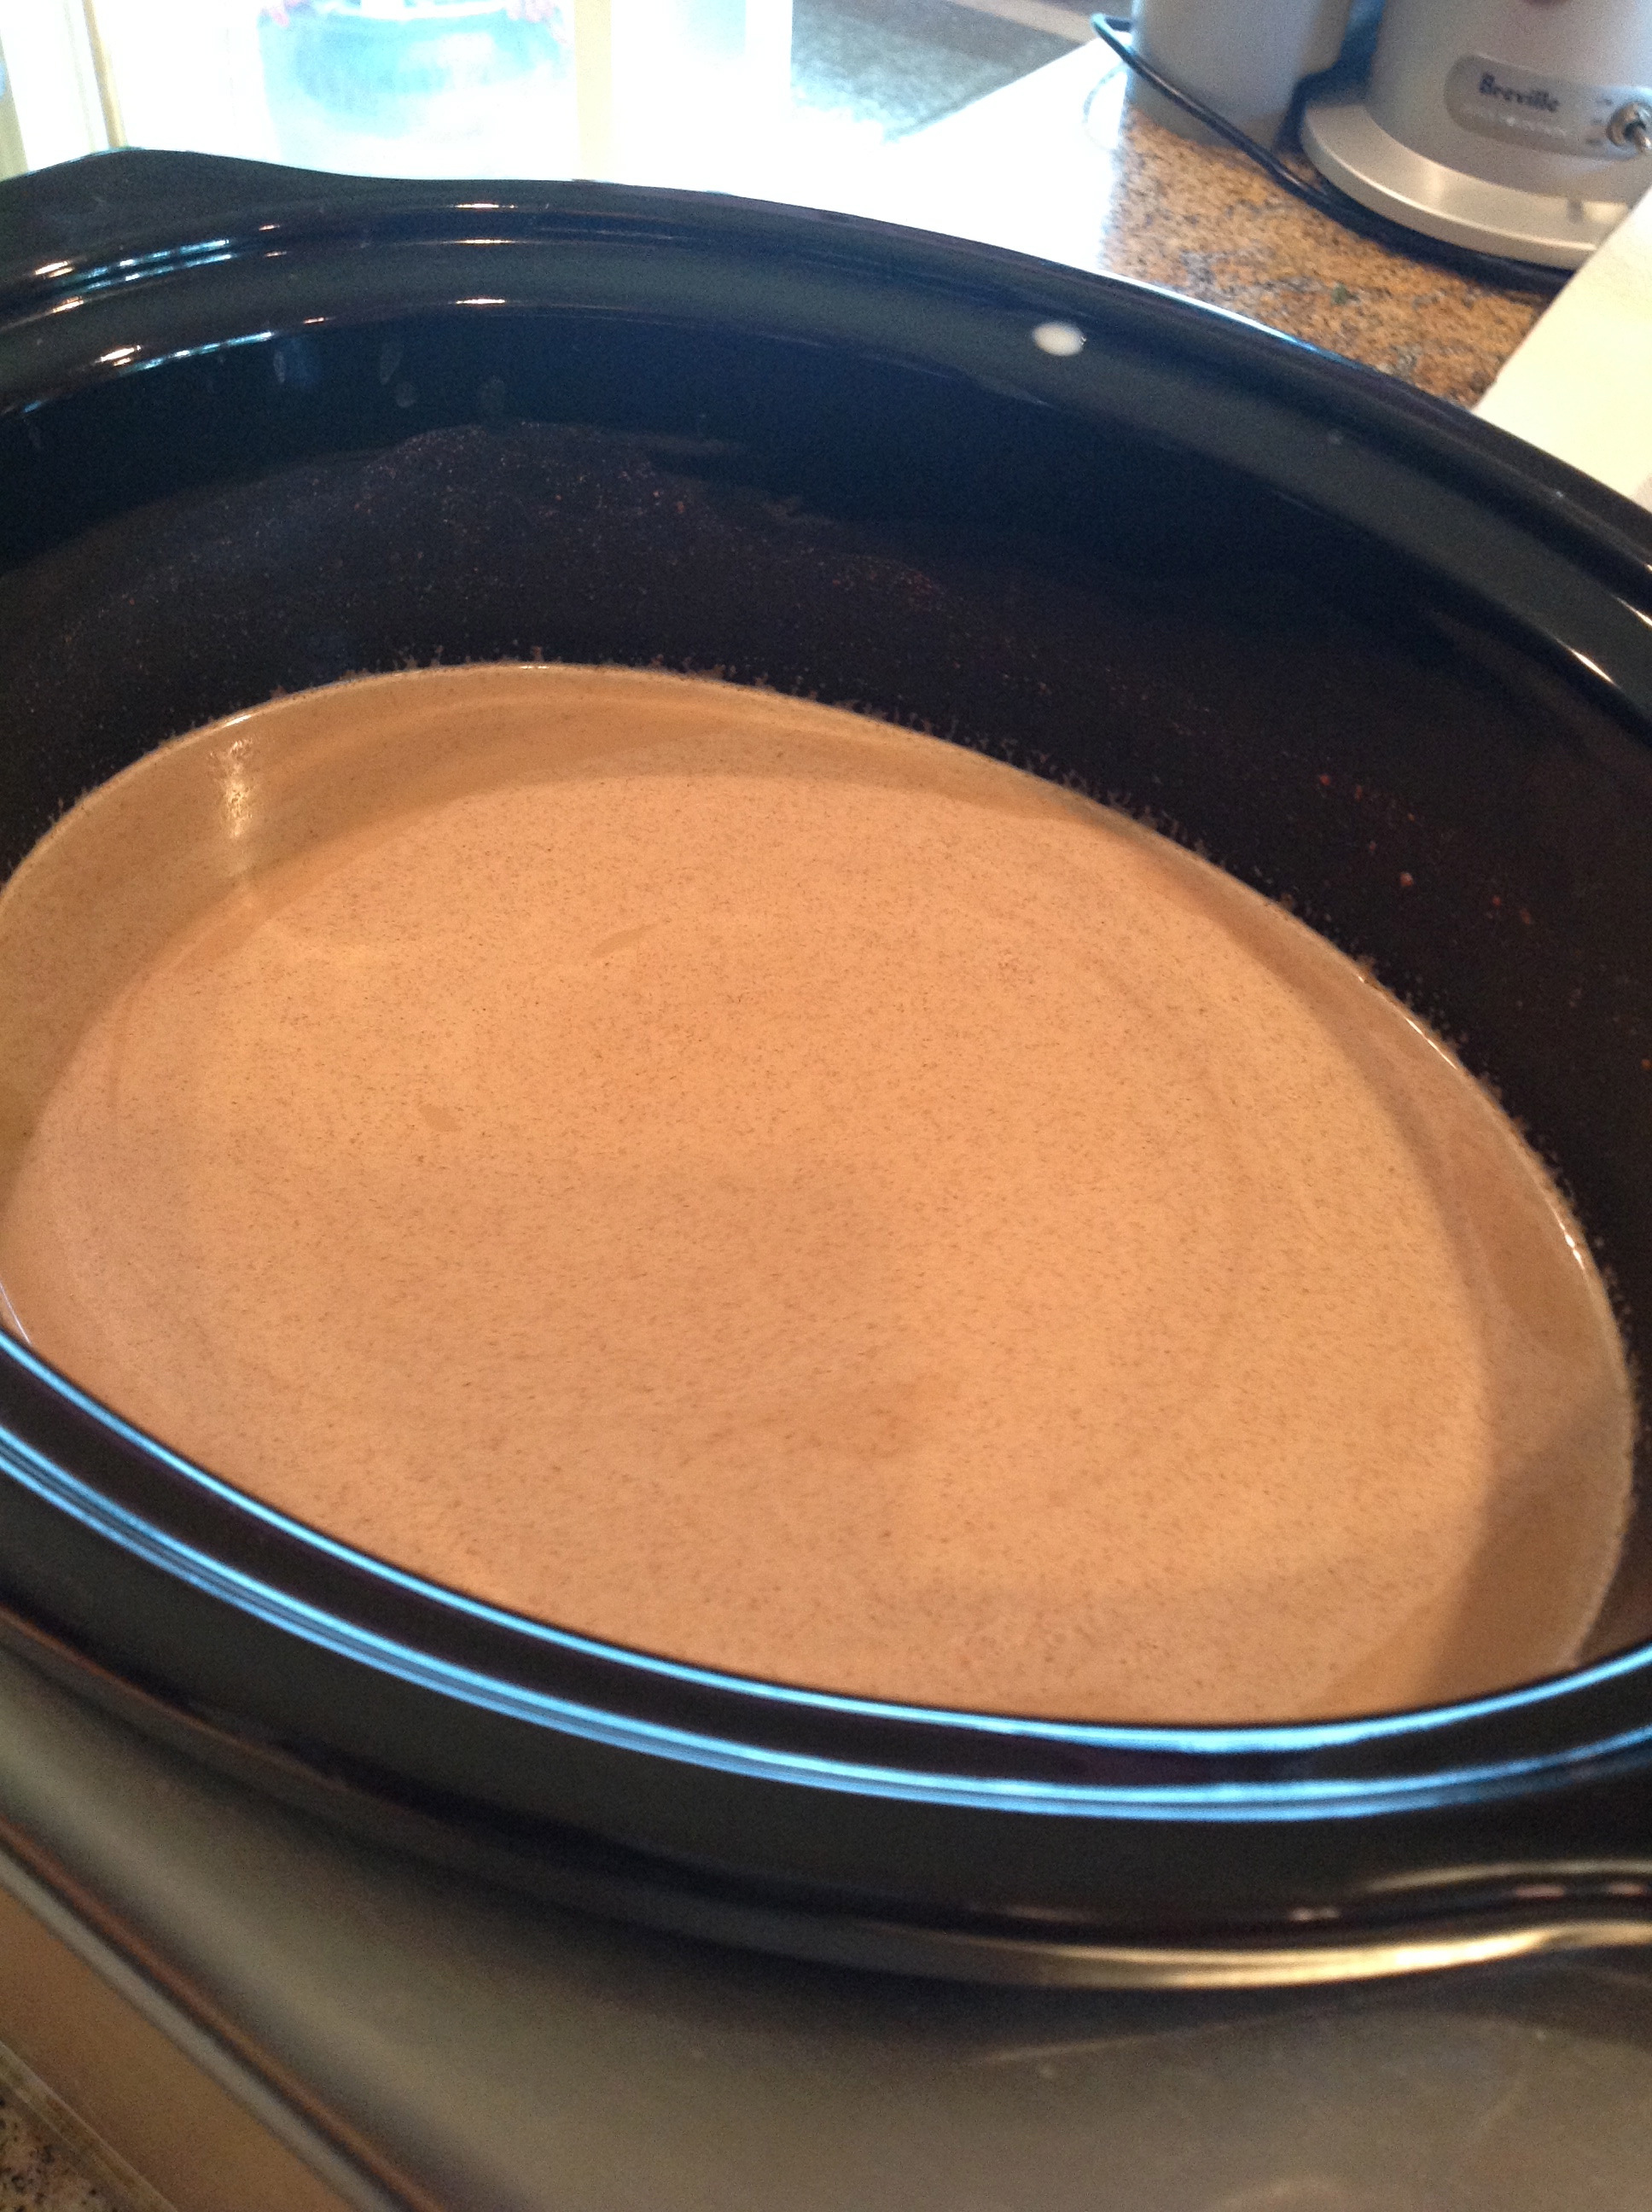
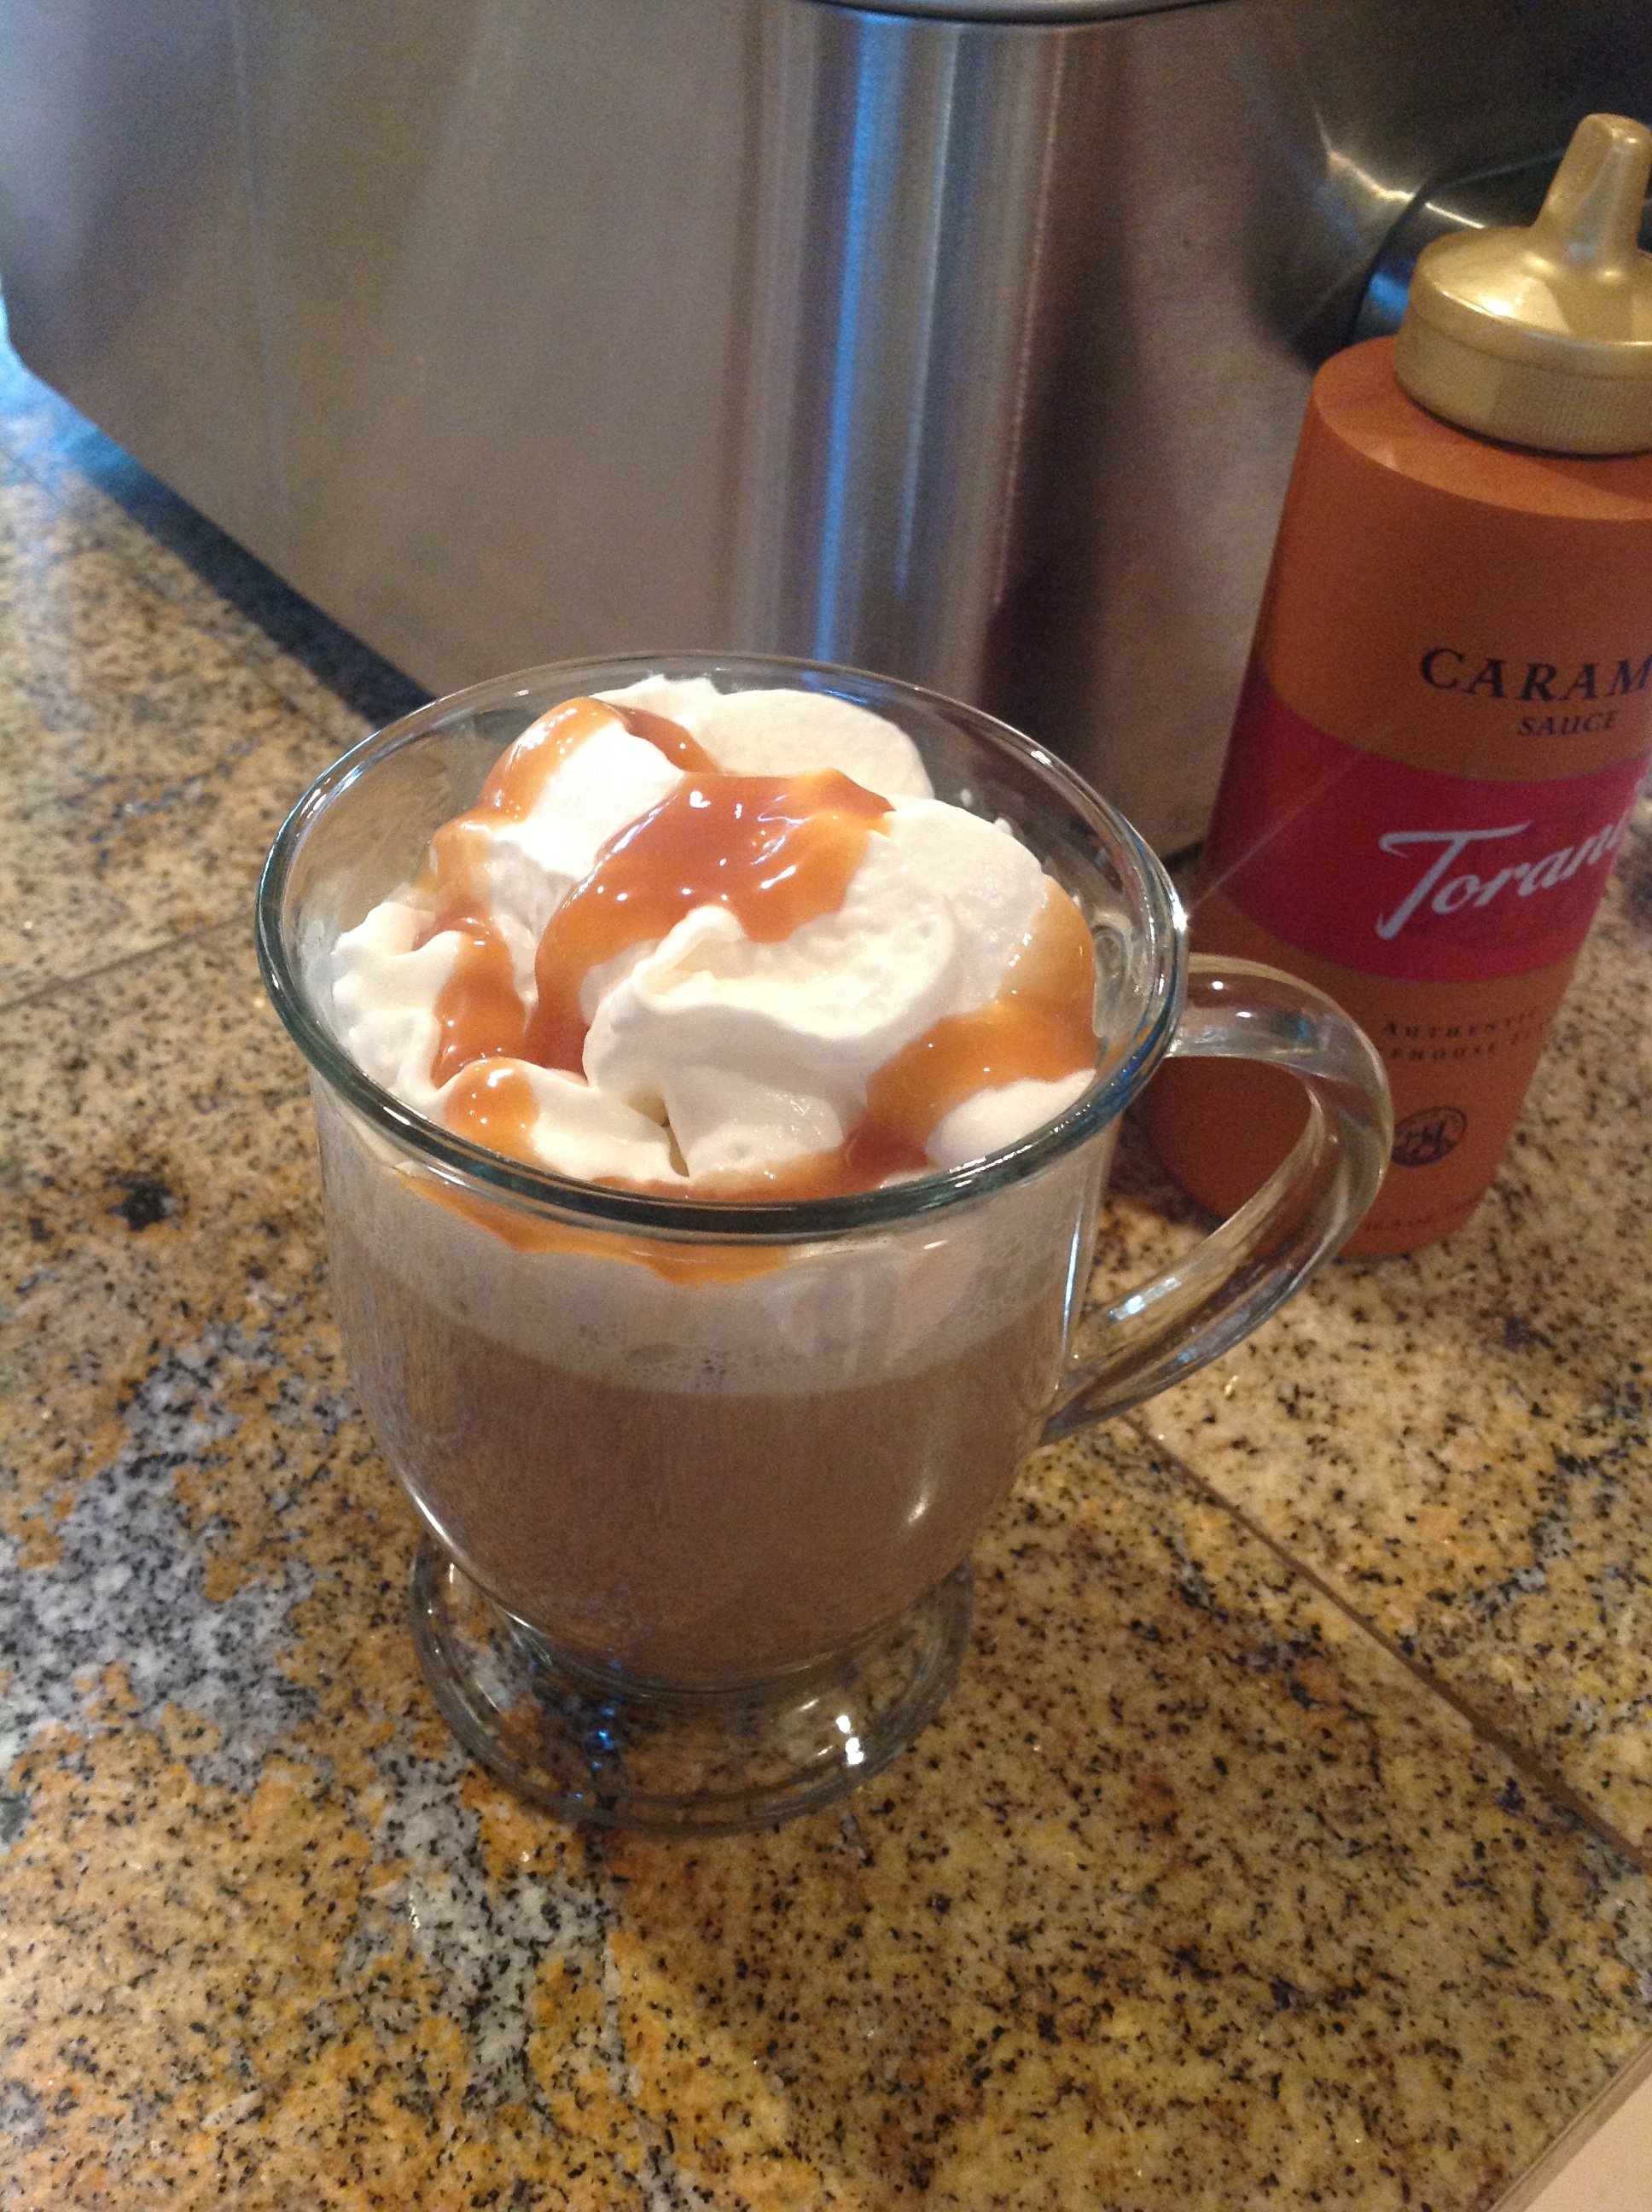
Nothing says Fall like Pumpkin Spice Latte! It’s one of Starbucks famous fall drinks. I was looking forward to drinking this despite all of the information going around online about the ingredients of the famous starbucks pumpkin latte (how it doesn’t contain pumpkin!). I’ll still drink it, moderation is key! So when I was browsing Pinterest a couple of nights ago, I saw this recipe and tried it the next day because I checked our pantry and we had all of the ingredients. It was so easy and we really liked the result, though we had to add more sugar because my hubs and I prefer our drinks “sweeter”. I will definitely make this again for sure!

Crockpot Pumpkin Spice Latte (recipe from Young Wife’s Guide)

some of the ingredients

IMG_5924

I drizzled some caramel too!

Pork Belly Humba!

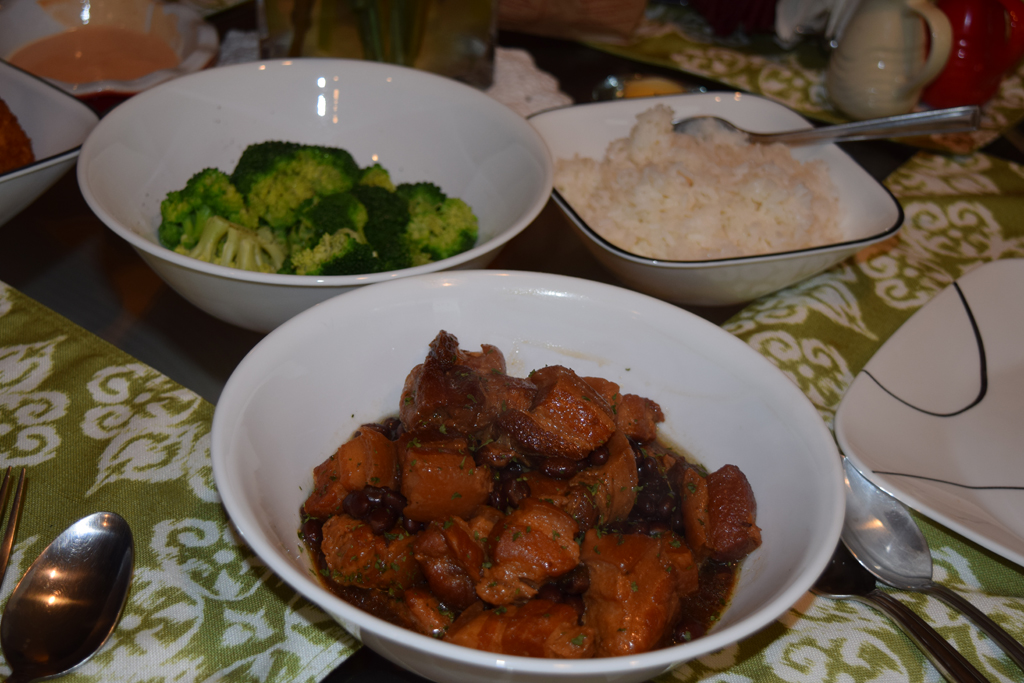
I made this Pork Belly Humba a couple of weeks ago and I just wanted to share this because it’s really easy and such a hearty filipino dish. It’s similar to the famous adobo (cooking style) but the major difference is the flavor because of the pineapple juice. One of my favorite sites to follow for Filipino dishes is the Panlasang Pinoy site. The directions are simple, and he also has a video so it’s easy to see and follow the procedures. Although I “adjusted” the recipe (I only put 1 bay leave;no banana blossom) because my Hubs doesn’t like bay leaves, and seasoned it to my liking (I added lots of pepper). It turned out great! I only wish I had doubled the recipe so I could have extra humba in my freezer. Oh well, I can always go to the asian market and get all the stuff I need to make this dish again.

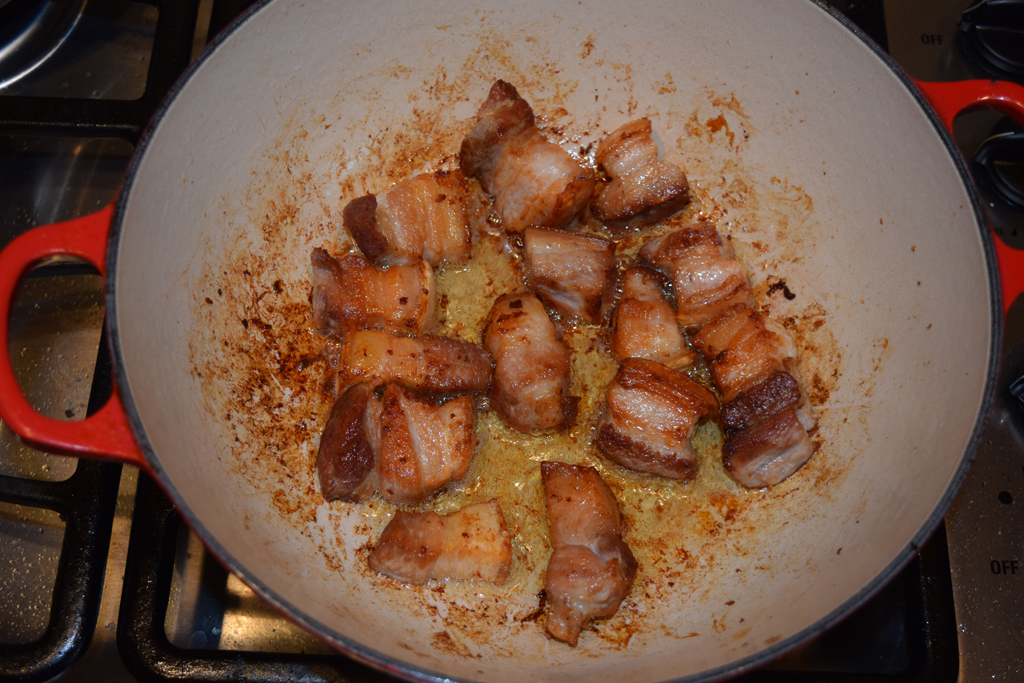
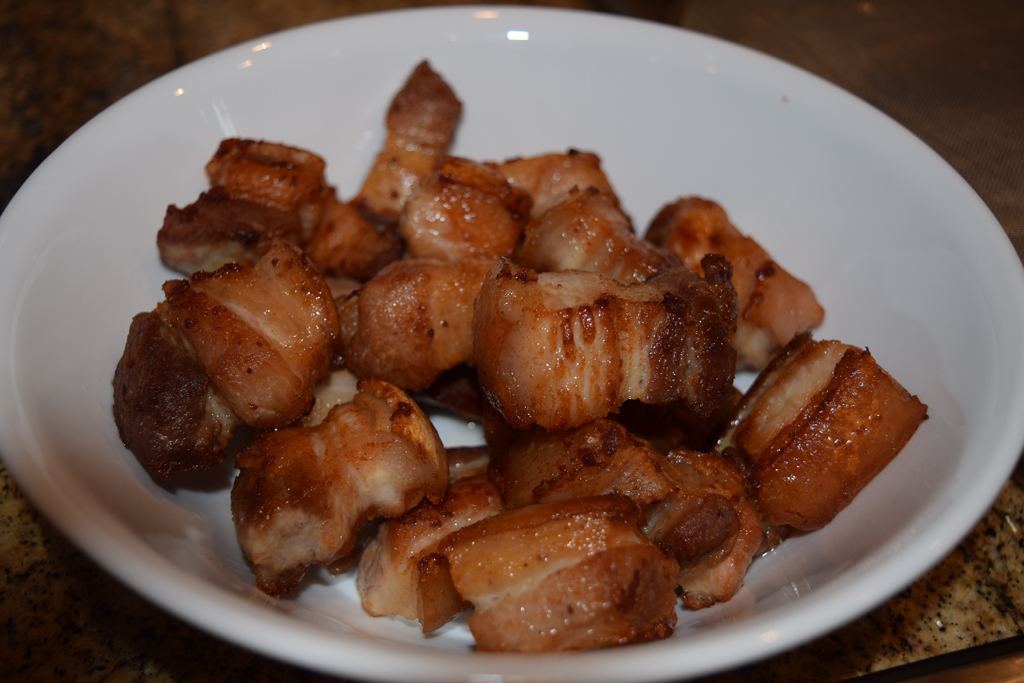
it's so important to brown the meat,DO NOT skip this part.
it’s so important to brown the meat,DO NOT skip this part.

DSC_1206

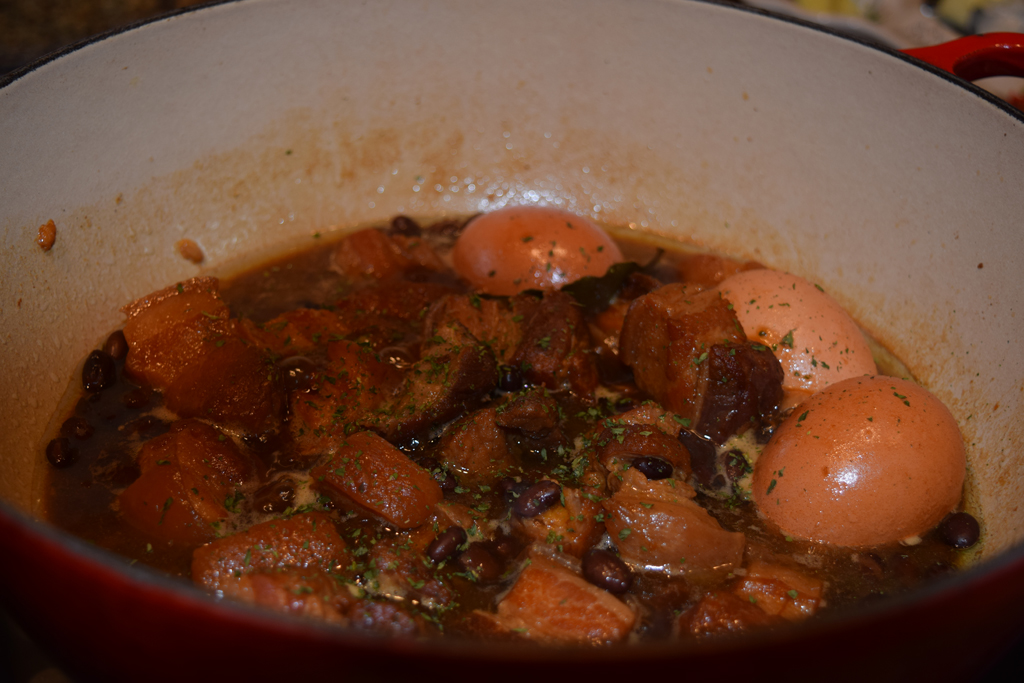
I added eggs in the last 10 minutes of cooking time because I like eggs with my humba

DSC_1216

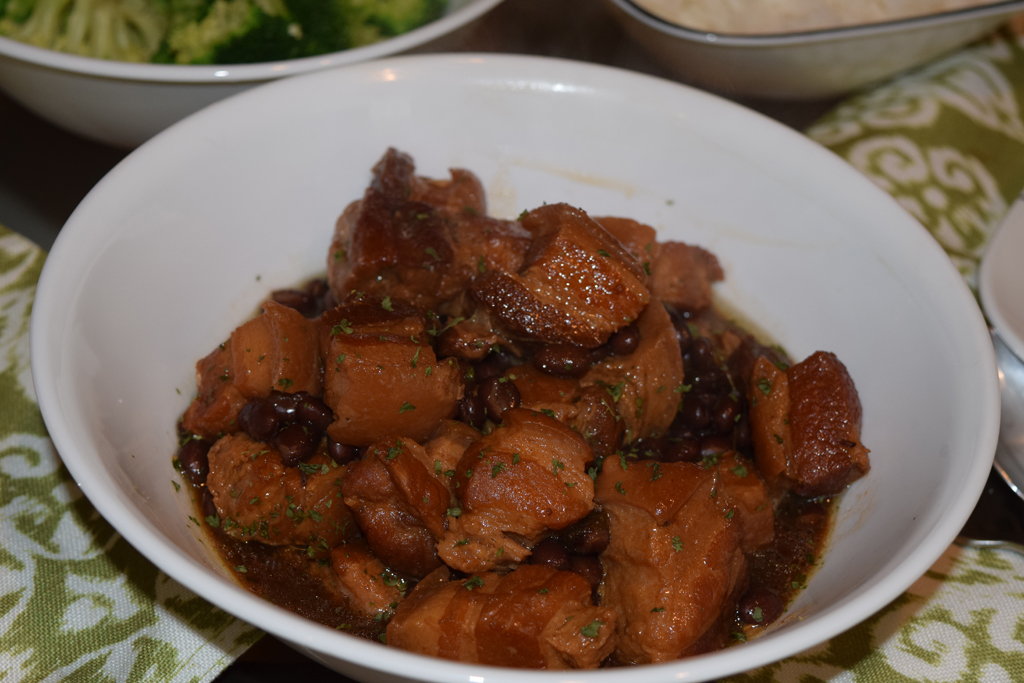
I sprinkled a little parsley just for color!
dinner time!
dinner time!

Humba Recipe (www.panlasangpinoy.com)

Ingredients

2 lbs pork belly
1 cup Pineapple juice
1 large onion, diced
5 cloves garlic, minced
2 tablespoons salted black beans
2 tablespoons soy sauce
2 tablespoons vinegar
2 ½ tablespoons brown sugar
½ cup dried banana blossoms
2 pieces dried bay leaves
1 teaspoon whole peppercorn

Cooking Procedure:

Heat the cooking pot then brown the pork belly.
Add the onions and garlic and cook until the onions are soft.
Put-in the soy sauce, peppercorn, bay leaves.
Pour-in the pineapple juice and let boil. Simmer until the pork is tender (add water as needed).
Add the vinegar and wait for the mixture to re-boil. Simmer for 3 minutes.
Spoon-in the salted black beans and brown sugar then simmer for 5 minutes.
Add the dried banana blossoms and simmer for 5 to 8 minutes.
Transfer to a serving plate and serve. Share and enjoy!
Number of servings (yield): 6

Roast Duck!

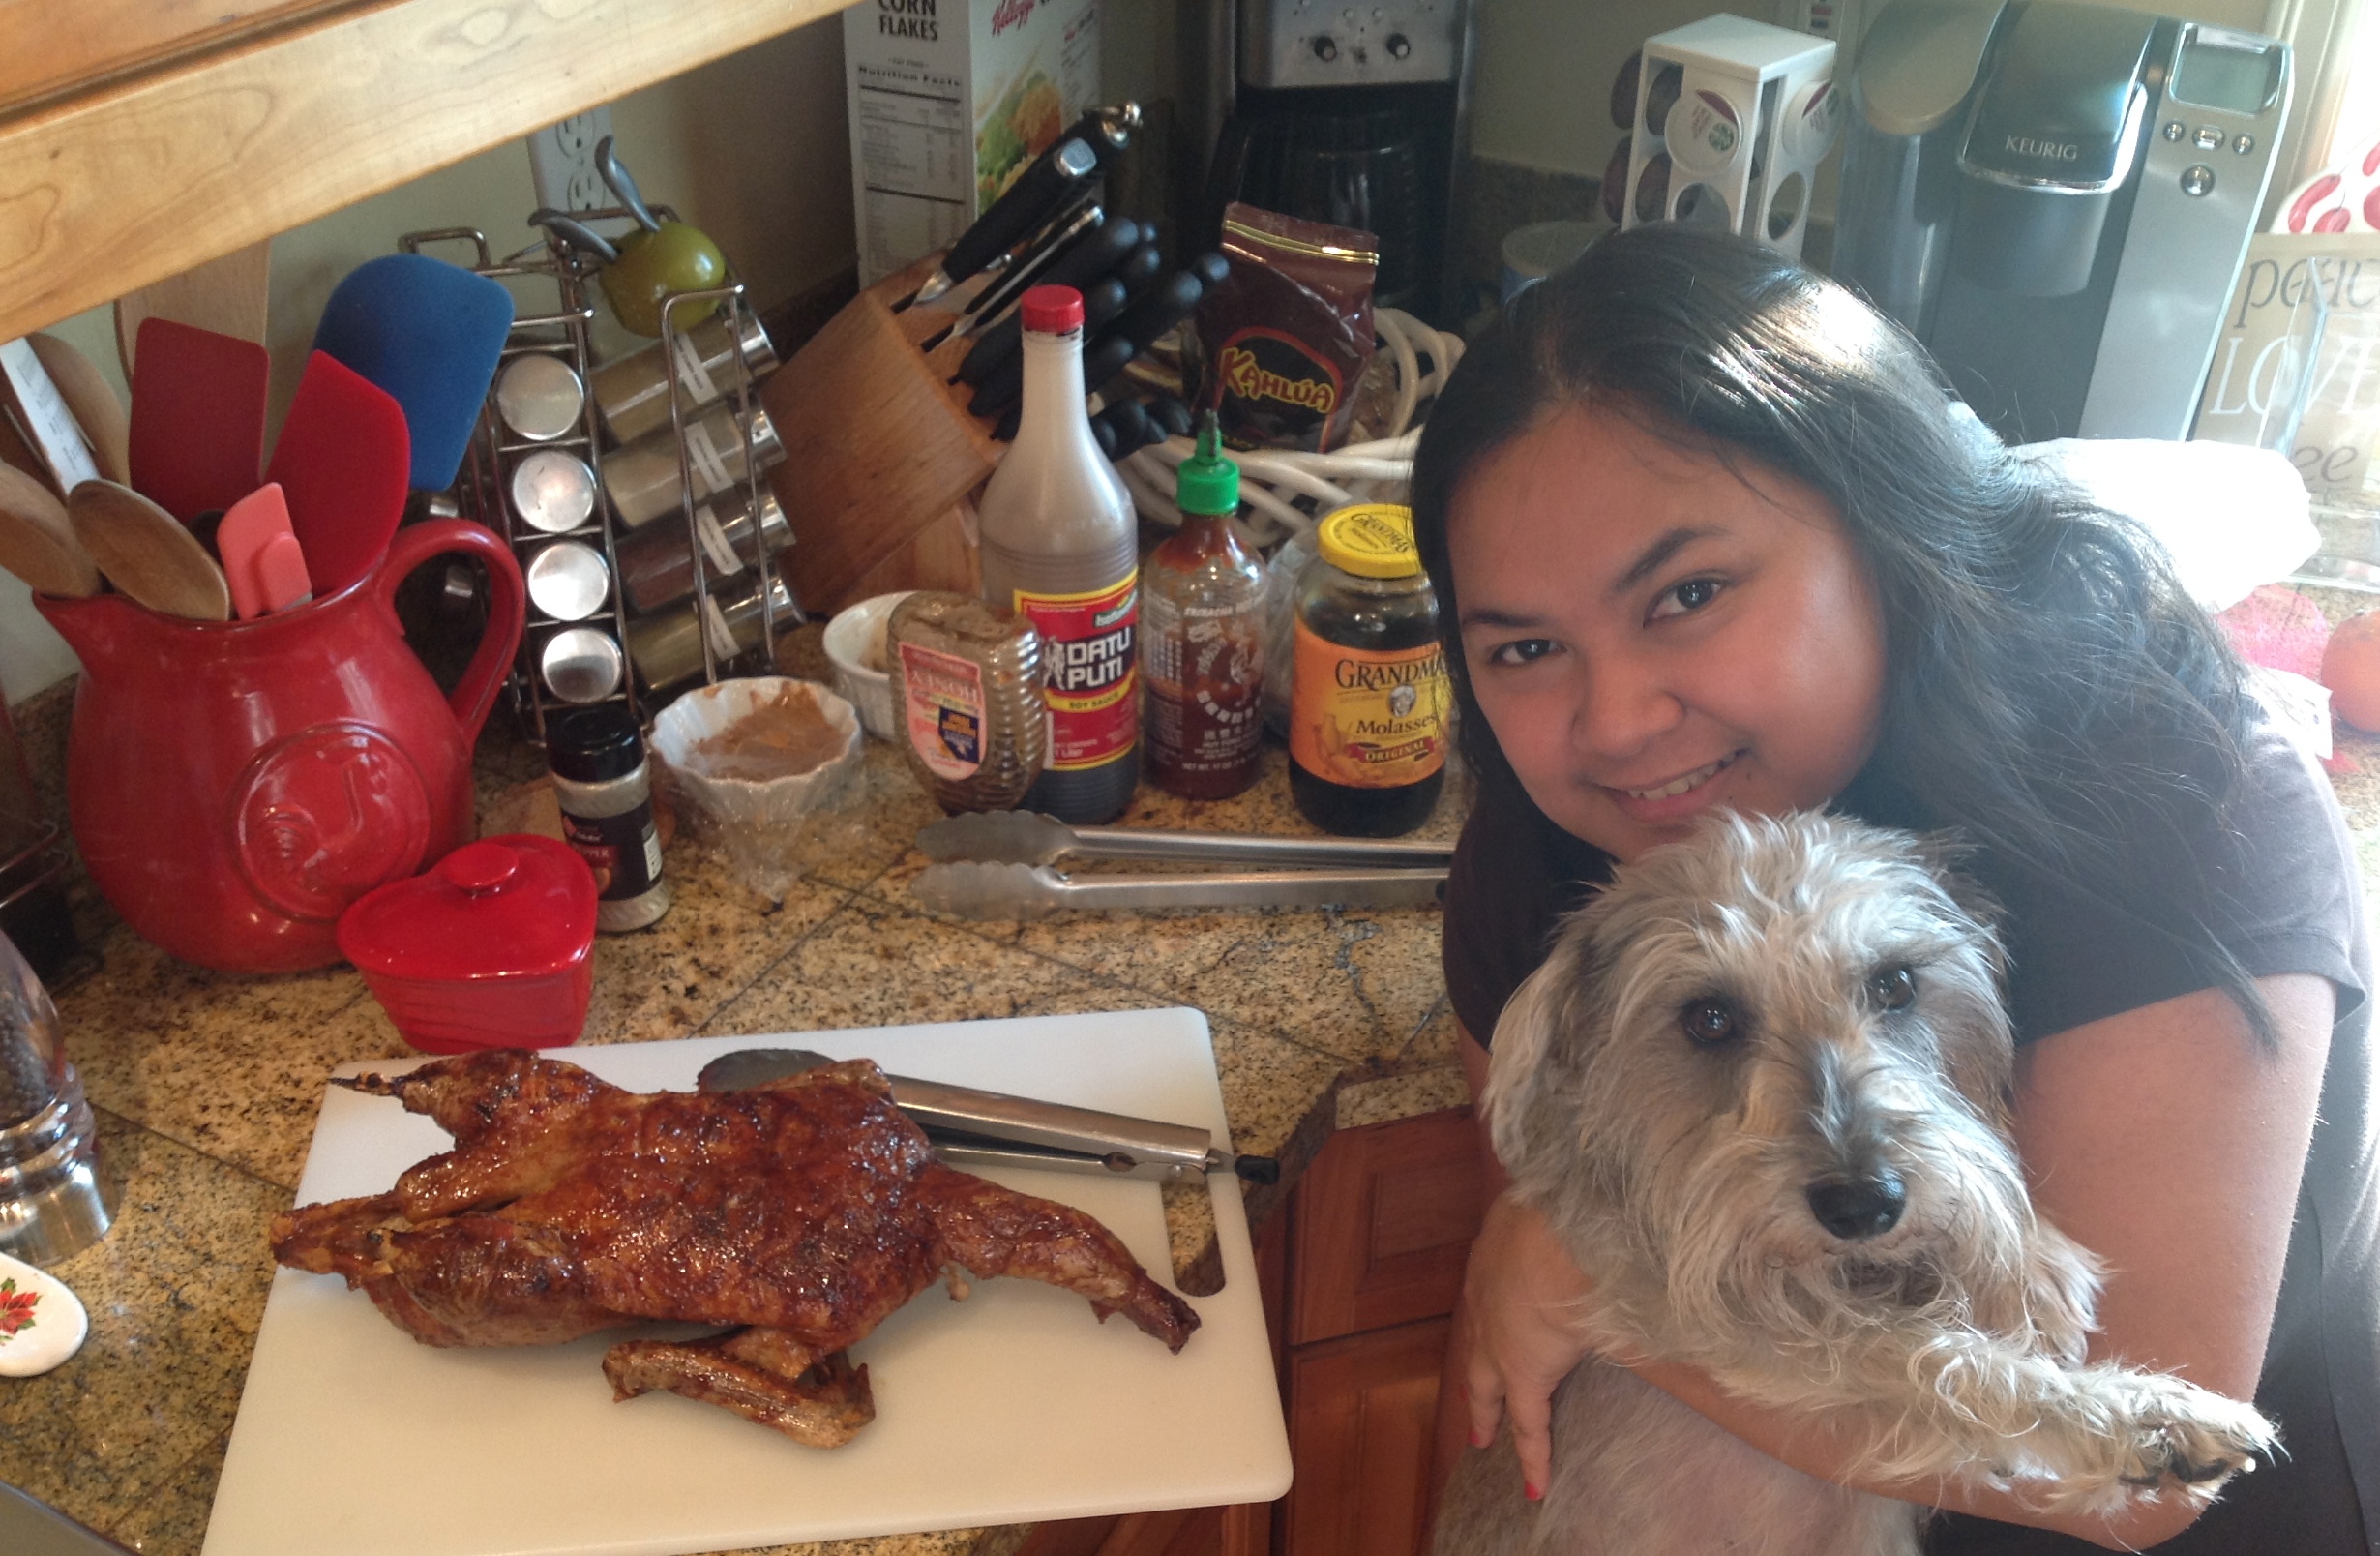
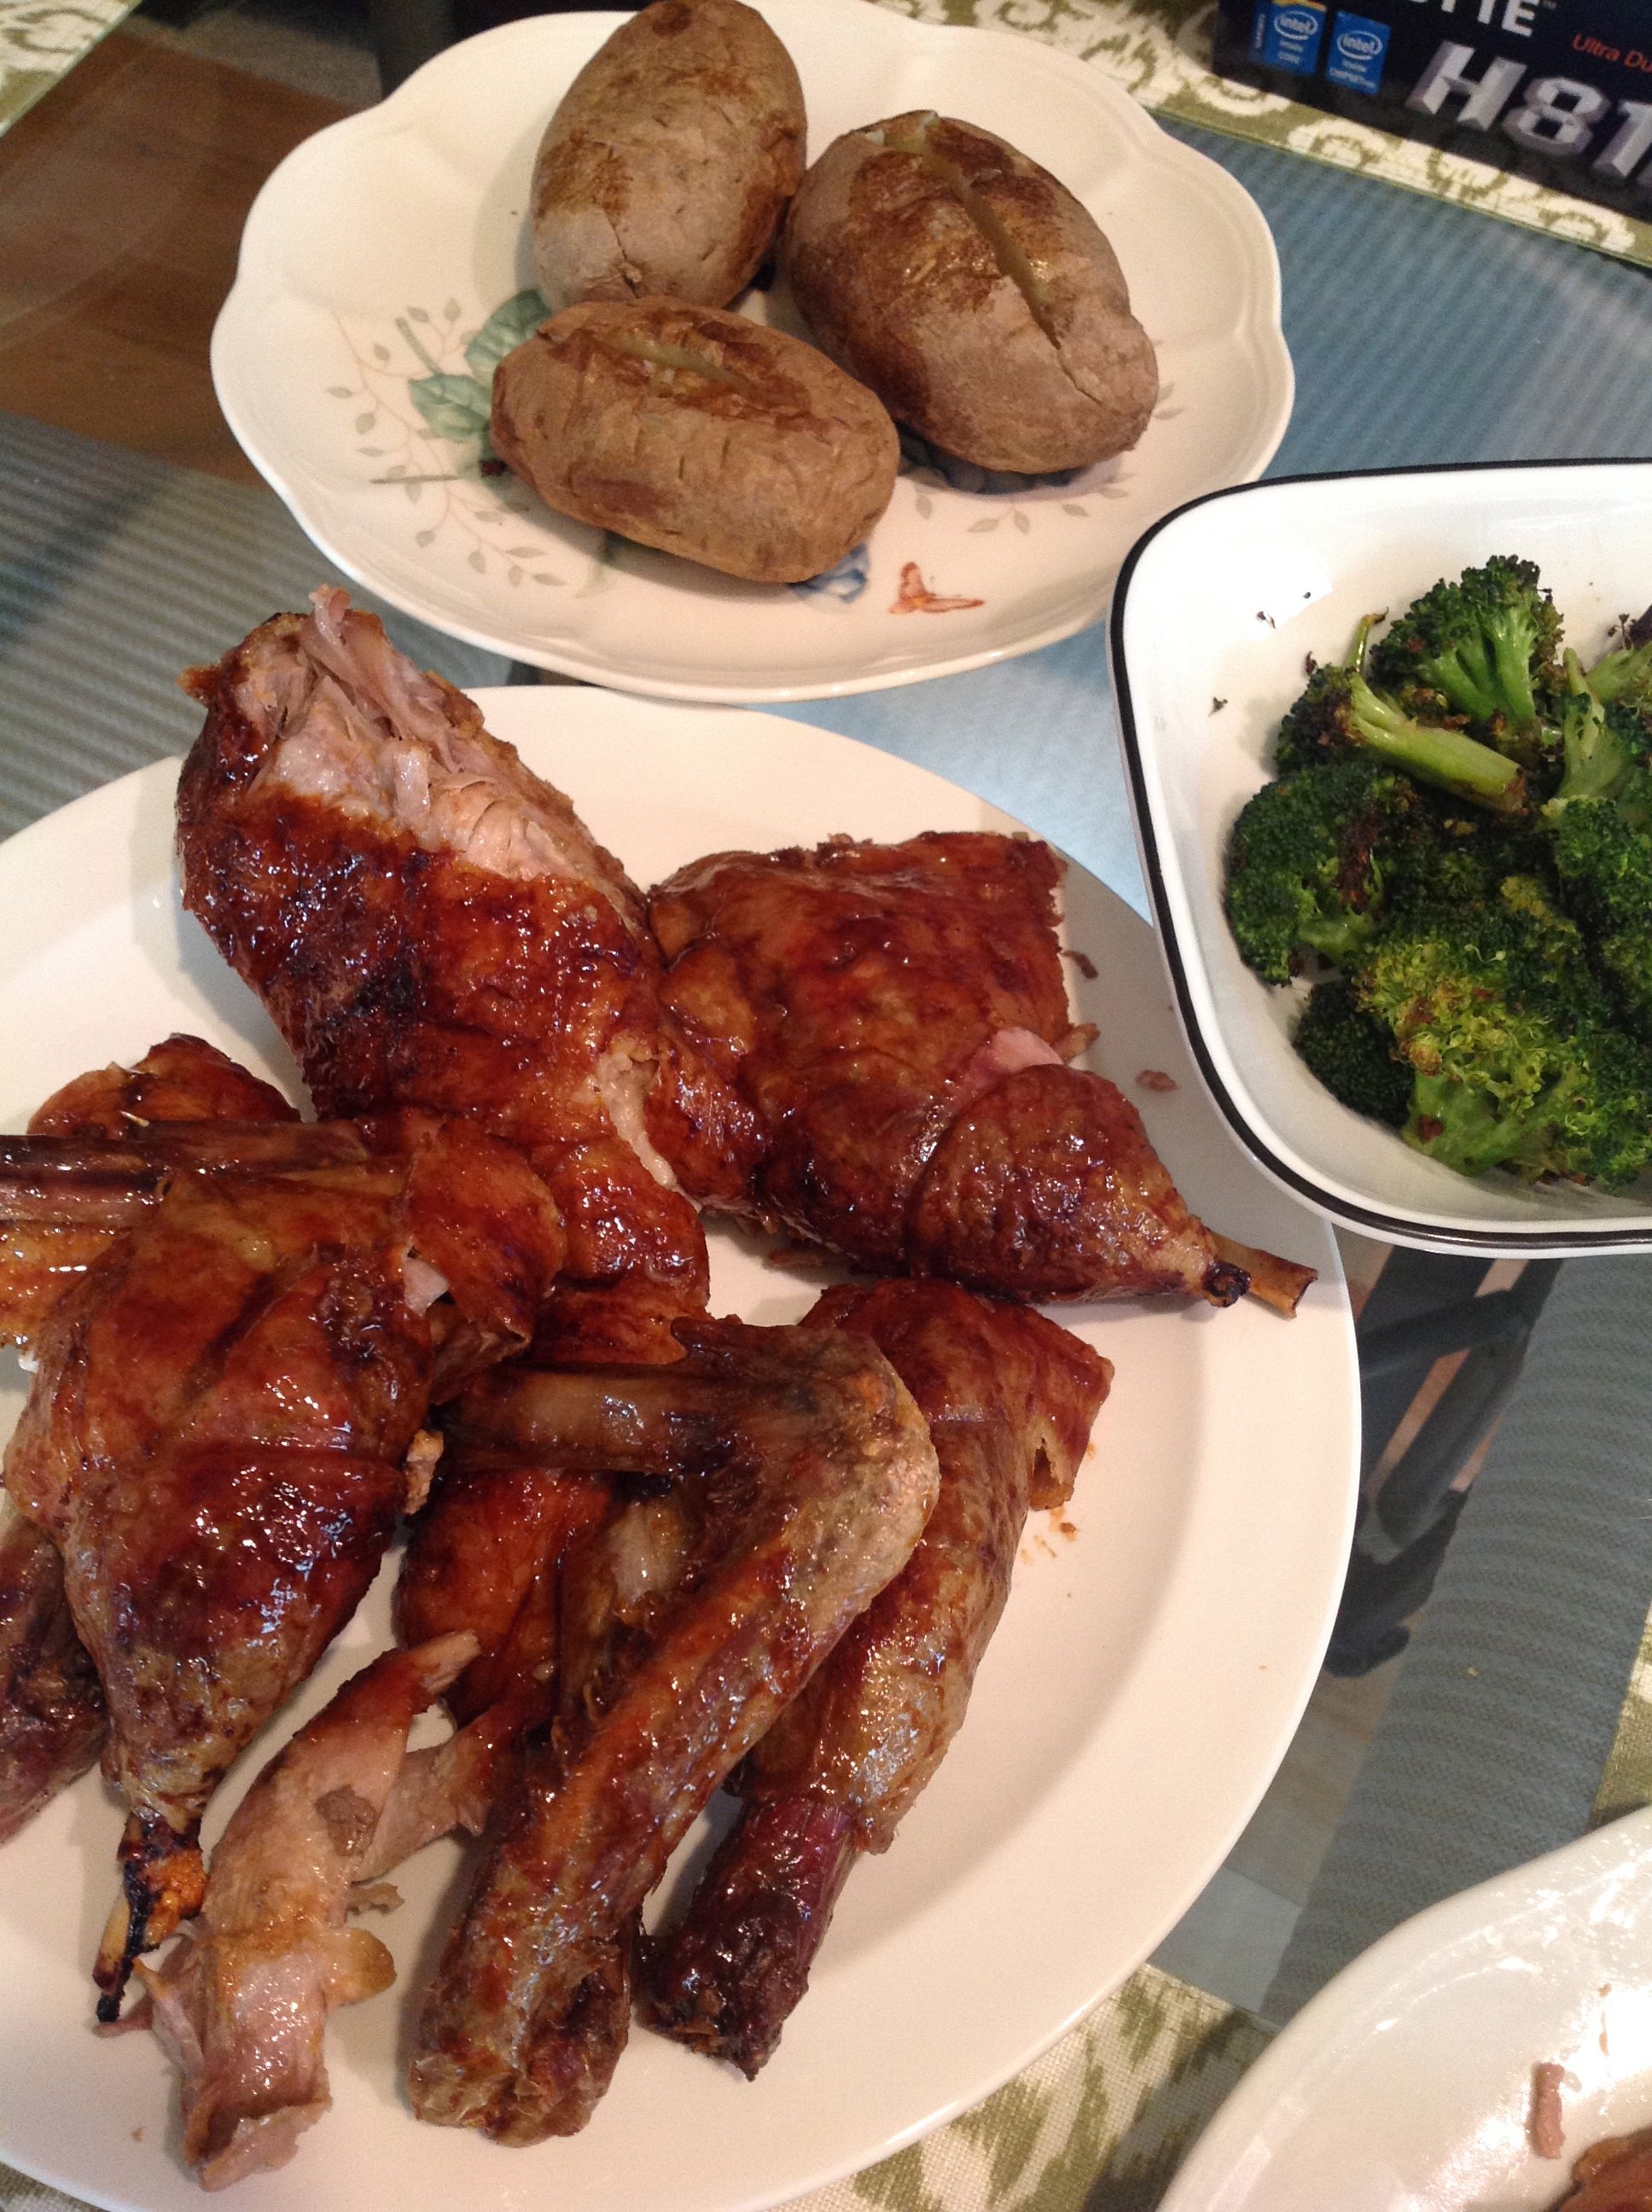
We went to the Asian Market last Sunday after church and they had non-frozen ducks available. So Hubs and I decided we’d try preparing it this week. Growing up in the Philippines, I don’t think I ever had duck, but since living here in the States and being with my foodie husband I’ve had it a couple of times in restaurants but never at home. It’s just so intimidating and looks like such a difficult thing to prepare. But with the help of youtube and blogs, I’ve realized that it’s preparation is similar to that of a chicken! I’ve prepared roast chicken countless times already so I was thinking why not try duck. If it will not turn out good,there goes my $16 and I can try it again!  We really enjoyed this and we will definitely be doing duck at least once a month!  The recipe I followed: Duck Recipe.


..
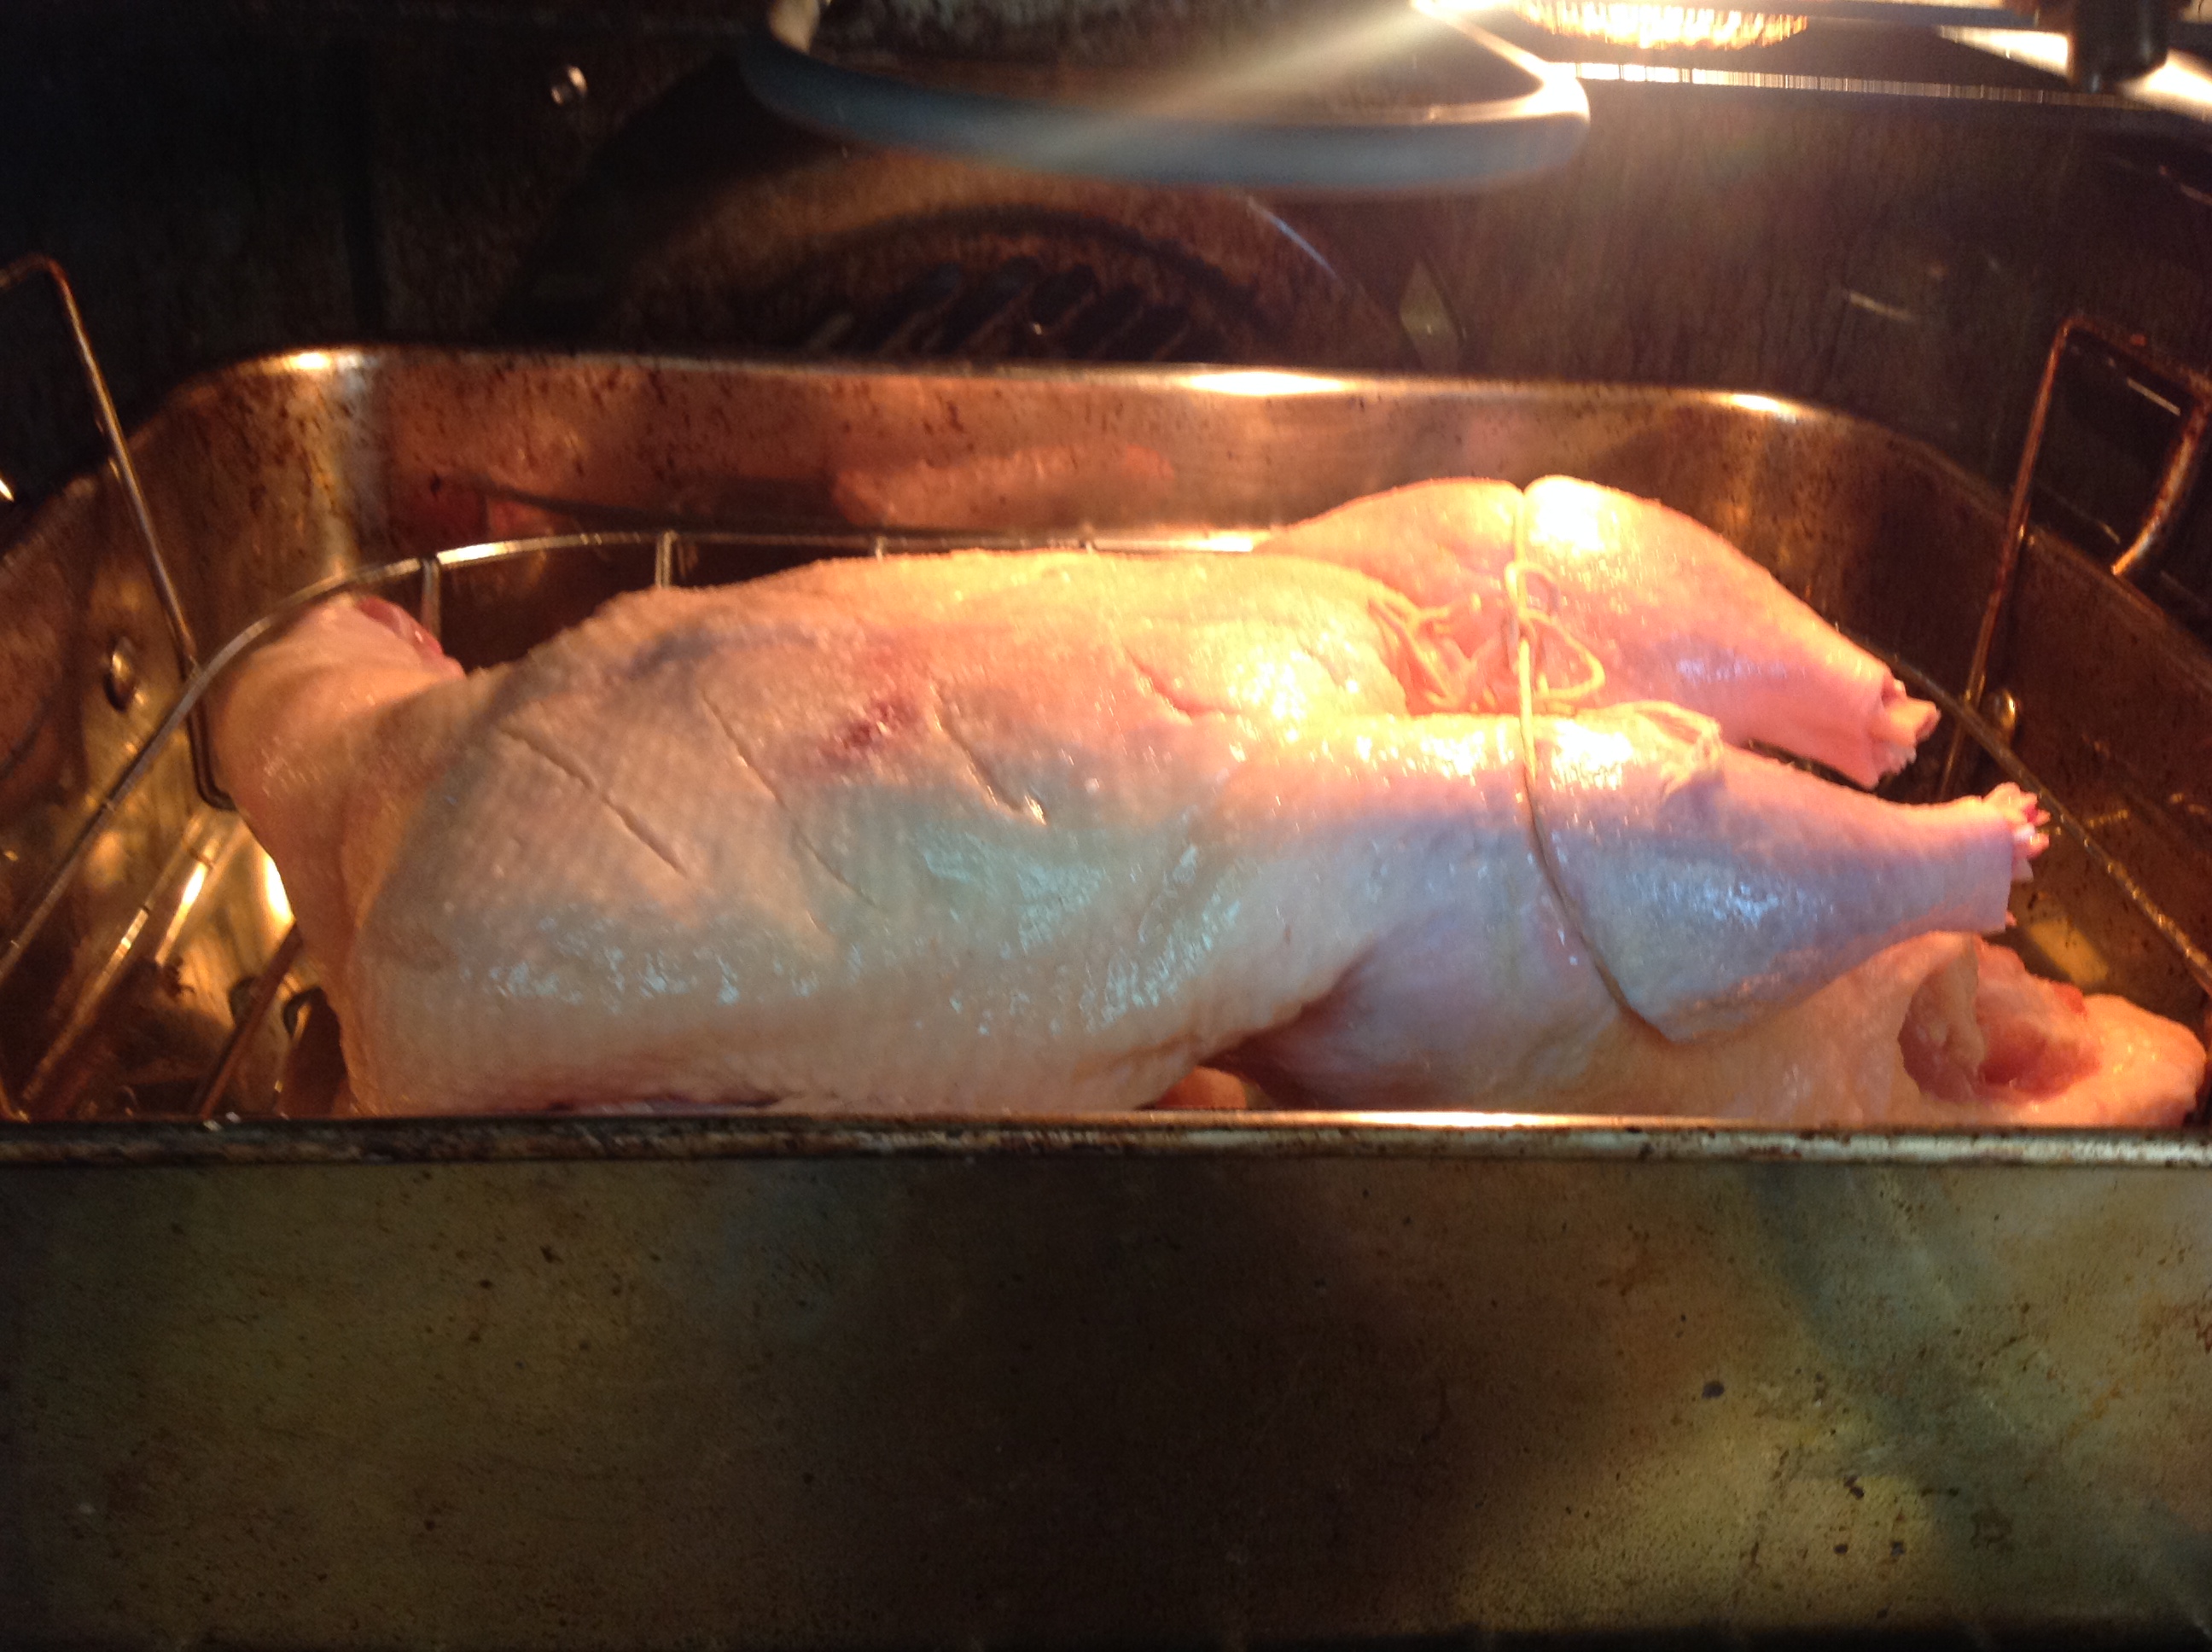
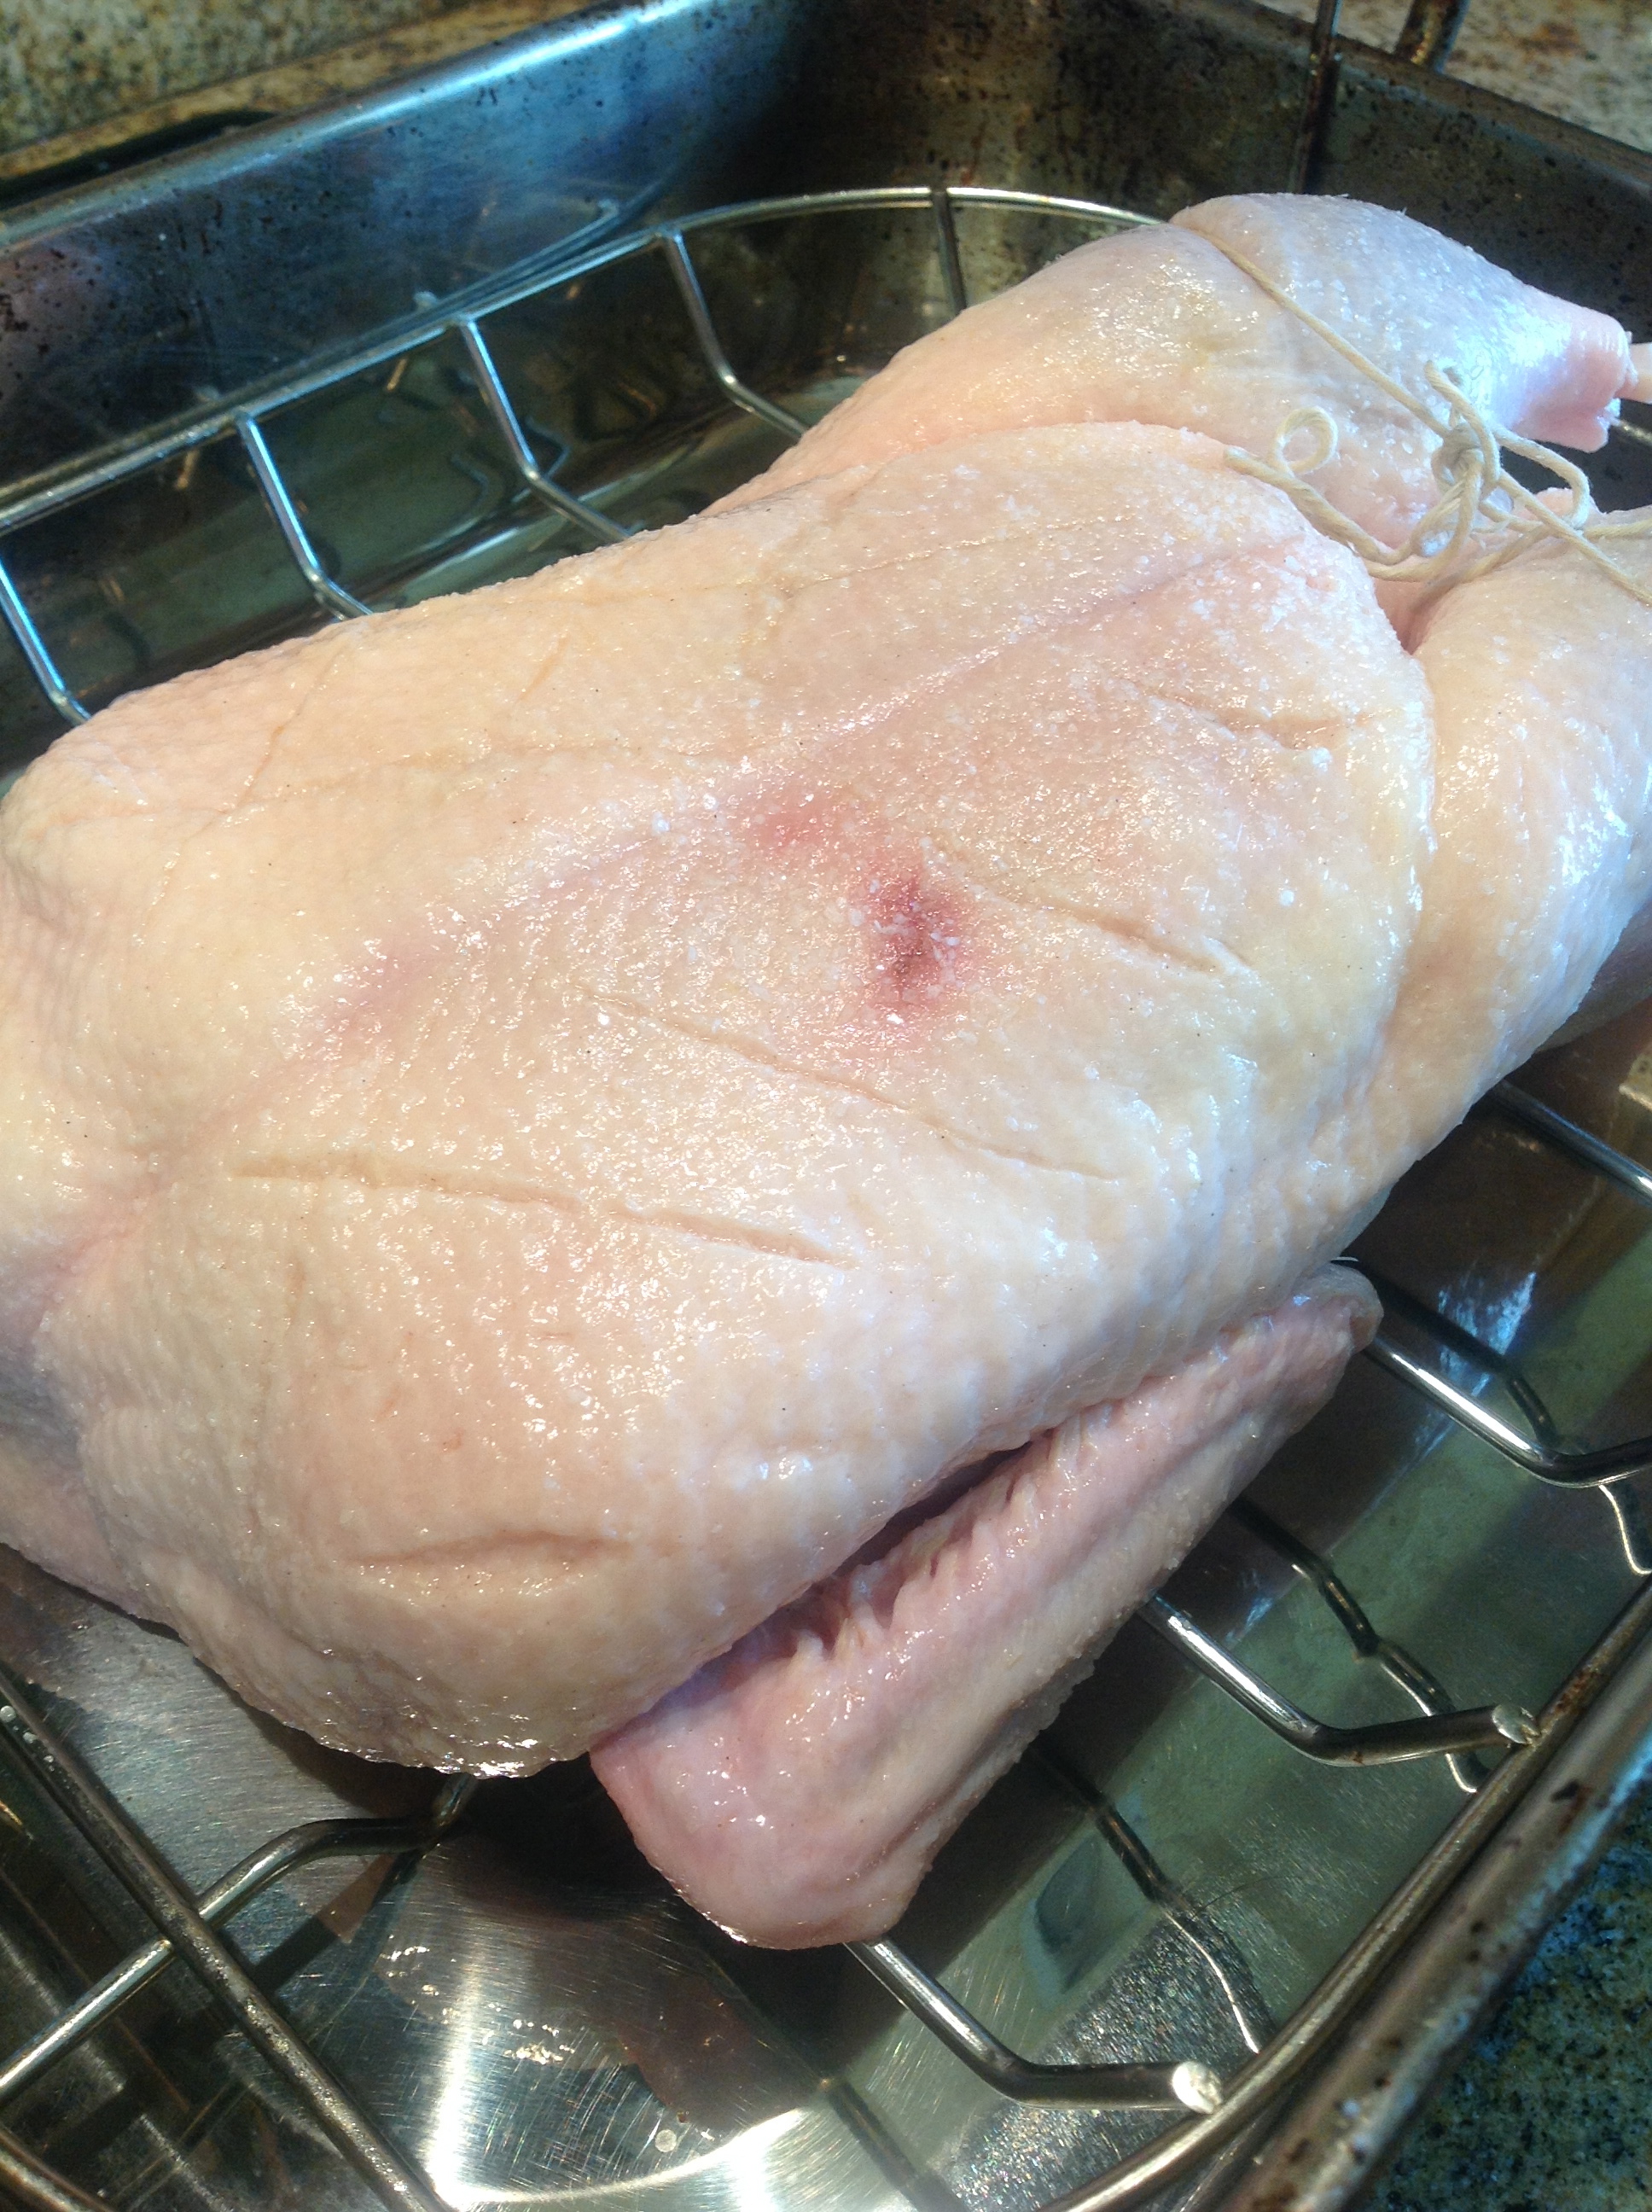
clean it very well
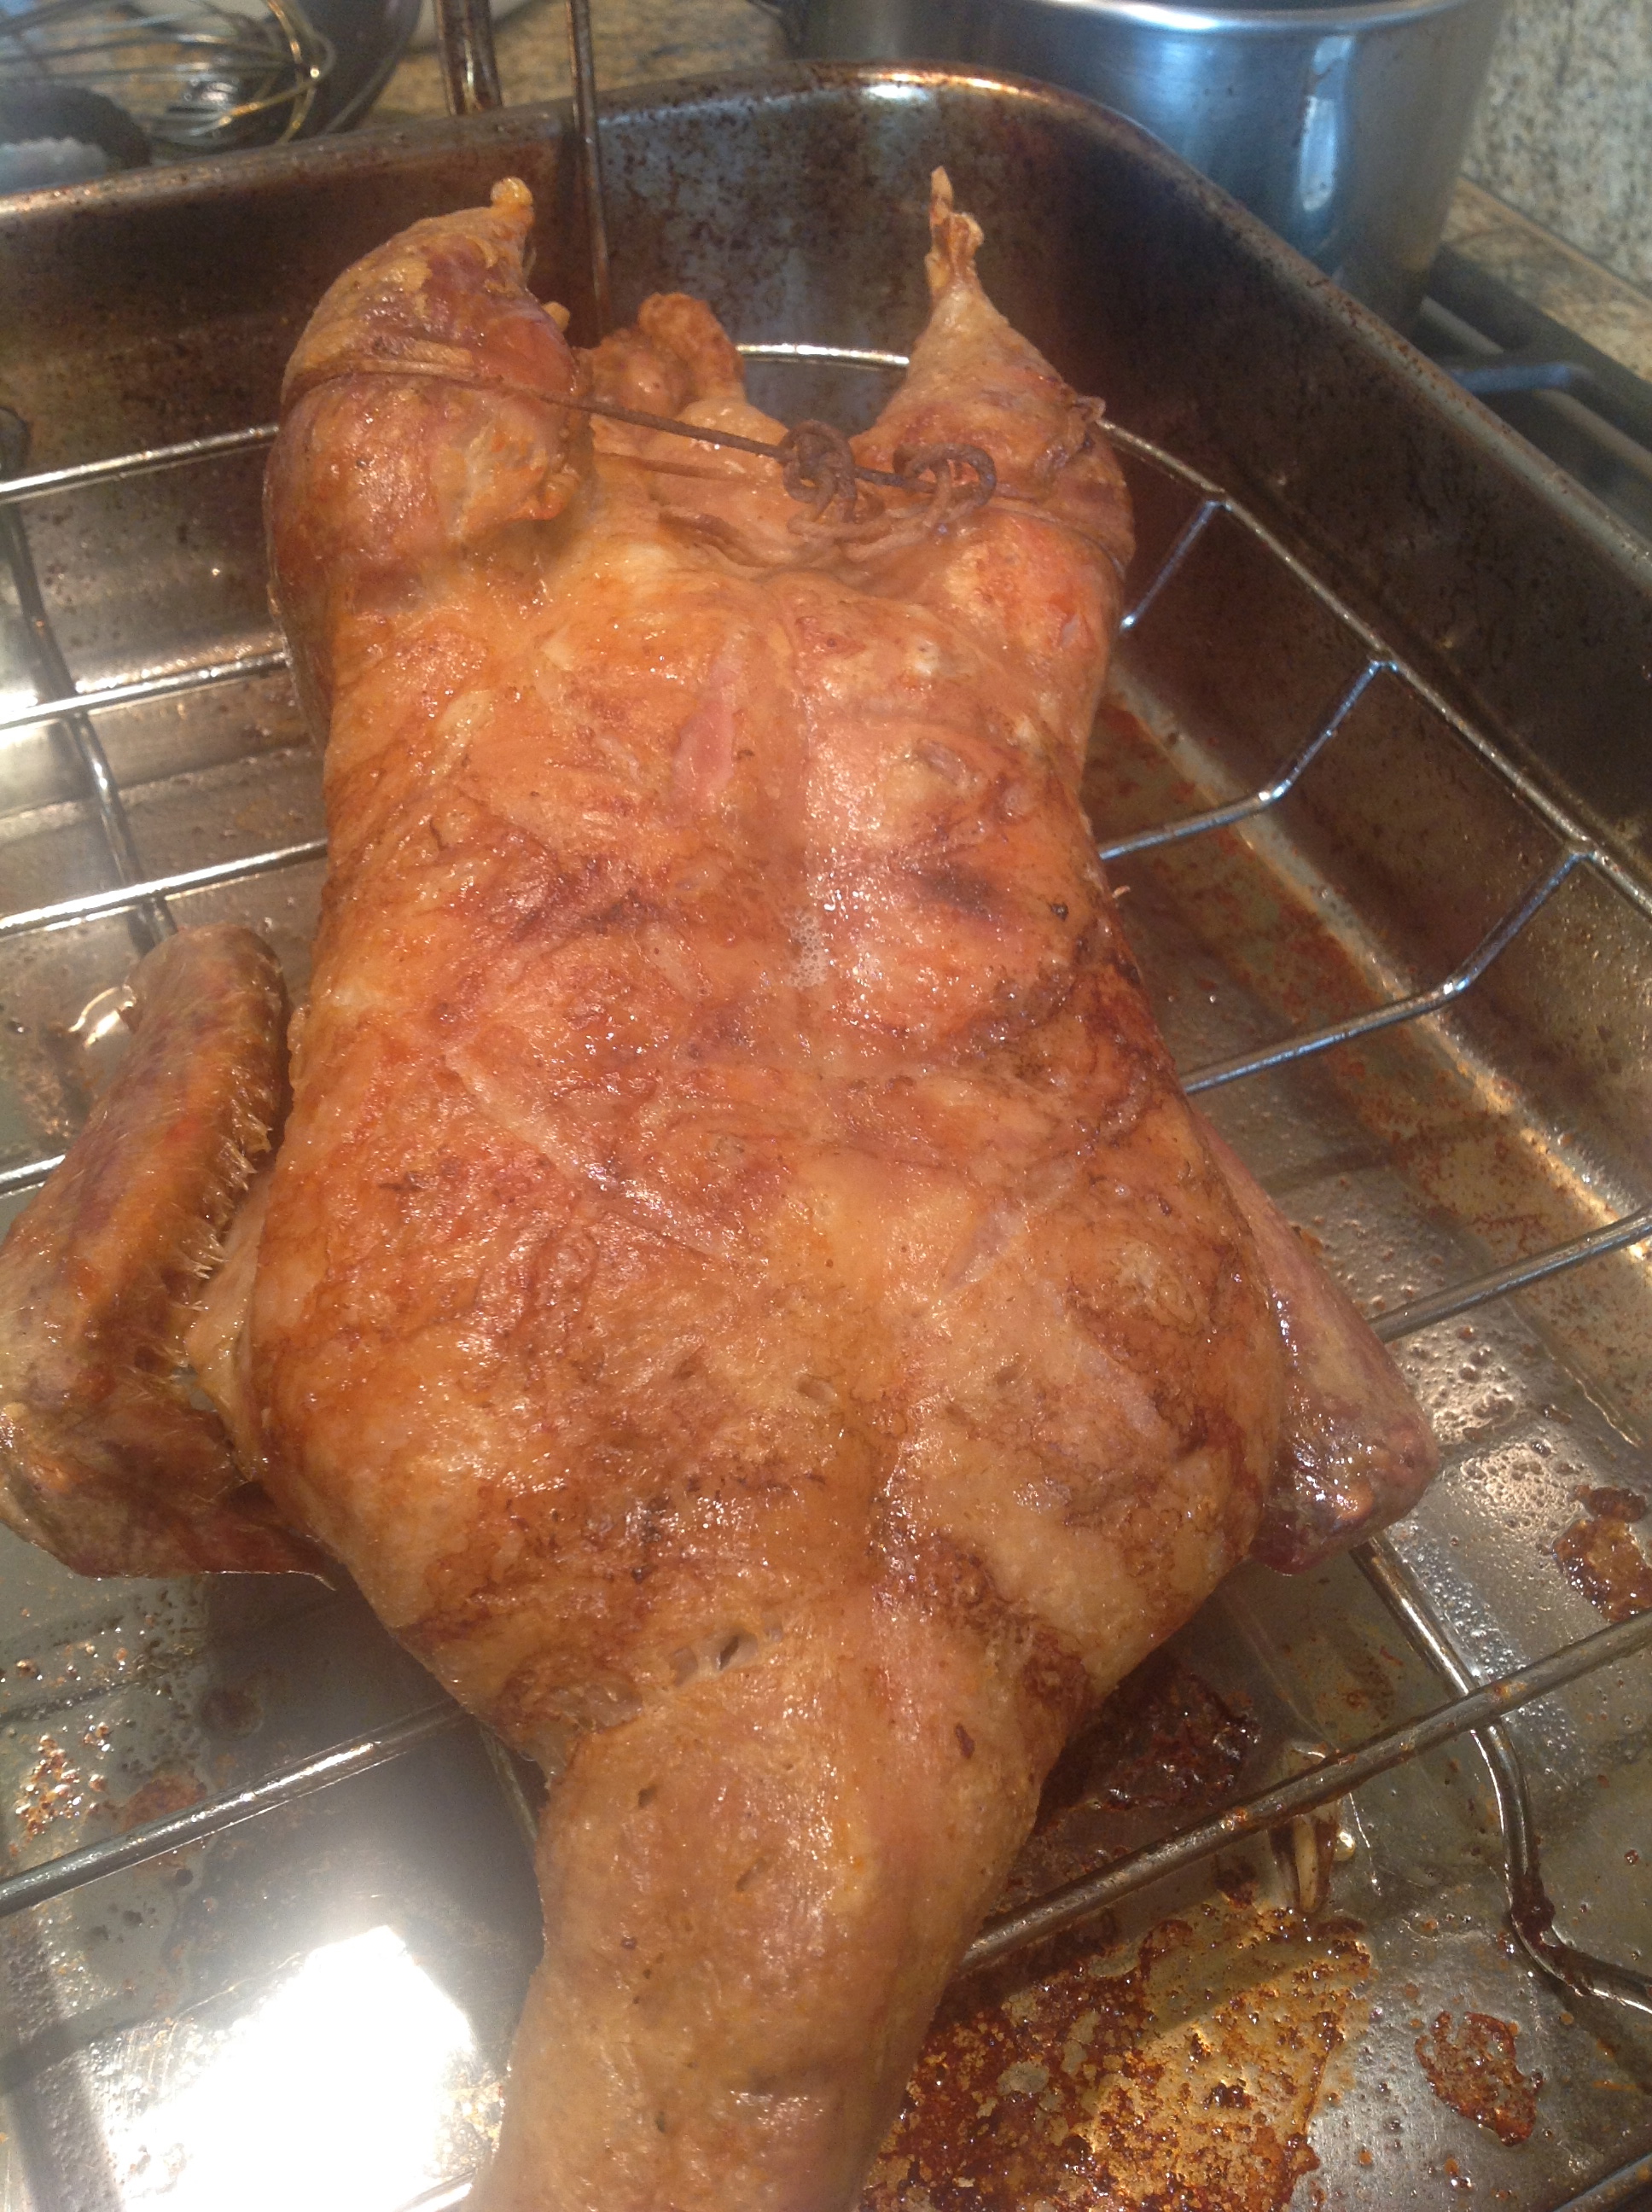
roasting time:4 hours (next time i will cut it into 3 hours,some parts of the bird were dry)
roasting time:4 hours (next time i will cut it down to 3 hours,some parts of the bird were dry)
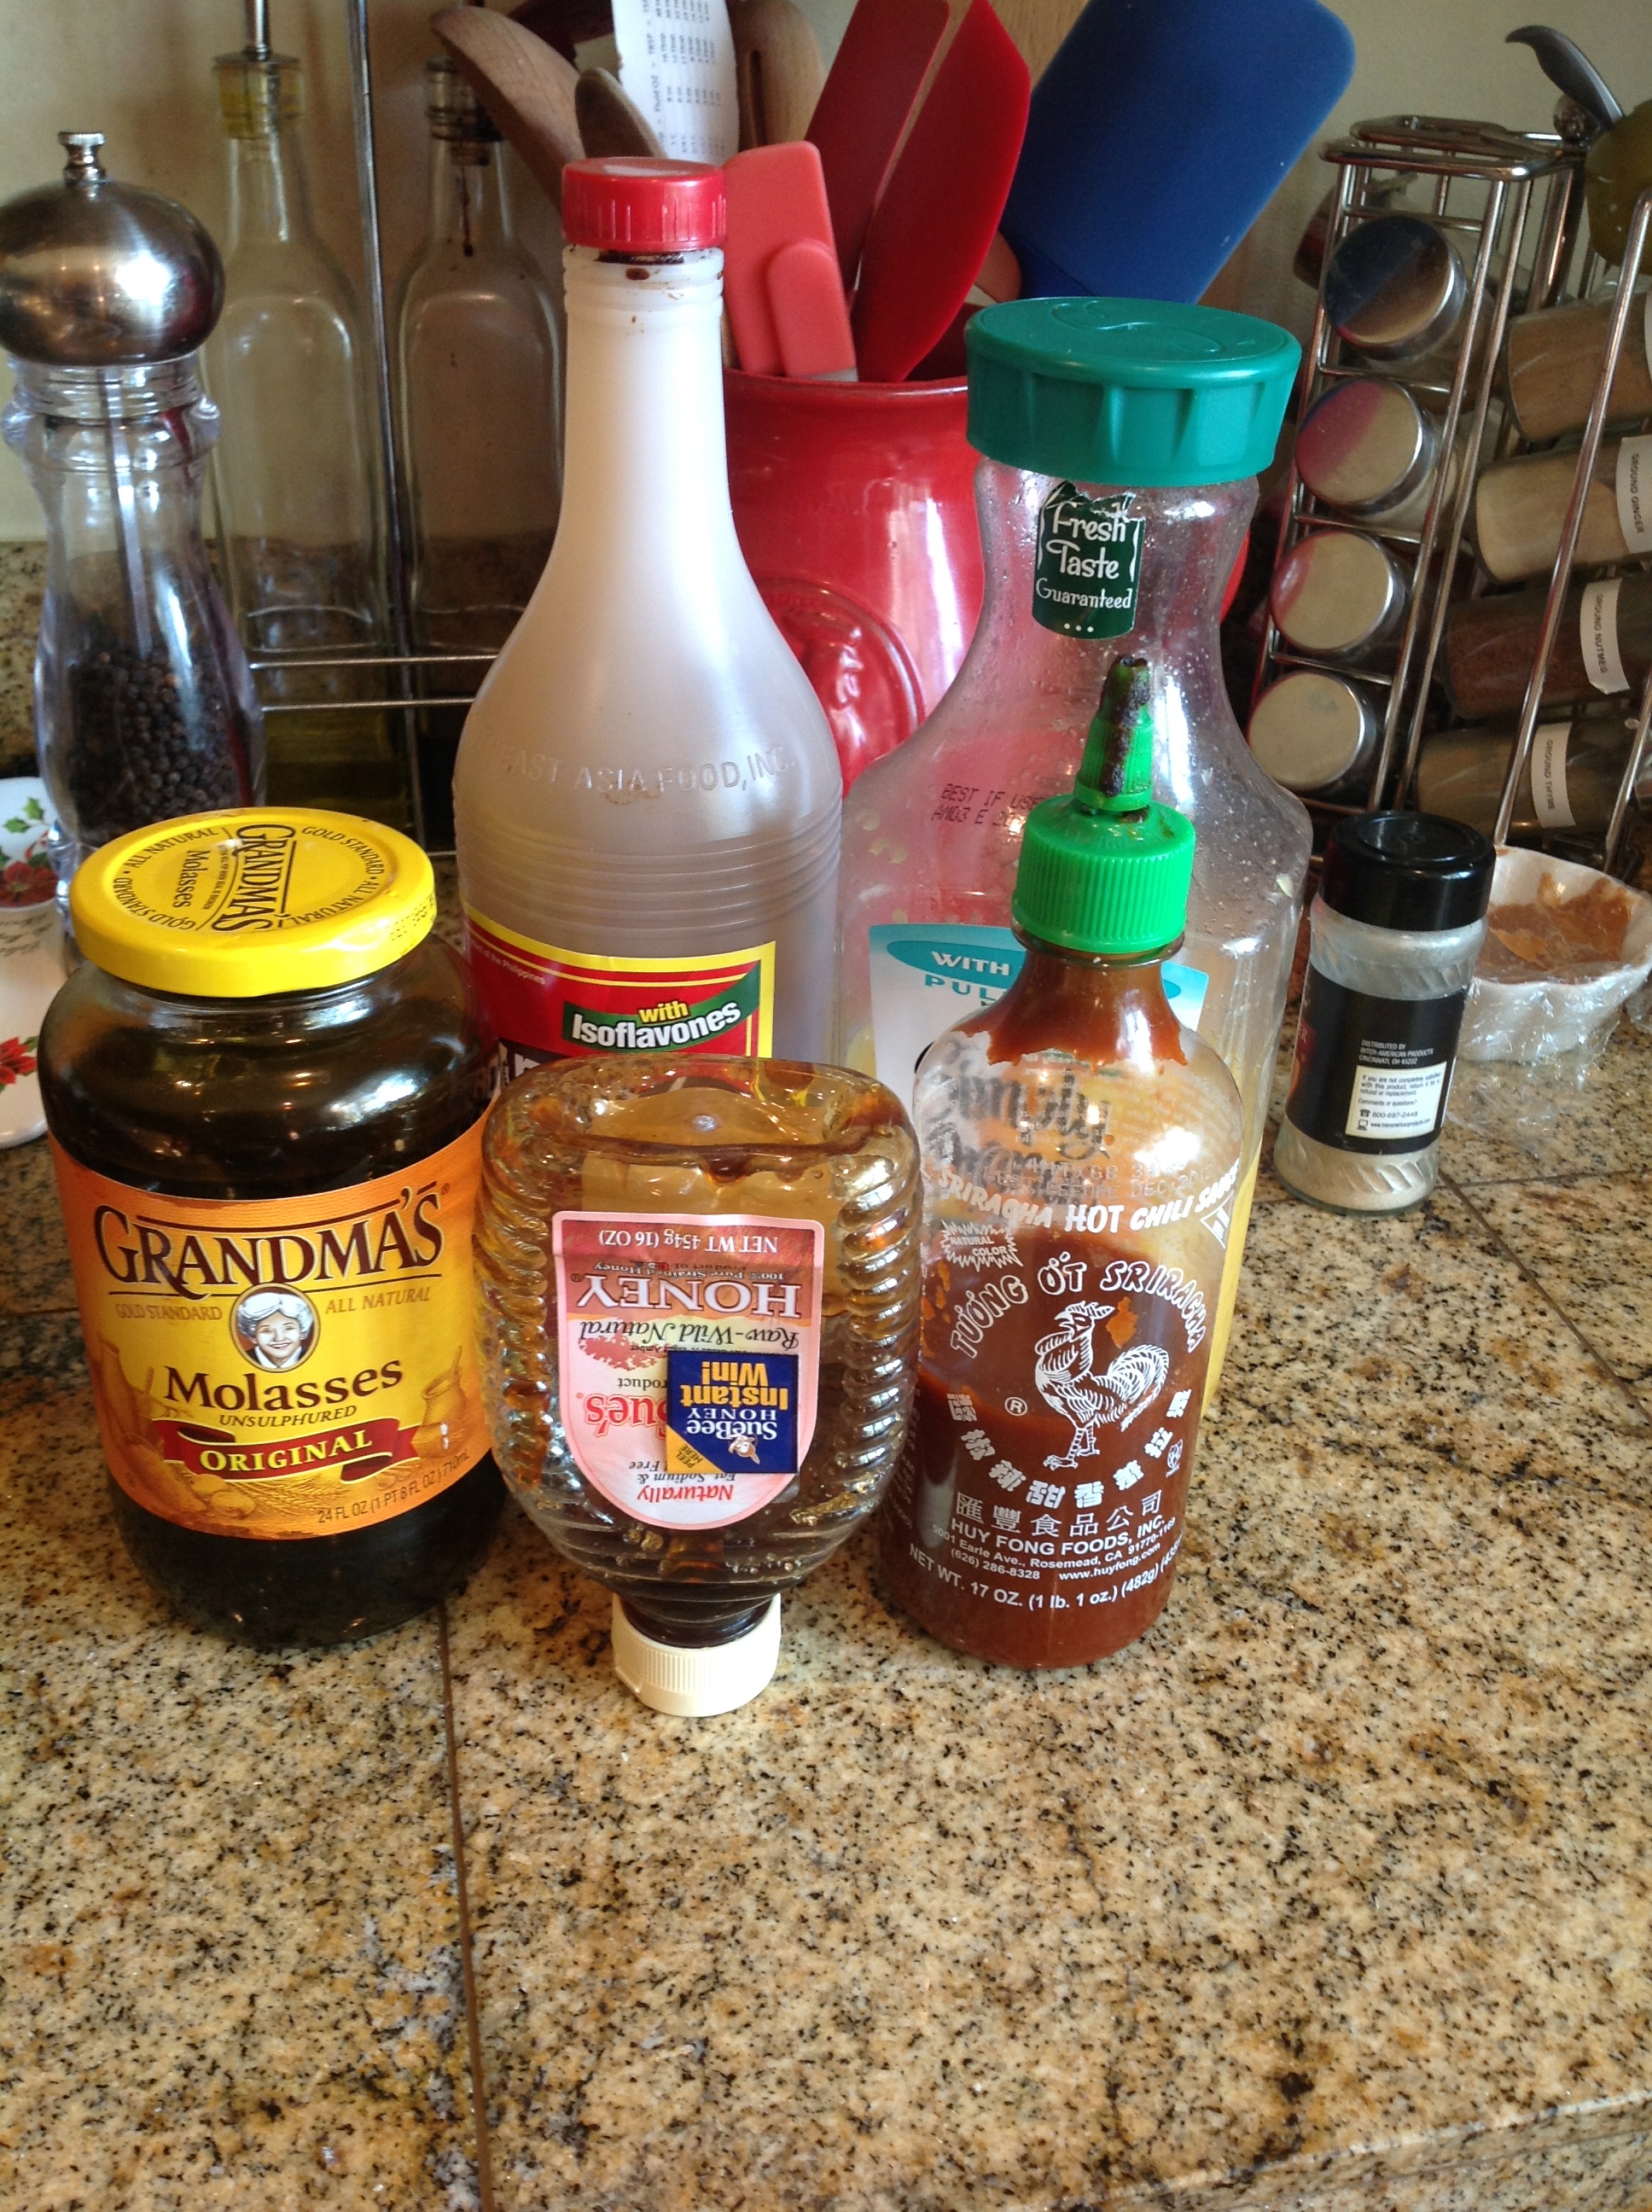
Glaze ingredients
Glaze ingredients
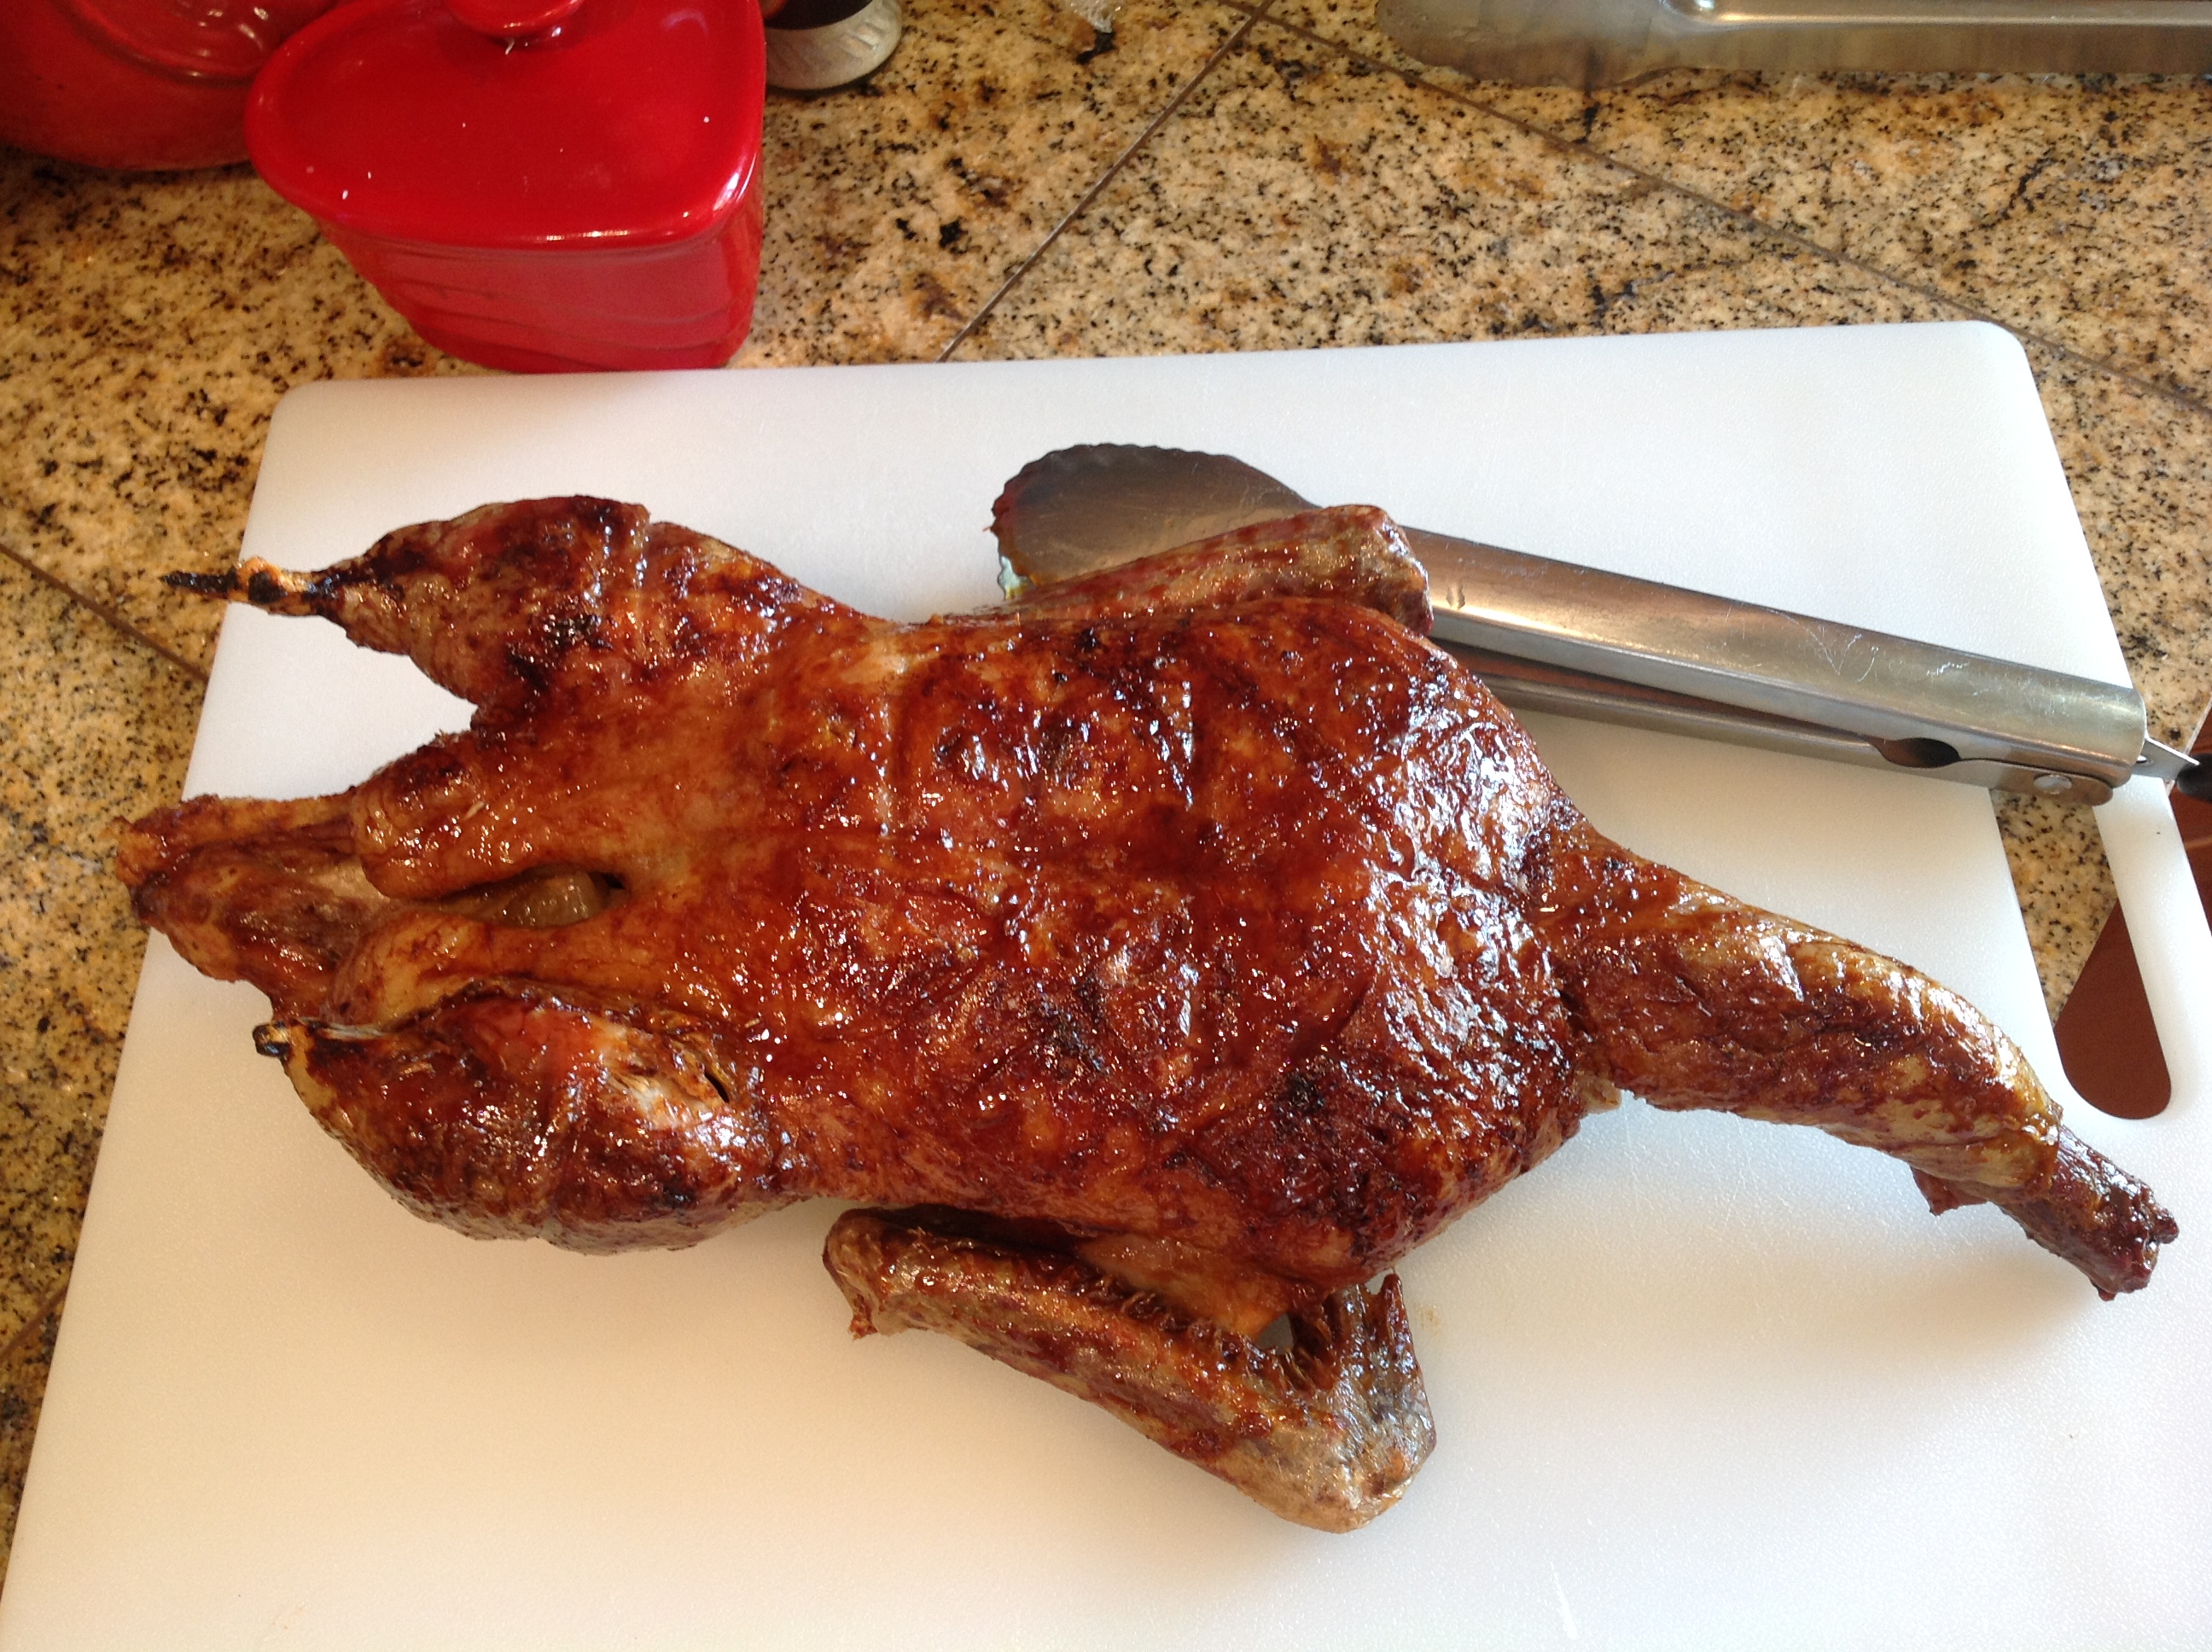
just resting while I'm making the glaze
Resting….while making my glaze.
roast duck for dinner!
with my lovey
with my lovey
we had baked potato and roast broccoli too